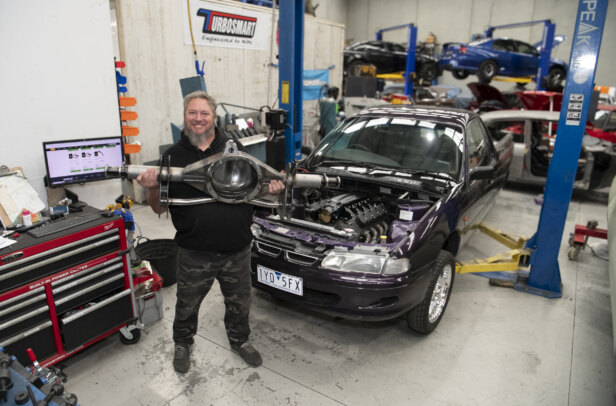
If you watched last week’s episode of Carnage, you would’ve seen us ship our VS Commodore ute to MPW Performance & Race Fab to begin an immense amount of work to fit its nine-inch diff.
Adam Rogash and the boys took our bare RTS diff housing, shortened it accordingly, and sorted all the mounting points for the suspension on the housing.
This episode picks up where we left off with that, this time focusing on setting everything up around the diff. The track locater, anti-roll bar, coil-overs and wishbone are all figured out and fabricated, which is a super-cool process to watch done properly at this professional level.


Running as quick as seven seconds down the strip requires a lot of trick gear, and Adam is an expert in the mad science behind it. MPW now uses 3D scanning techniques and CAD software to design all the hardware needed for such a task, so Adam also walks us through how they go about doing that.
Once everything is laid out in CAD, the MPW team laser-cuts all the custom brackets needed and dummy-welds them into the car. Adam doesn’t fully weld anything until every piece is accounted for, ensuring a perfect fit once everything is together in its final form.


While all this wizardry is going on, Scotty puts together the Strange floating axle kit we sourced from VPW Australia, so we can get the Street Pro wheels bolted up for a first test fit.


They look grouse, especially with the beefy 275/60 tyres under Scotty’s custom tubs.
With everything mapped out, the next phase is for MPW to do the final welding and get this whole lot powdercoated before its final installation.


Comments