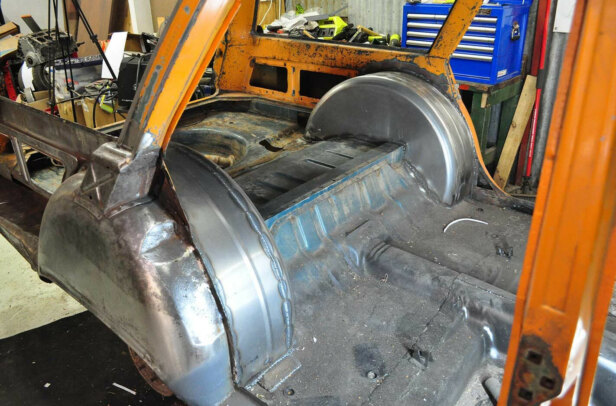
Being able to join pieces of metal together using electricity and a bit of gas means you can repair or build almost anything you can turn your mind to. From custom brackets, to fabricated exhausts and tanks, to rust repairs and body mods, the addition of a welder to your shed arsenal will open up a world of options.
But you need to think carefully about the type of welding you’d like to do, as this will inform what gear you’ll need; there is no point trying to stick-weld aluminium, or spending big on a flash professional set-up just to glue mild-steel box-section wall frames together.
So, which welder do you need, how much should you spend, and what accessories will make your welding jobs easier? Read on to find out!
Double-check the power requirements for any welder you buy, because many mid-range units need a 15-amp socket.
If you don’t have a 15-amp outlet in your shed, it is worthwhile looking into adding one if you’re going to start fabricating at home.
Starting out
When you’re starting out, you won’t have the skills to make full use of any top-line welder, but don’t go buying the cheapest unit on the internet, either. Many of the cheapest MIGs can be had for a couple of hundred bucks, but most won’t offer adjustability in their settings to let you learn how to fine-tune the machine for the material you’re practising with.
Brand-name welders will have a higher entry cost, but spending mid-range money of around $500 to $1000 should net you a reliable machine with good adjustability and enough grunt to tackle a variety of metal thicknesses. You don’t always need electronic displays, but some of the fancy MIGs with digital presets can make welding ridiculously easy for novices.
Most people suggest that novices first buy a MIG (metal inert gas) welder to learn the art of sticking metal together via arc welding, as mid-range MIGs are cheaper and easier to learn than jumping straight into TIG (tungsten inert gas) welding.
A MIG welder uses a spool of wire that is fed through a tip of the same size in a handset, with varying amps, wire speed and voltage, and often a shielding gas to promote neater welds.
MIG versus TIG
Adding more tools to your shed is always fun, and you could easily convince yourself you need both MIG and TIG.
However, TIG isn’t something you’ll be able to pick up without some instruction from someone experienced and a lot of practice, while you’ll be able to learn MIG with some YouTube research and a bit of scrap practice.
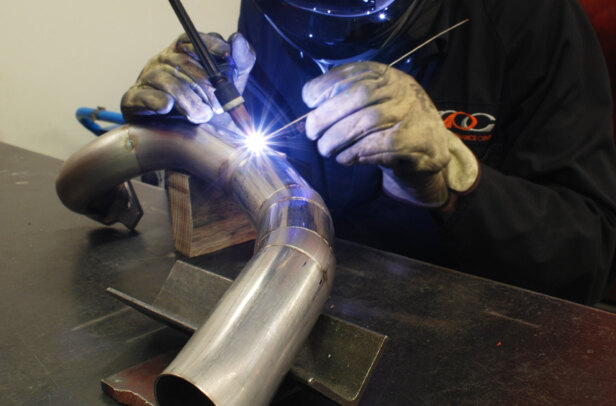
That said, once you get the hang of it, TIG will give you nicer-looking welds and is the better option when working with thin or soft metals like aluminium.
Thanks to its lower weld temperatures, a lot top of top-end shops prefer TIG for bodywork, as there is less risk of warping the metal than with MIG. Keep this in mind if you’re planning to weld on panel skins.
The set-up costs for a TIG are higher than that of a MIG. Good-quality brand-name units for novices will run you between $1000 and $2000, while professional-grade TIGs can easily pass the $5000 mark.
Novices or weekend warriors really won’t get the best value from that kind of investment.
TIGs will generally also require more space, as this type of welding really needs a dedicated area on a bench, with room to sharpen tungsten tips, keep the job clamped for the tightest joins, and keep the job clean for better-quality welds.
Good TIG welders will come with a foot pedal, allowing finer control over the welds than with a trigger-operated gun.
Foot-ignition welders leave both your hands free to hold the torch and the filler rod, allowing you to stack dimes.
Stick welding
Stick welding is old-school arc welding, but it’s still used in heavy industrial plants and farms. Stick welders use a grounding clamp and a filler rod clamped into an electrode handset to create a strong arc that can be used to repair thick, heavy metals.
Stick welders don’t use shielding gas. Once the weld begins and the filler rod starts melting, the coating around the rod creates the shield required to prevent oxygen from contaminating the weld. They don’t make beautiful-looking welds like a TIG, but a 130-amp stick welder will still be able to weld inch-thick ship hulls back together.
Stick welders are not any good on sheet metal, so they don’t see much use inside workshops, but they’re popular where on-site or outdoor repairs are needed, or the portability of the welder is key.
Accessories
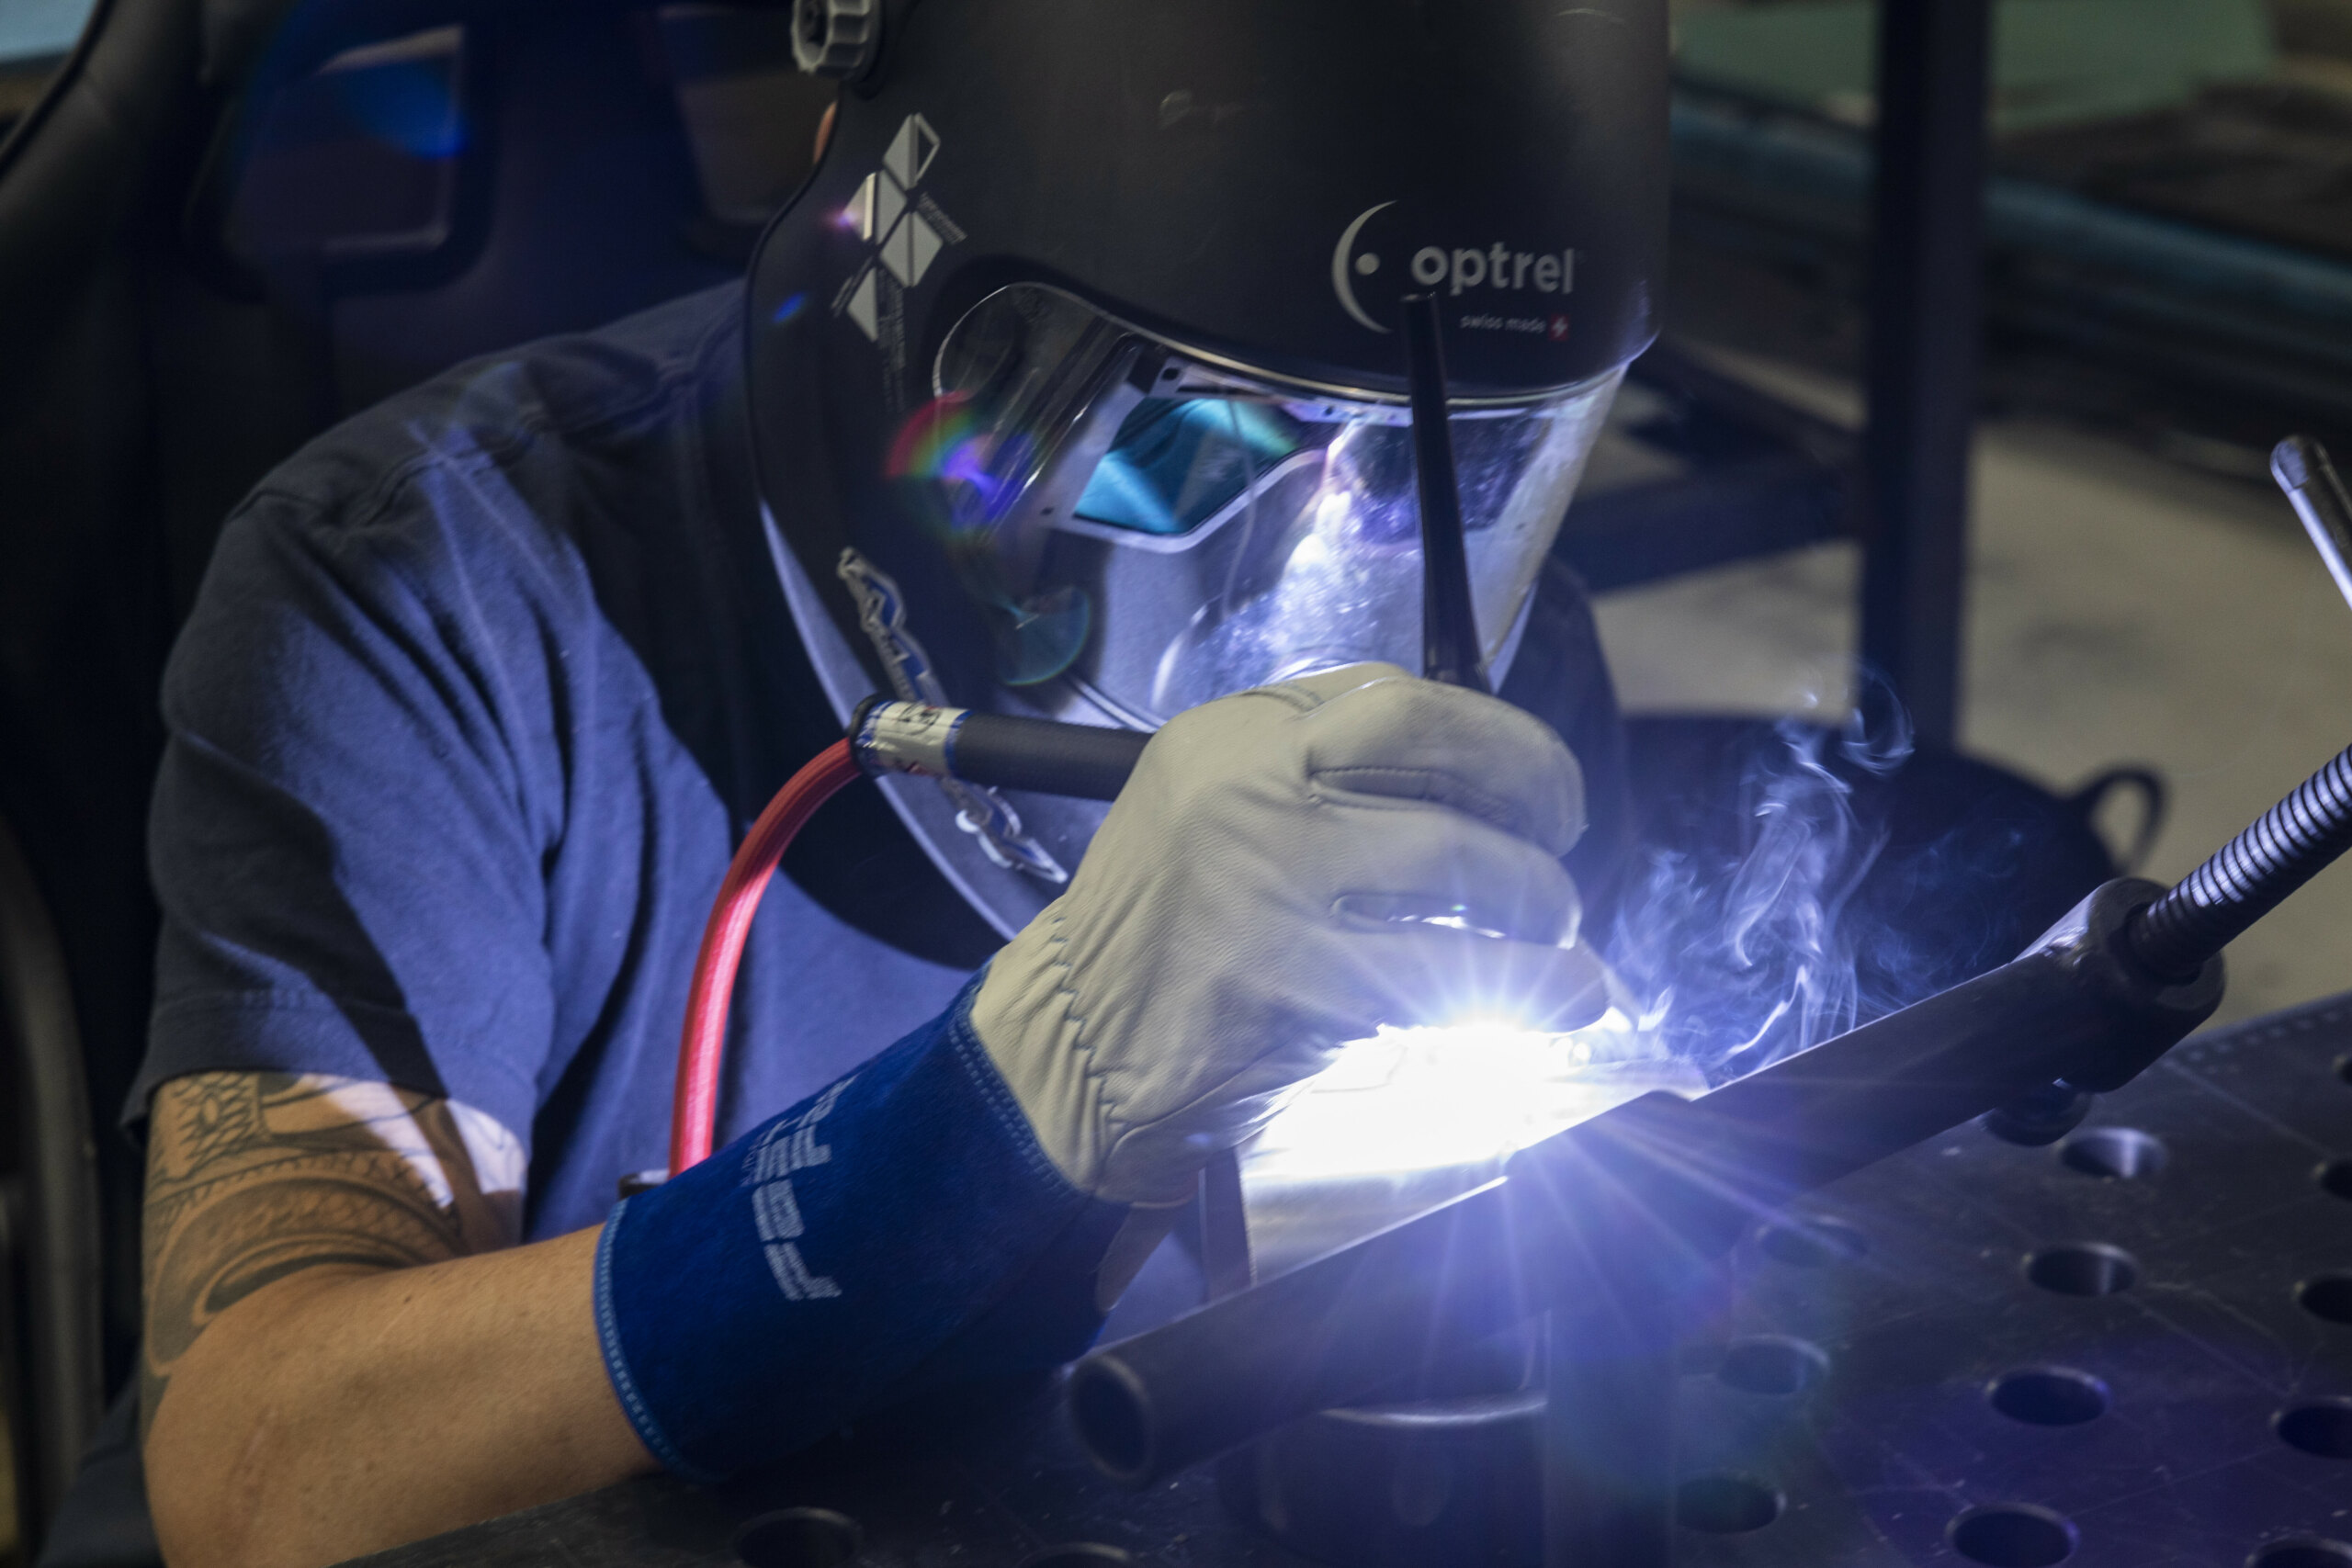
Whether you’re using a MIG or a TIG welder, basic welding safety means you’ll need to purchase some accessories to go with your flash new zappy-boi.
This is where people often find the cost of adding a welder to their arsenal really blows out, as it is super-easy to spend big on stuff you may not really need.
To start with, a basic auto-darkening helmet will cost you around $150, but you can spend several hundred on a really Gucci-spec helmet if you’re going to be using the welder a lot.
With your eyesight on the line, it’s worth investing in a good one. Leave it in direct sunlight for a couple of hours before you use it so it’s all charged up.
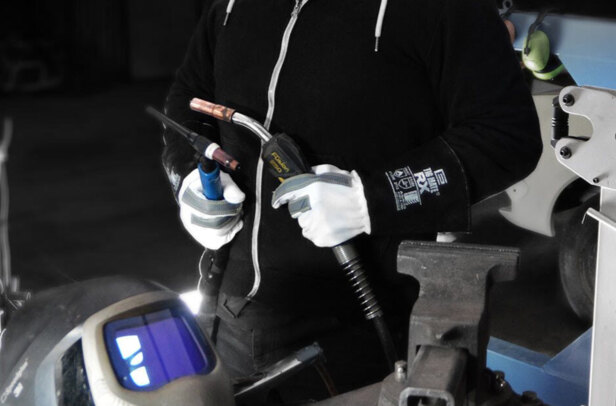
A pair of gloves is also a highly recommended purchase. They’re cheap, and they allow you to properly handle your work.
MIG and TIG require different types of gloves, though; the big, thick MIG gauntlets don’t allow the level of dexterity required for TIG welding, whereas soft leather works great with TIG.
Buying a range of locking clamping pliers, table clamps, and magnetic corner-clamps to hold jobs is a great idea for anyone tackling rust repairs on their project.
If you want to get into pipe fab, there are also tacking jigs you can buy to hold the tube perfectly in place, giving you tight tacks that make for better welds.
Throwing your welder on a trolley will make it more portable and keep everything neat, and you can often cajole your friendly tool salesman to throw one in while you’re buying everything else.
Consumables you should have in your MIG welding kit include spare spools of wire and spare tips to suit that wire (important if using different wire thicknesses, too), while TIG users should have spare filler rods and cups to hand.
Having these spares in a cheap toolbox will stop you running out five minutes after the shops shut.
A welding jacket isn’t a necessity, but one piece of slag down the back of your shirt from an overhead MIG welding job and you’ll trade your nanna’s good name for one.
Other convenience accessories include a 125mm grinder with a flap disc for knocking off metal coatings, and a good-quality power lead for when you need to move the welder to the far corner of the shed.
For those wanting to really go hog-wild with welding, a welding table might cost you a couple of thousand dollars, but it will allow you to knock out really high-end work.
These all-steel, adjustable rolling benches are normally only found in professional fab shops, but if you’re tackling a big build at home, you may find one a worthwhile investment.
If you have a stack of welding to do in a shared space, it would be a great idea to get a couple of welding screens to protect others in the shed from catching a glimpse of the forbidden glow.
Welding different metals can mean you may need different types of MIG wire and tips to suit them. Hobbyist-sized spools are cheap, can be bought at almost any hardware or auto parts retailer, and are quick to set up.
Which gas?
Welding gas shields the arc from contamination by oxygen, and is the key to a novice getting a quality, good-looking weld. TIGs run straight argon while MIG will typically use a mix of argon, carbon-dioxide and oxygen called Argoshield.
The different gases will require different regulators, which you attach directly to the outlet of the bottle.
Hobbyists used to have to pay a subscription fee to rent a bottle and then pay for their gas on top of that. However, there are now businesses that sell gas bottles that can be exchanged when empty, just like the swap-and-go barbecue gas you get at tool retailers and servos.
Most hobbyist welders will burn through their first bottle of gas pretty quickly as they build experience on the tools, so getting into the habit of turning the regulators and bottles off every time you flip your welding mask up is a good habit that will save you money.
Brazing
The oldest way to join metals together is brazing, and it is still widely used in plumbing or where two soft metals need to be fixed together. Brazing differs from welding in that it doesn’t melt the work pieces. This allows different metals to be joined together without the possibility of molten metals reacting like in welding. The downside is that brazing doesn’t offer the same level of strength as welding, which actually changes the molecular structure of the metal.
Thanks to MPW Performance for making their workshop available for this feature
Comments