Think about this for a second: Do you actually trust your car? Will it play the game when you’re trying to enjoy the fruits of your hard labour? Can you count on it to show you love when you’re 1000km from home?
First published in the March 2024 issue of Street Machine
If not, you’ll need to know how to fix your ride when it won’t play ball – particularly if you’re in the middle of nowhere when it happens. And we’re here to help! Here’s how to get your car back on the road when it overheats or won’t start, along with some tips to help prevent future issues.
Of course, there are myriad vehicles out there with a variety of different systems and specifications, so this is just a general overview aimed at more traditional street machine fodder. Google and workshop manuals are your friends if you’re after more model-specific info.
Start, Ya Bastard!

It’s time to hit your local cruise night, but after jumping in your pride and joy and hitting the key, there’s nothing. The starter isn’t cranking, there’s no joy rumbling from those pipes, and your pleasant evening of cruising is now in jeopardy. What to do?
The likely culprit, especially if the car’s been starting fine beforehand, is a flat battery. The first two questions to ask yourself is: How long has it been sitting, and what are the dash lights doing? If the dash lights don’t illuminate or dull off with the key in the cranking position, the engine is winding slow, or the starter motor is clicking like a machine gun, it’s a fair bet you’re lacking power. Time to check the battery.
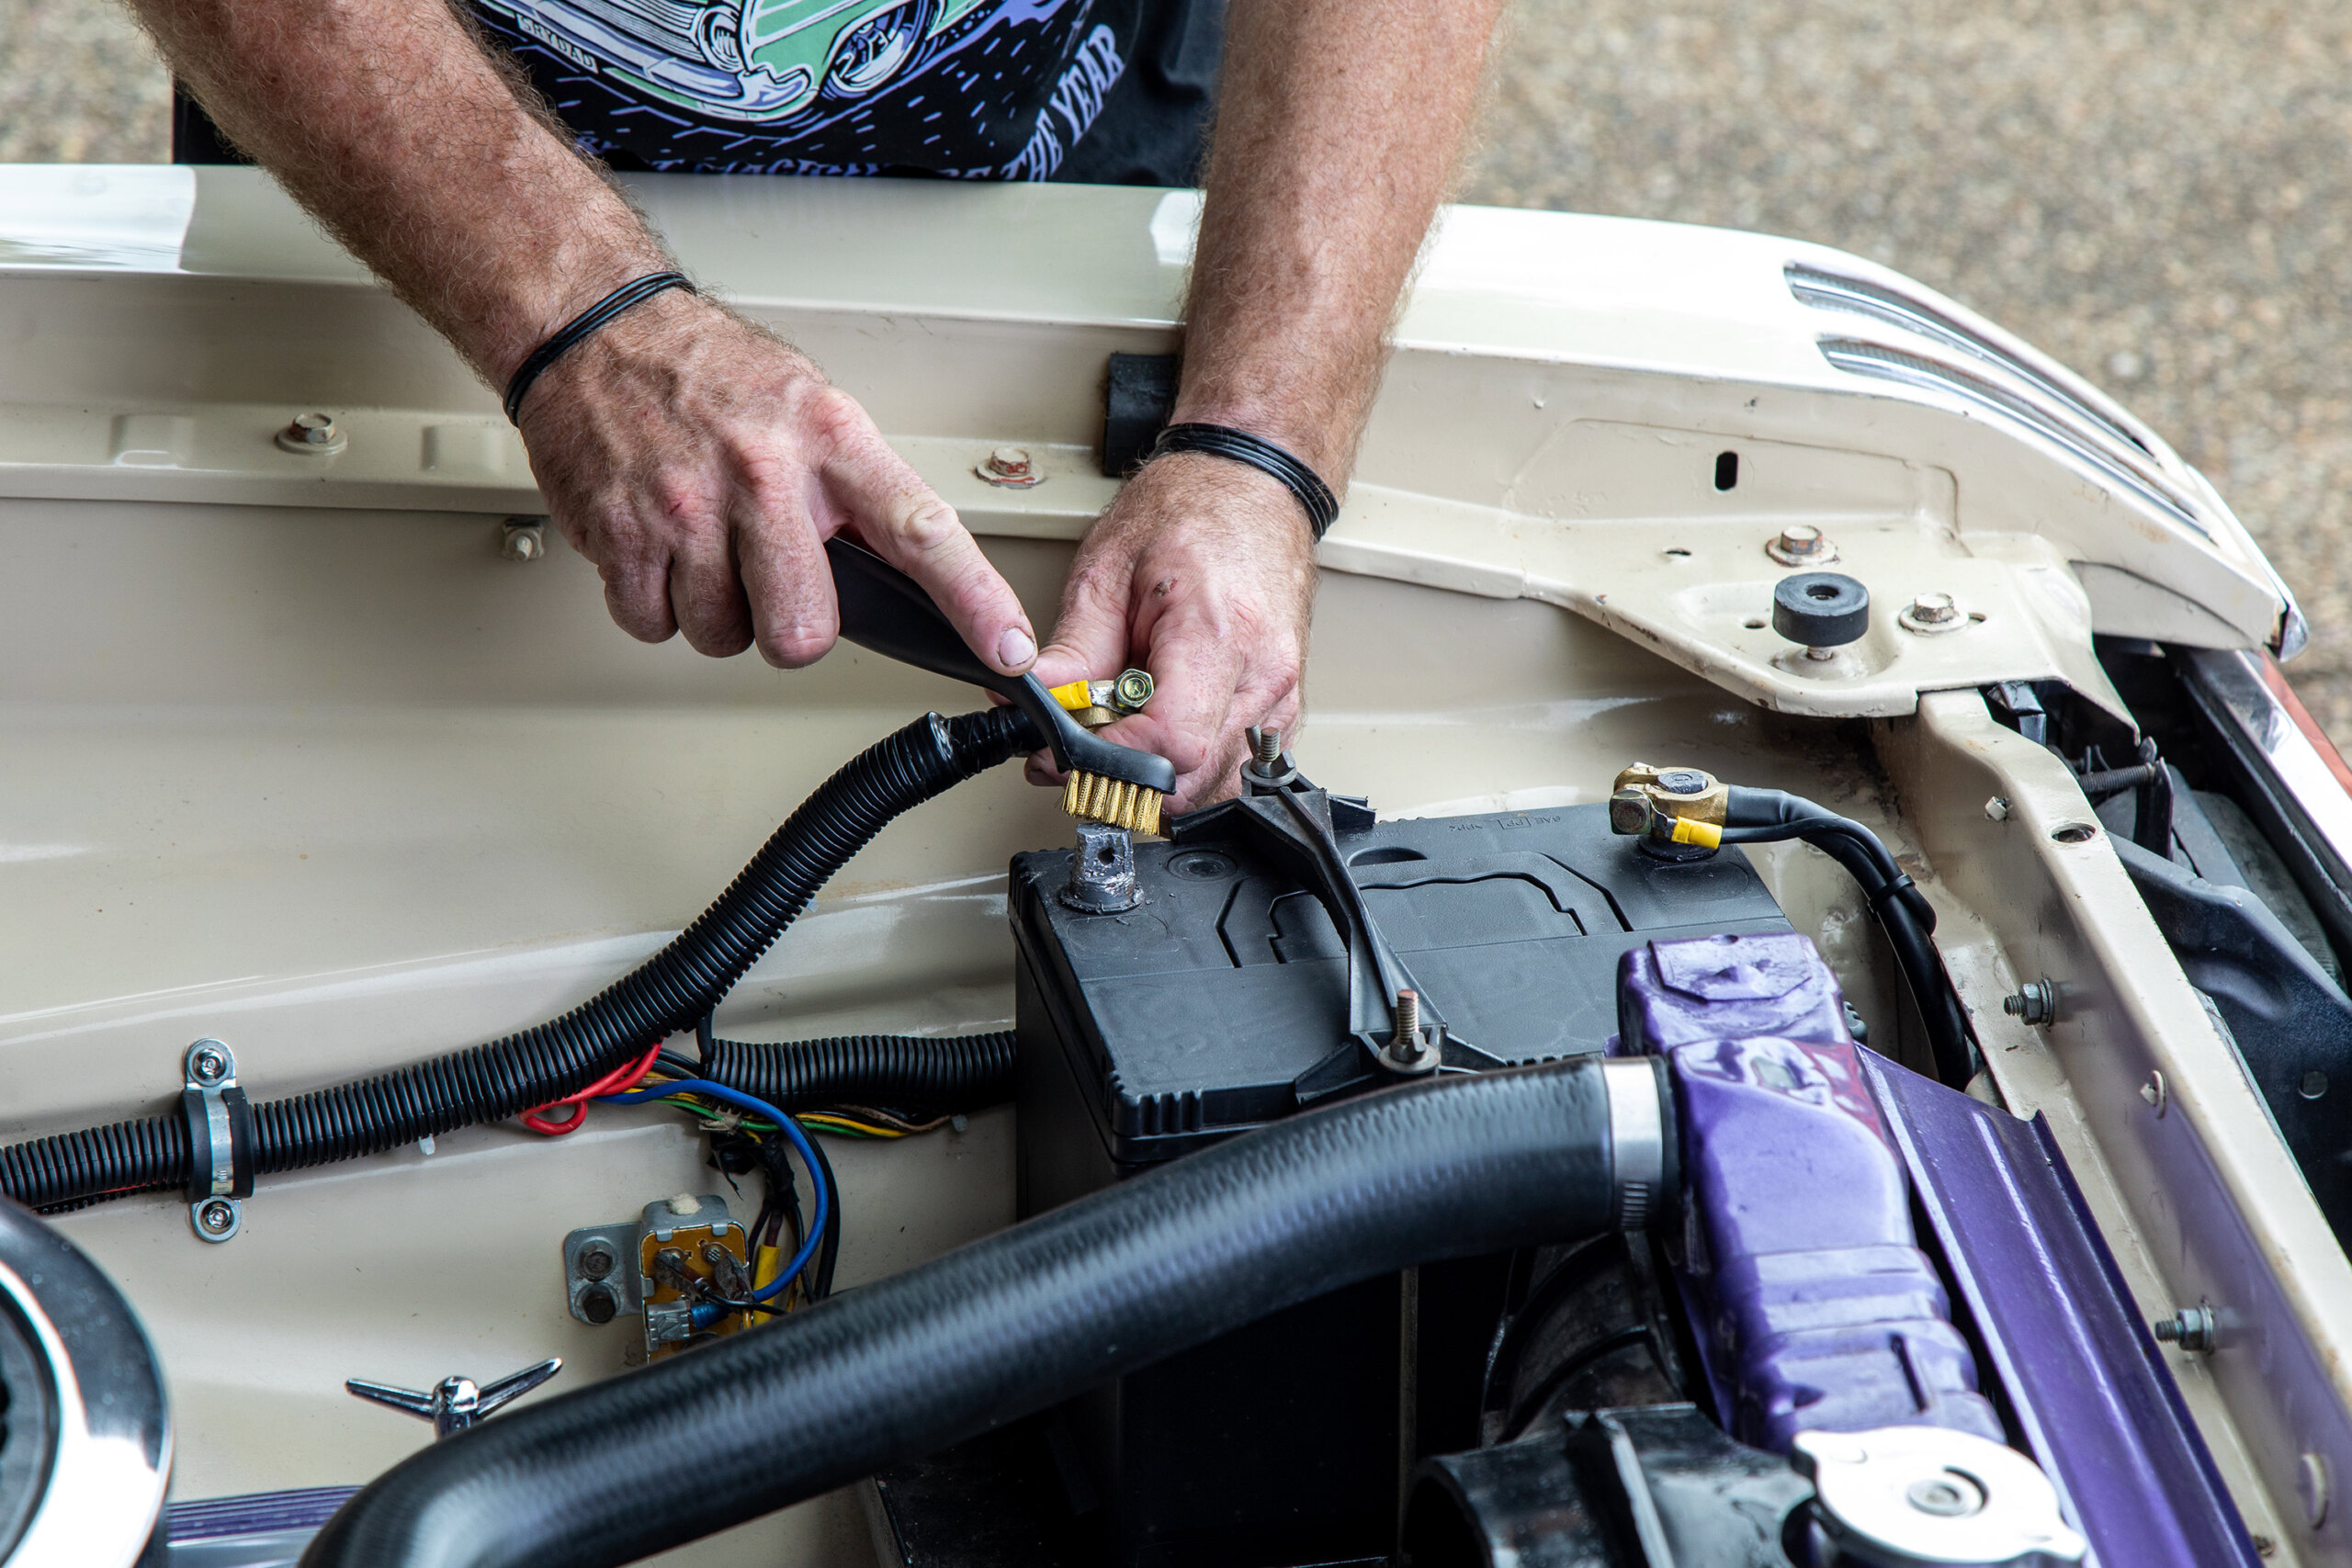
First, check that your battery cables are tight and not covered in crud. Removing the battery cables and cleaning the terminals with a wire brush and/or tightening them up may well solve your problem. Make sure you use the right-size spanner on those terminals. Check and clean both ends of the cables too – not just the battery ends.
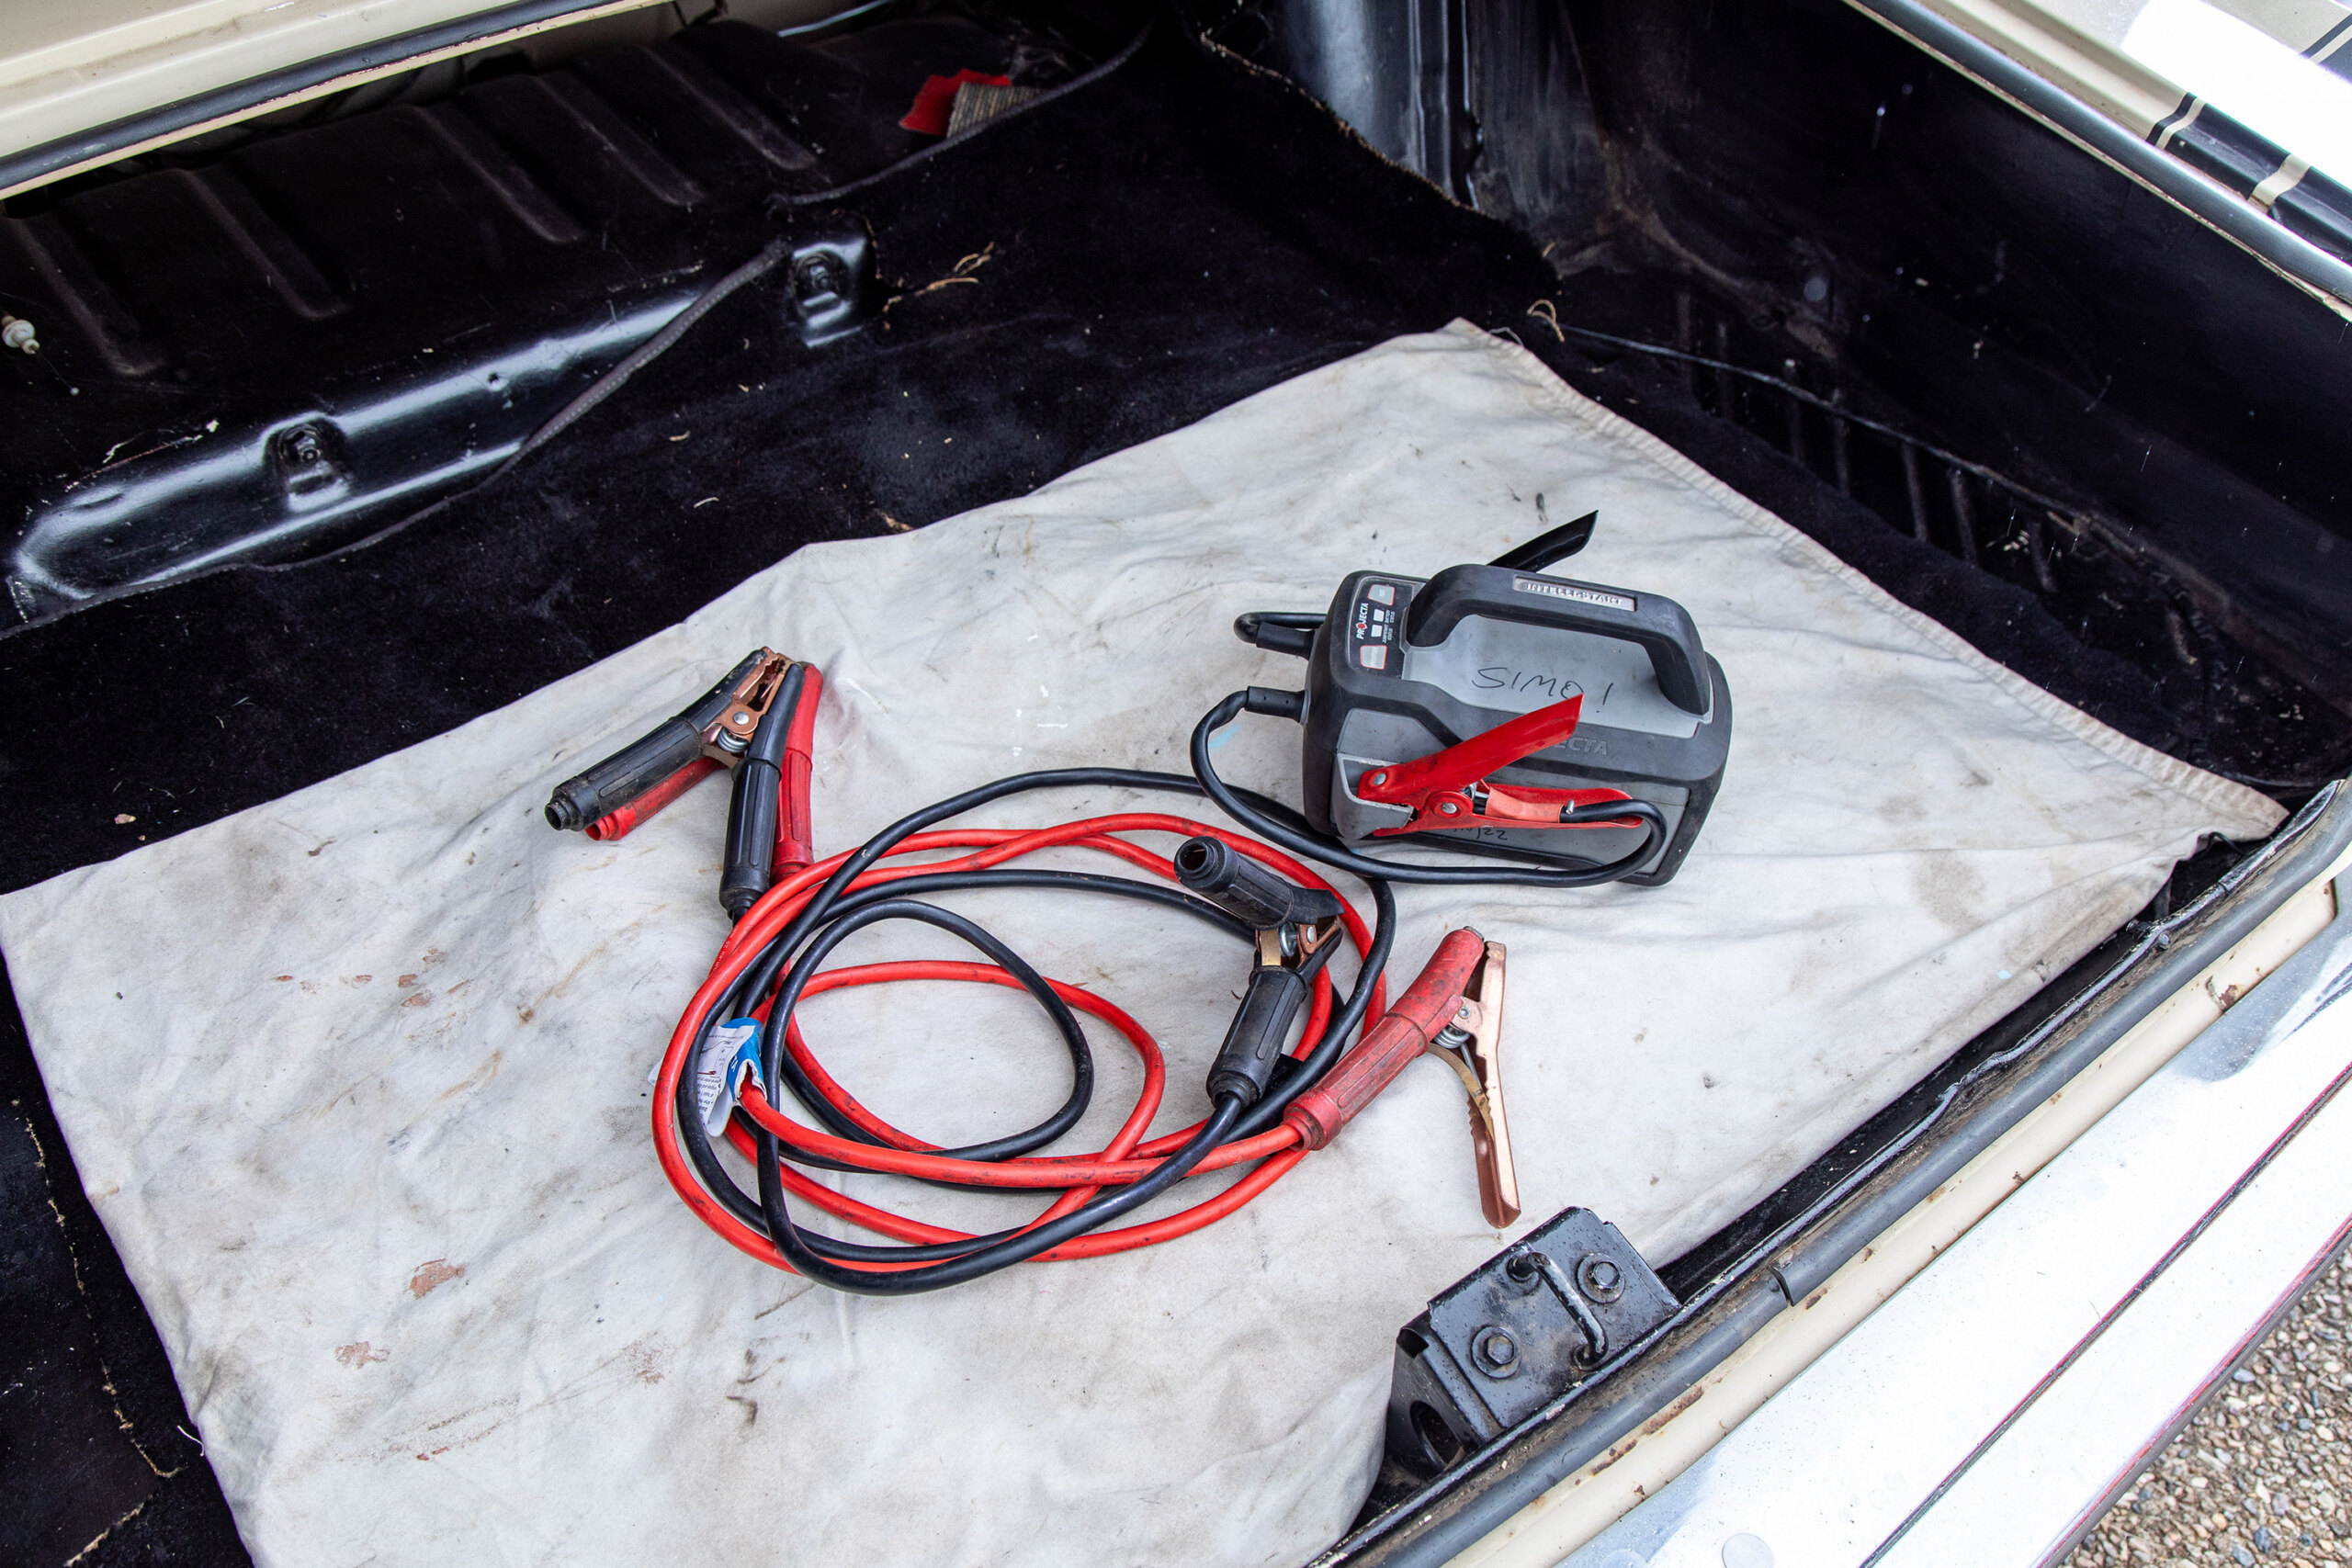
If there’s still no joy, see if a jump start will sort it. Having a good-quality set of jumper leads in the boot can be a godsend, not just for you but for others who might need a hand. If you have some bucks to spare and a few rides in your stable, then invest in a proper jump pack that you keep on charge whenever it’s not in use. A decent one is reasonably affordable these days and worth its weight in gold if your engine carks it at a set of traffic lights and your battery isn’t up to helping you – ask me how I know!
Those with a three-pedalled ride can always try a clutch start, but make sure you have the room to hit a reasonable pace, and ensure that the ignition key is in the ‘on’ position.
If a jump start fires it back into life, then your ride is telling you that the starter motor and general ignition side of things are happy. So, time to focus on the battery. With the engine still running, perform a basic voltage test across the terminals with a multimeter. You want to see around 13.5-14.5 volts from your alternator; any more, or especially any less, and you’re likely facing a new alternator or regulator purchase.
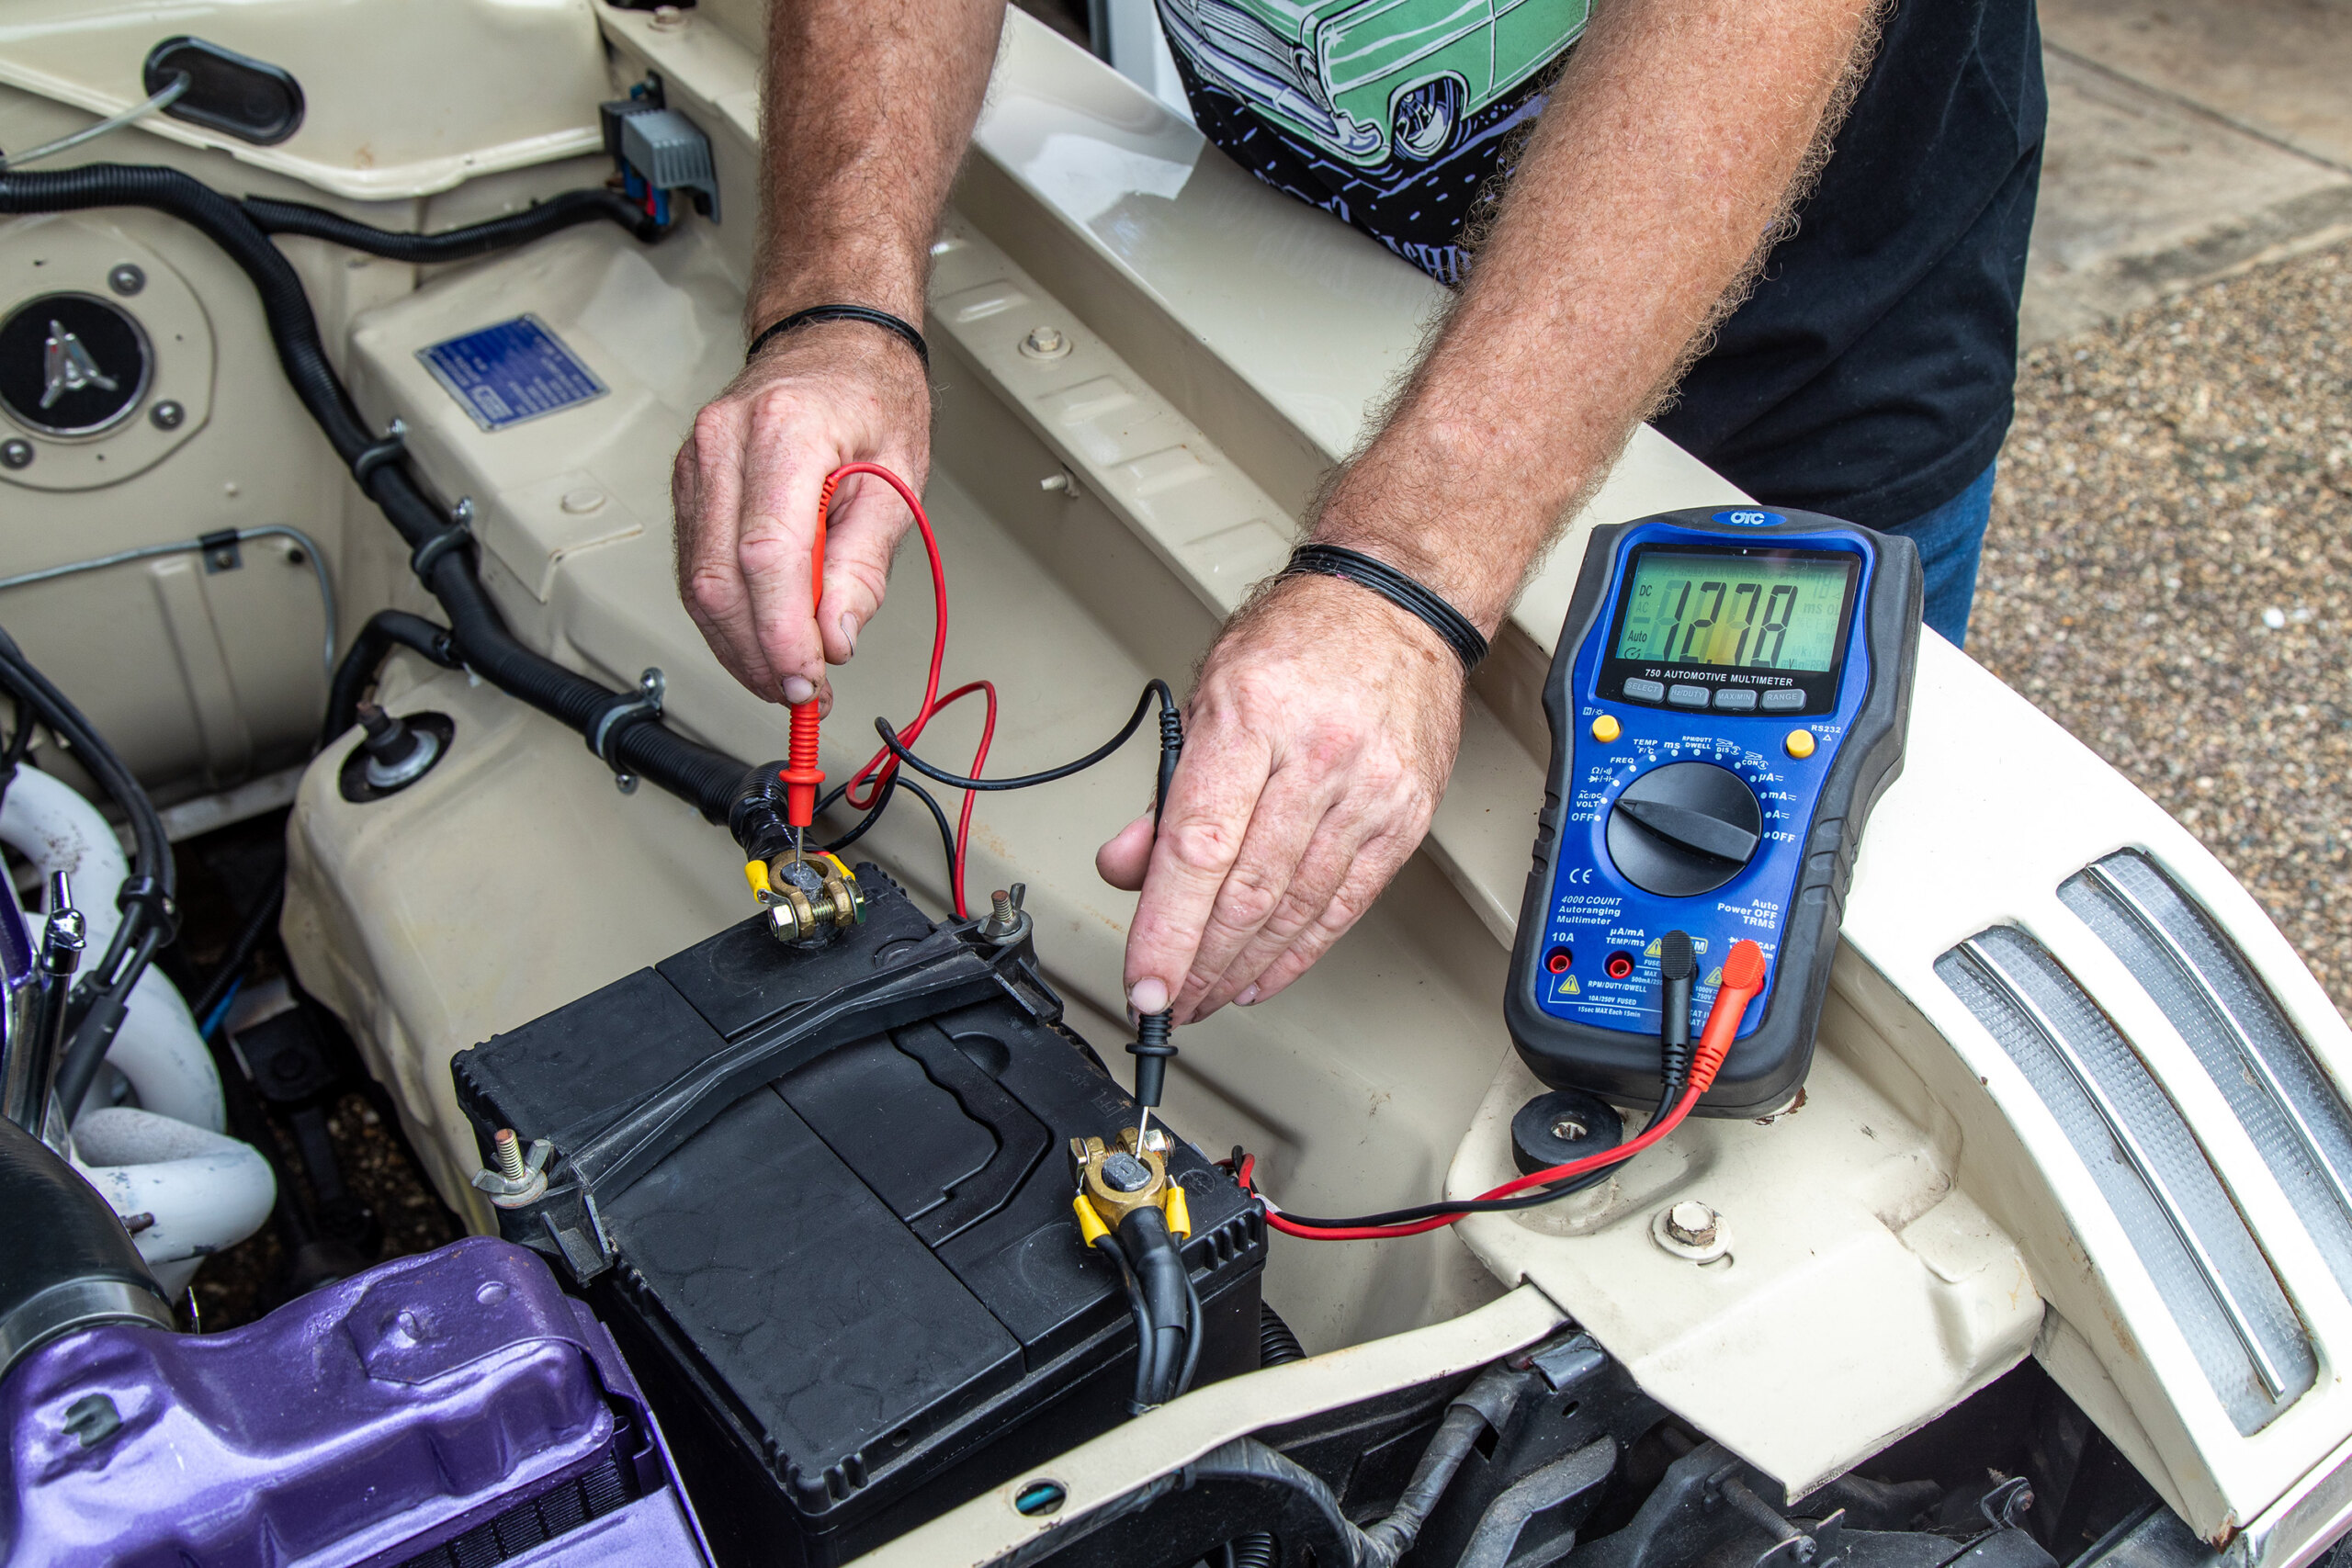
If the voltage charge rate reading is low, double-check with the multimeter between the positive terminal at the rear of the alternator and the battery earth terminal, again with the engine running. These readings should be near-identical, so any significant variation may mean you’re dealing with some crook wiring between the pair.
It also pays to load the system when testing for a more accurate voltage result, so pop the headlights on and run the air conditioning if installed.
If the alternator is healthy, then a decent drive may be just what the doctor ordered to help recharge your battery. However, it pays to check your battery too, so with the engine switched off and the aforementioned multimeter at hand, check the voltage across the battery terminals; you want to see at least 12.6 volts for a fully charged 12-volt battery. Check it after a drive, and then again once it’s had a chance to settle overnight, just to make sure the first start wasn’t due to a short-lived surface charge.
If the battery voltage is reading low, connect it to your battery charger overnight (or borrow your mate’s if you don’t have one) before re-checking the charge prior to hitting the key. Again, be wary of the false hope of what could be a short-term surface charge. Keep the jump pack or jumper leads handy if you venture very far from home and need to turn the engine off, as it might not turn back on.
Time and repeated use will soon confirm whether or not your battery just needed a bit of loving, but if it continues to cause you grief, swap it out with a suitable replacement of the correct size and cold cranking amps (CCA).
If you don’t feel confident testing or fiddling with the above, your local mechanic or auto electrician will have the tools and knowledge to help get you sorted. Their access to decent meters, battery load testers and a brain full of previous diagnoses – both normal and abnormal – will make light work of the simpler issues. However, you can help them by considering the following.
Take note of when your battery and alternator was last replaced; if your memory is crap like mine, note it on the item with a felt pen, or in a notebook in your glovebox.
Disconnect your battery in between drives, especially if those days stretch into weeks. It is a sensible safety idea but also assists if there is something random in your vehicle that’s drawing power and creating a drain issue. If disconnecting isn’t your thing, you may want to look at investing in a battery trickle charger to bridge the dormant gap.
Preventative maintenance is your friend. If it feels like your engine is winding slower than normal, your battery is likely on its way out, and it’s best to sort it before you end up stranded. If you’re not sure of how it used to sound, throw on a jump pack – the memory will soon come flooding back. It’s worth noting that a faulty starter motor and its resultant slow winding can also mimic a tired battery.
If the motor doesn’t wind but you have bright dash lights that stay strong when the key is switched to crank, it could indicate a faulty ignition switch, starter relay, neutral start or clutch pedal switch, wiring, or even an immobiliser issue (where fitted). Pay attention to how it is behaving so you can point any willing helpers in the right direction.
Cool Runnings
There’s nothing worse than the sinking feeling you get when you’re stuck in a traffic snarl and watching your trusty steed’s temperature gauge steadily creeping north. But before you panic, there’s a few things to think about. Have there been any prior hints of this, or is it a new thing? Is the engine starting to run rough in conjunction with the temp rising? Can you see signs of steam, water or smoke?
The first step is to pull over somewhere safe as soon as practicable – don’t wait until the engine temp is totally off the dial. Then, carefully pop the bonnet, but open it only once you’re sure you’re not going to cop a spray from steaming hot coolant.
Start with a visual check up top and underneath. Is the radiator overflow level low, or too high? Is there obvious coolant leakage, or bubbles anywhere? Are all of the hoses connected? Is the fan/water pump belt present? Are the electric fans working when the ignition is switched on? Are the engine and radiator even hot?

If the answer to any of these is ‘yes’, let the engine and its surrounds cool to a workable temperature before carrying out any repairs.
If you notice coolant leaking out of places it normally shouldn’t – for example, the radiator core, water pump or between the block and cylinder head – you’re in a bit of strife, as water in the oil or vice versa is never a good thing.
I have successfully got myself out of some deep blown-head-gasket shite in the past using cooling system stop-leak products – copper-mix fluid, sealing powders and even good ol’ household pepper are great to add to your spare parts pack. It also doesn’t hurt to keep the radiator cap cracked back to the safety lock, just to reduce the system pressure and give any additives the best chance to work.
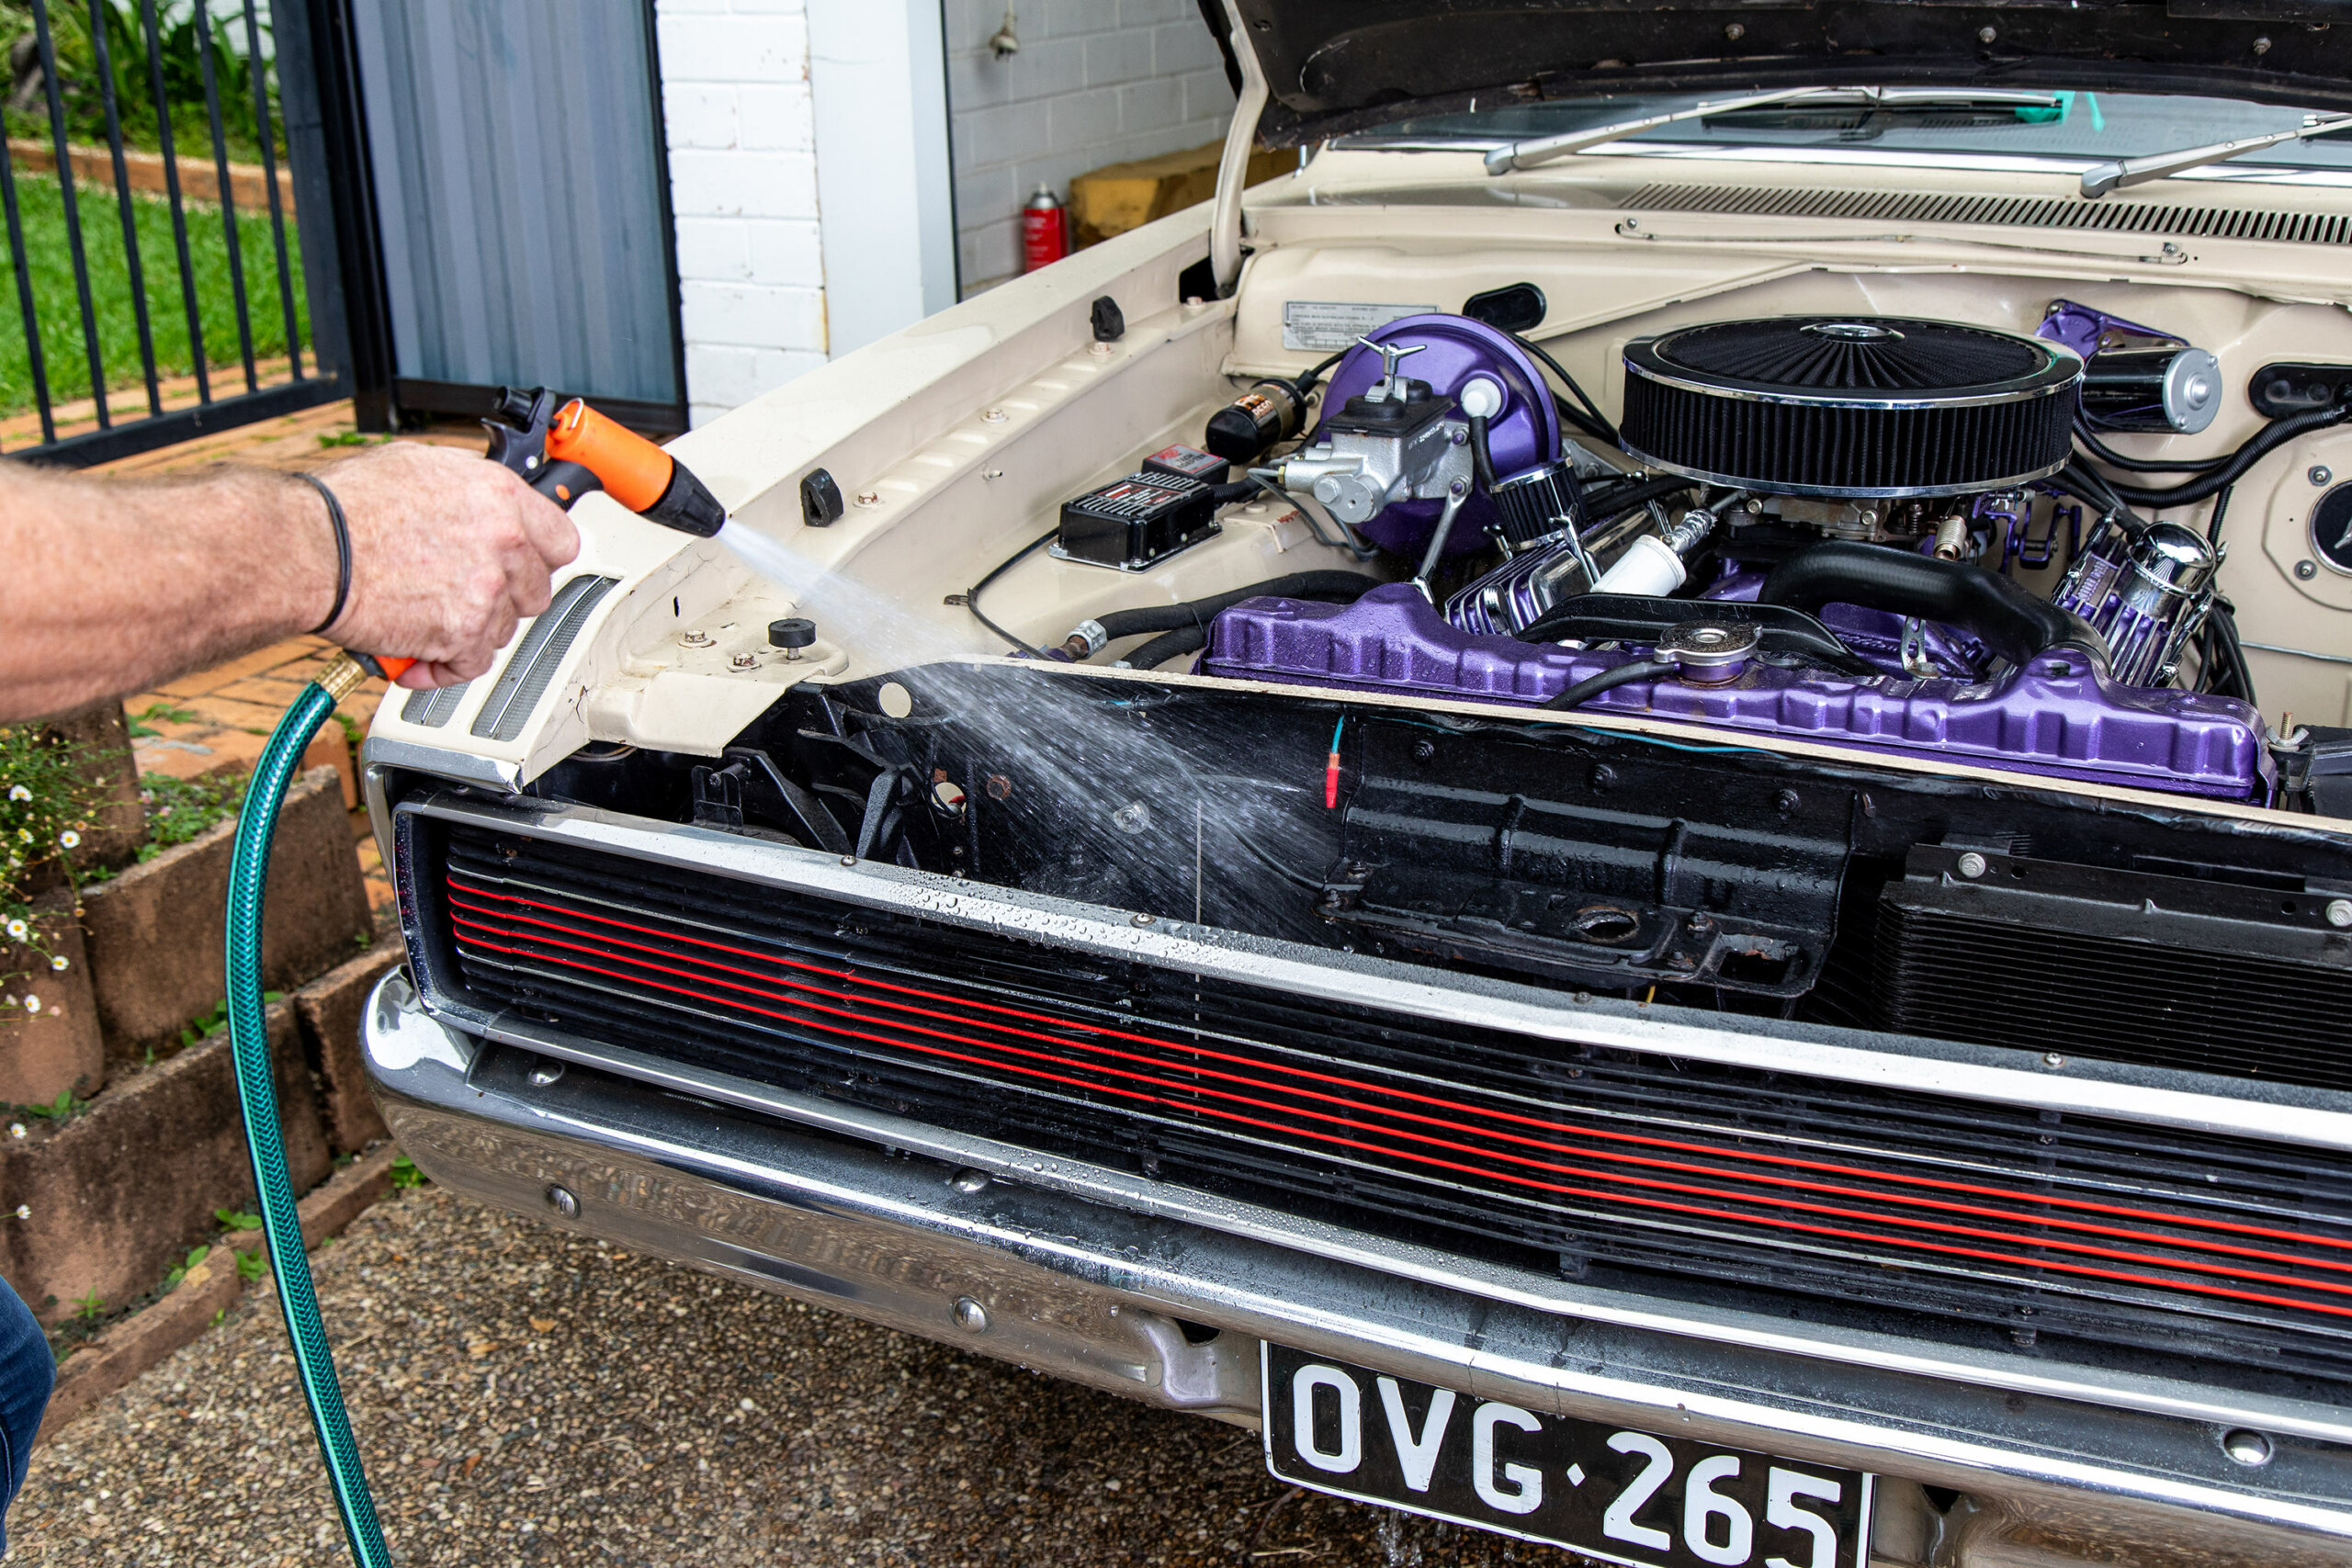
If everything looks visually intact, wet down the radiator with a hose or watering can, if available. If you can externally reduce the temperature to a manageable level, you may just be able to nurse the car home – or at least just that little bit closer. That said, never drive an overheating car home – you might regret it! A tow will nearly always be cheaper than repairing a damaged engine.

If your donk is otherwise mechanically sound but overheats at highway speeds when the outside air is being forced through the radiator, it’s likely that the latter is blocked or doesn’t have enough capacity to cool the engine.
Conversely, if it’s okay on the open road but overheats around town at idle or slow speeds, the fan is likely not up to the task of moving enough fresh air through the radiator. Let the engine cool, check the coolant level, and if that looks fine, hit the road again at a time when you’re not likely to encounter much traffic to slow you down.
Have you changed anything recently on a seemingly unrelated mechanical system? This could also be impacting your engine’s running temperature. Changes to timing, boost, air/fuel mixture or compression can all affect your engine’s cooling characteristics, so if your temps start climbing immediately after an upgrade, one of these may be the problem.
When it’s time to select or replace a cooling system for your ride, there are many tried and tested radiator and fan packages available, and the influx of aluminium radiators in recent years can be a more affordable option if you don’t require the visual originality of a copper unit. Either way, messing with radiators is a specialist trade, as is flushing of the same – having a copper radiator properly rodded out with its tanks off will always trump whatever you think is possible with the garden hose. That said, it’s also important that your other cooling components aren’t overlooked.
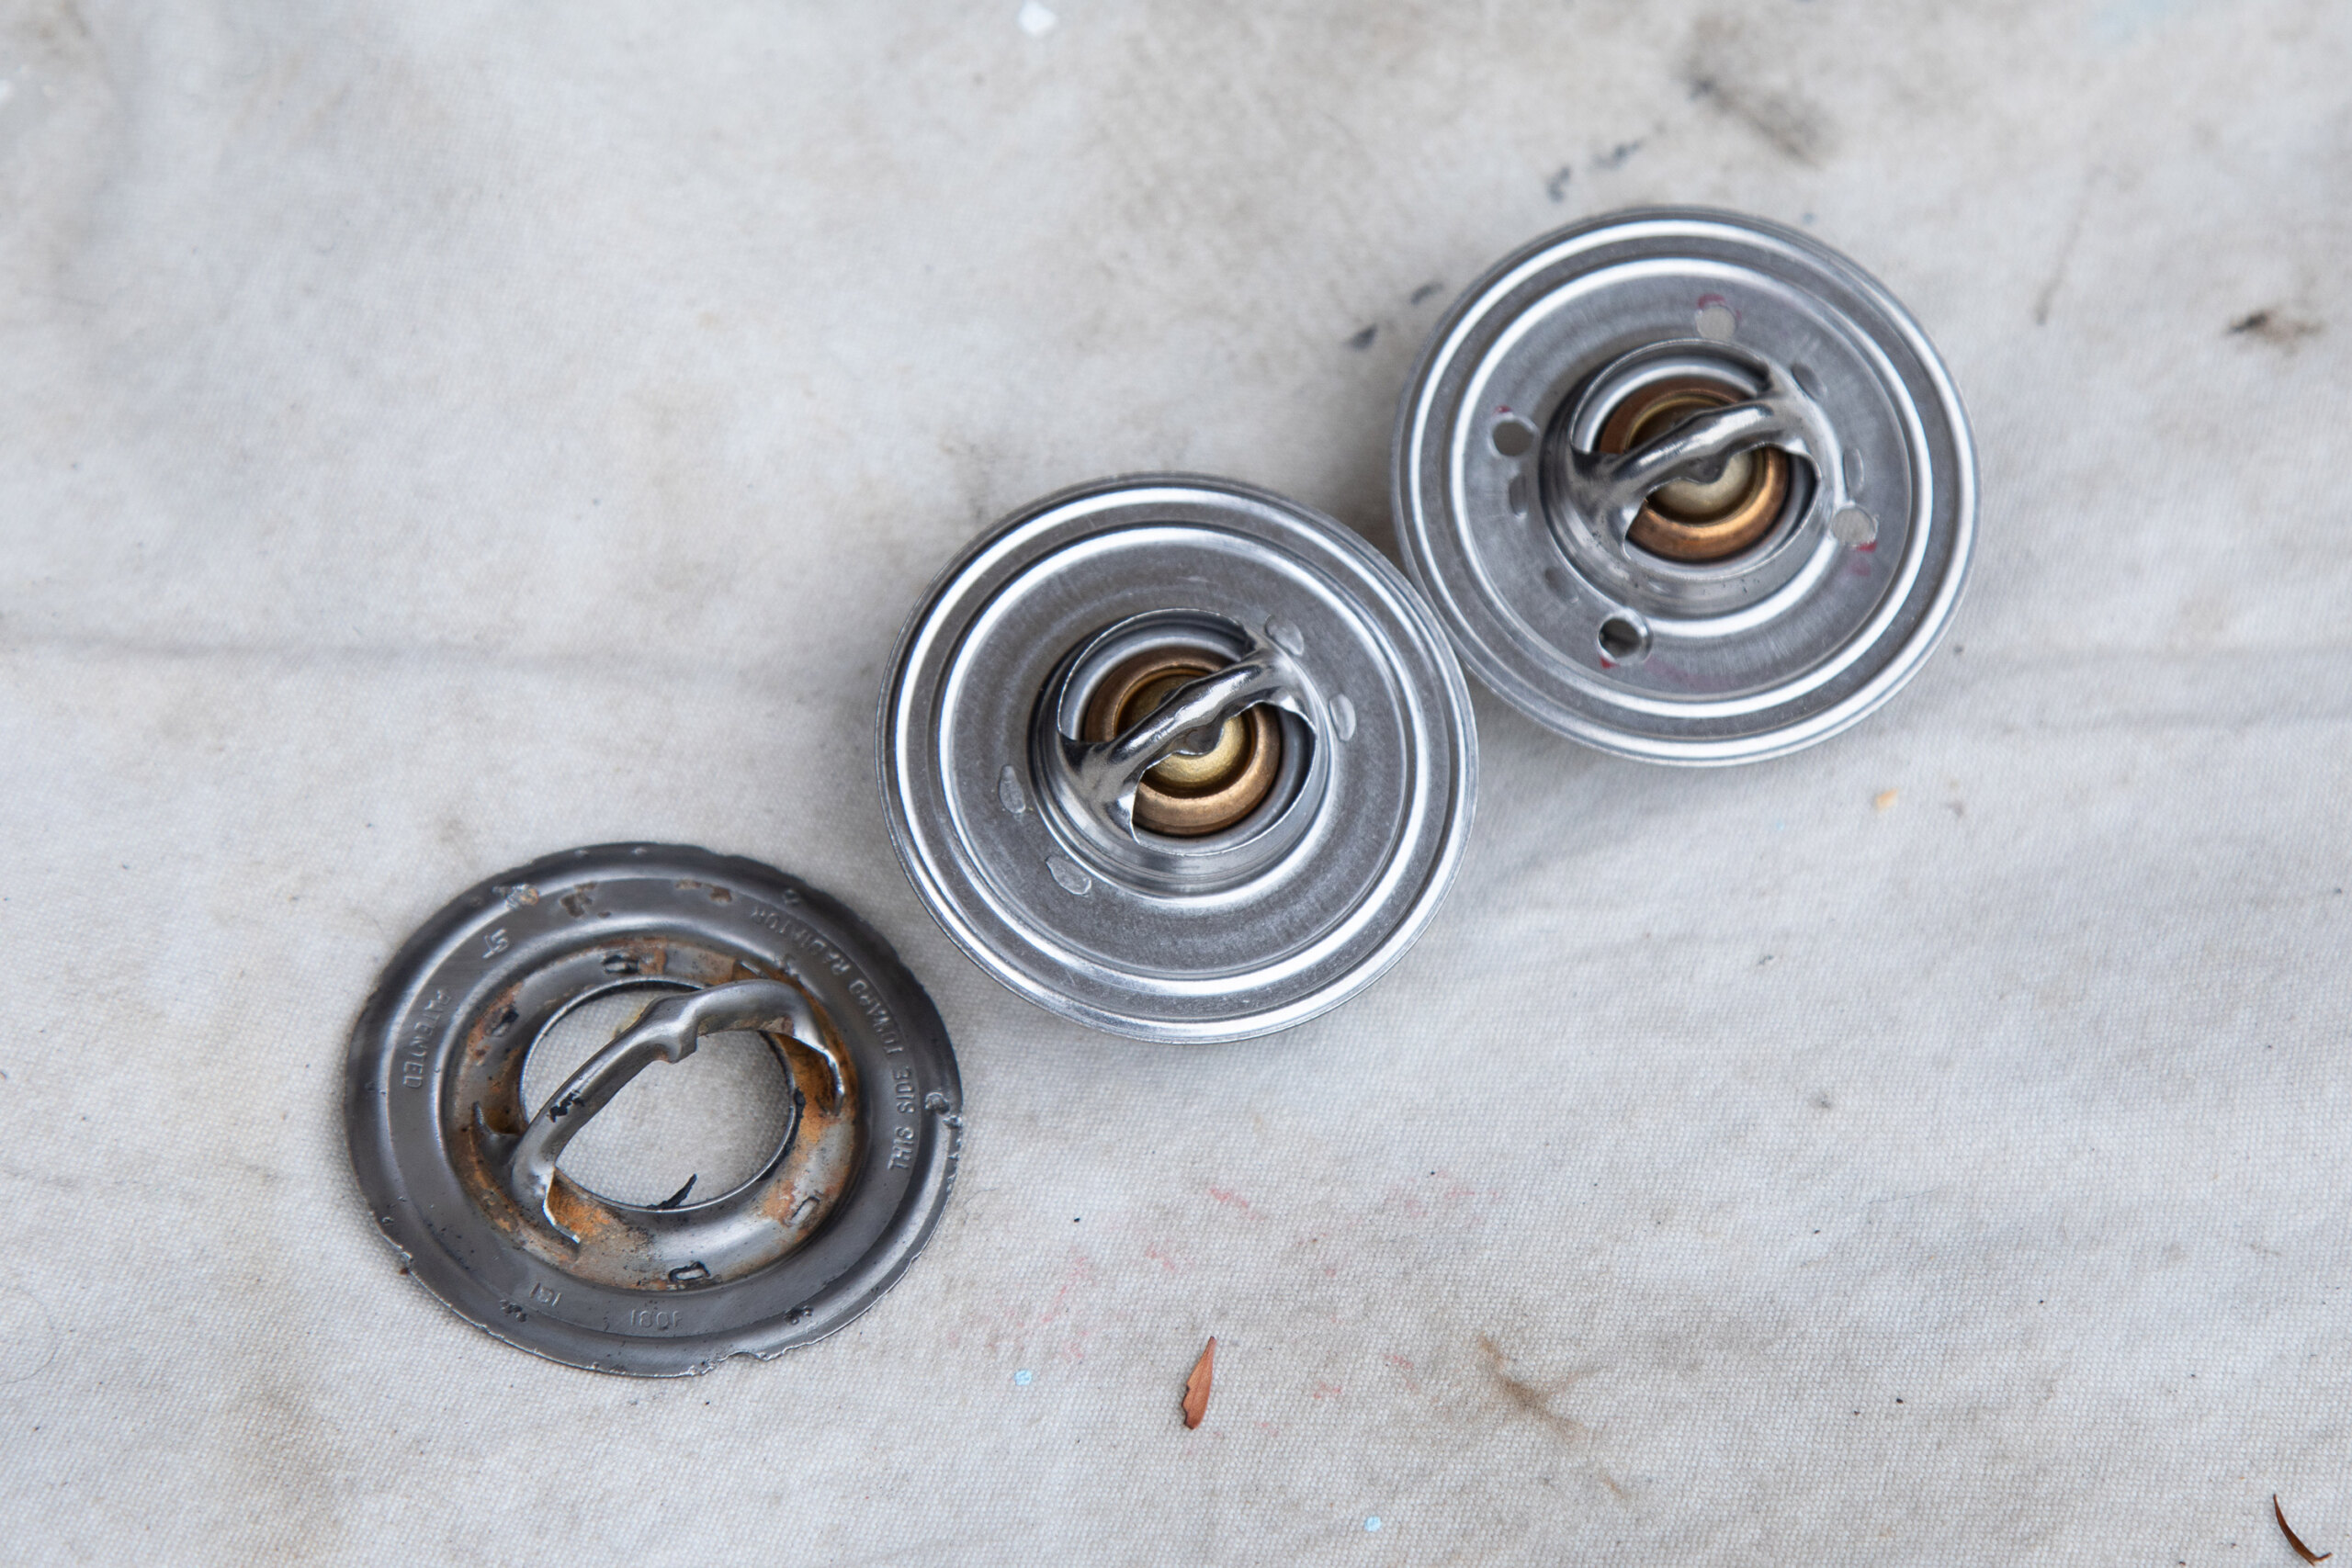
A thermostat is a must. Removing a thermostat will often result in coolant passing too quickly through the radiator and not having a proper opportunity to cool, and while removing the centre or ‘guts’ of a thermostat to create a restrictor might seem like it will improve the efficiency of a cooling system, it nearly always just delays the root issue from taking effect.
I’ve tried many of the brand-name ‘high-flow’ thermostats and nearly always found them to be faulty; they either soon jam open or stay jammed shut. Choose a standard-style, quality-brand thermostat with a lower opening temperature (for example, 71 degrees rather than 82 degrees) and drill four 1/8-inch holes around its perimeter to assist with flow.
Make sure your water pump is in a serviceable condition, and ensure that your engine block, cylinder head and heater core (if applicable) are flushed of any built-up scale or muck. An inline mesh filter or radiator sock will help prevent this, even just temporarily, especially if installing a fresh rad.
Finally, don’t forget the basics! Is your temperature gauge even accurate? If you’re a little suss on its operation, grab yourself a temperature gun and check the cooling parts of the engine at a few spots.
Help Yourself!

Regardless of which vehicle system ends up causing a breakdown, you can give yourself the best chance of sorting it by packing a basic kit of spare parts to complement your tool kit.
I have one of those storage bags in mine that contains hoses and clamps; those little heater port blank-off doodads; some Silastic to help tide gaskets over; gloves to handle any hot bits; a fan relay or some wire to bridge terminals or supply direct power; drive belts; an ignition module and coil, along with a distributor cap and rotor; a large-ish water container; and even a pre-tested starter motor.


Even if you’re not confident to fit them yourself, having spares at hand will make life easier for a breakdown service or a mechanically minded mate helping you out, as it’s extremely unlikely that they will have your specific-model top radiator hose rolling around in the back of their ute.
Comments