Deleting badges and decorative trim is the first step towards giving your ride that clean, smooth look — but removing them usually leaves holes behind. Don’t fill them with plastic filler as it shrinks, at best leaving a telltale sign, at worst falling out. The holes will need to be lead-filled or welded — we decided to weld these ones.
First published in the August 2004 issue of Street Machine
Drill or file the holes out a bit bigger to ensure they’re clean and free of rust and paint. Remove the surrounding paint with a grinder in a large enough area for body filler to be applied later on — a 36-grit sanding disc is ideal for paint removal as well as dressing down the welds.

You’re now ready to start welding. Beginners should practise their technique by welding up a few holes in some scrap. For holes larger than 6mm (1/4-inch) hold a piece of copper bar or plate on the inside of the hole (a two-cent piece works well). The weld doesn’t take to the copper, allowing removal once the job is finished. Using the copper assists greatly in soaking up heat as well as stopping you from blowing holes clean through the panel. Since the copper acts as a heat soak, the bigger the better.
Armed with compressed air and a hand-held air-blower, weld the hole using a series of short bursts with the MIG. As soon as you’ve finished welding, quickly quench the area with compressed air to shrink the metal back into shape. Don’t let the heat travel any further than necessary otherwise you’ll get drastic warp in the panel. Application of a damp rag is another effective method of quenching the weld. However, this work-hardens the steel, making any further panel-beating a little bit tougher.

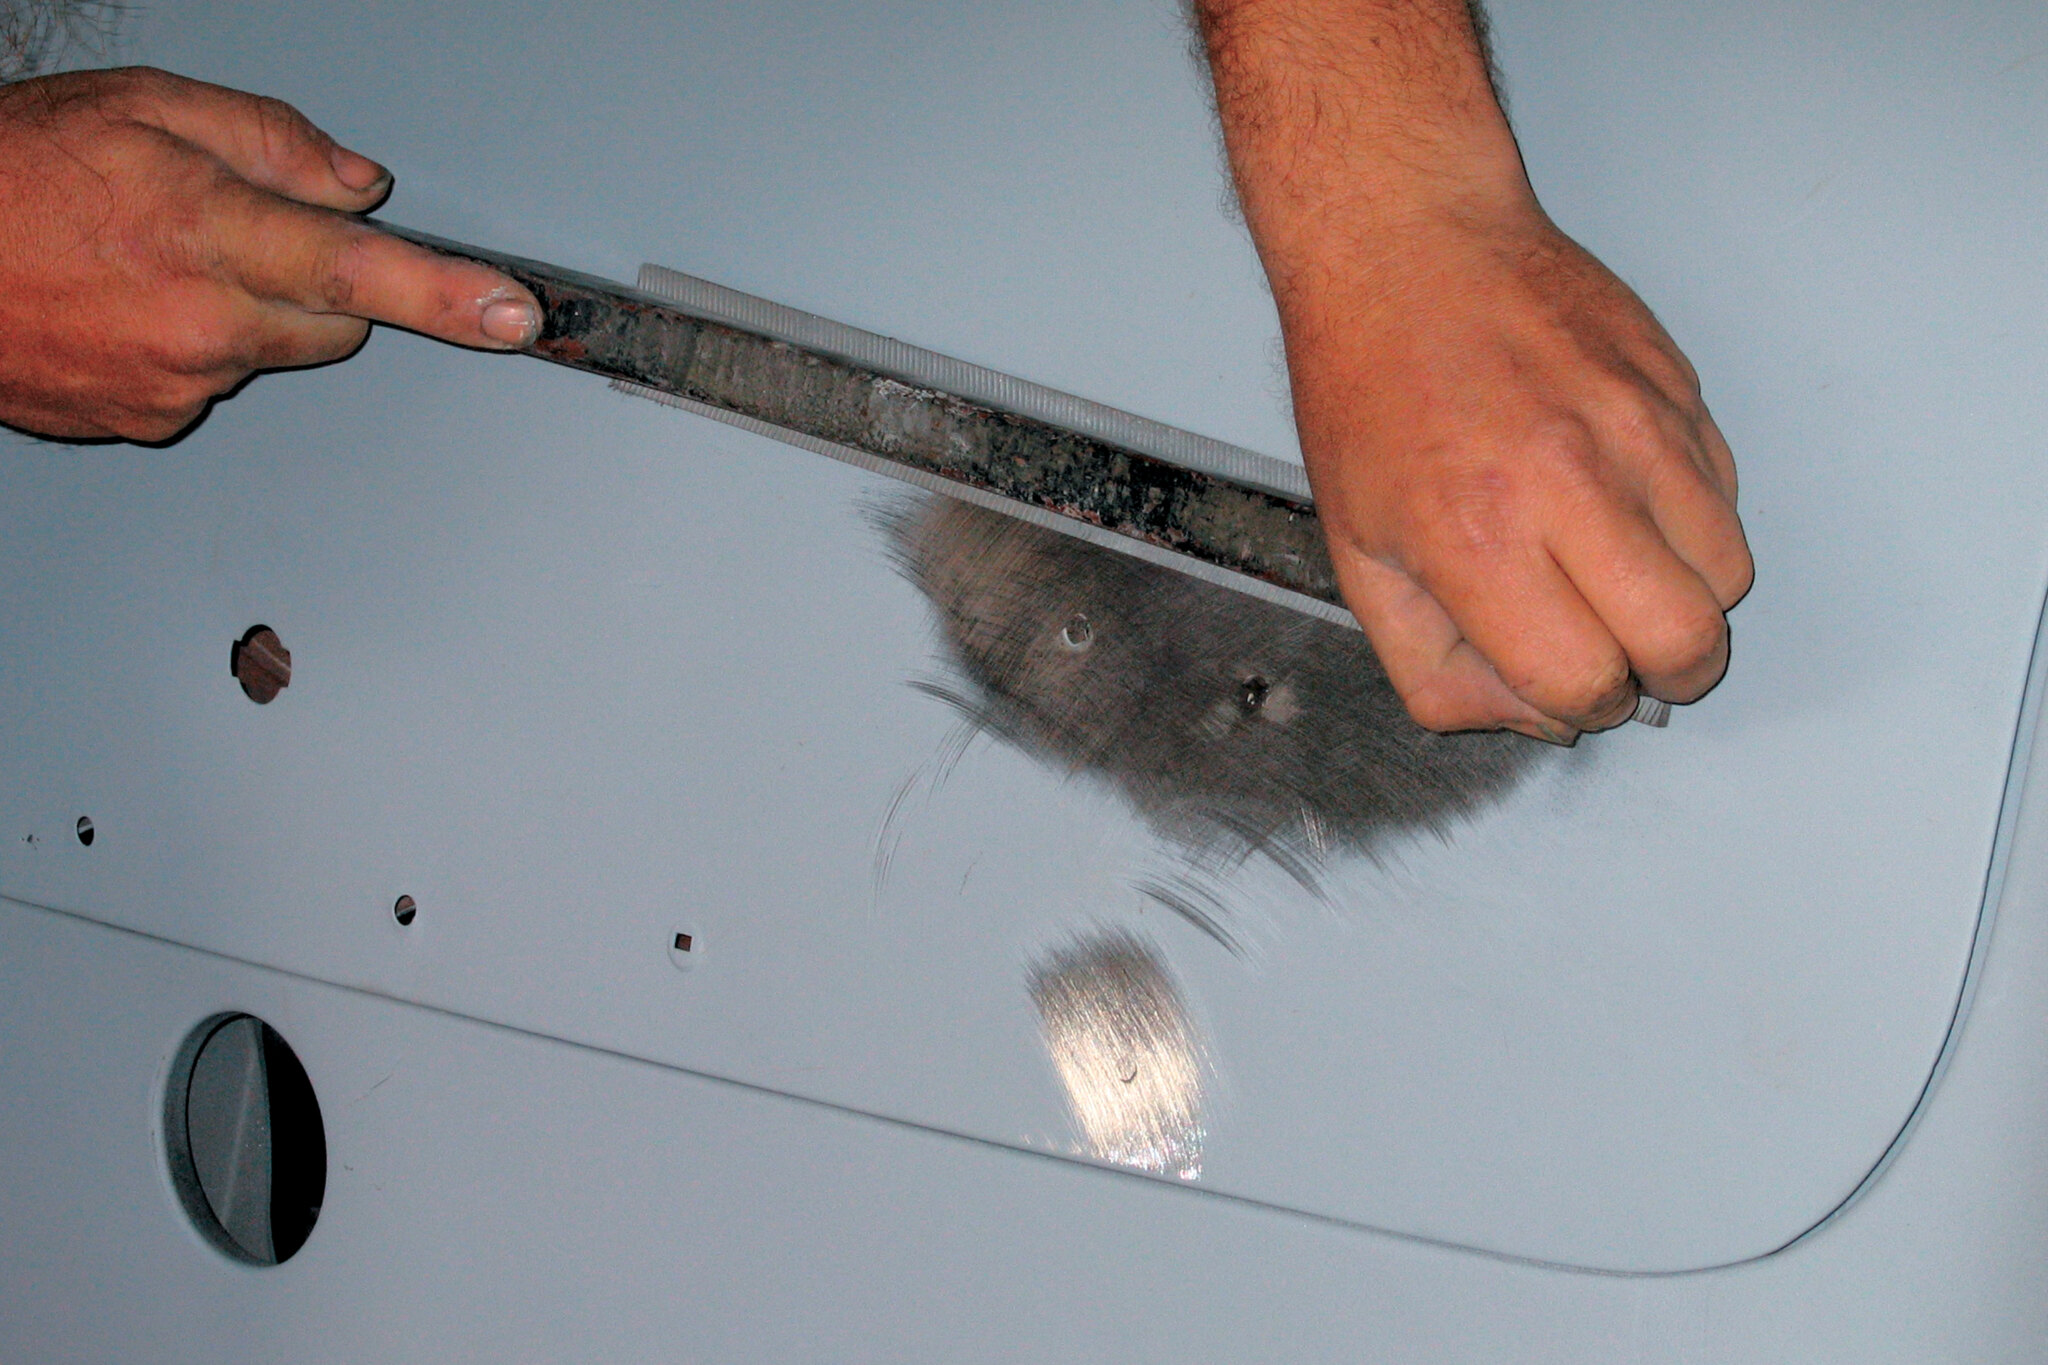
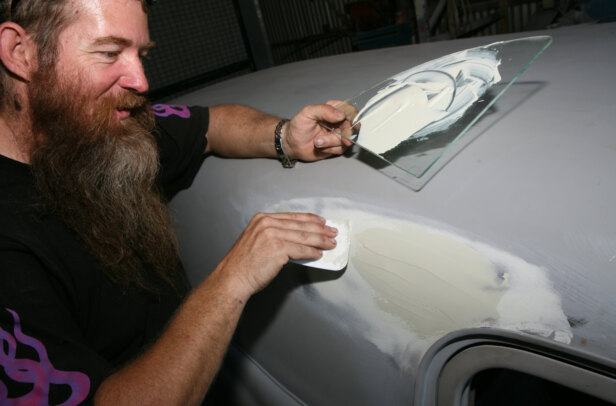
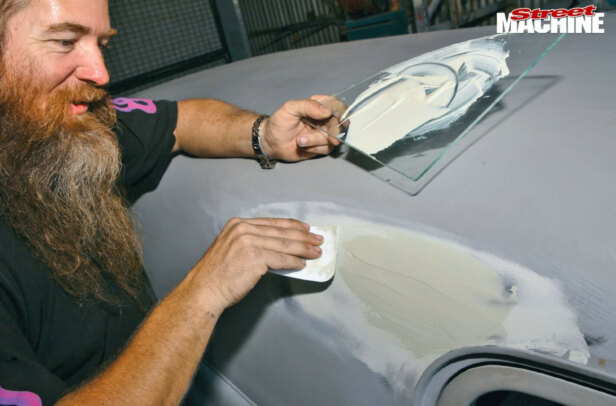
Continually quench the panel while grinding down the weld to inhibit heat build-up and warping. One trick is to place your forearm against the panel — if you can stand the heat then you’re safe. Welding and grinding can make the area either high or low. Check with a straight edge BEFORE applying body filler to determine if the panel needs to be bumped up or down slightly. Add longevity to any welded-in patch or hole by applying a thin skim of fibreglass filler that will ensure any pinholes are sealed up. Regular plastic body filler (bog) is hydroscopic — it will draw moisture through any of these small holes and undo your hard work over time.
The fibreglass bog is not intended to finish the repair and a small amount of bogging will be required. Sanding back with 80-grit on a speed file is the preferred method to smooth the area. Make sure all your bog edges are feathered generously and properly. To remove the 80 scratches, lightly go over the area with 180-grit. To finish our job, the area was sealed with PPG DP40. This is an epoxy primer that allows the project to sit around while other areas are being repaired. Most regular primers are porous — if you’re using a regular primer, it’s not recommended you leave repairs in this state too long as rust can set in.

Here’s some of the equipment you’ll need to tackle this job (shown above):
A, drill; B, MIG welder; C, 36-grit sander; D, sanding block; E, panel file; F, panel beating hammer; G, speed file; H, air blower with compressed air.
Step-by-step:

- 1. Clean the holes out, tap them up flush with surface (a body file will pin-point any high or low spots), sand back the surrounding area. When welding the holes, immediately cool the area with compressed air after each weld. Same again when dressing down the welds.

2. Welding and dressing the welds with the 36-grit sander distorts the panel. A quick run over with the body file will determine if there are any excessively low or high spots that need to be addressed before filler is applied.

3. After checking the panel for straightness, the welds are first given a thin skim of fibreglass bog. This seals the area preventing rust forming underneath the bog.

4. Knock the top off the fibreglass bog and apply a layer of regular plastic body filler (bog). Use 80-grit on a speed file to sand down the area and nicely feather out the edges. Give it another going over with 180 before applying PPG DP40 epoxy primer.
Comments