If your streeter’s appetite for fuel has gone up, check the tank isn’t quietly weeping
MANY things enhance the pleasure of cruising a classic streeter. The smell of leaking fuel is not one of them. Likely causes include perished hoses, loose fittings, failed gaskets or a leaky fuel tank. The owner of this 1958 Cadillac was confronted with the aforementioned aroma and a quick inspection under the bum of his Fleetwood revealed wetness and stains around the underhung fuel tank.
Replacement or repair are the two main options. There are reproduction tanks for a huge range of vehicles and they’re generally affordable. This is the preferred option, especially if your existing tank is in poor condition. Unfortunately, while there are plenty of options for the ’59 model there’s no repro tank for a ’58 Caddy. A search for a good original tank proved fruitless too.
As well as resurrecting sick radiators, Jeff Fripp from Affordable Radiators (02 9899 5041) also specialises in repairing and restoring fuel tanks. After the owner described the symptoms over the phone, Jeff felt the tank could be repaired — happily, he was right!
FUEL TANK REPAIRABILITY
Given enough time and money, anything is repairable.
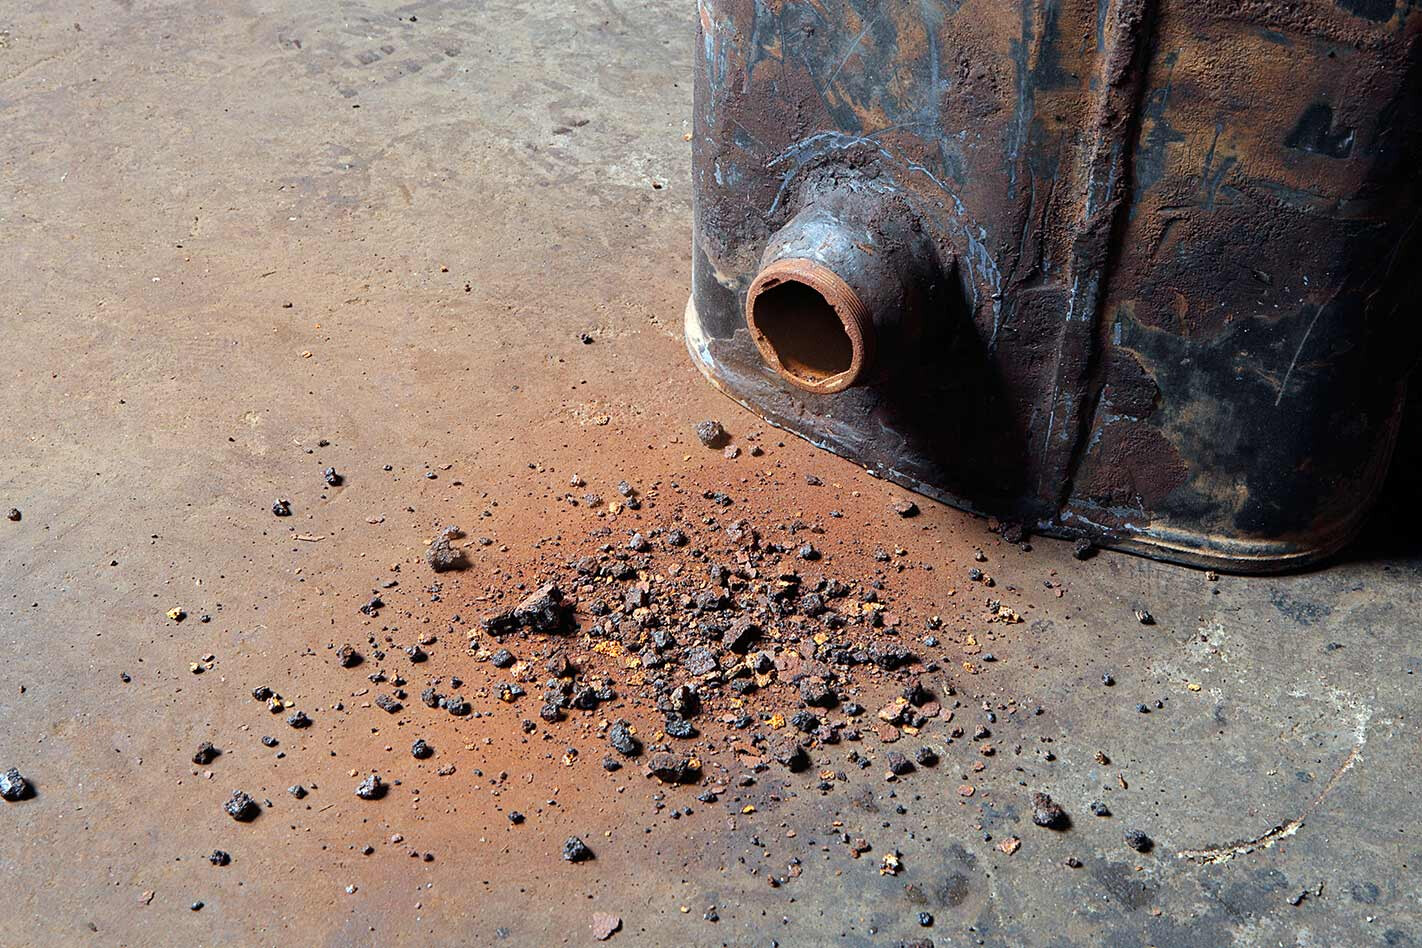 However, if crud like this (above) comes out of your tank, you realistically need to find another one. In extreme circumstances a tank can be cut in half, internally restored and/or panel-beaten, then soldered back together but that’s a big job.
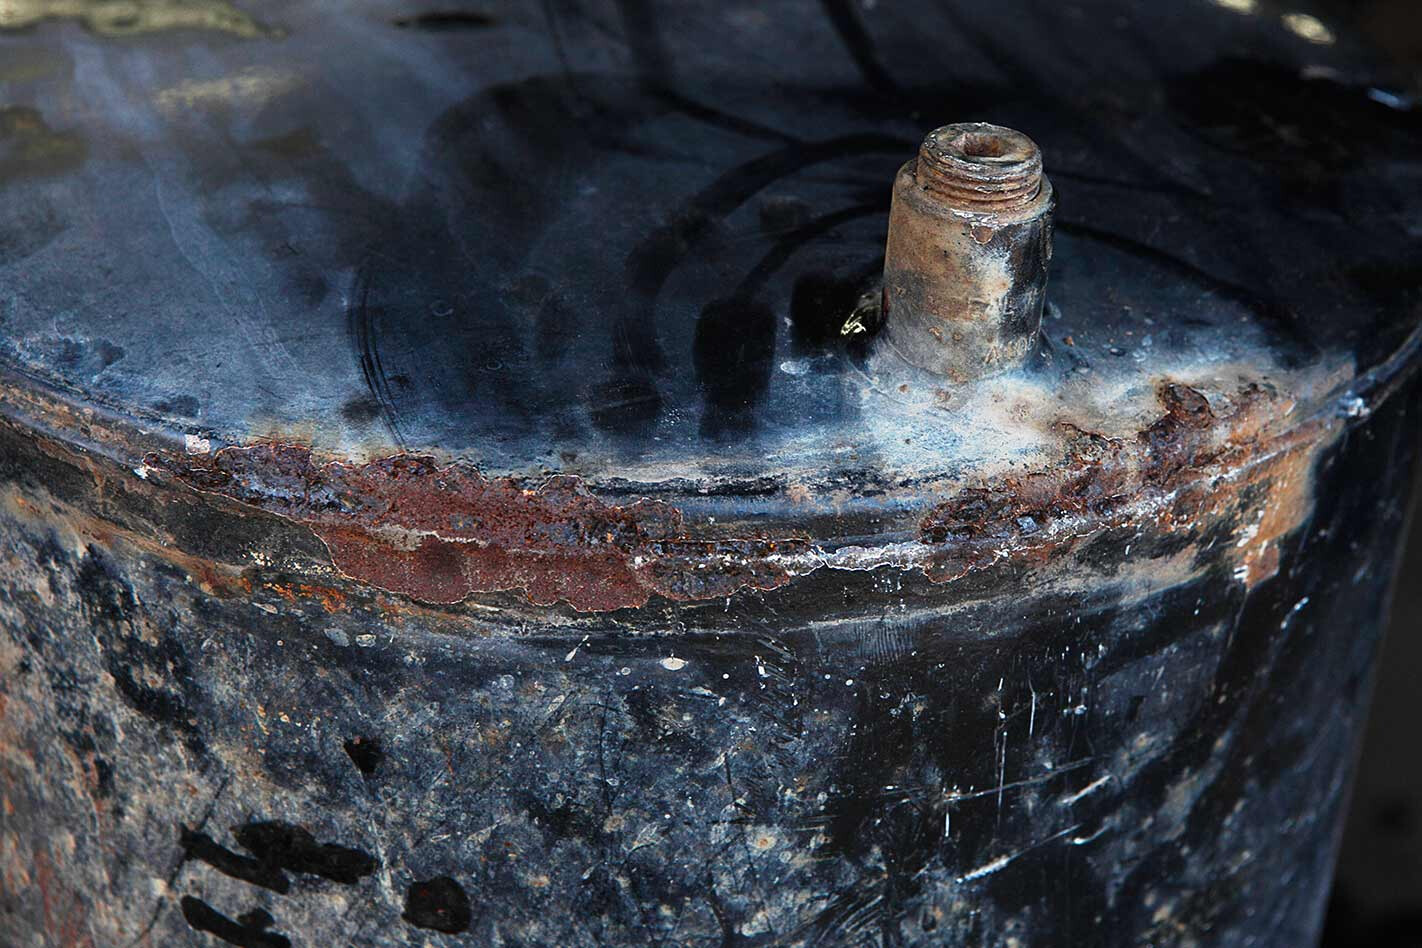 Deep flaky corrosion like this (above) severely weakens a tank’s structural integrity. Sure, it can be cleaned and sealed but you’re risking catastrophic failure.
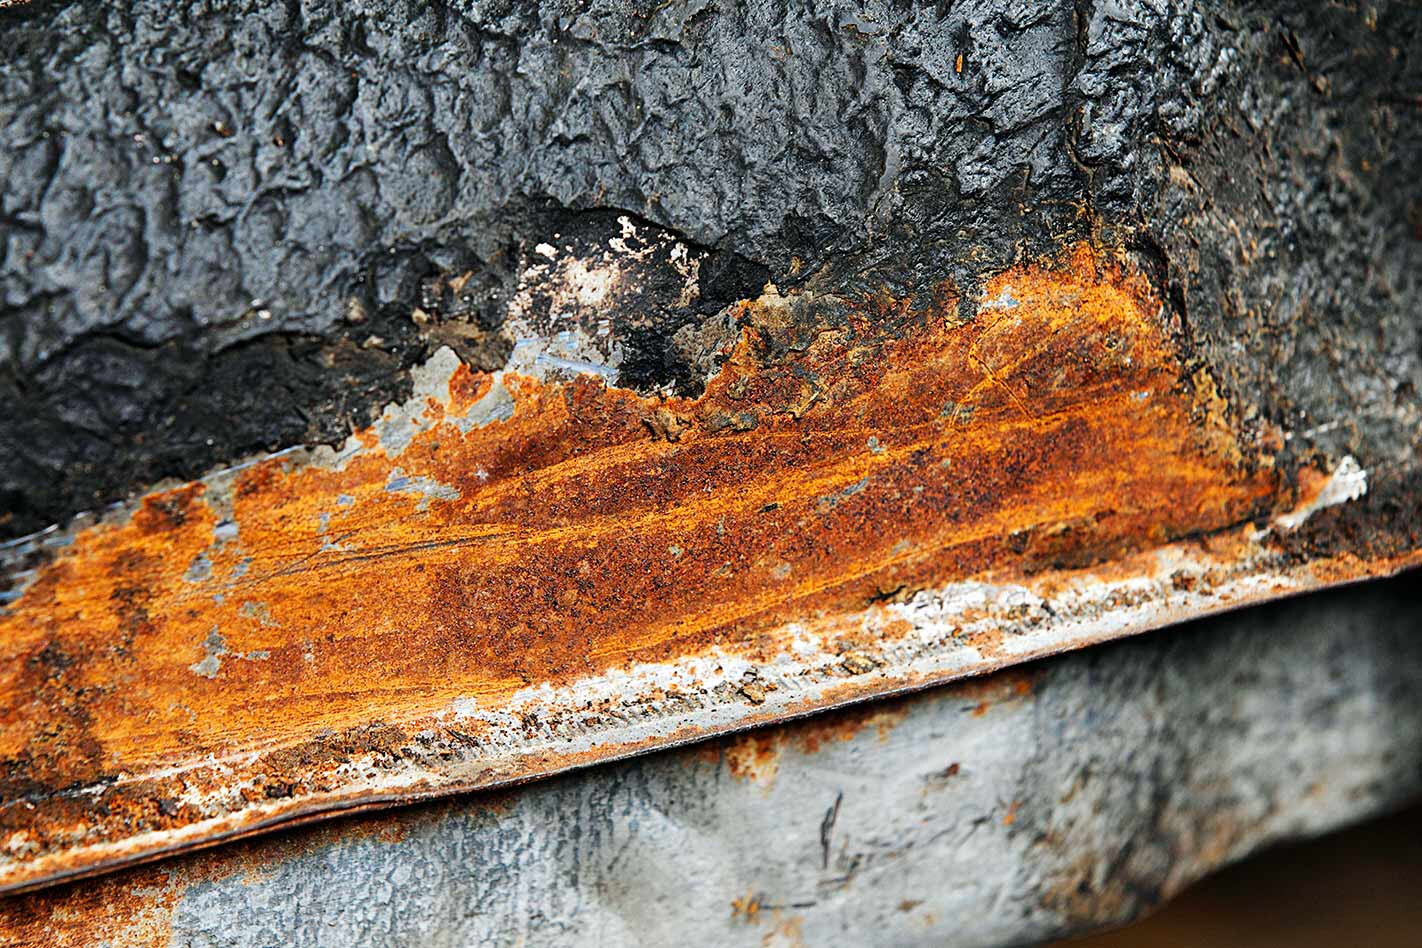 Note the surface corrosion (above) under the proof coat, where the factory lead coating has weathered away. This is why it’s imperative to thoroughly remove any flaky paint or coating — so areas like this can treated to halt further deterioration.
FUEL TANK REPAIR STEP-BY-STEP
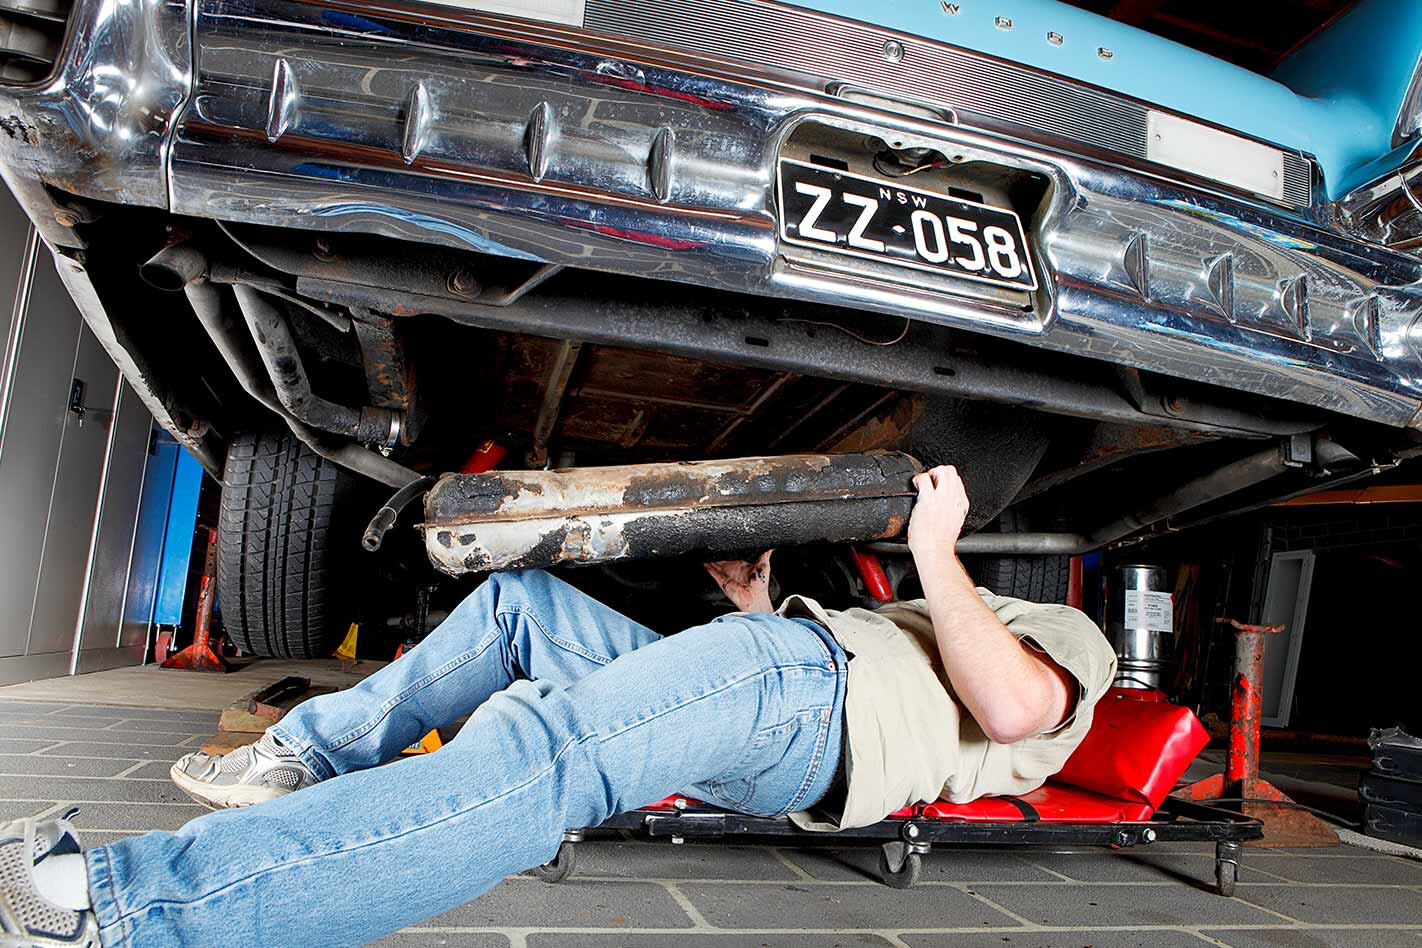 1. After setting the portly Caddy atop sturdy jack stands, the fuel tank was siphoned dry. Once the fuel and filler pipes were disconnected and the sender wiring unhooked, the straps securing the tank to the underbelly were unfastened, releasing it from the place it’s called home for 54 years.
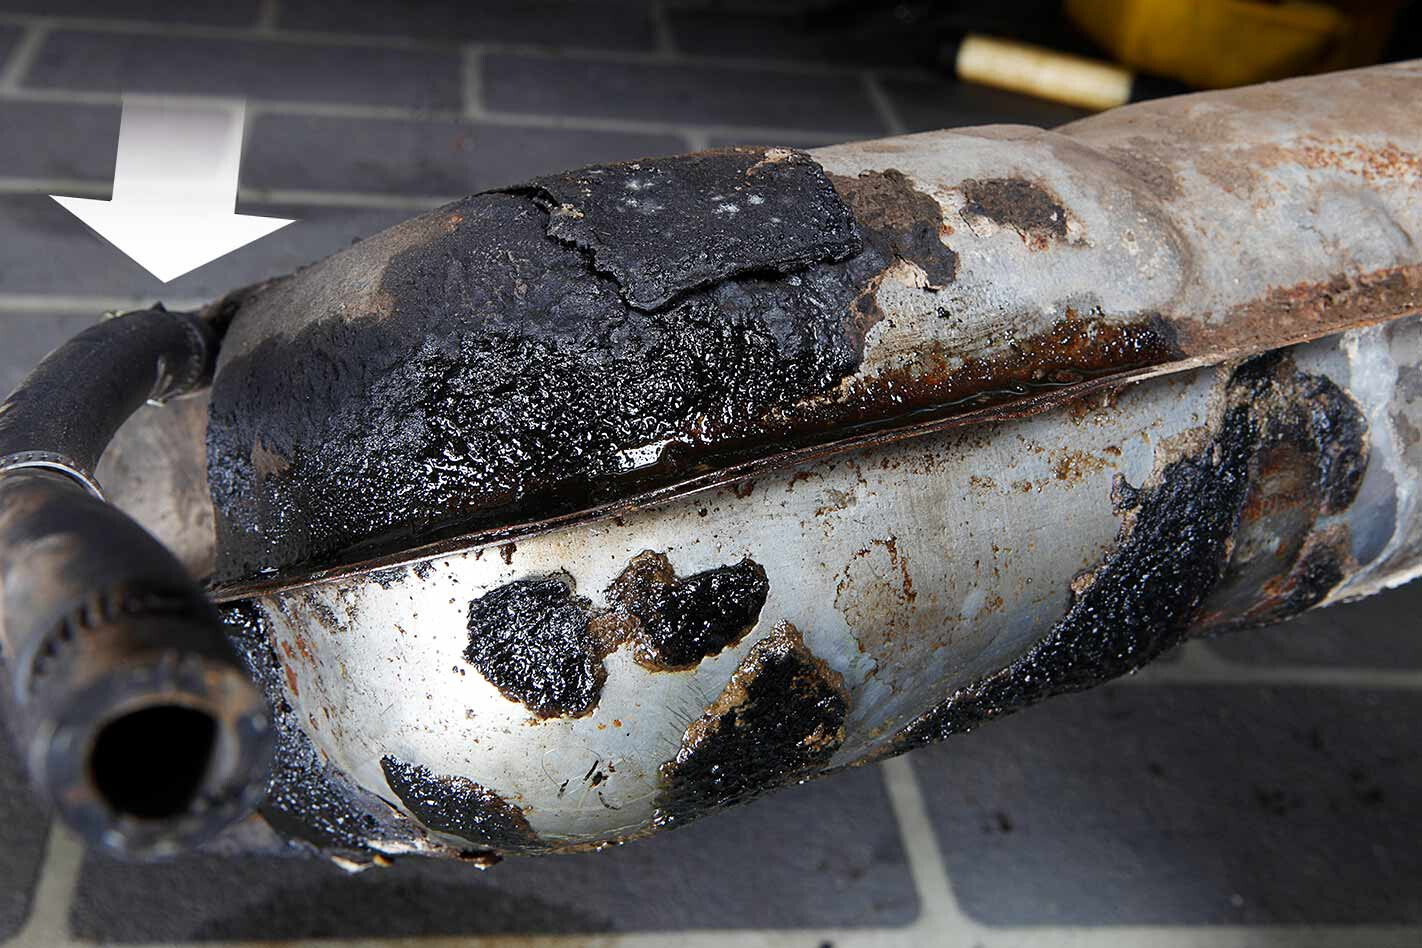 A cursory inspection indicated fuel was leaking from around the breather fitting on the shoulder of the tank (arrow).
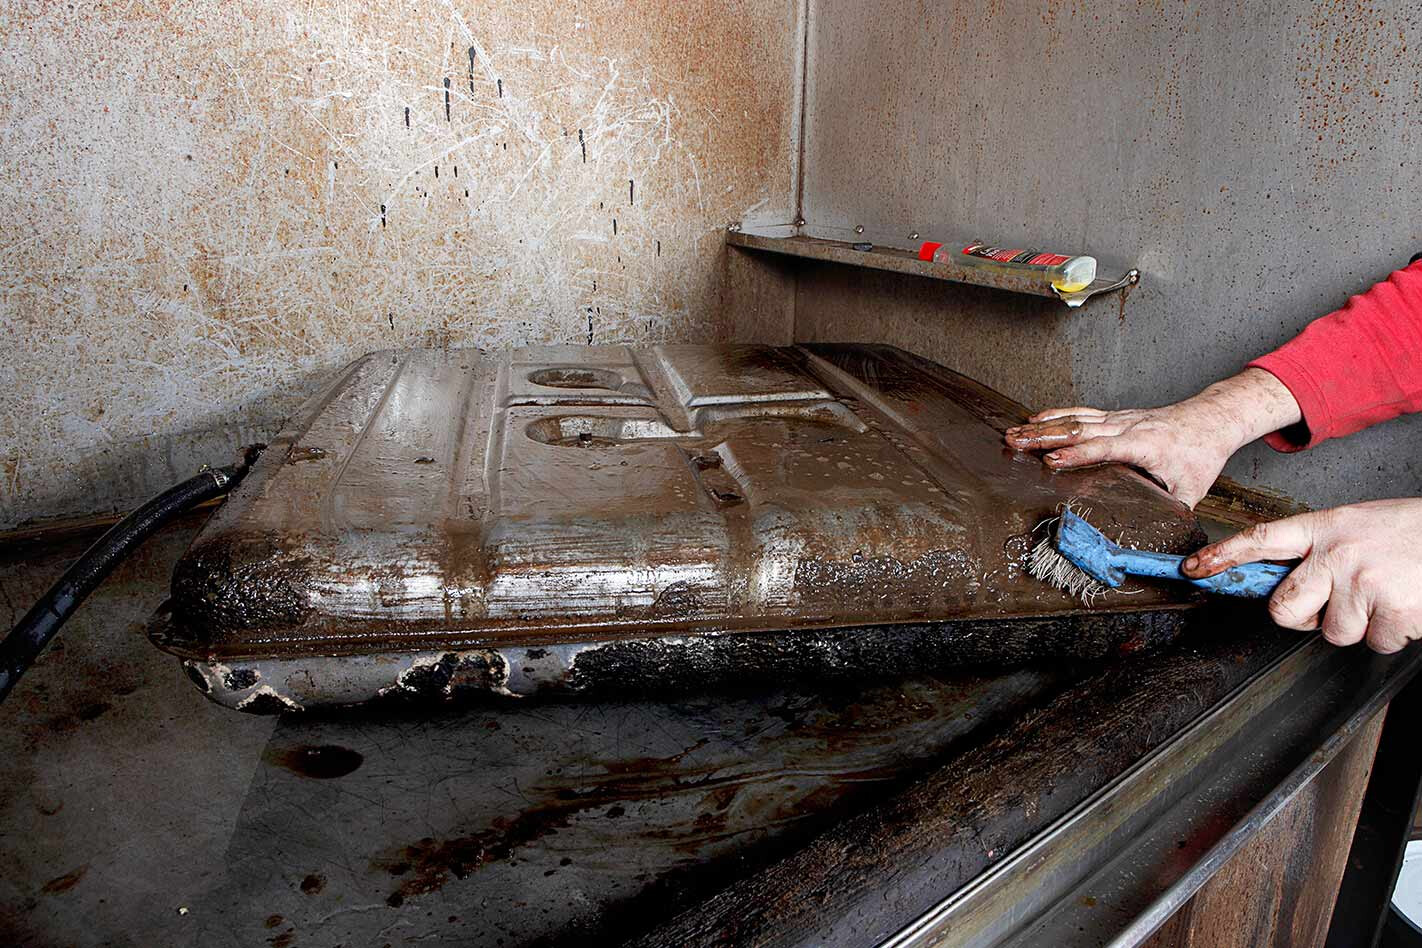 2. Before undertaking any repairs, the tank is degassed using a very strong detergent. It’s then scrubbed, scraped and wire-brushed — whatever it takes to get it thoroughly clean. Somewhere along the line, this tank had copped a lick of proof coat, which is especially hard to remove. Avoid the temptation to sand blast as it’s pretty harsh on old tanks. However, there are a number of dipping/stripping options.
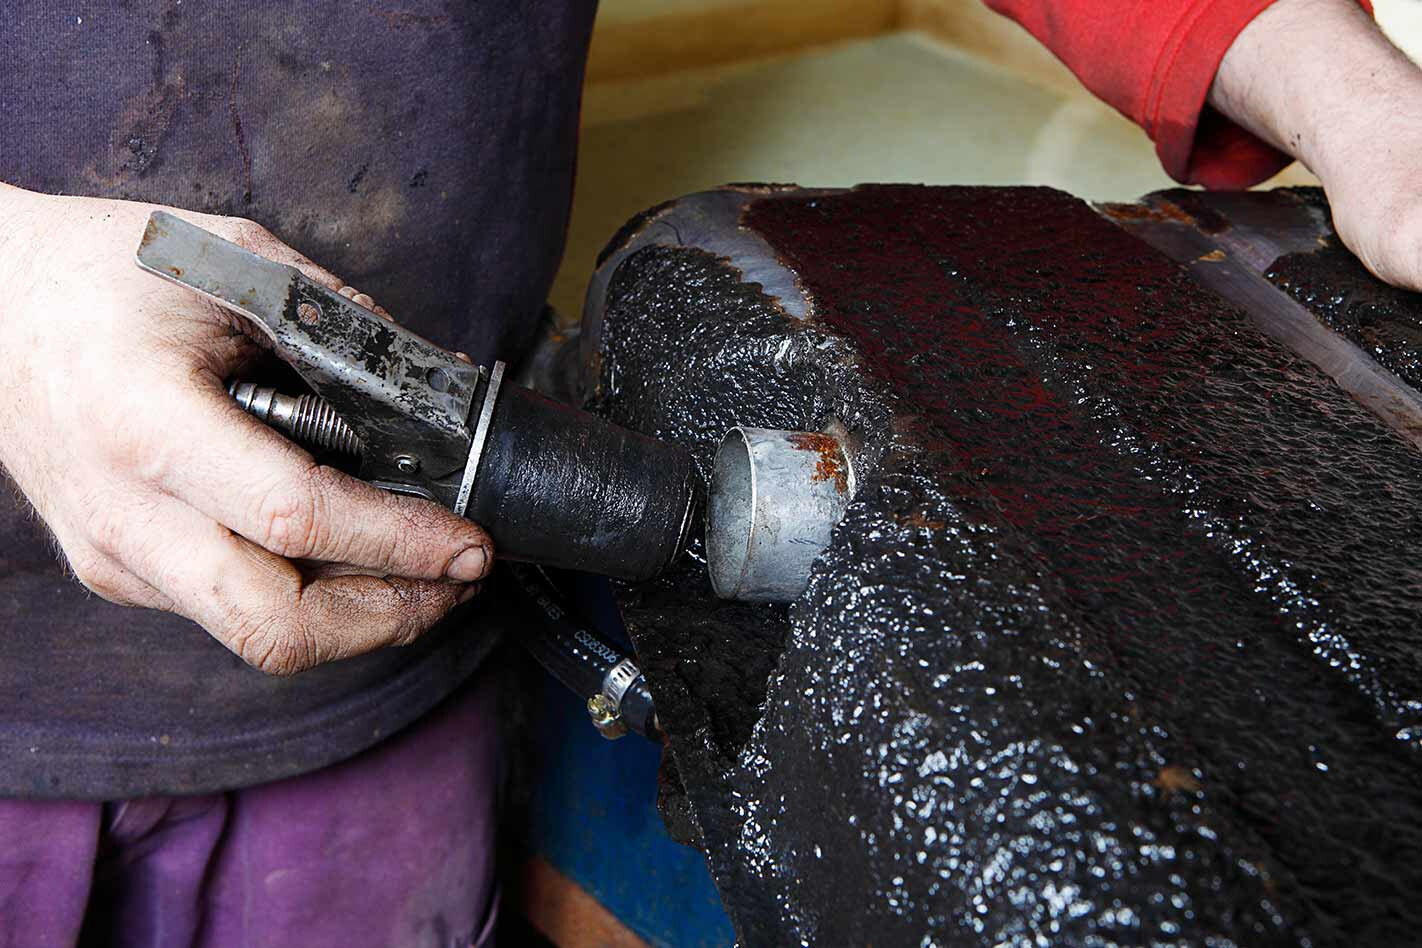
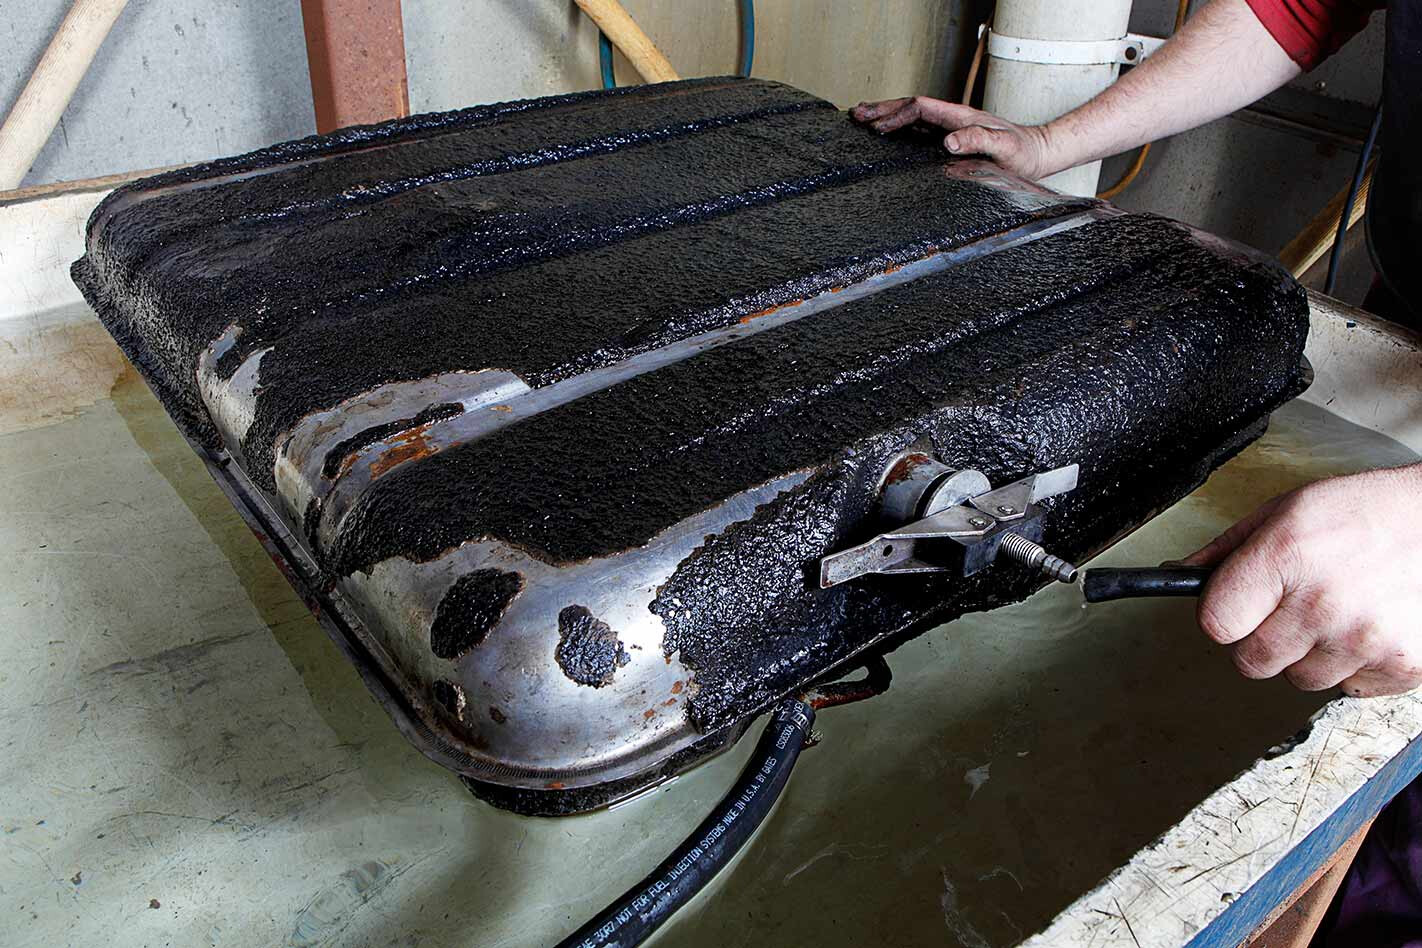 3. The tank needs to be completely sealed, with all holes and outlets blocked off for pressure testing. Fuel tanks are not pressure vessels, so they’re only pressurised by around 2-5psi maximum. Any more and you risk permanently ballooning the tank or cracking it in highly stressed areas like sharp corners or folds.
 At only 2psi, the Caddy’s tank was starting to noticeably bulge, or belly out.
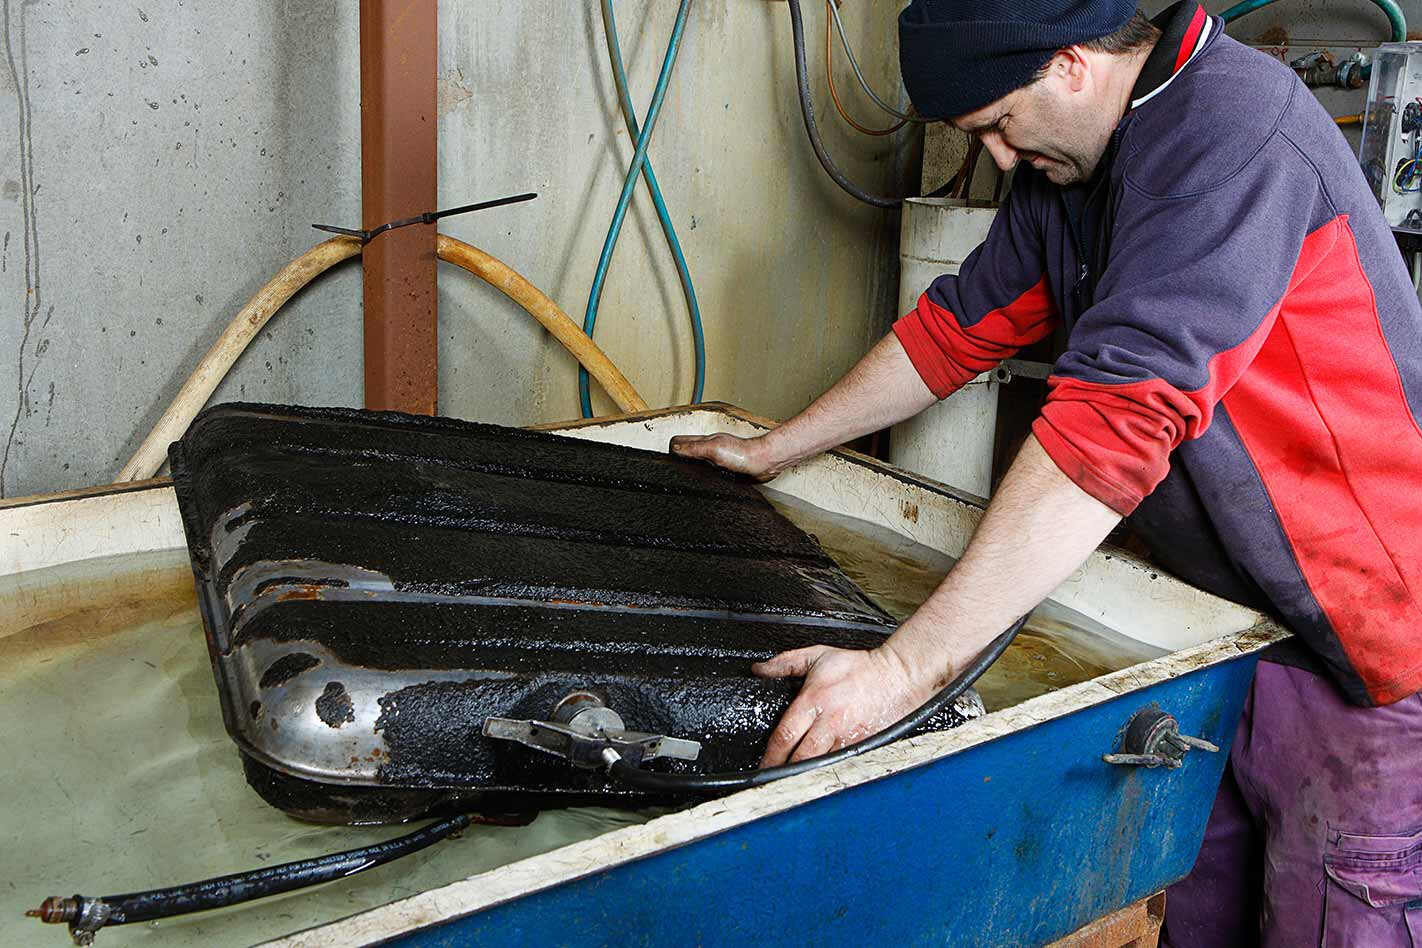 4. A tank is buoyant, making it difficult to submerge all at once. Jeff generally dunks one edge at a time. Initially the breather was not leaking but a bit of a wiggle produced air bubbles around the joint. This also happens with hairline cracks, which occur at sharp bends and dented areas; they don’t open up until the tank is subjected to the weight of 60 or so litres of fuel.
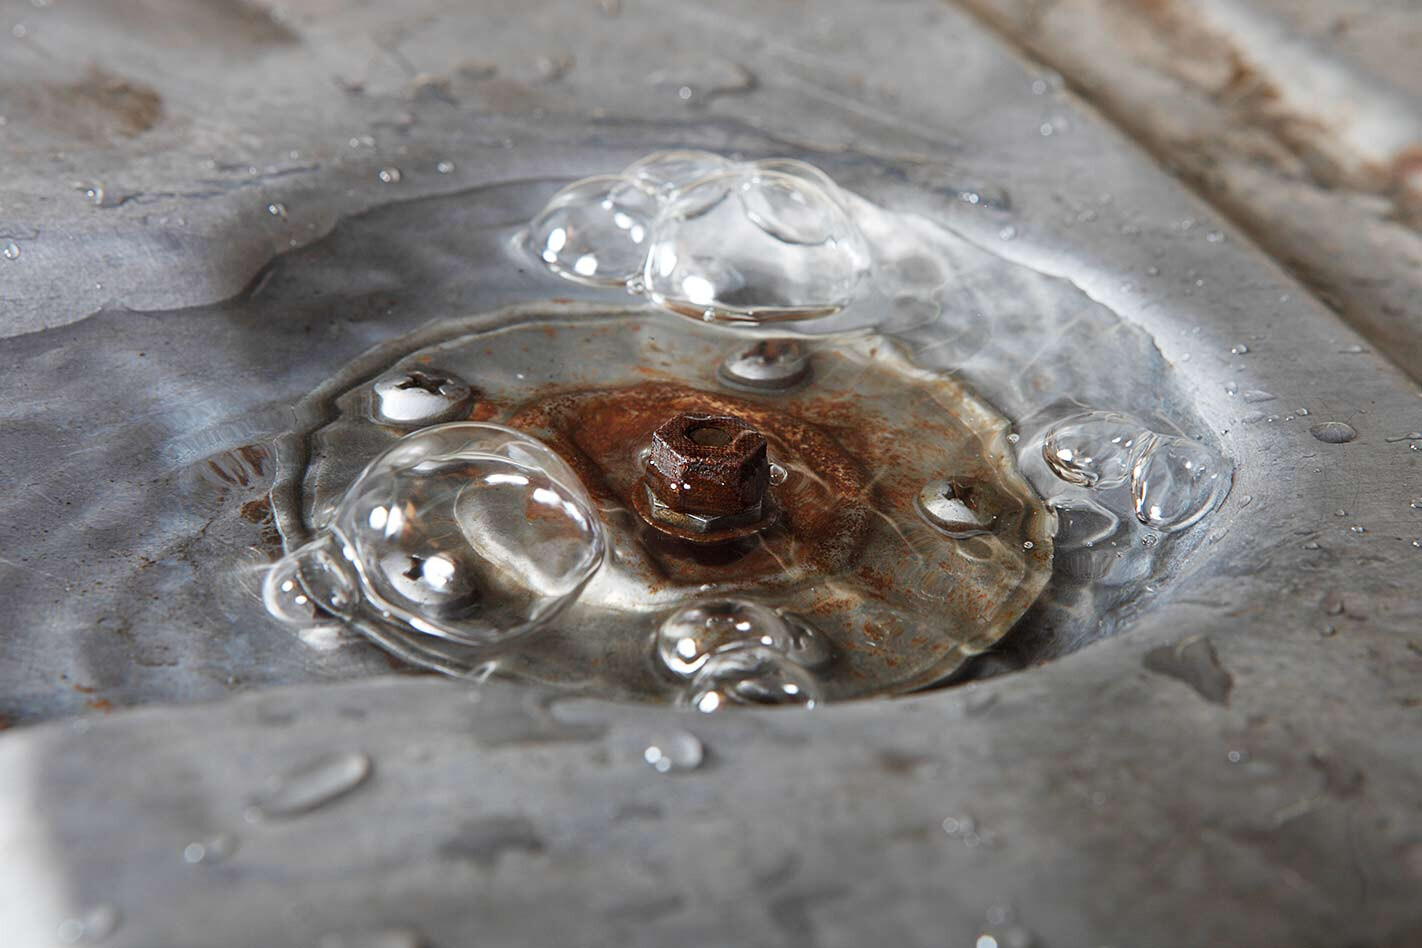 5. These are the tell-tale bubbles you’re looking for — the culprit here was a disintegrated gasket. On small leaks it takes a dozen or so seconds for the bubbles to appear. It’s imperative to methodically and patiently check every joint, fitting and seam.
 Leaks along the seam (where the two halves join together) are the hardest to repair but Jeff has had some success MIG-welding to repair such seam leaks.
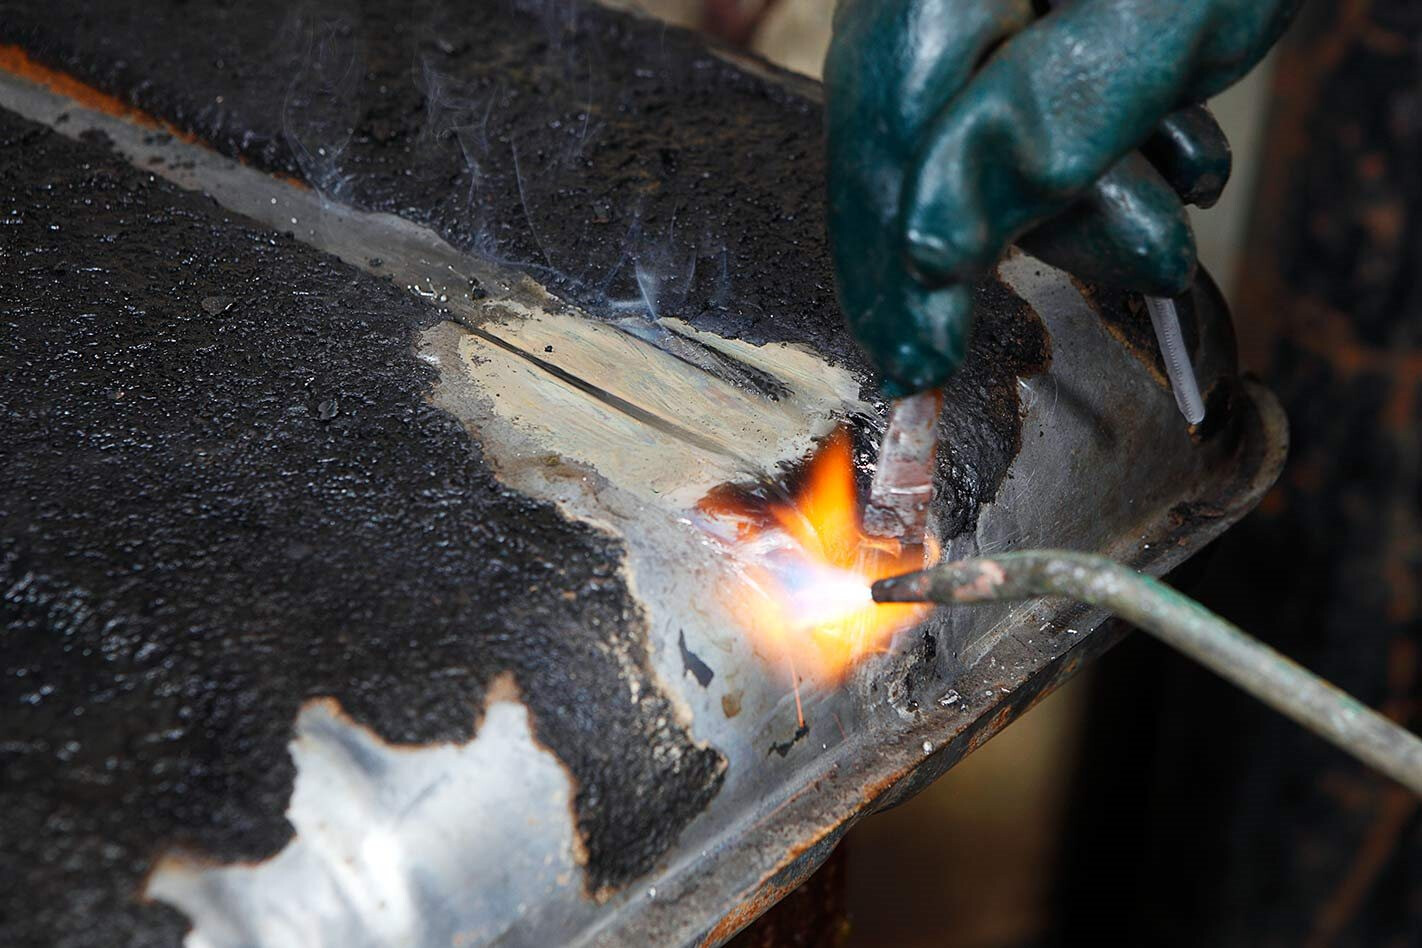
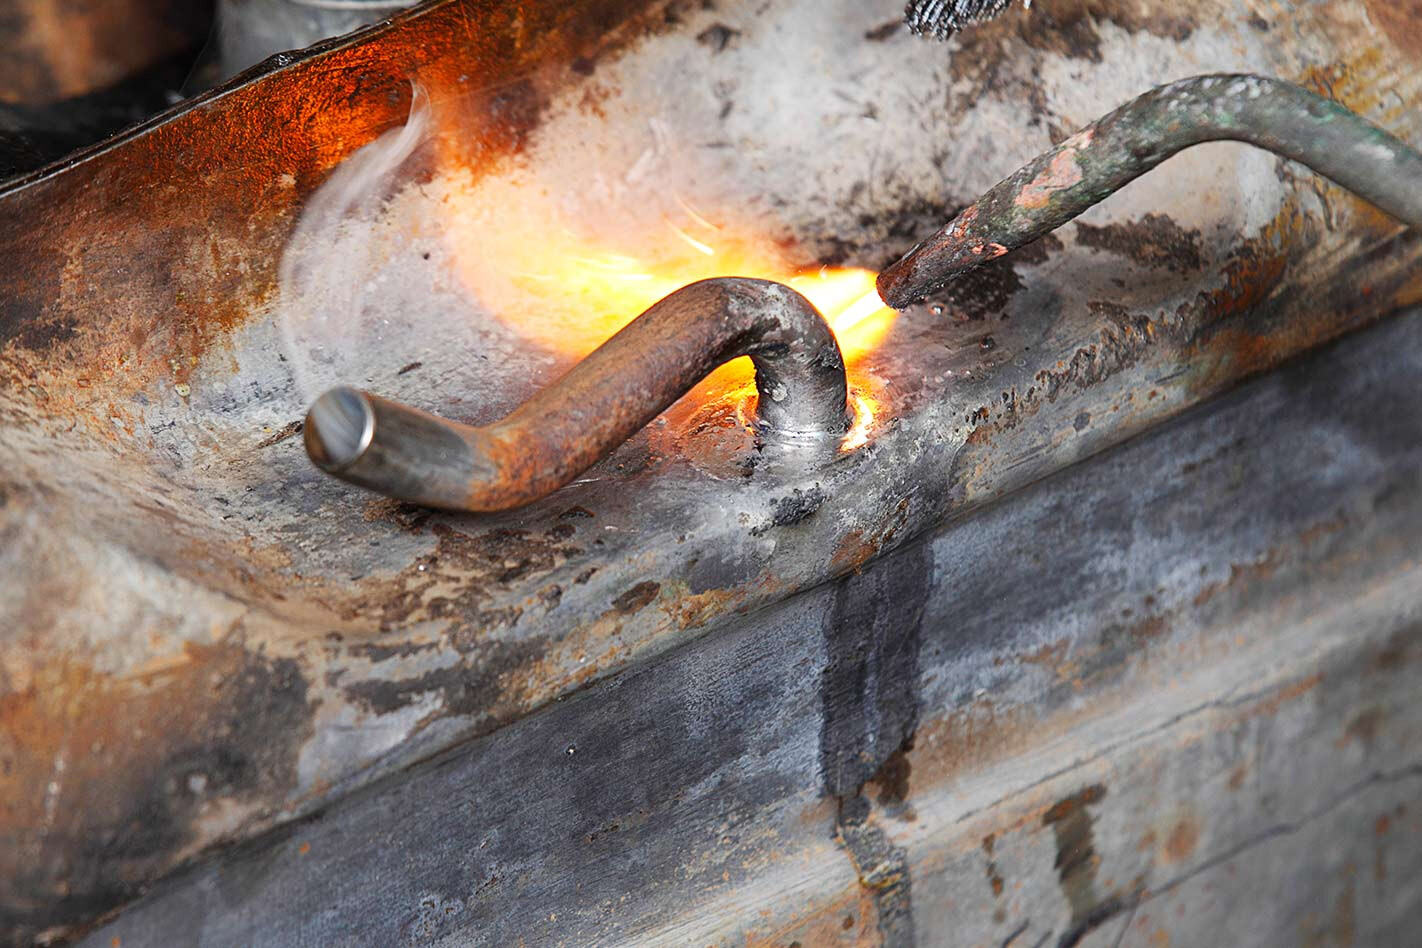 6. While it was the joint between the breather pipe and the tank that was leaking, Jeff decided to remove the pipe (unsweat it) so that the pitting along its length could be repaired. Sometimes removal is not possible, due to fittings being internally fixed at inaccessible locations. The flame is LPG/oxy. It’s cheaper and cooler than oxyacetylene but you still have to be deft with your heat application.
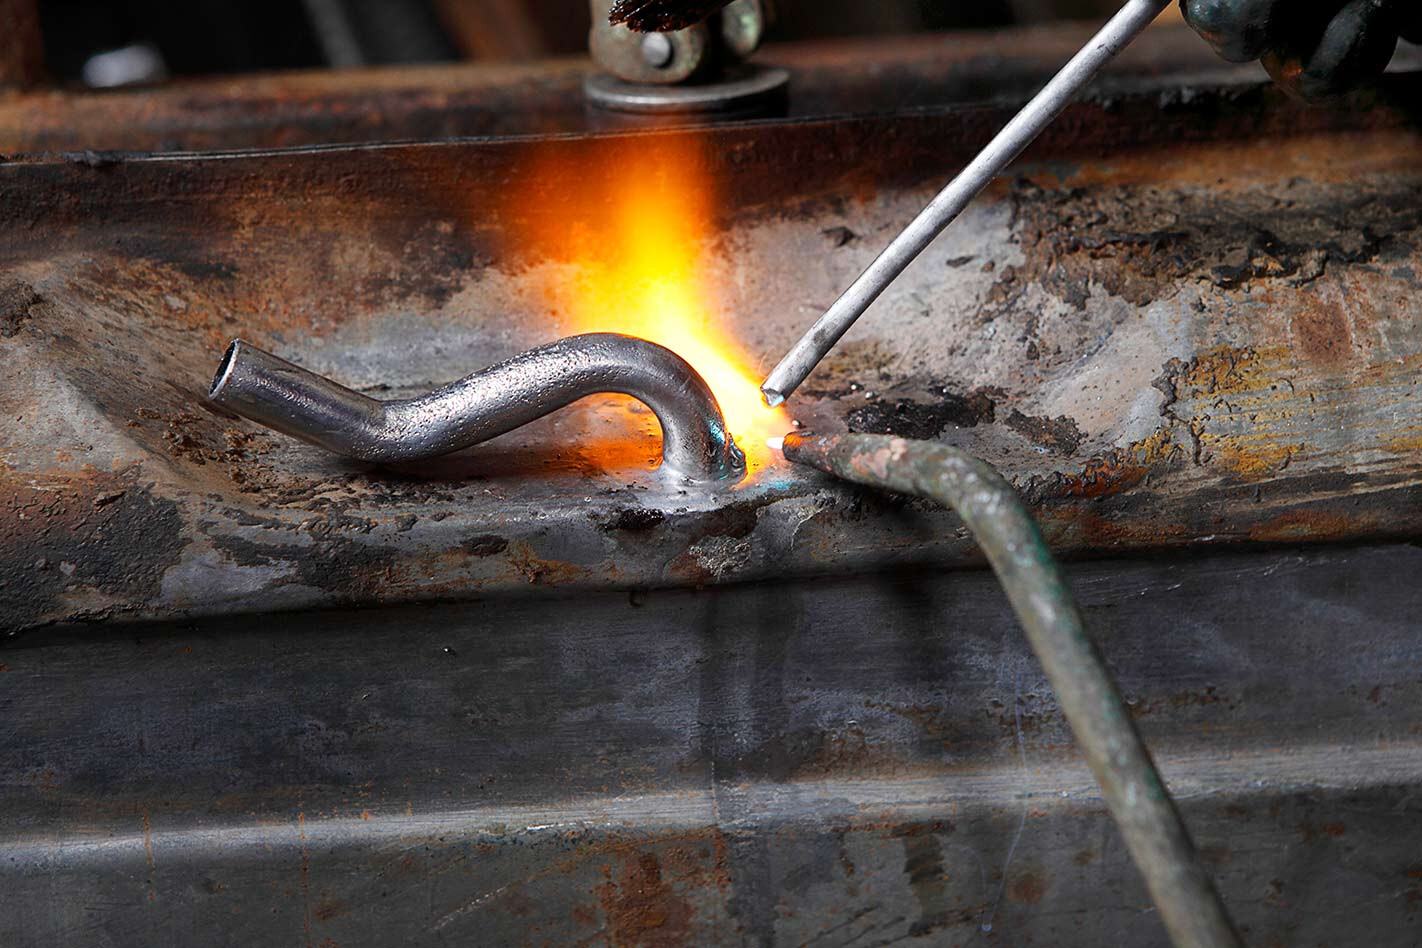 7. After sand blasting the pipe, it was tinned with solder to fill in all the pitting. When removing such fittings (especially on tanks with multiple fittings) memorise their orientation so that they can be reinstalled in exactly the same position — photograph them if need be. To guarantee a sturdy mechanical connection, Jeff ran a generous fillet of solder right around the base of the pipe fitting.
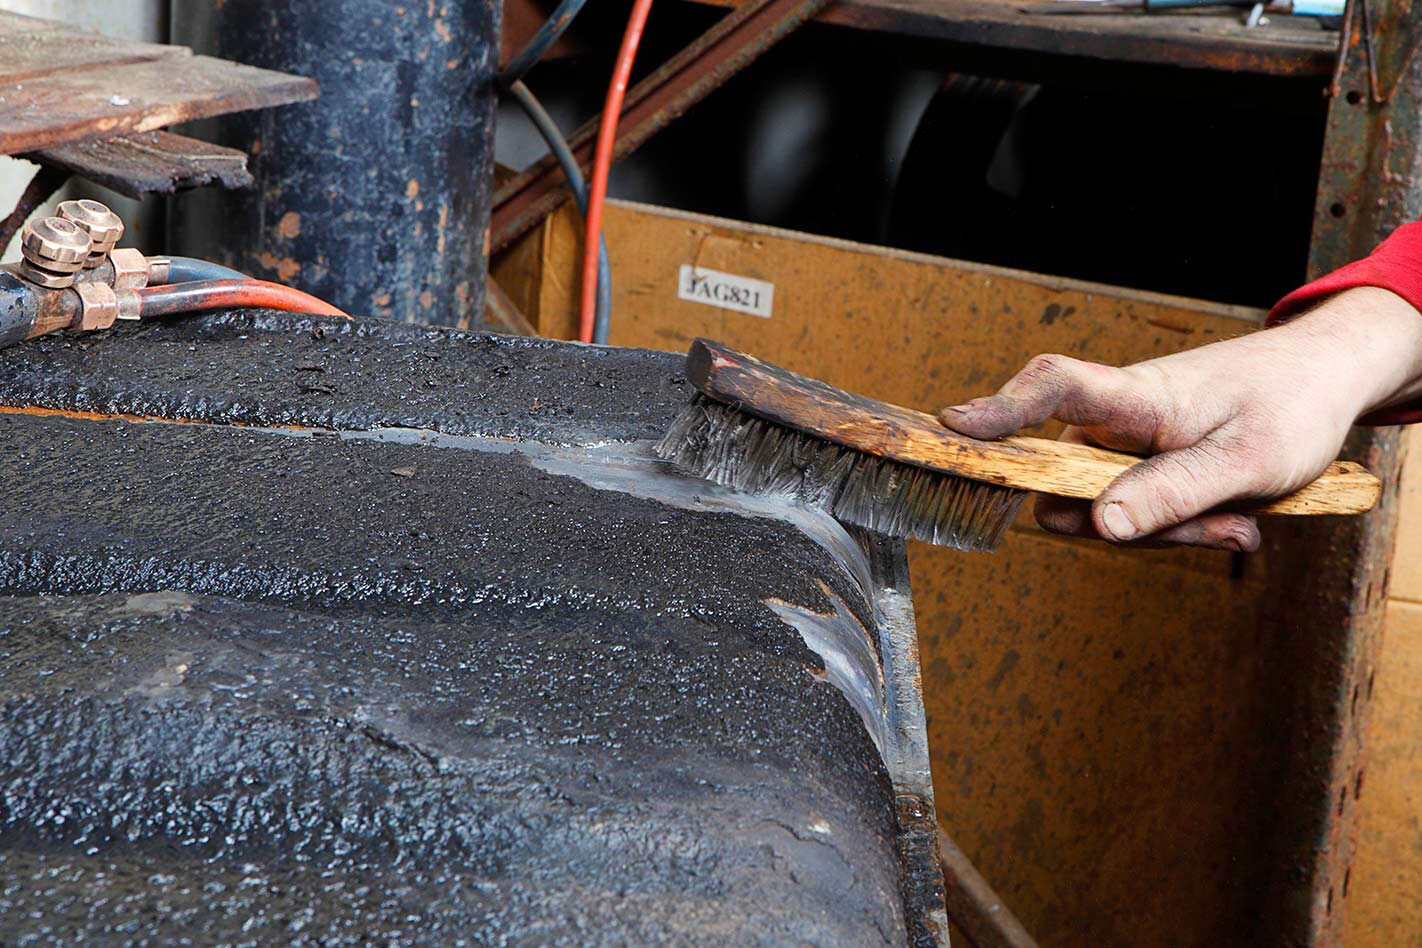 8. Where the retaining straps bear against the bottom of the tank are classic corrosion areas, as the rubber or cork insulators hold the dirt and moisture. Tanks that bolt in around a flange are also subject to corrosion at that mounting face. Such areas must be wire-brushed and carefully inspected. While this tank wasn’t leaking here, untreated it’s likely pinholes would have developed, allowing fuel to seep out.
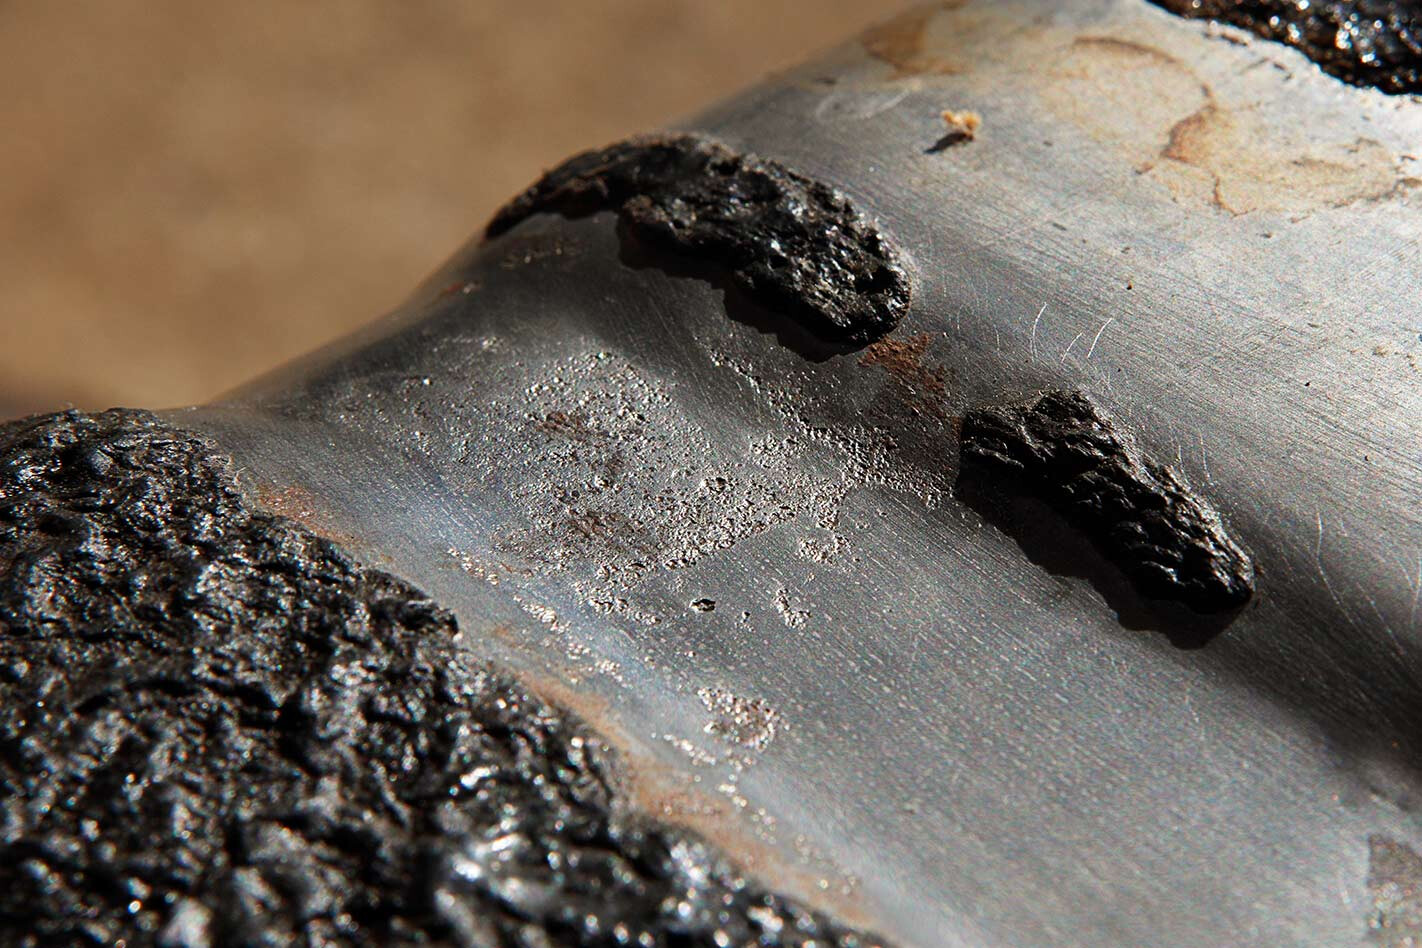 9. You cannot solder rust; the metal needs to be clean. The trick is to warm it up, wet the area with concentrated (32 per cent) hydrochloric acid, wait a minute or so for the acid to etch into the corrosion (bubbling), before applying more heat and vigorous wire-brushing — repeat until scrupulously clean. Use fresh acid; it’s stronger and doesn’t introduce new impurities or contaminants.
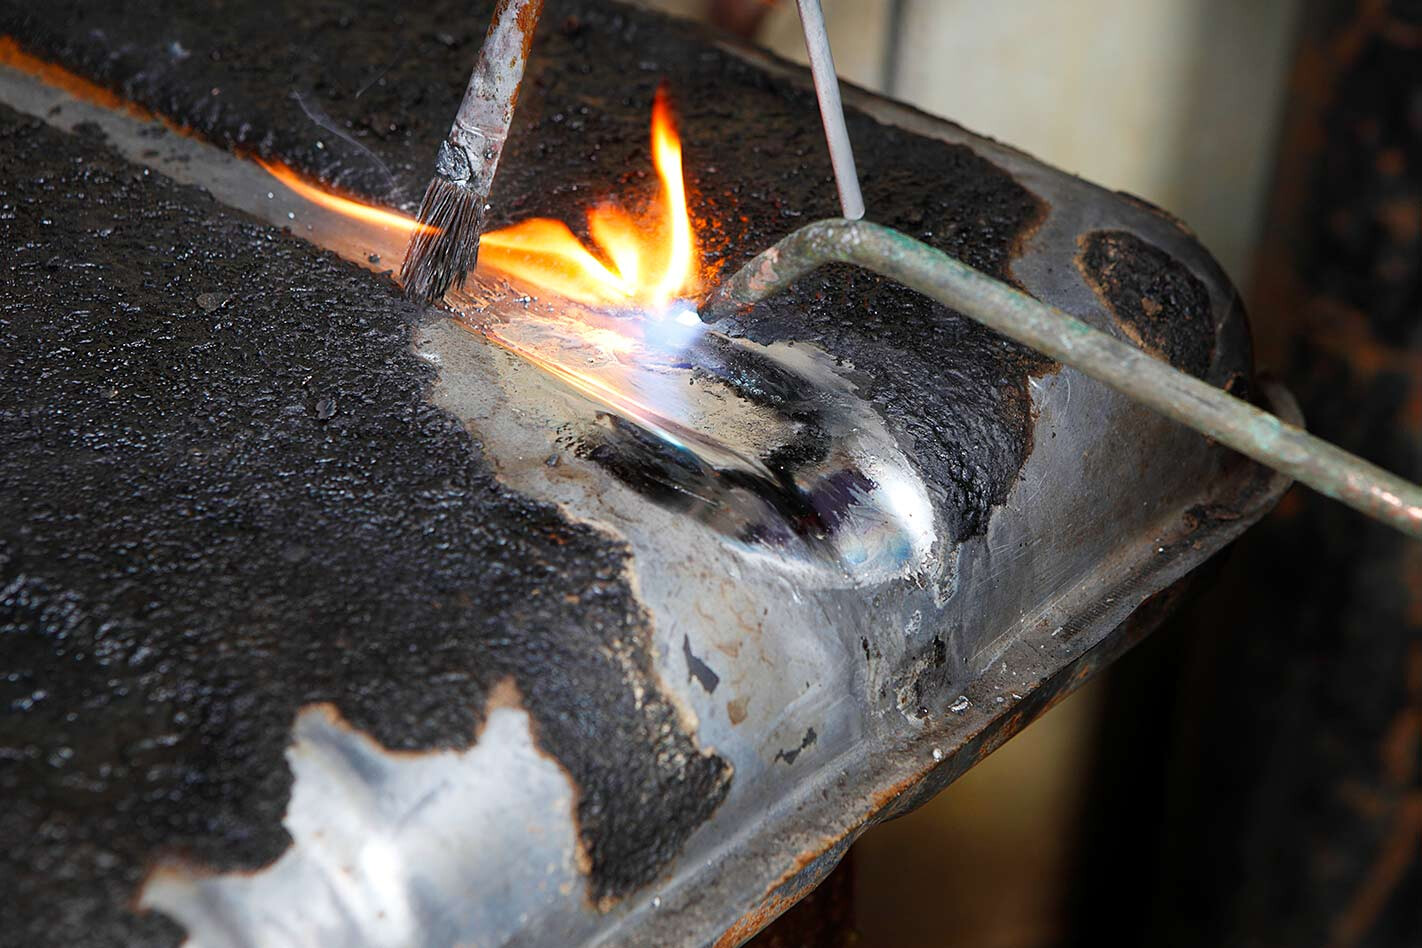 10. Application of flux (zinc-chloride dissolved in water) and the right solder (35:65 tin:lead) is essential. The other trick is using the right amount of heat, enough to make the solder puddle and flow.
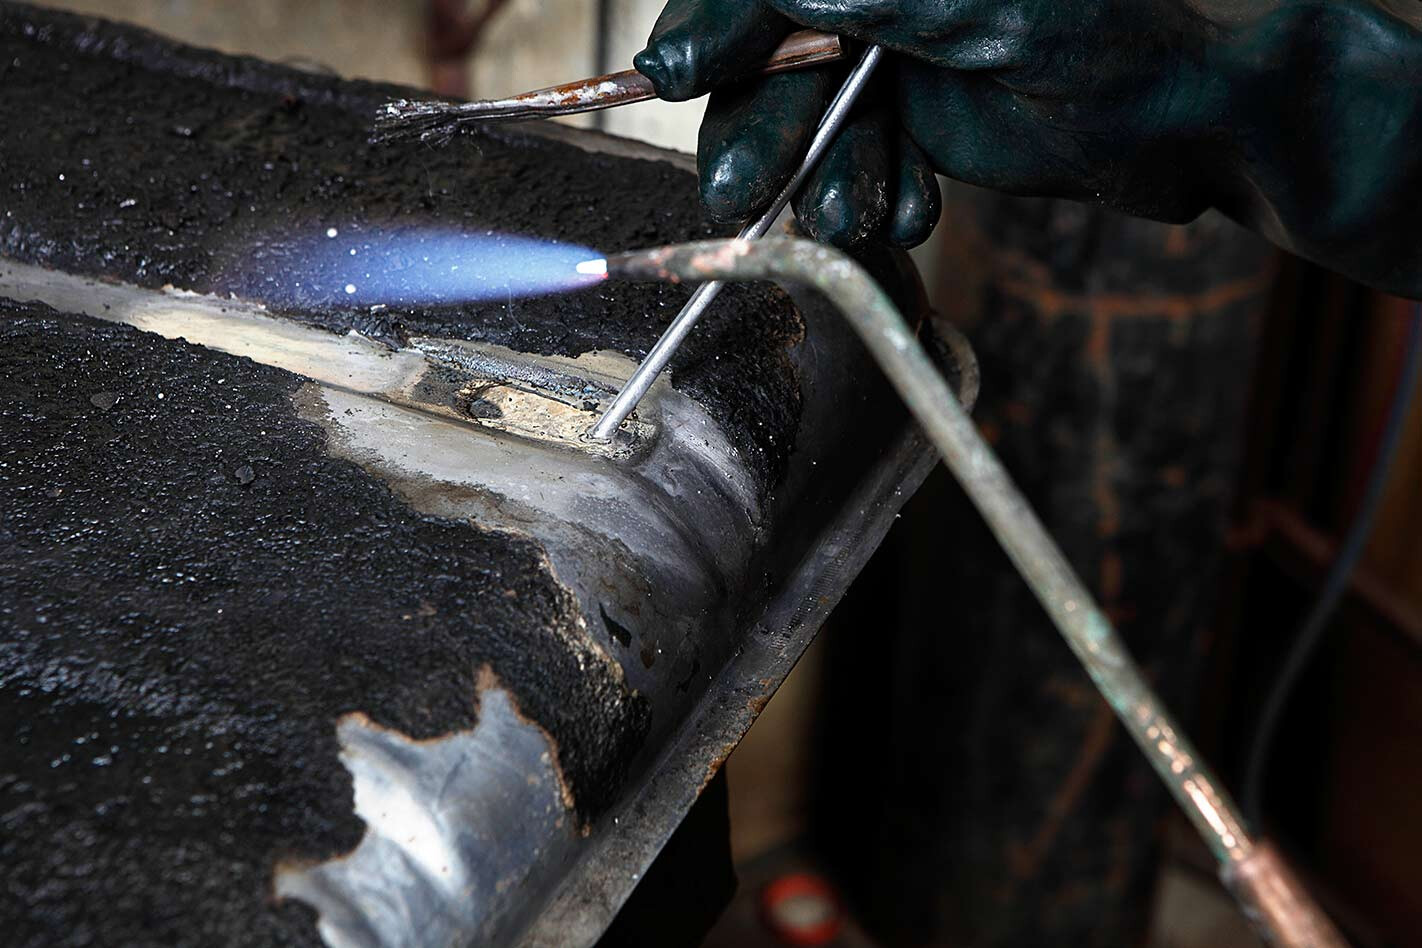 Jeff modulates the heat by periodically flicking the torch over the area. This level of pitting is fine (aggressive pitting isn’t ideal) as the solder can be built up to make the area stronger than original.
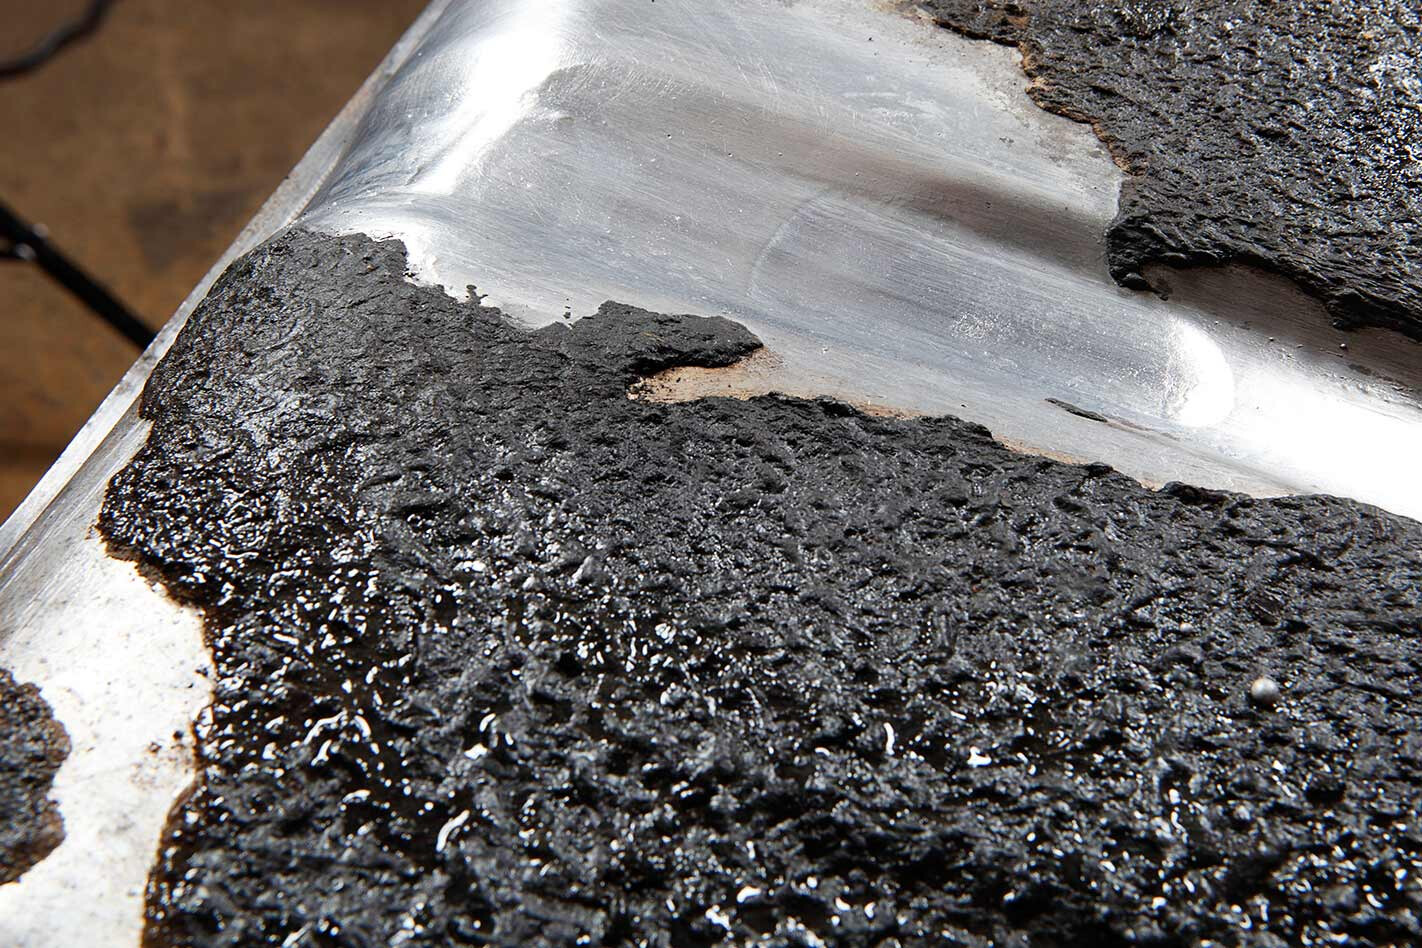 11. The pitted area is completely soldered over. Jeff achieved the smooth, flowing finish using only deft heat application and his trusty flux-soaked paint brush — it has not been sanded. This should be good for another 50 years. Old-school tanks were stamped from lead-coated sheet (Terne sheet). It’s very difficult to reproduce that finish — this is about as original as a cost-effective repair will look.
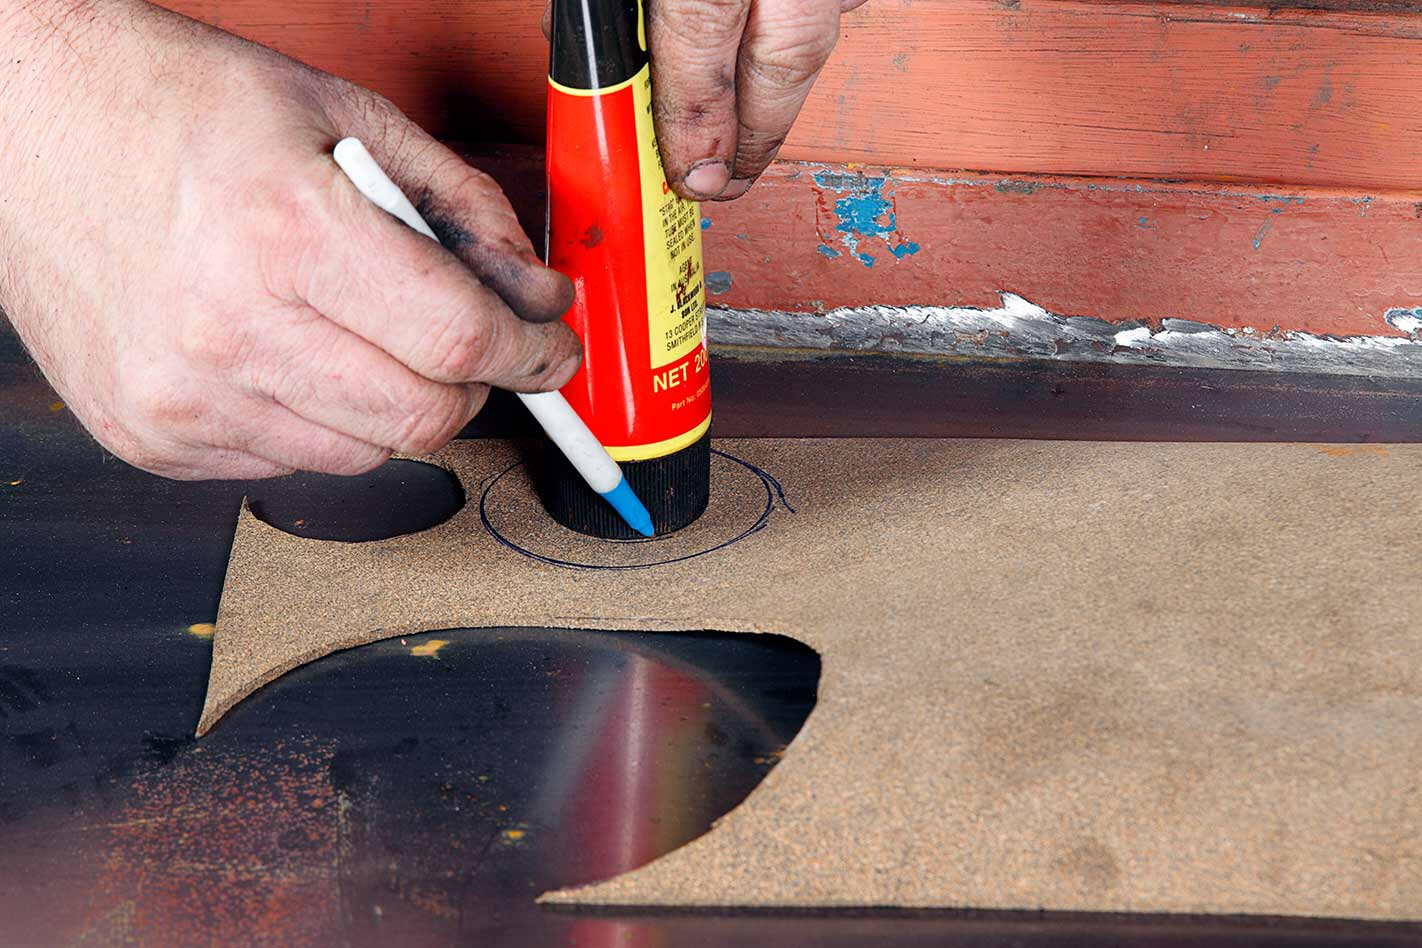 12. A new gasket was probably available but it was simpler just to make one from gasket paper (available in various thicknesses from most auto parts stores). Jeff found a couple of suitable-diameter objects to trace around, cut it out with scissors and hole-punched the screw holes.
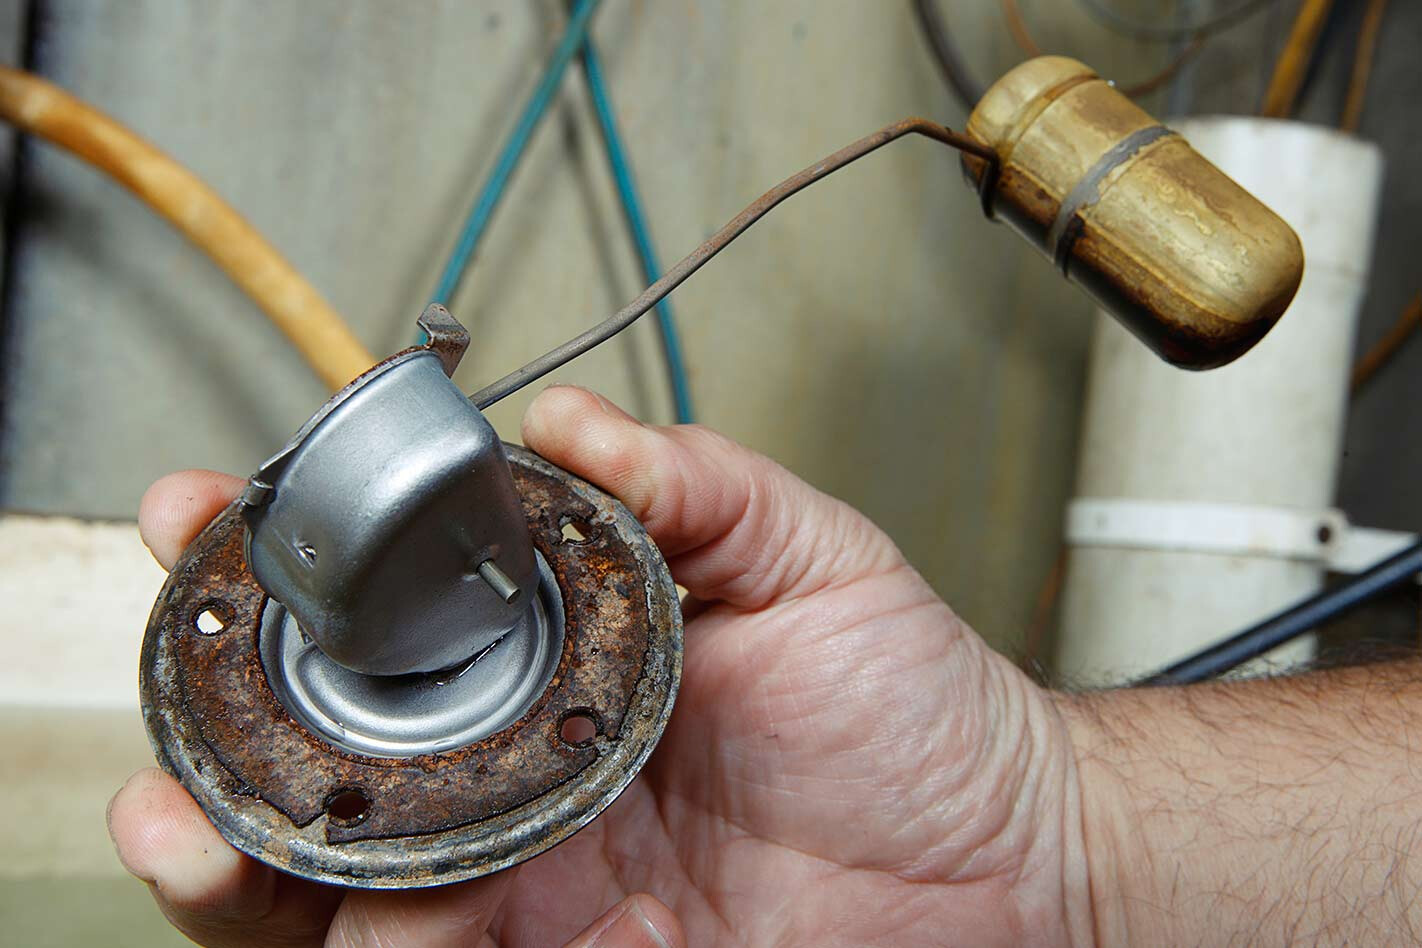
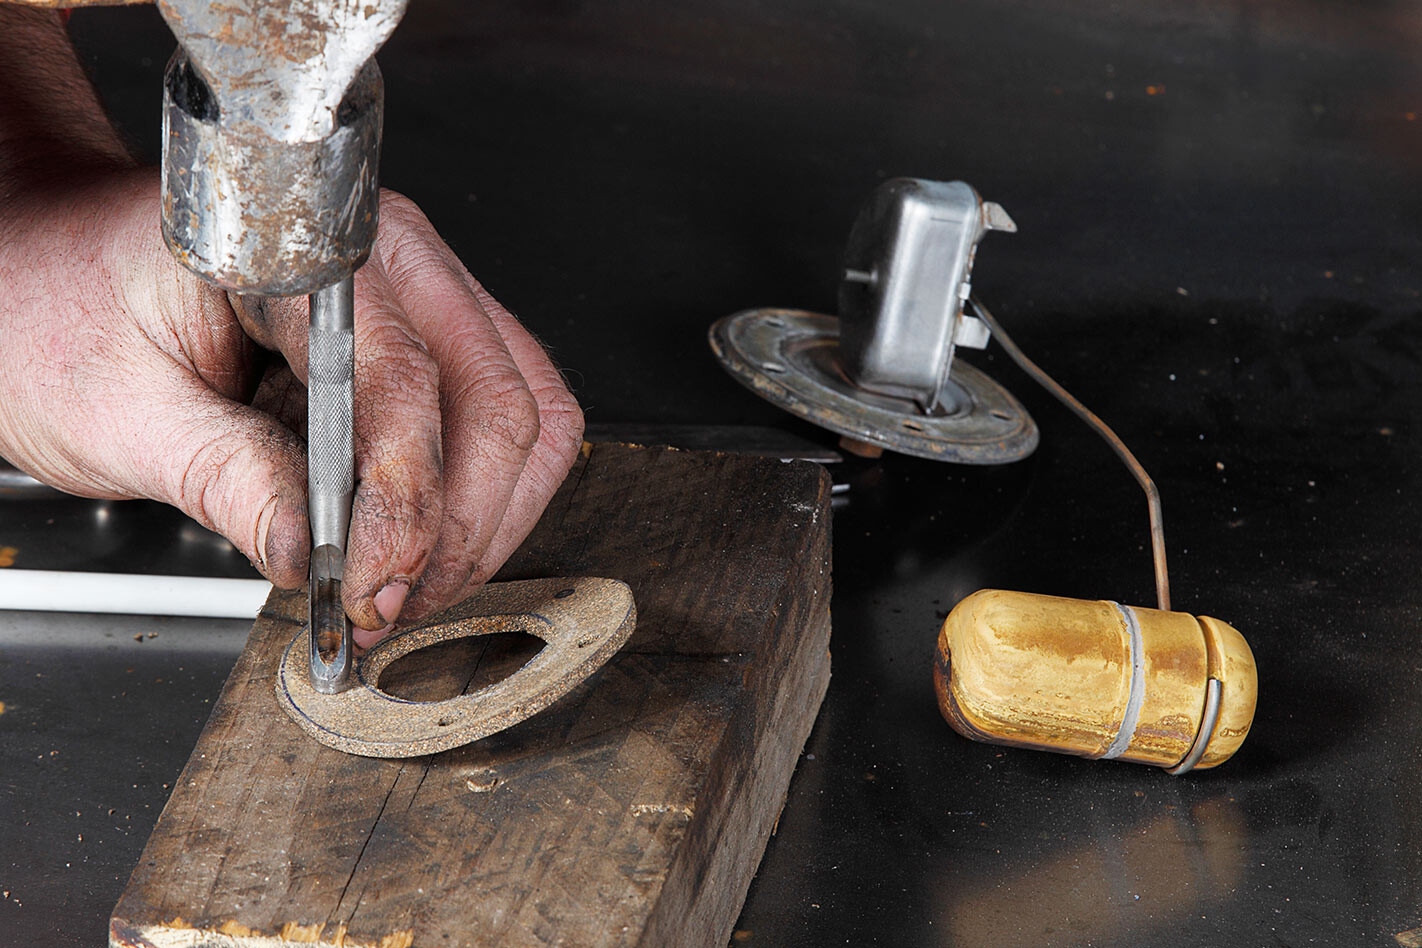 Sender has offset holes so that it can only be re-installed one way. Always take note of which way the float faces.
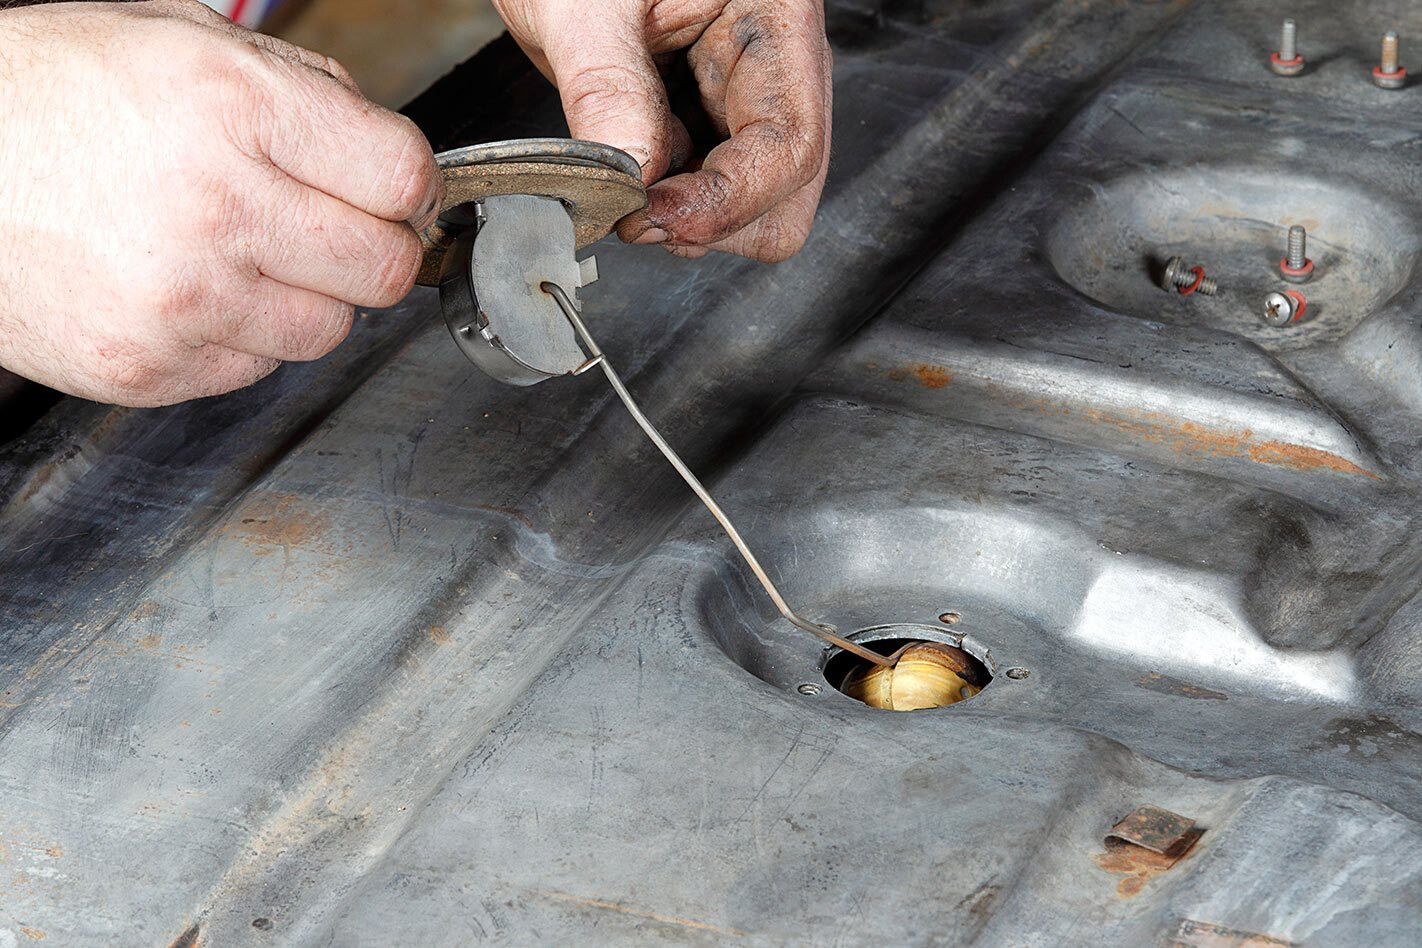 13. Fuel dissolves most sealants, especially silicone, so Jeff always re-installs the senders dry — without any sealant. If the mounting flange is a little pitted or there’s a concern that it may leak even with a new gasket, he’ll add a very light smear of grease. Don’t over-tighten the mounting screws; just snug them down, otherwise you’ll squeeze the new gasket completely out of the joint.
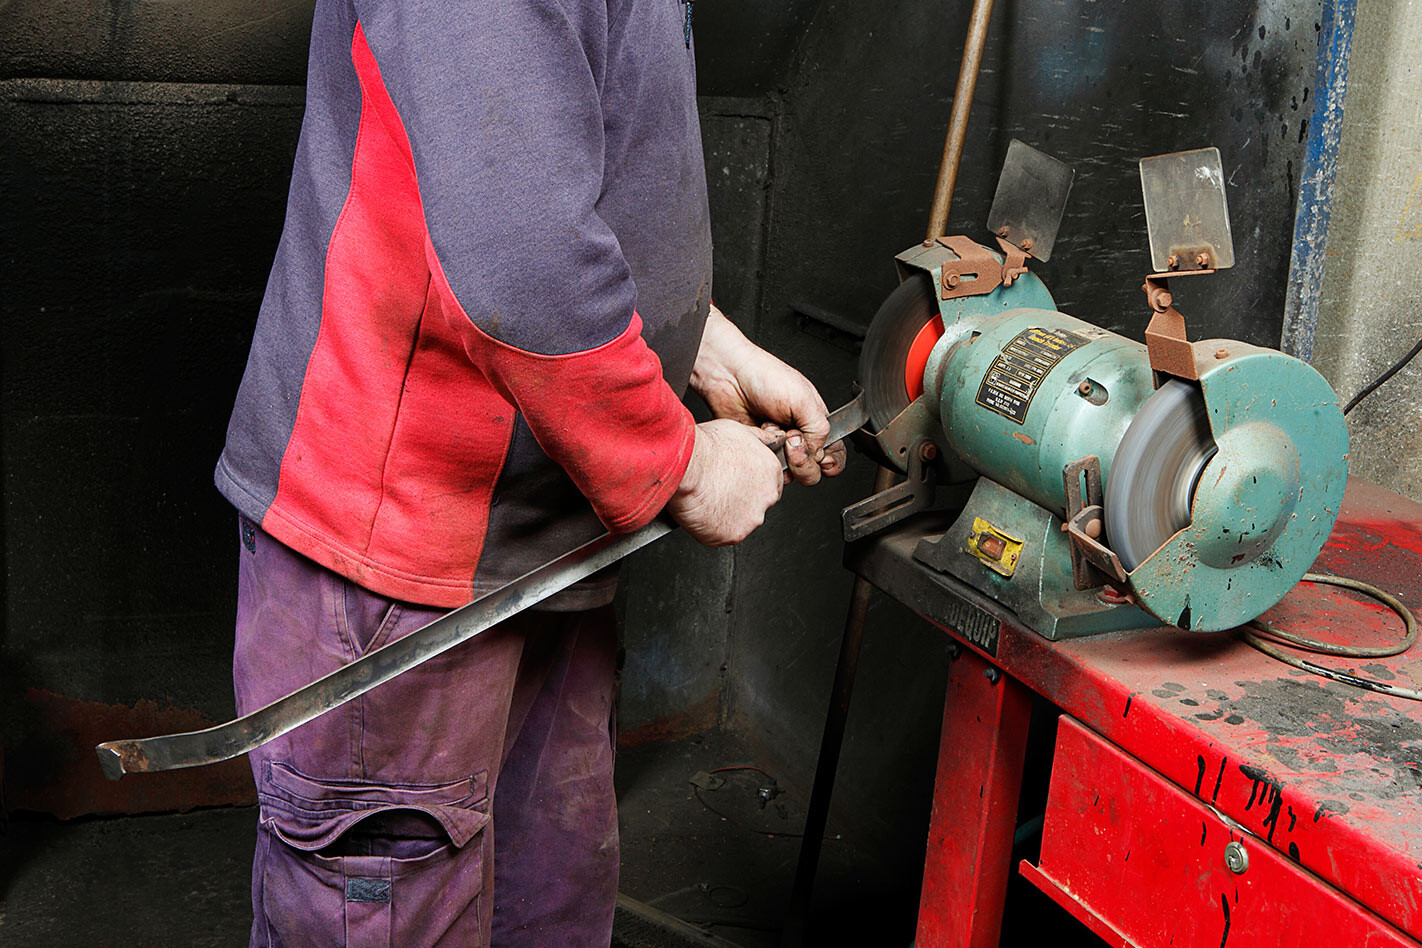 14. A good session on the wire buff brings the retaining straps up like new — if they’re badly rusted they’ll be weak and will need to be replaced. After painting, Jeff added new cushioning strips made from a rubberised cork material.
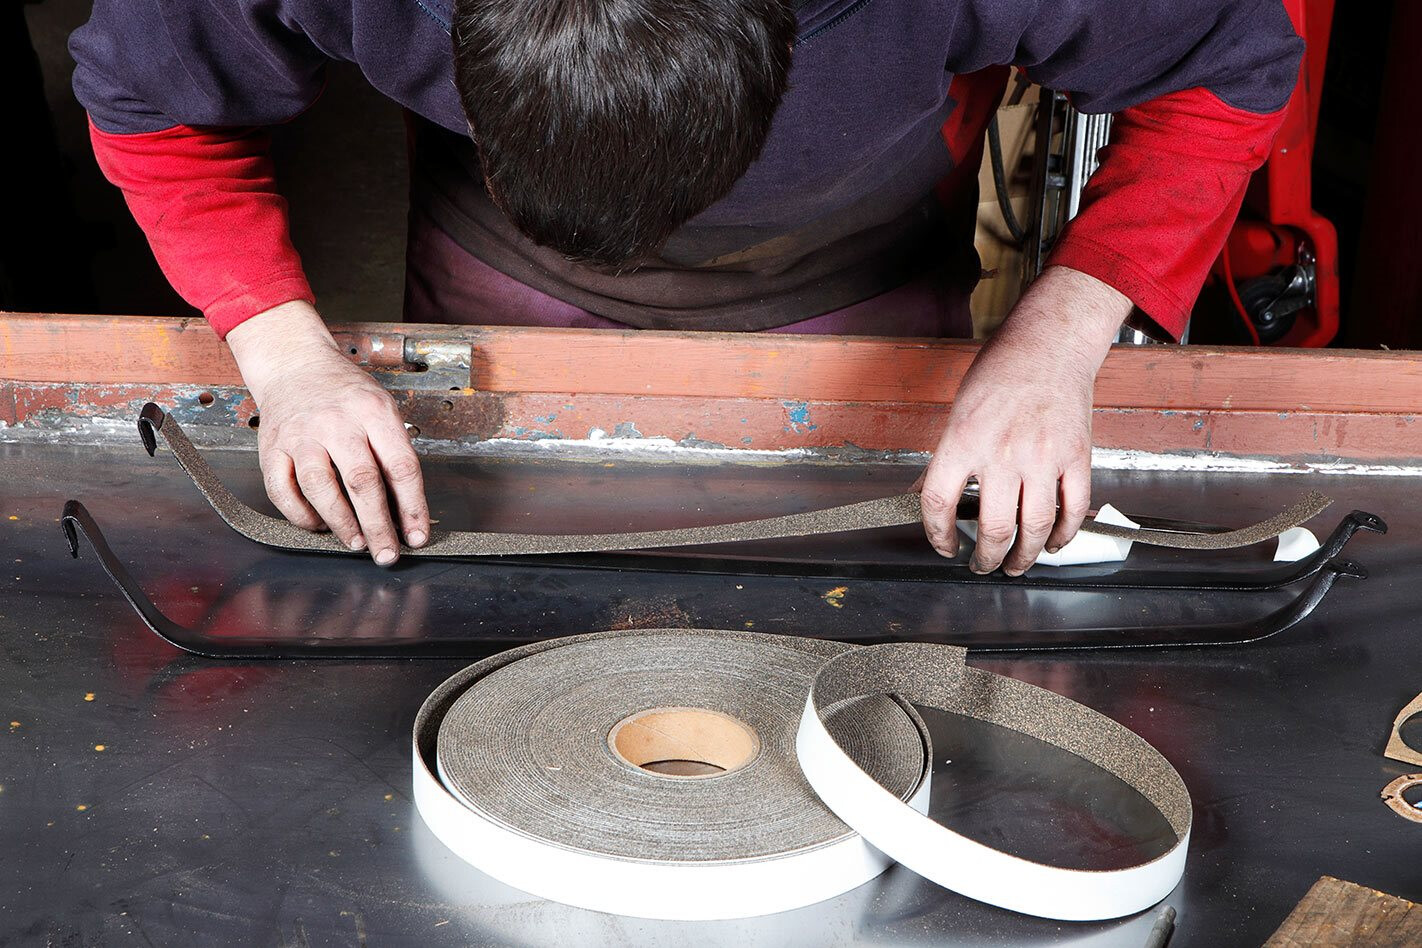 It’s more durable than pure cork and far less prone to retaining corrosion-producing dirt and moisture. It’s also adhesive-backed, making installation a snap.
WRAP UP
After all the repairs have been effected, the tank is again methodically pressure tested. Internal corrosion is also an issue. Water trapped in the fuel ends up on the bottom of the tank, rusting it out. Leaving an empty tank unsealed does the same. Fuel also becomes acidic after 12 months, which is none too good for it either.
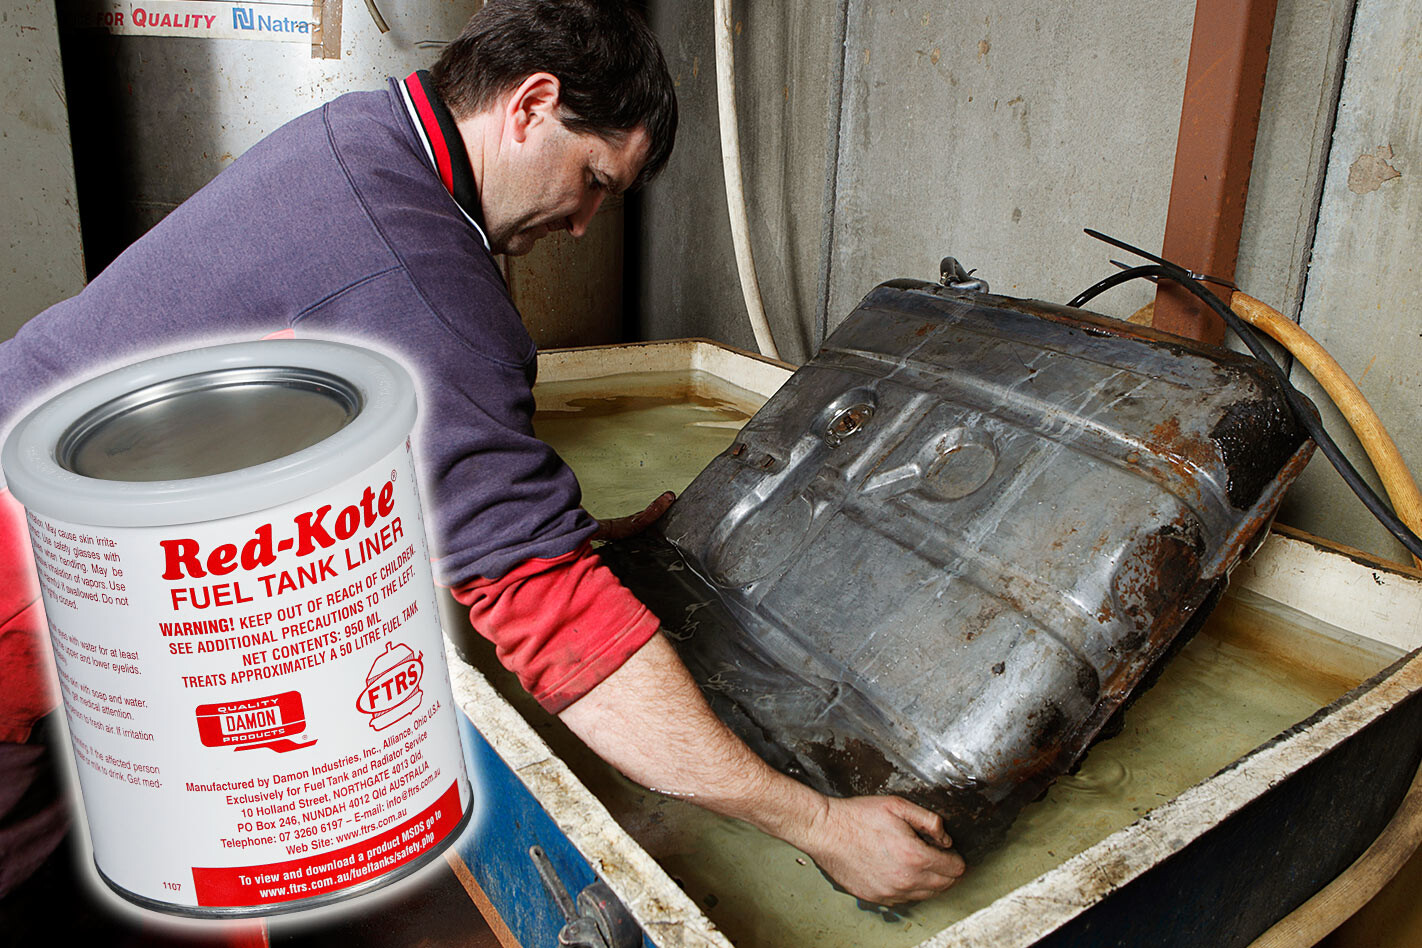 Poke a torch inside and inspect for noticeable internal surface rust. Tanks with light surface rust that hasn’t progressed to the heavy, flaky stage can usually be resurrected. They’ll need to be internally acid washed (then neutralised with a bicarbonate solution), before being painted with fuel-resistant sealant such as Red-Kote (www.ftrs.com.au). Jeff has had good success with this product. The Caddy’s tank was near-new on the inside and didn’t require treatment. The repairs and preventative maintenance were all spot-on.
After the tank was refitted, the Caddy returned to cruising the black top — minus the pungent odour of leaking fuel.


Comments