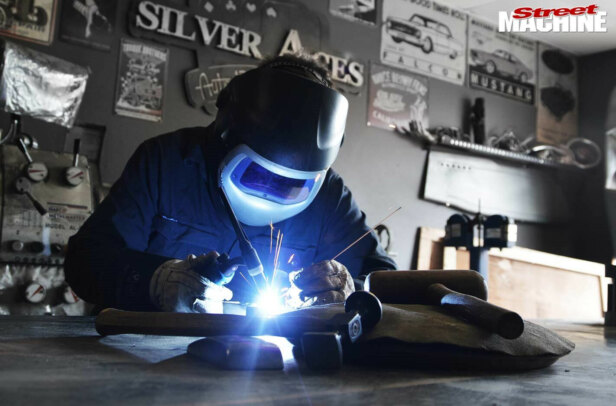
Here we’ll walk you through two of the most common ways to use an oxy torch to straighten a sheet-metal panel, via a process called heat-shrinking. There are a lot of misconceptions when it comes to applying heat to steel; hopefully the following will clear up some of those fallacies.
HOT SPOT SHRINKING
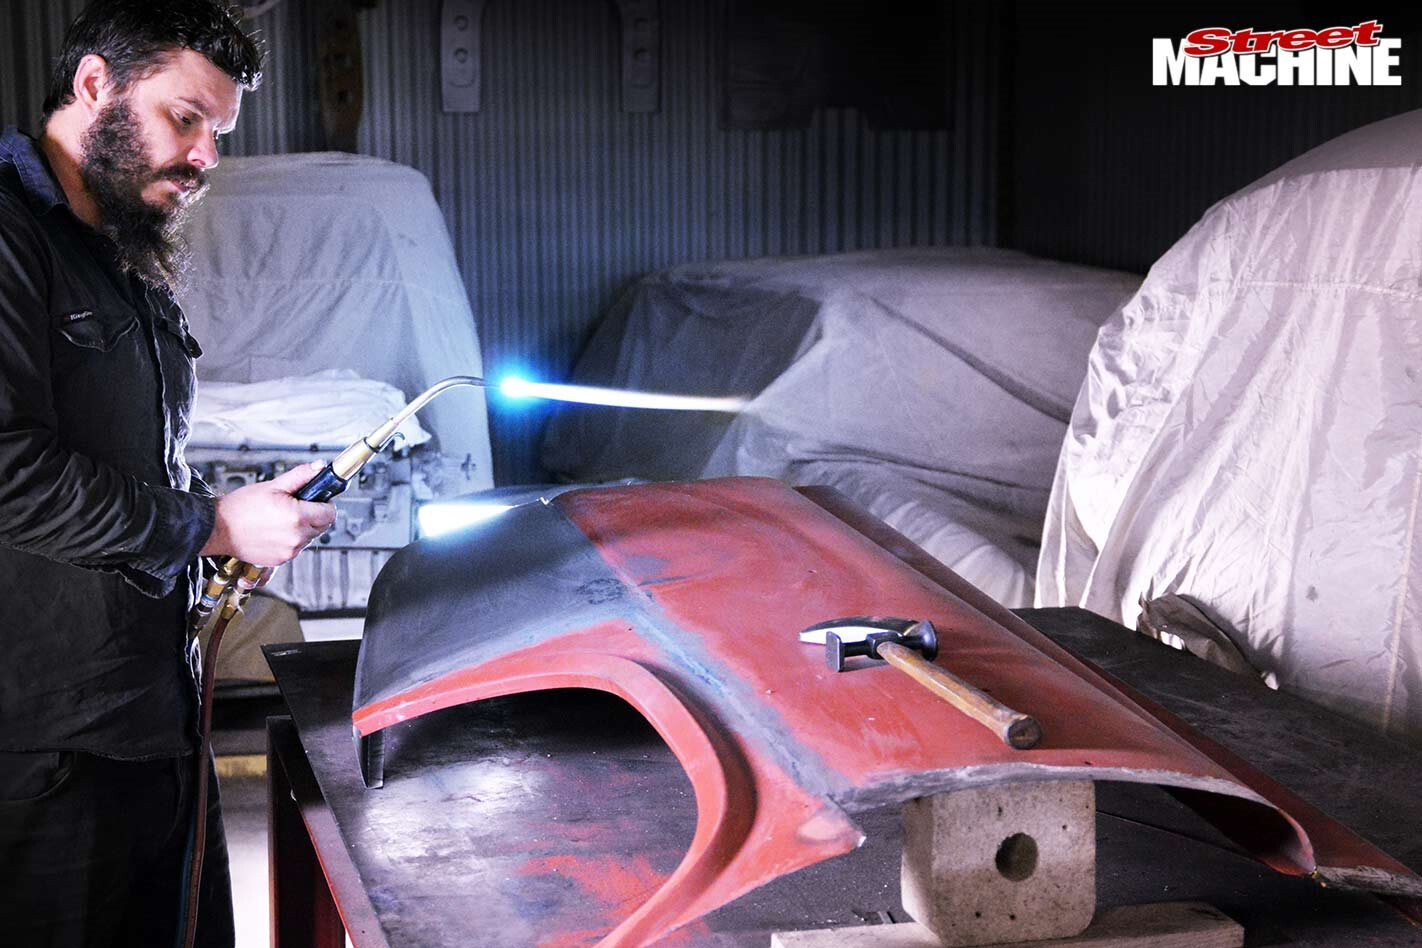
These high crown areas (shown above) can be caused by numerous things, including over-stretching the area from hammer-and-dolly work, or a patch panel not having the same contour as the area it has been fitted to after welding.
To fix the problem, you can apply heat from the torch to cause the metal to pull together, and therefore rise up. This might seem like the opposite of what you want to do to get rid of a high spot, but it’s not. The heat is doing two jobs here: pulling everything into a tight spot, and making the metal soft enough that when struck with a hammer the excess material is pushed out into the surrounding area, eliminating the build-up of too much material in that one area. Effectively, it gives us a ‘shrink’.
Above: Set up a flame and a correctly sized tip (a #6 in this case) – I like to use a blue flame with a soft tail. Setting the flame to just before the tail splits into two and it starts to hiss is a good place to be.
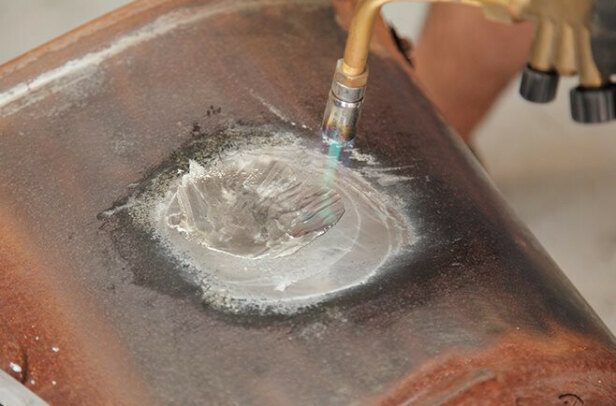
For the purpose of illustration, I’m using a piece of scrap that I can photograph without destroying the actual work piece. Start by heating a small area (around the size of a dollar coin) in a tight circular motion, working into the centre to give the metal a cherry.
Once red-hot, quickly work the area with hammer and dolly to gather the metal into the centre of the cherry, then deliver a swift blow to the centre of the heat-shrink to push the metal back into itself. A lot of folk like to cool the area with a damp/wet rag, but this practice does not pull the metal any tighter; if anything, it will harden the steel, making things worse. Letting the metal cool naturally is the better option, although this will take time and therefore requires patience.
For this job it’s great to have a second set of hands for the quick transition needed in between heating and hammering. As you can see, I prepared a pretty great torch holder some years ago!
Three separate shrinks are needed to pull the area back into place. Now things can be fine-tuned with a hammer, or similar.
TIGHTENING UP A LOW SPOT
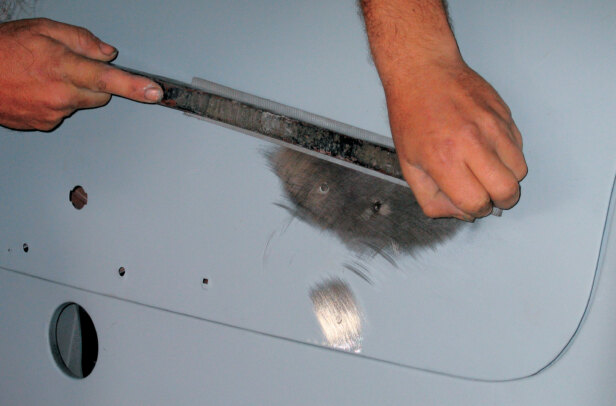
A low spot – or dent – on a panel is basically an area that has been over-stretched. The stretch might be from a hard strike in the centre of the damaged area, or it could be the outskirts of the damaged area holding it in. The trick here is to determine the area that actually requires the heat to tighten and pop things back into shape.
With this technique, we are giving the area a quick file to identify the low. Using the torch with a slightly more aggressive flame, a real quick lick to the panel is all that is required for it to rise, tightening/shrinking the area. Different-size lows will require this process to be repeated numerous times, with cooling in between. Getting in and out without overheating the area is the goal; if you find you have gone too far, you may need to fix it by using the ‘hot spot’ technique.
Let the panel cool. Compressed air can be used to assist with cooling on this type of work, but patience once again is key. Once happy with the results, the area can then be fine-tuned.
Using an oxy (oxygen/acetylene) torch set-up is going to give the best results. Other types of torches such as handheld MAPP gas lack the punch and pinpoint accuracy required.
Other tools such as a stainless shrinking disc work great, depending on the area that requires attention. Applying the right amount of heat to the right areas can be a real science in itself, as too much heat will easily destroy what you are trying to achieve. But once you grasp the concept of how the metal is going to react, it’ll be smiles all ’round.
Comments