Just as high-quality paint is all about preparation, so too is top-shelf chroming — or bright work as it’s more properly called.
While the chrome itself may go on quickly, if it’s going to look good and last for years, then long and laborious preparation is required.
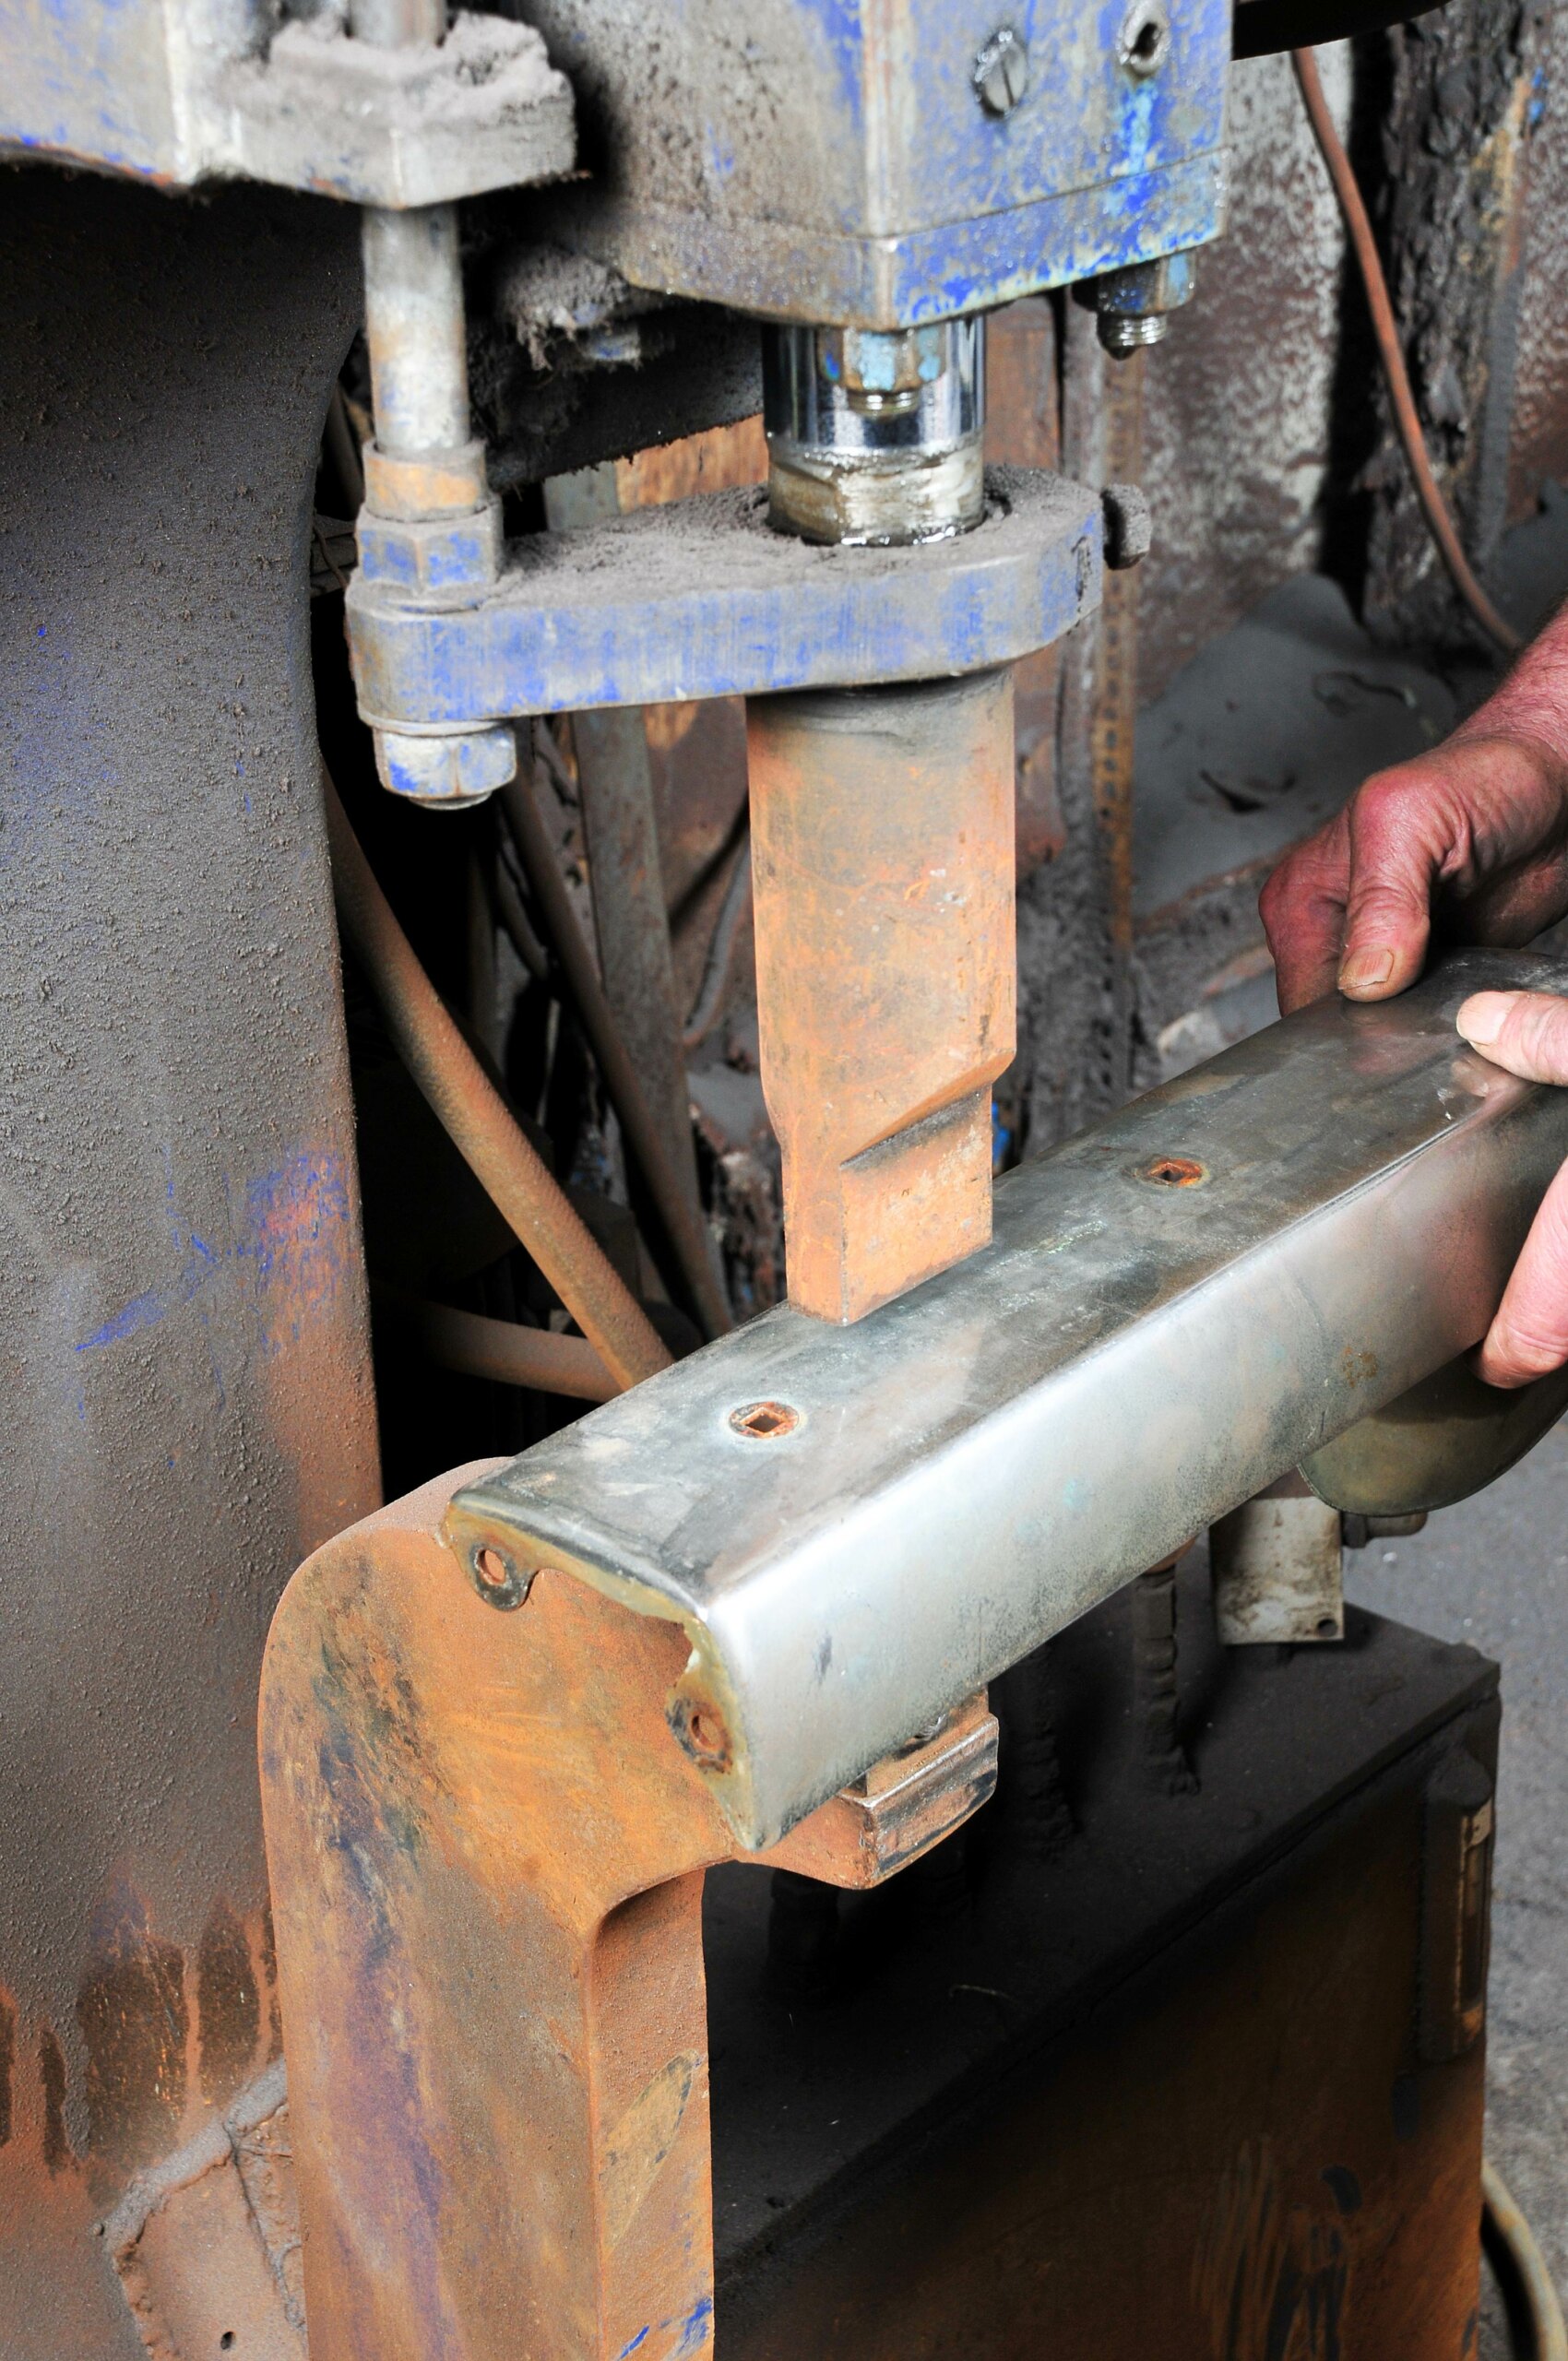
Bumper bars are usually the most obvious chrome components on a car and are a constant source of work in plating shops. Given the role they play on a car, it’s not surprising that many need a bit of repair work now and then. Once that’s completed they have to be stripped of existing plating, which is done in tanks of noxious chemicals.
First published in the August 2011 issue of Street Machine

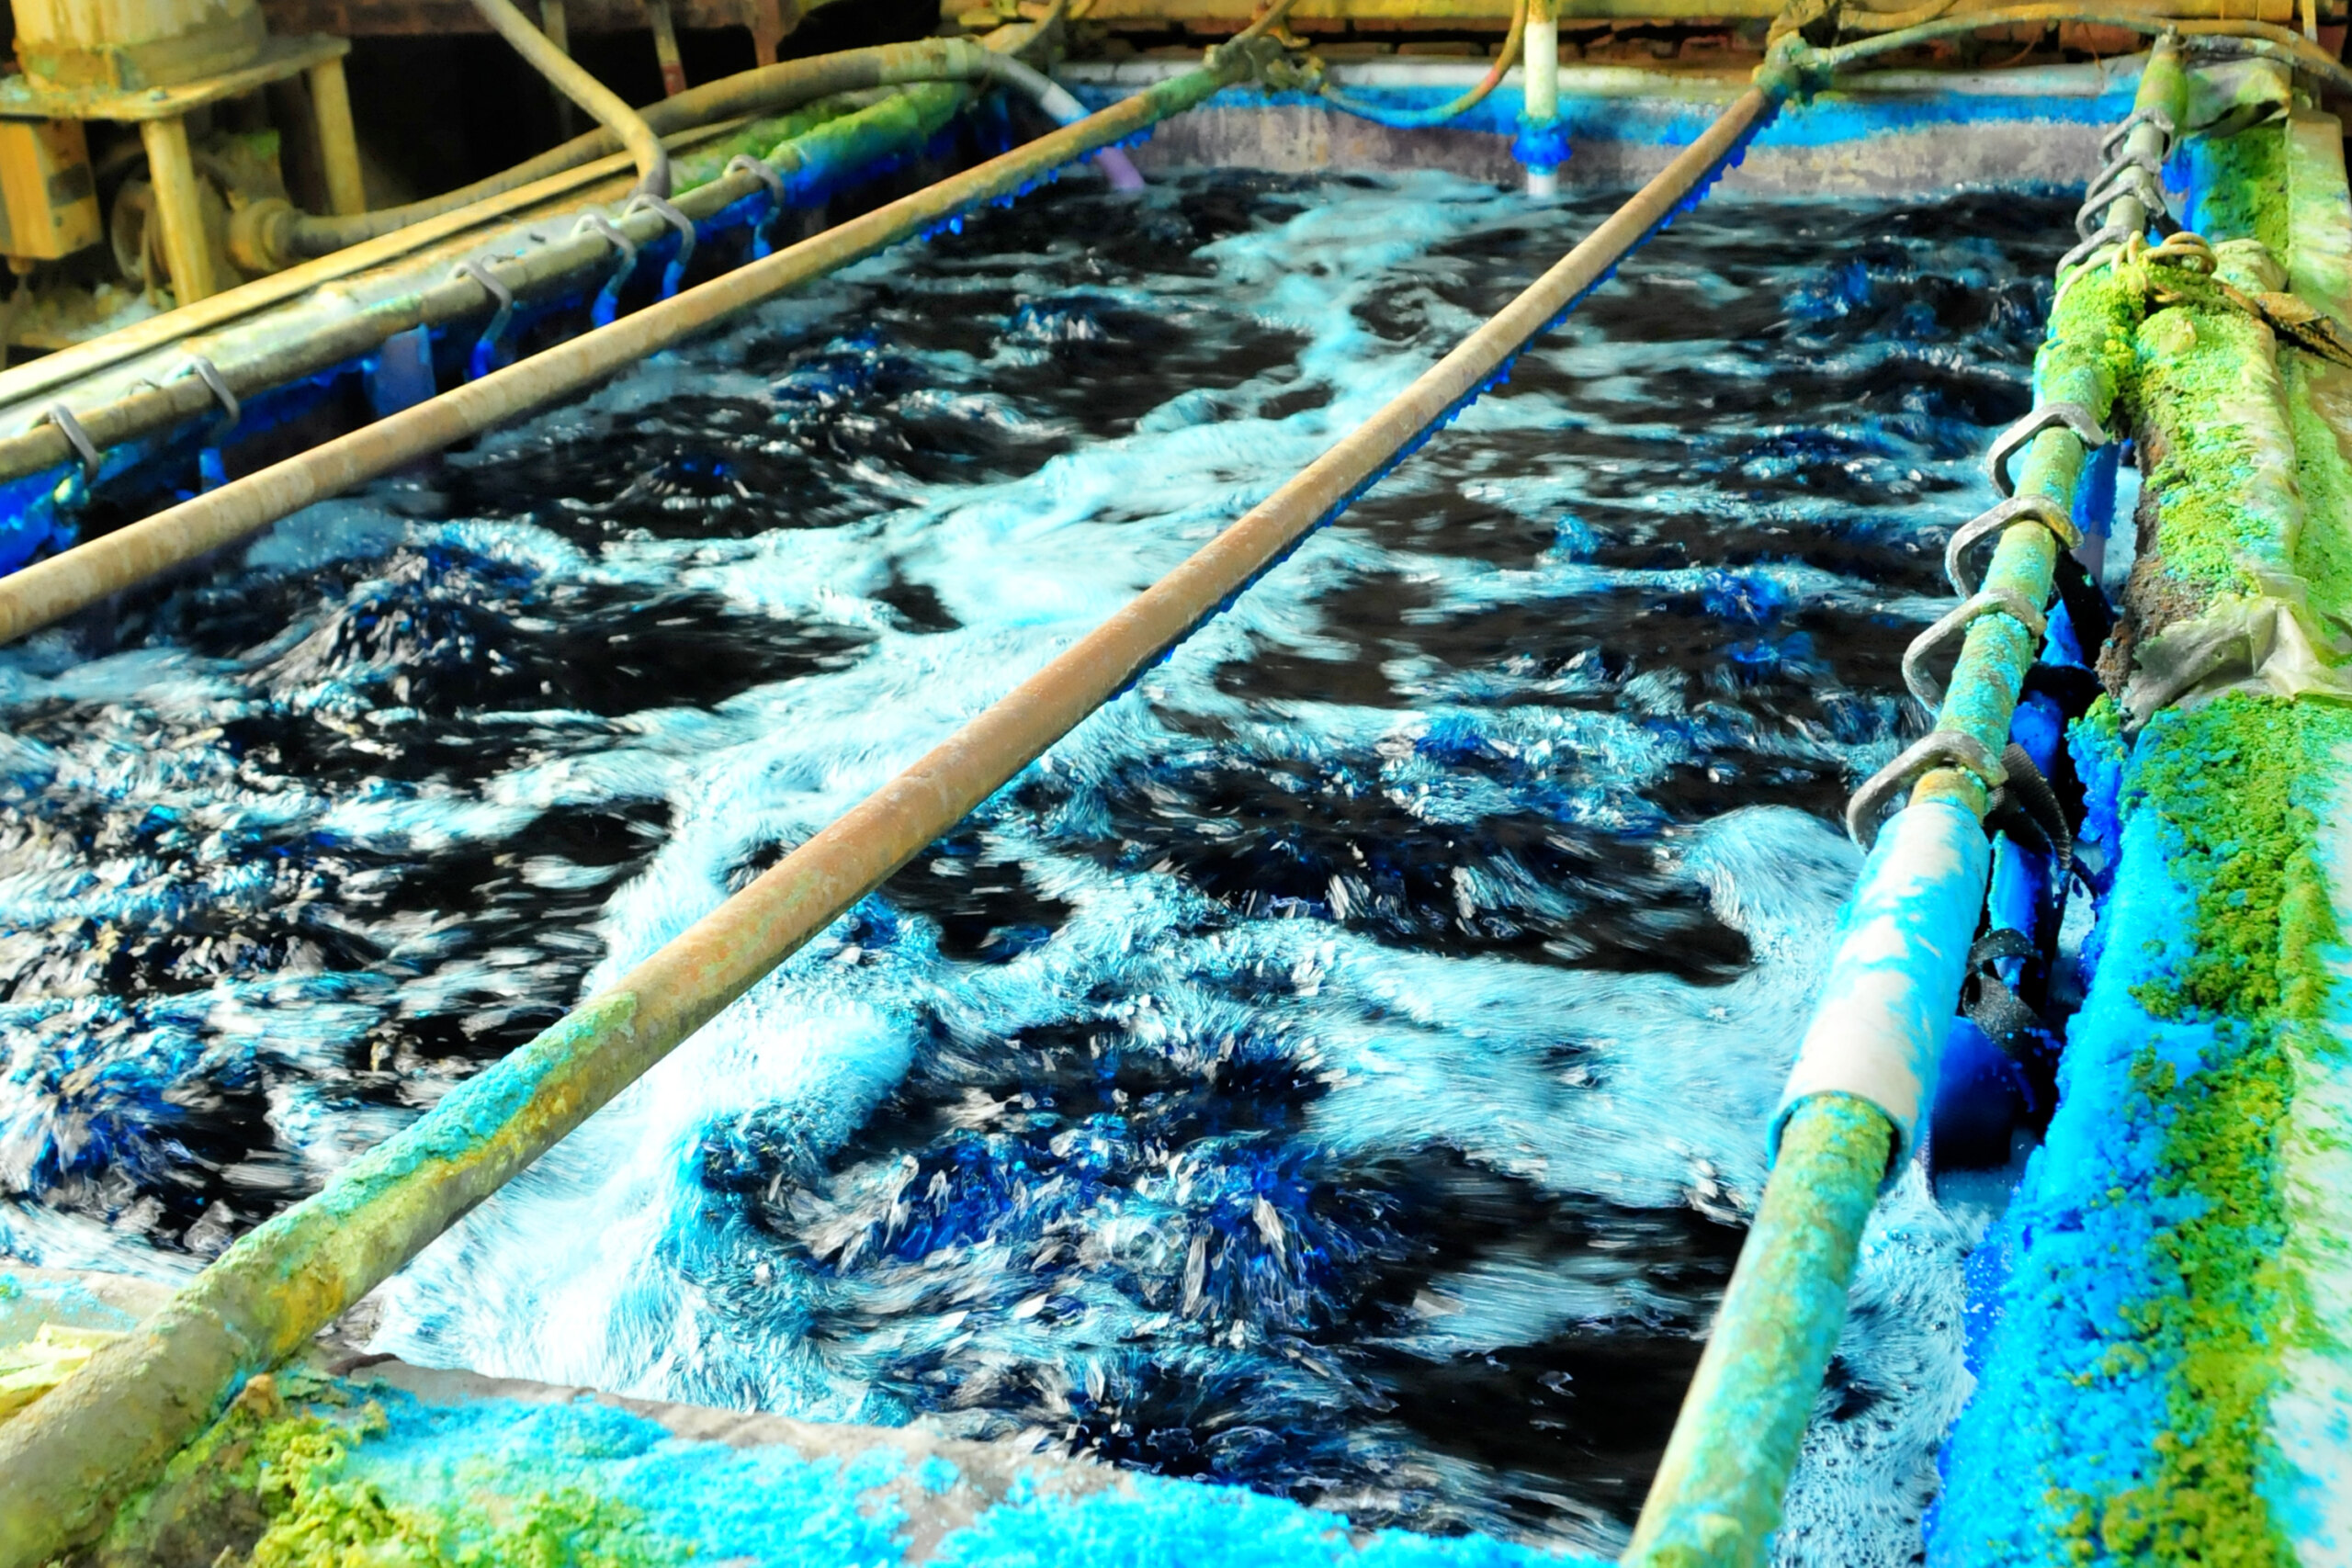
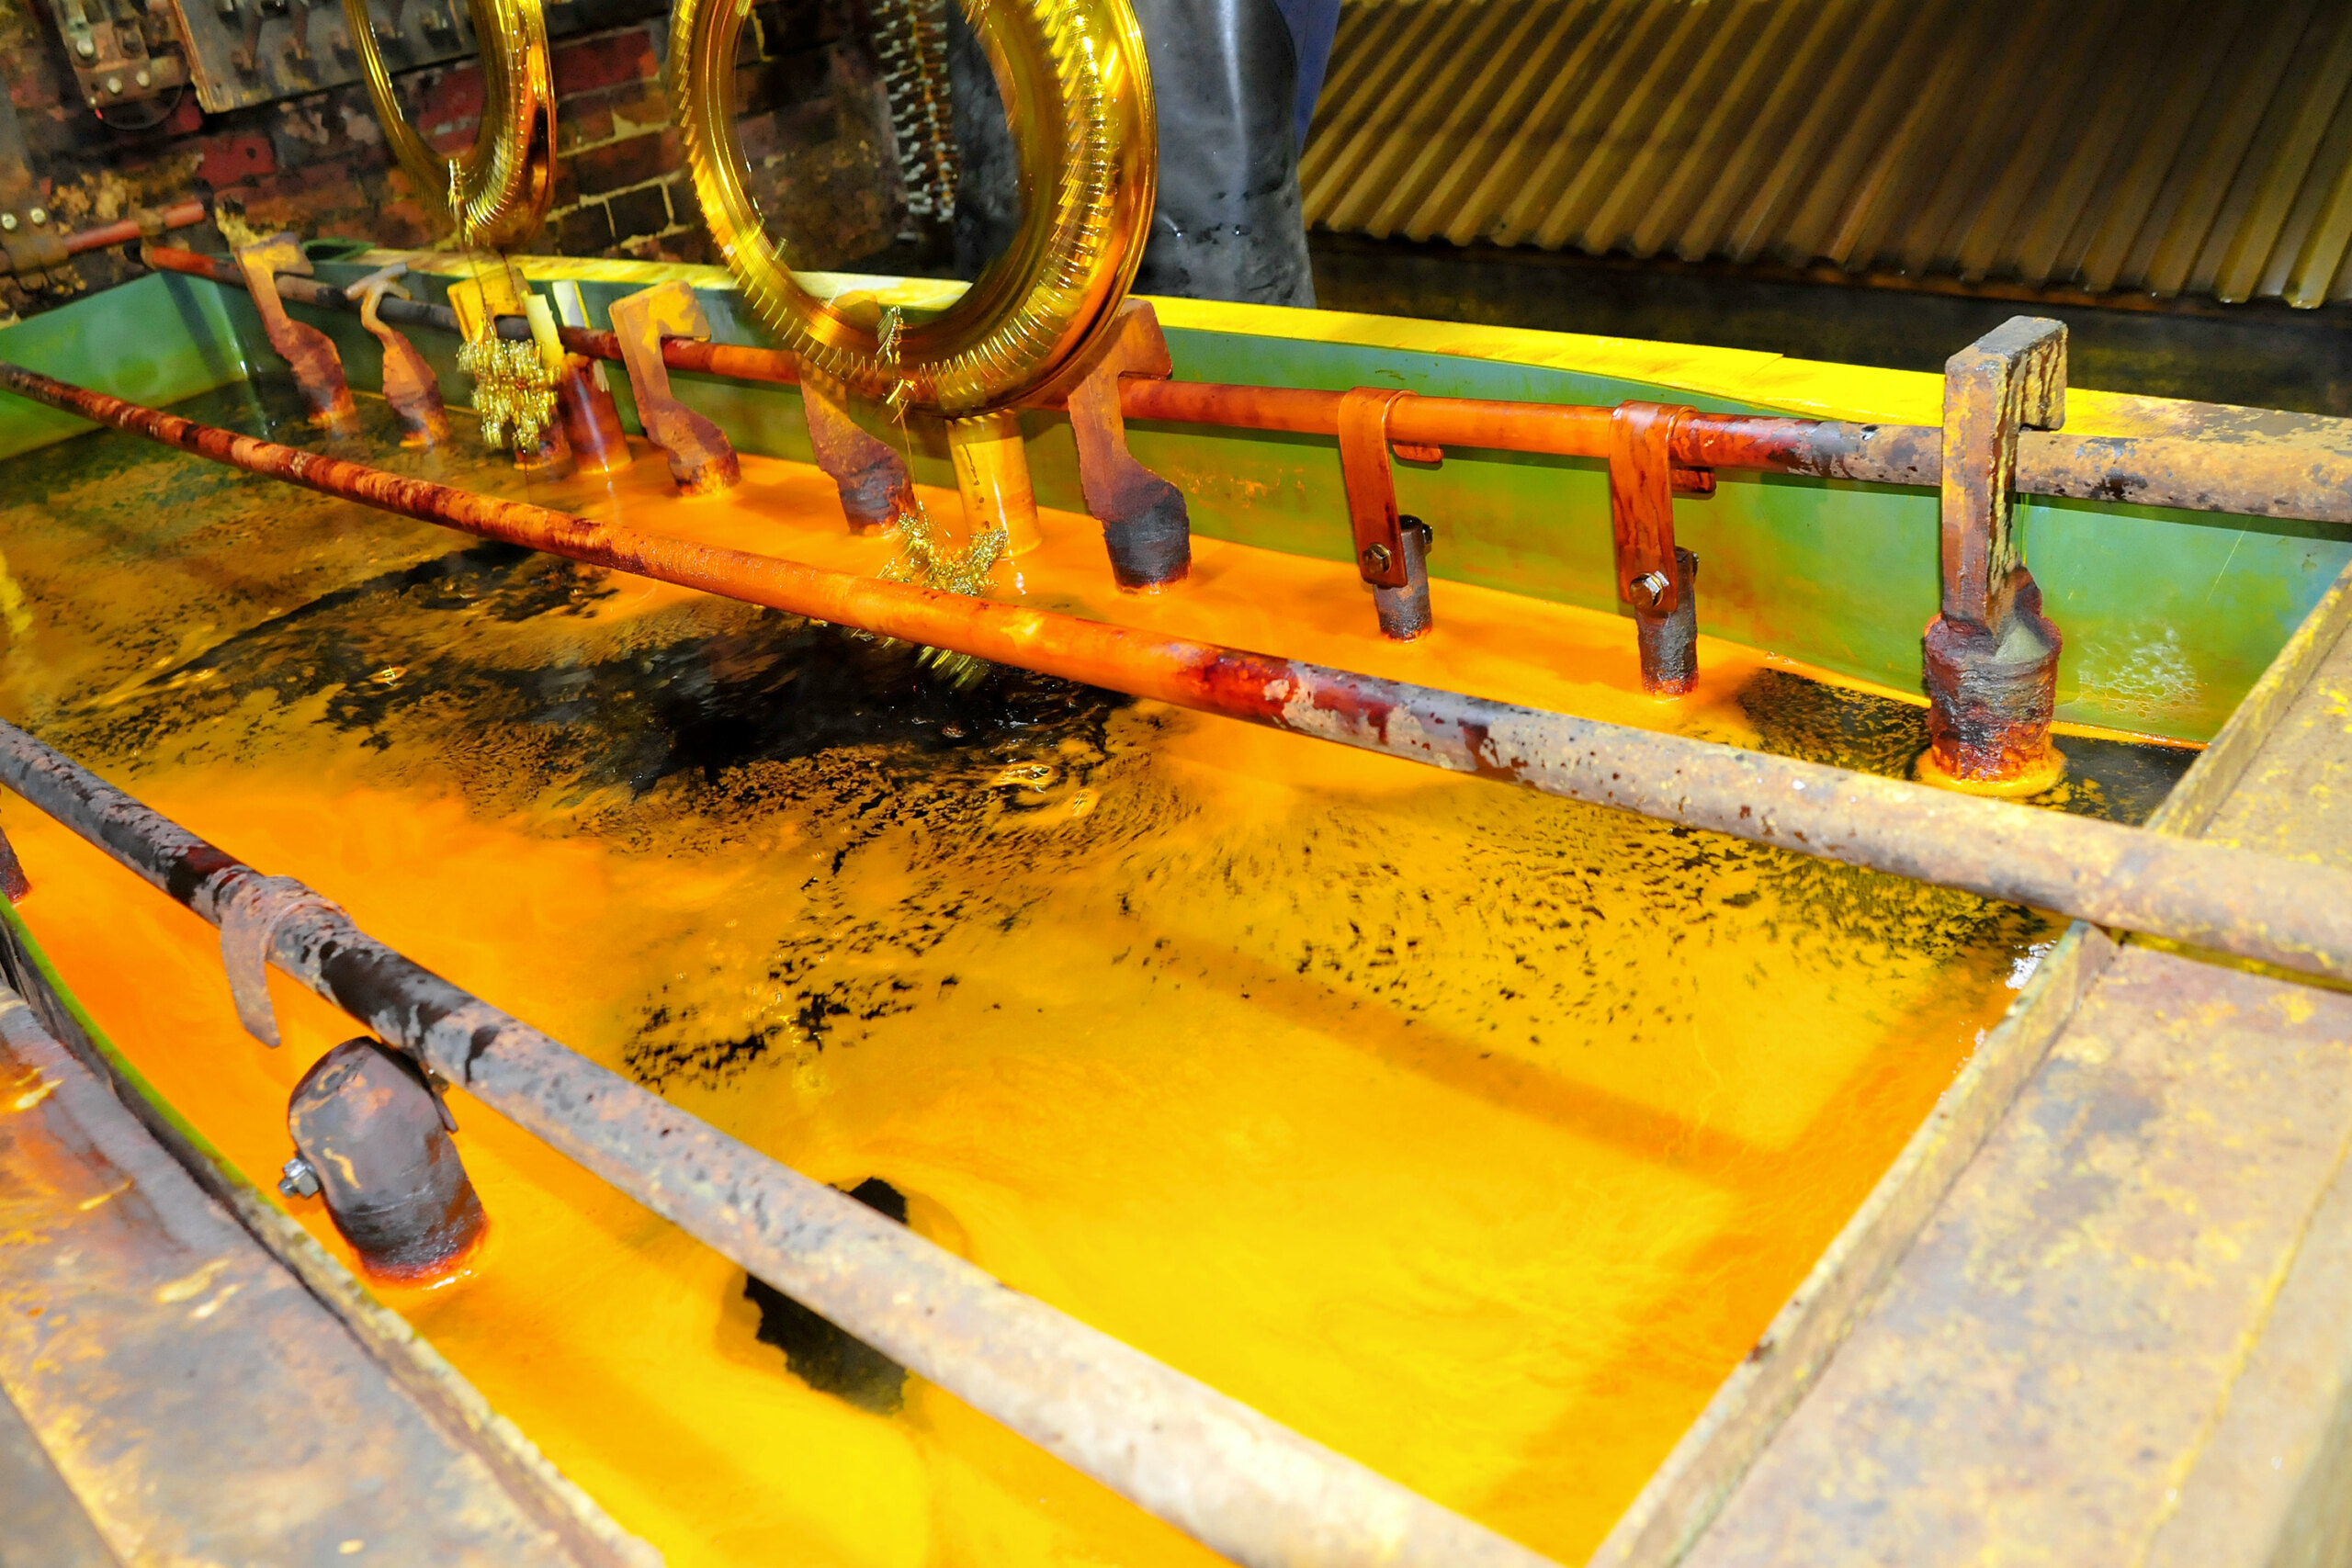
REJUVENATING BATH
A caustic tank removes paint and a hydrochloric acid bath deals with rust, even from hard-to-reach nooks. Sodium hydroxide strips old chrome, which only takes a couple of minutes. Sulphuric acid is more intense and removes all plating, back to bare metal. This can take half an hour on a bumper but a diecast part may only need 10 minutes — the exact time required depends on the part. Too long, and the part will be damaged. Experience and visual checks are the guide.
DAMAGE CONTROL
After stripping, any repairs needed can be made by welding, bronzing or soldering, depending on the base metal and its thickness.
If welding repairs are required on a steel part, it’s important to use plain mild steel filler wire or rod because general welding filler wire or rod contains stainless steel, which cannot be plated. John Temme, owner of Pro-Plating, says that well-meaning owners sometimes repair parts without knowing this, then find their work has to be removed. Naturally, this increases the cost of the job.
Diecast parts can also be weld-repaired but once again you need to use the correct materials and know what you’re doing. Great care is needed because it’s fragile metal to begin with and corroded parts won’t stand much heat.
Letting the experts do the job often turns out to be less expensive and usually results in a faster turnaround. Of course, if you have the skills needed then you might be able to take care of the repairs but platers are like painters and it’s very challenging to work to their standards. And the better they are, the fussier they get.
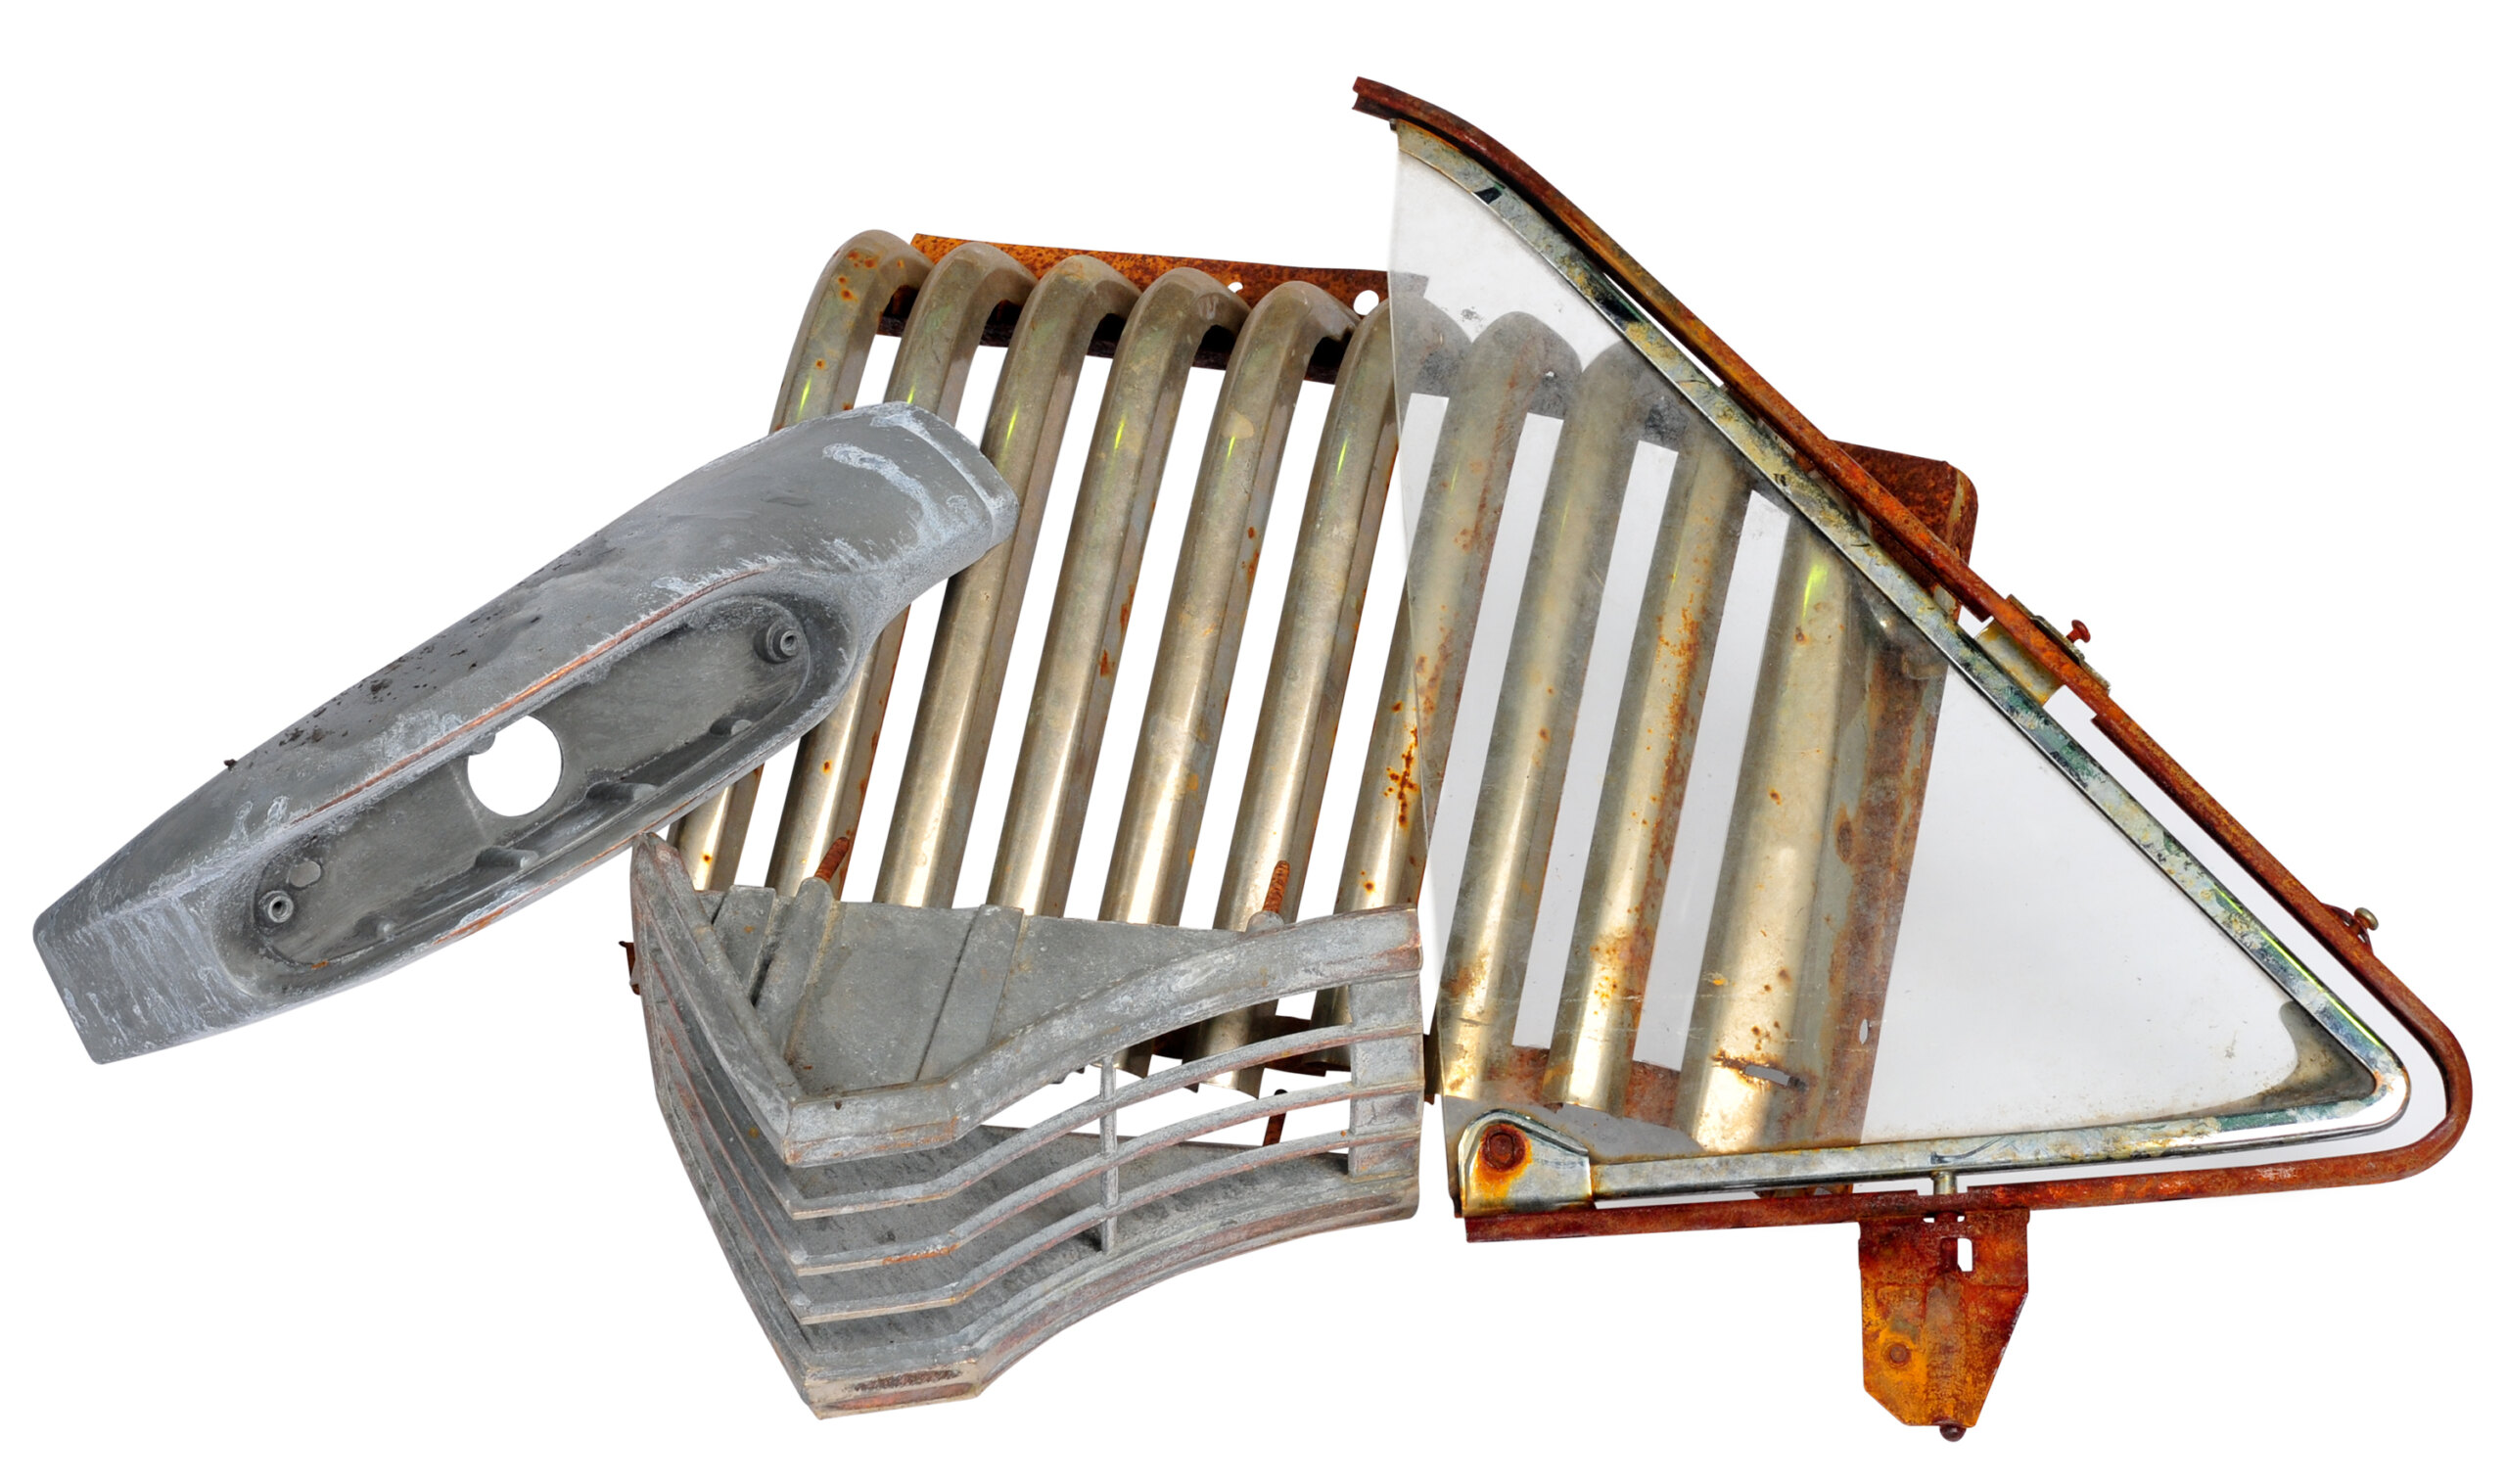
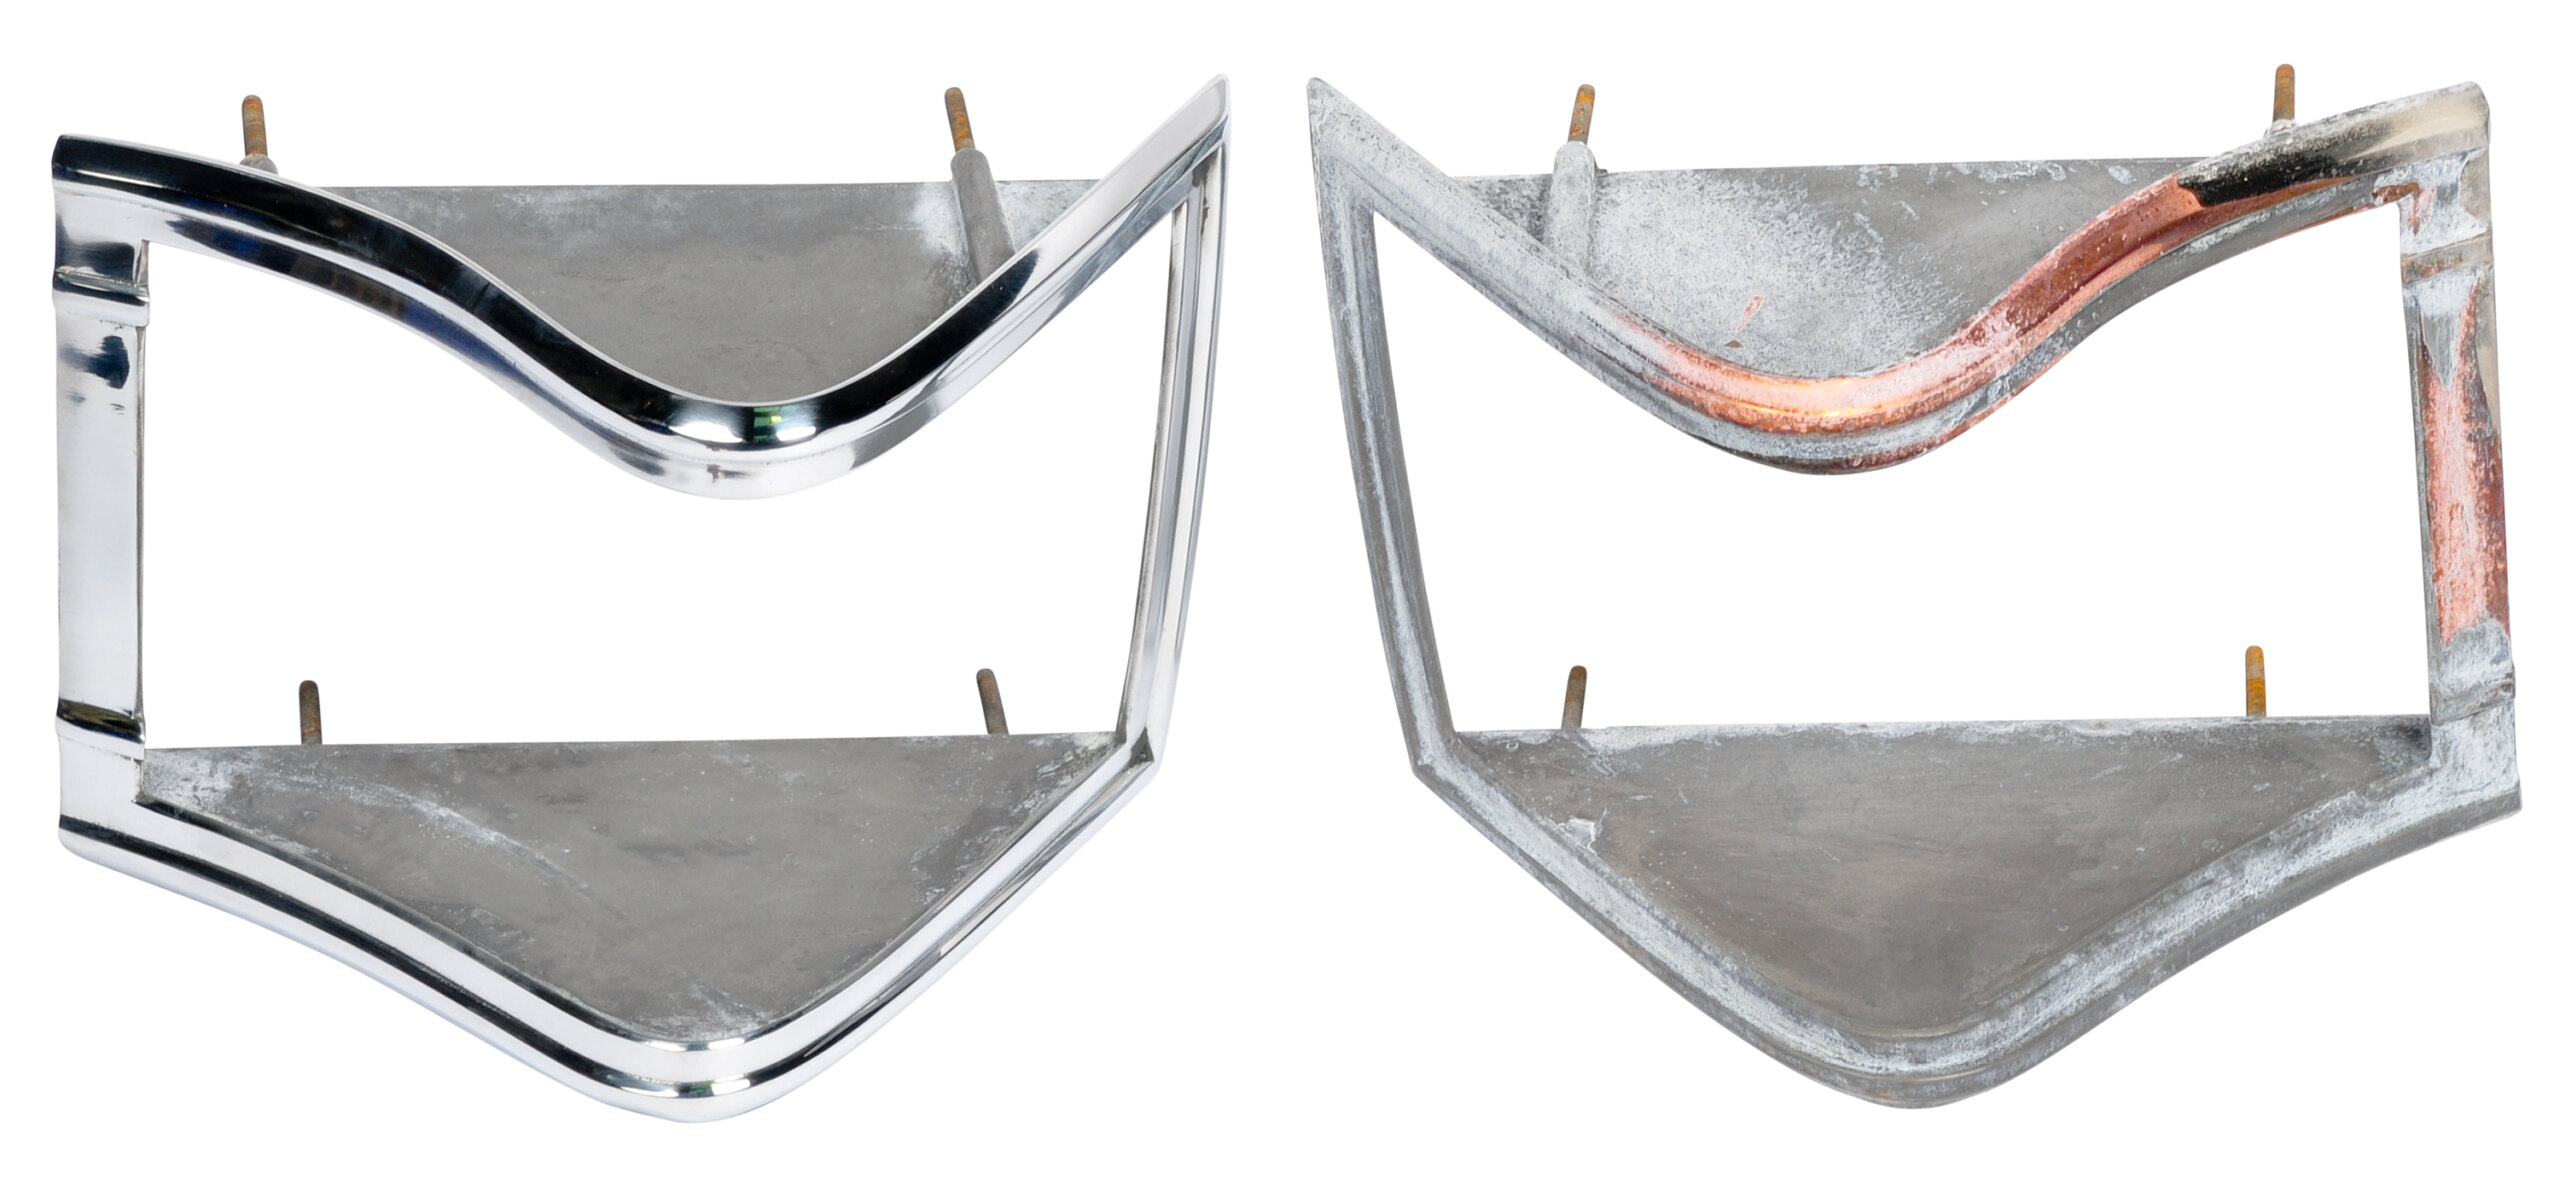
BOTTOM: Diecast parts like this FB/EK tail-light bezel are tricky. If left in the sodium hydroxide and sulphuric acid baths too long they’ll be damaged, so any remaining chrome, nickel and copper must be removed by hand
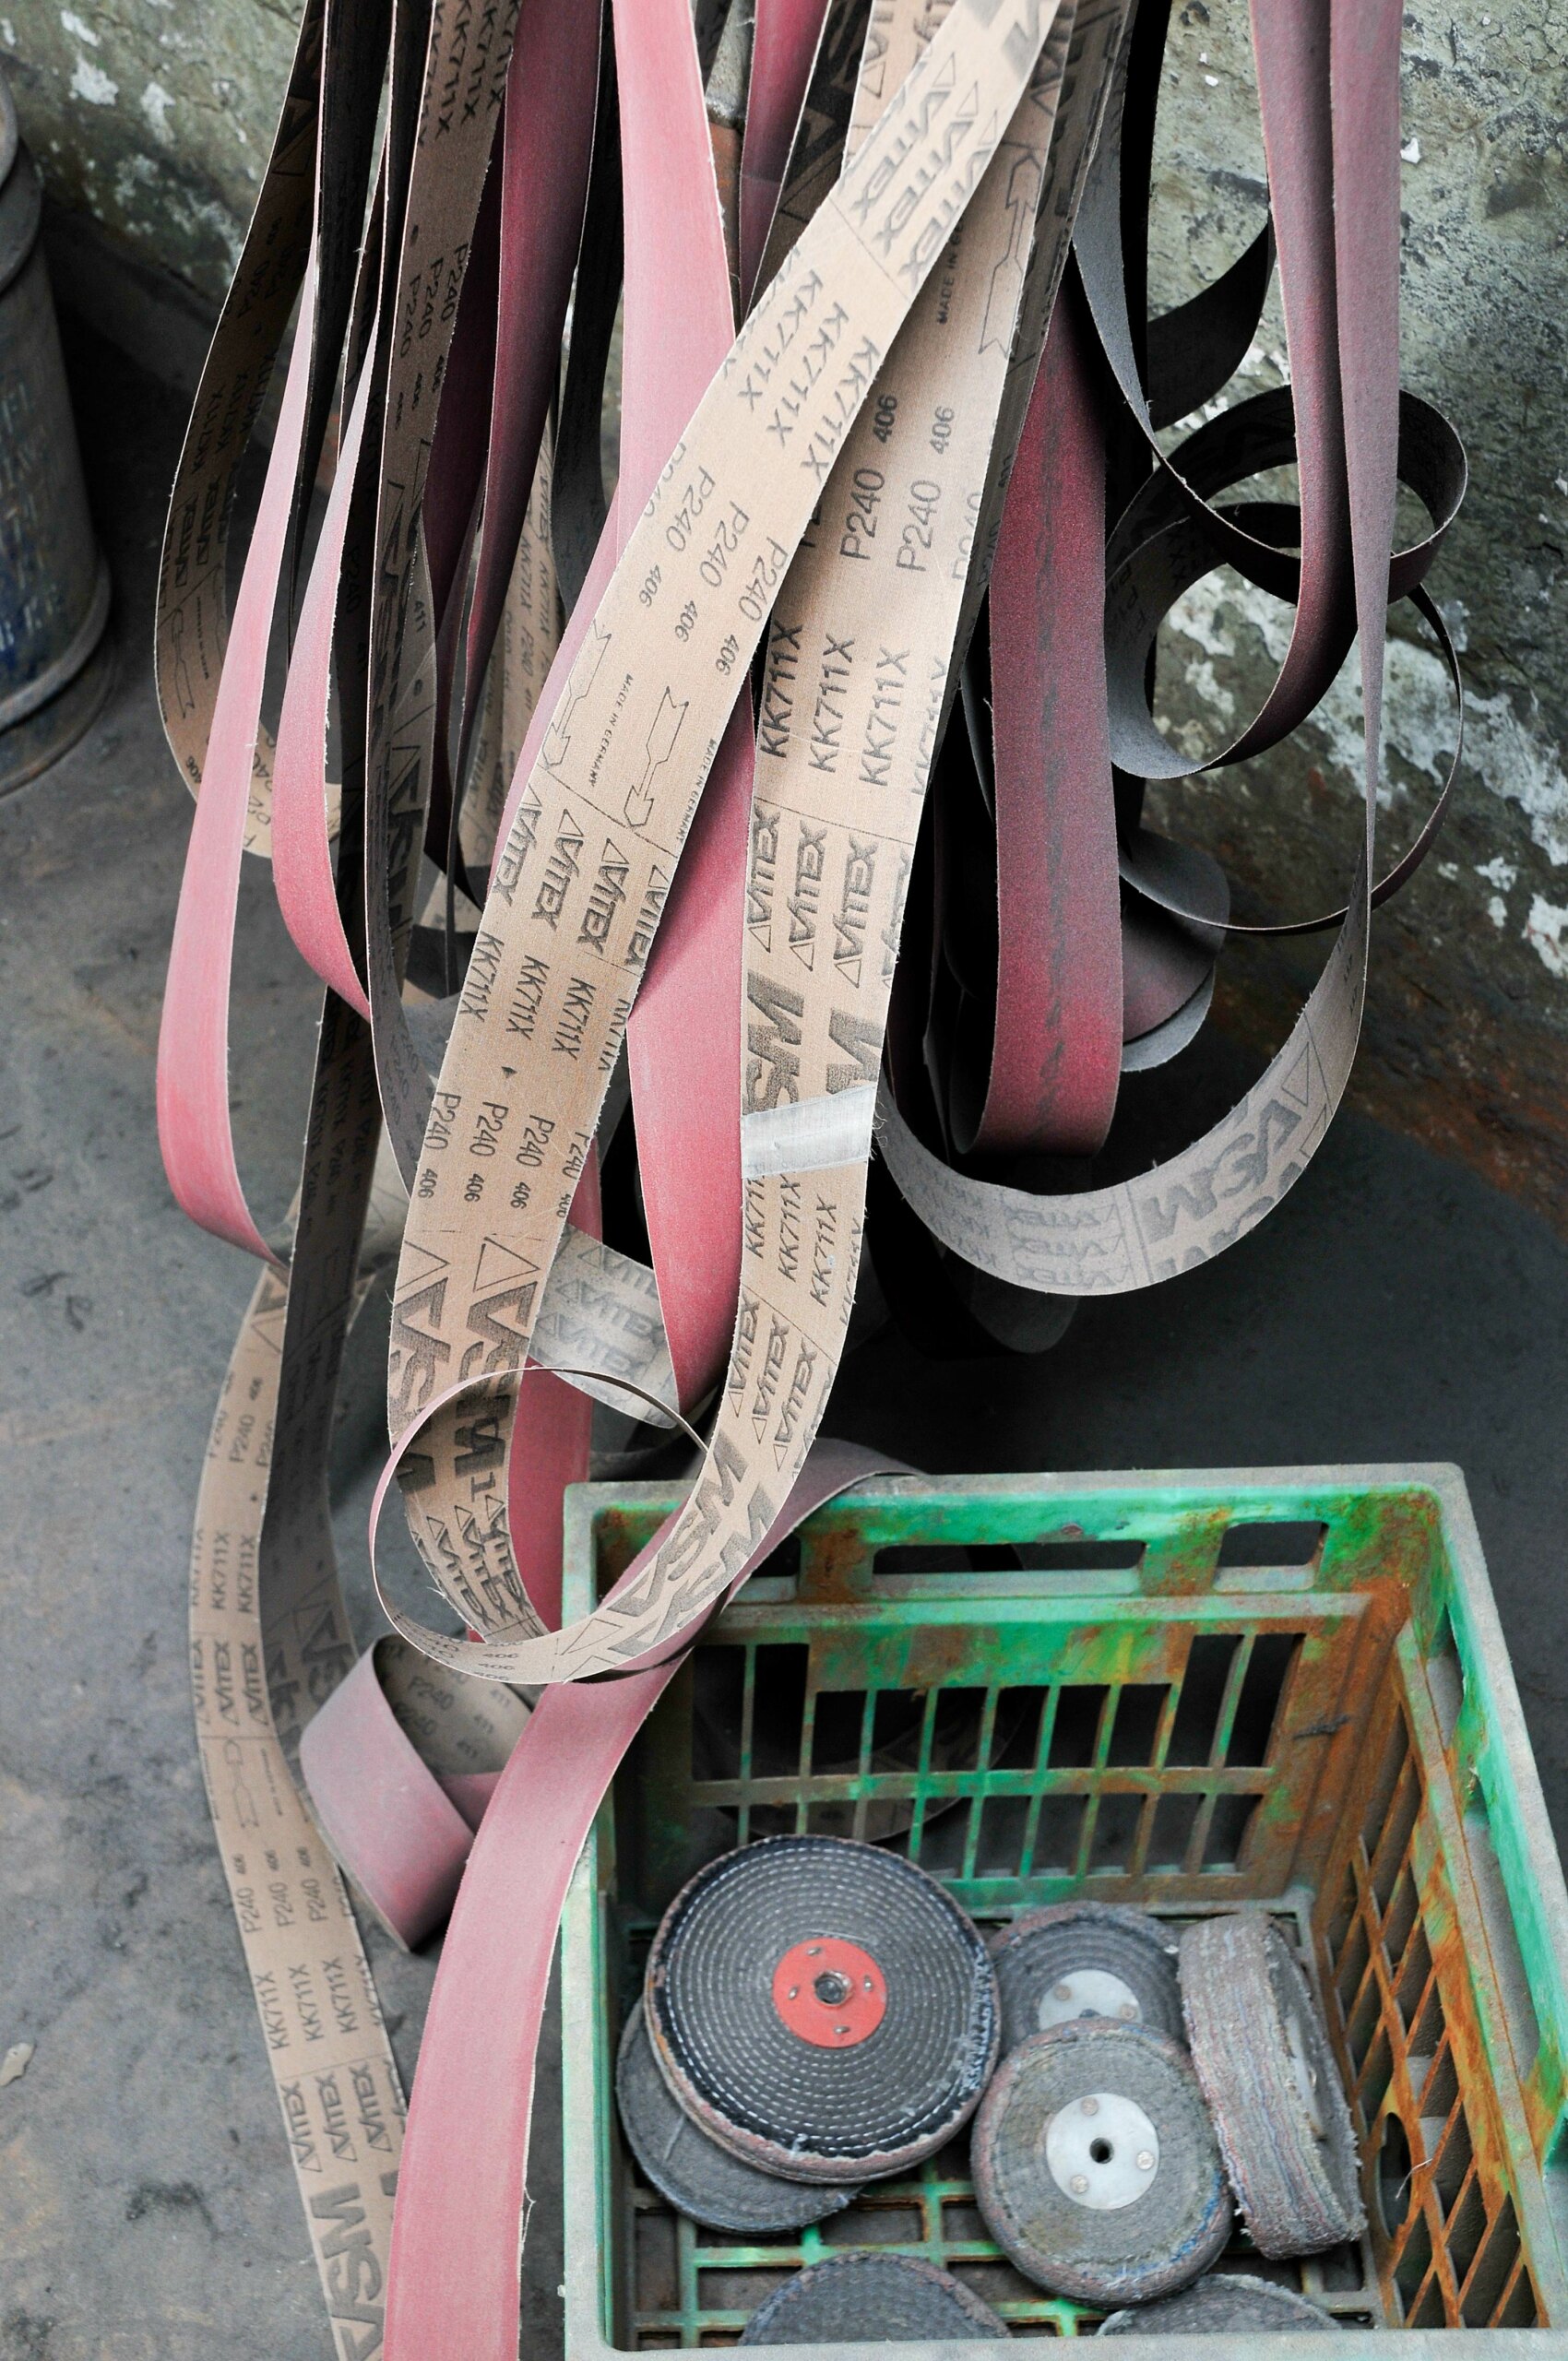
SMOOTHING THINGS OVER
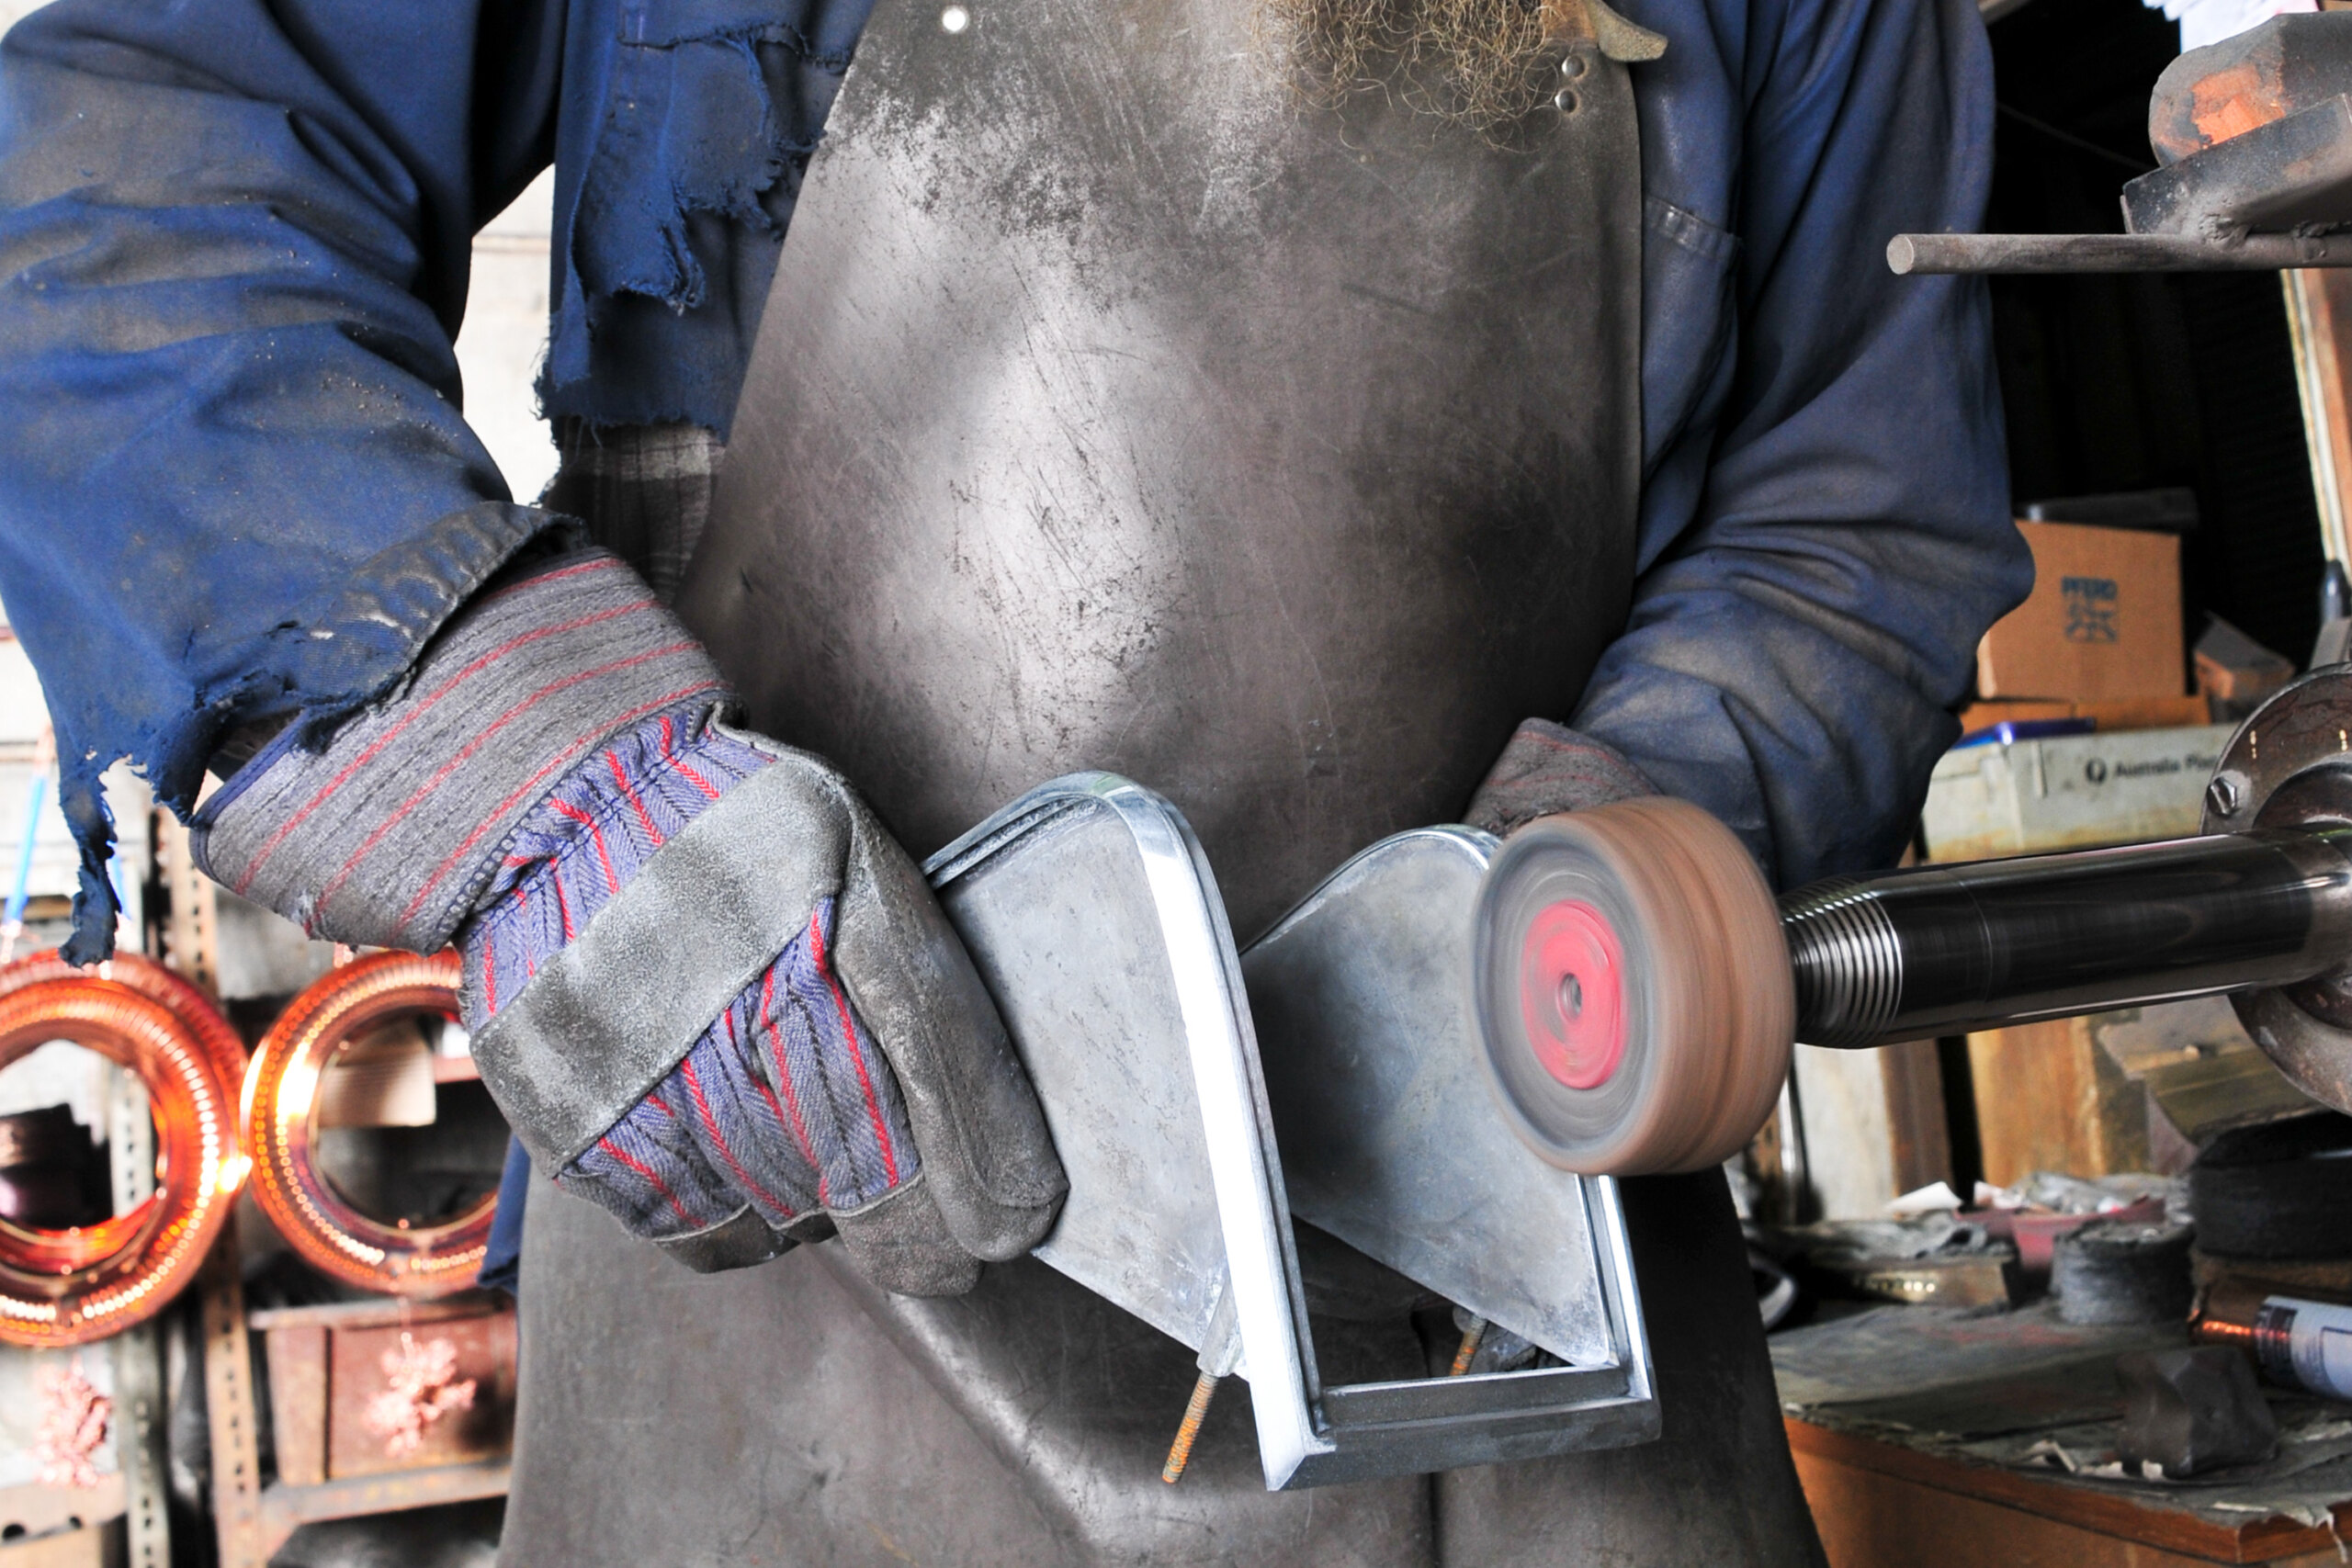
Once the parts have been stripped and repaired, they’re polished in preparation for plating using increasingly fine abrasive belts and wheels — achieving the finest finish possible during this initial polishing process will create a base suitable for the best chrome you can get.
Harley, one of Pro-Plating’s specialists with nearly 40 years of experience, suggests that early Aussie cars were built down to a price rather than up to a standard. Ford and Chrysler sub-contracted out the plating of many of their chrome parts and suffered lower standards because of it. However, Holden did almost all of its plating in-house — the company had the largest plating plant in the southern hemisphere at the time. Harley’s uncle worked in it and the quality control was superior to external platers. He says that the higher quality of the Holden parts is quite evident on the polisher even these days.
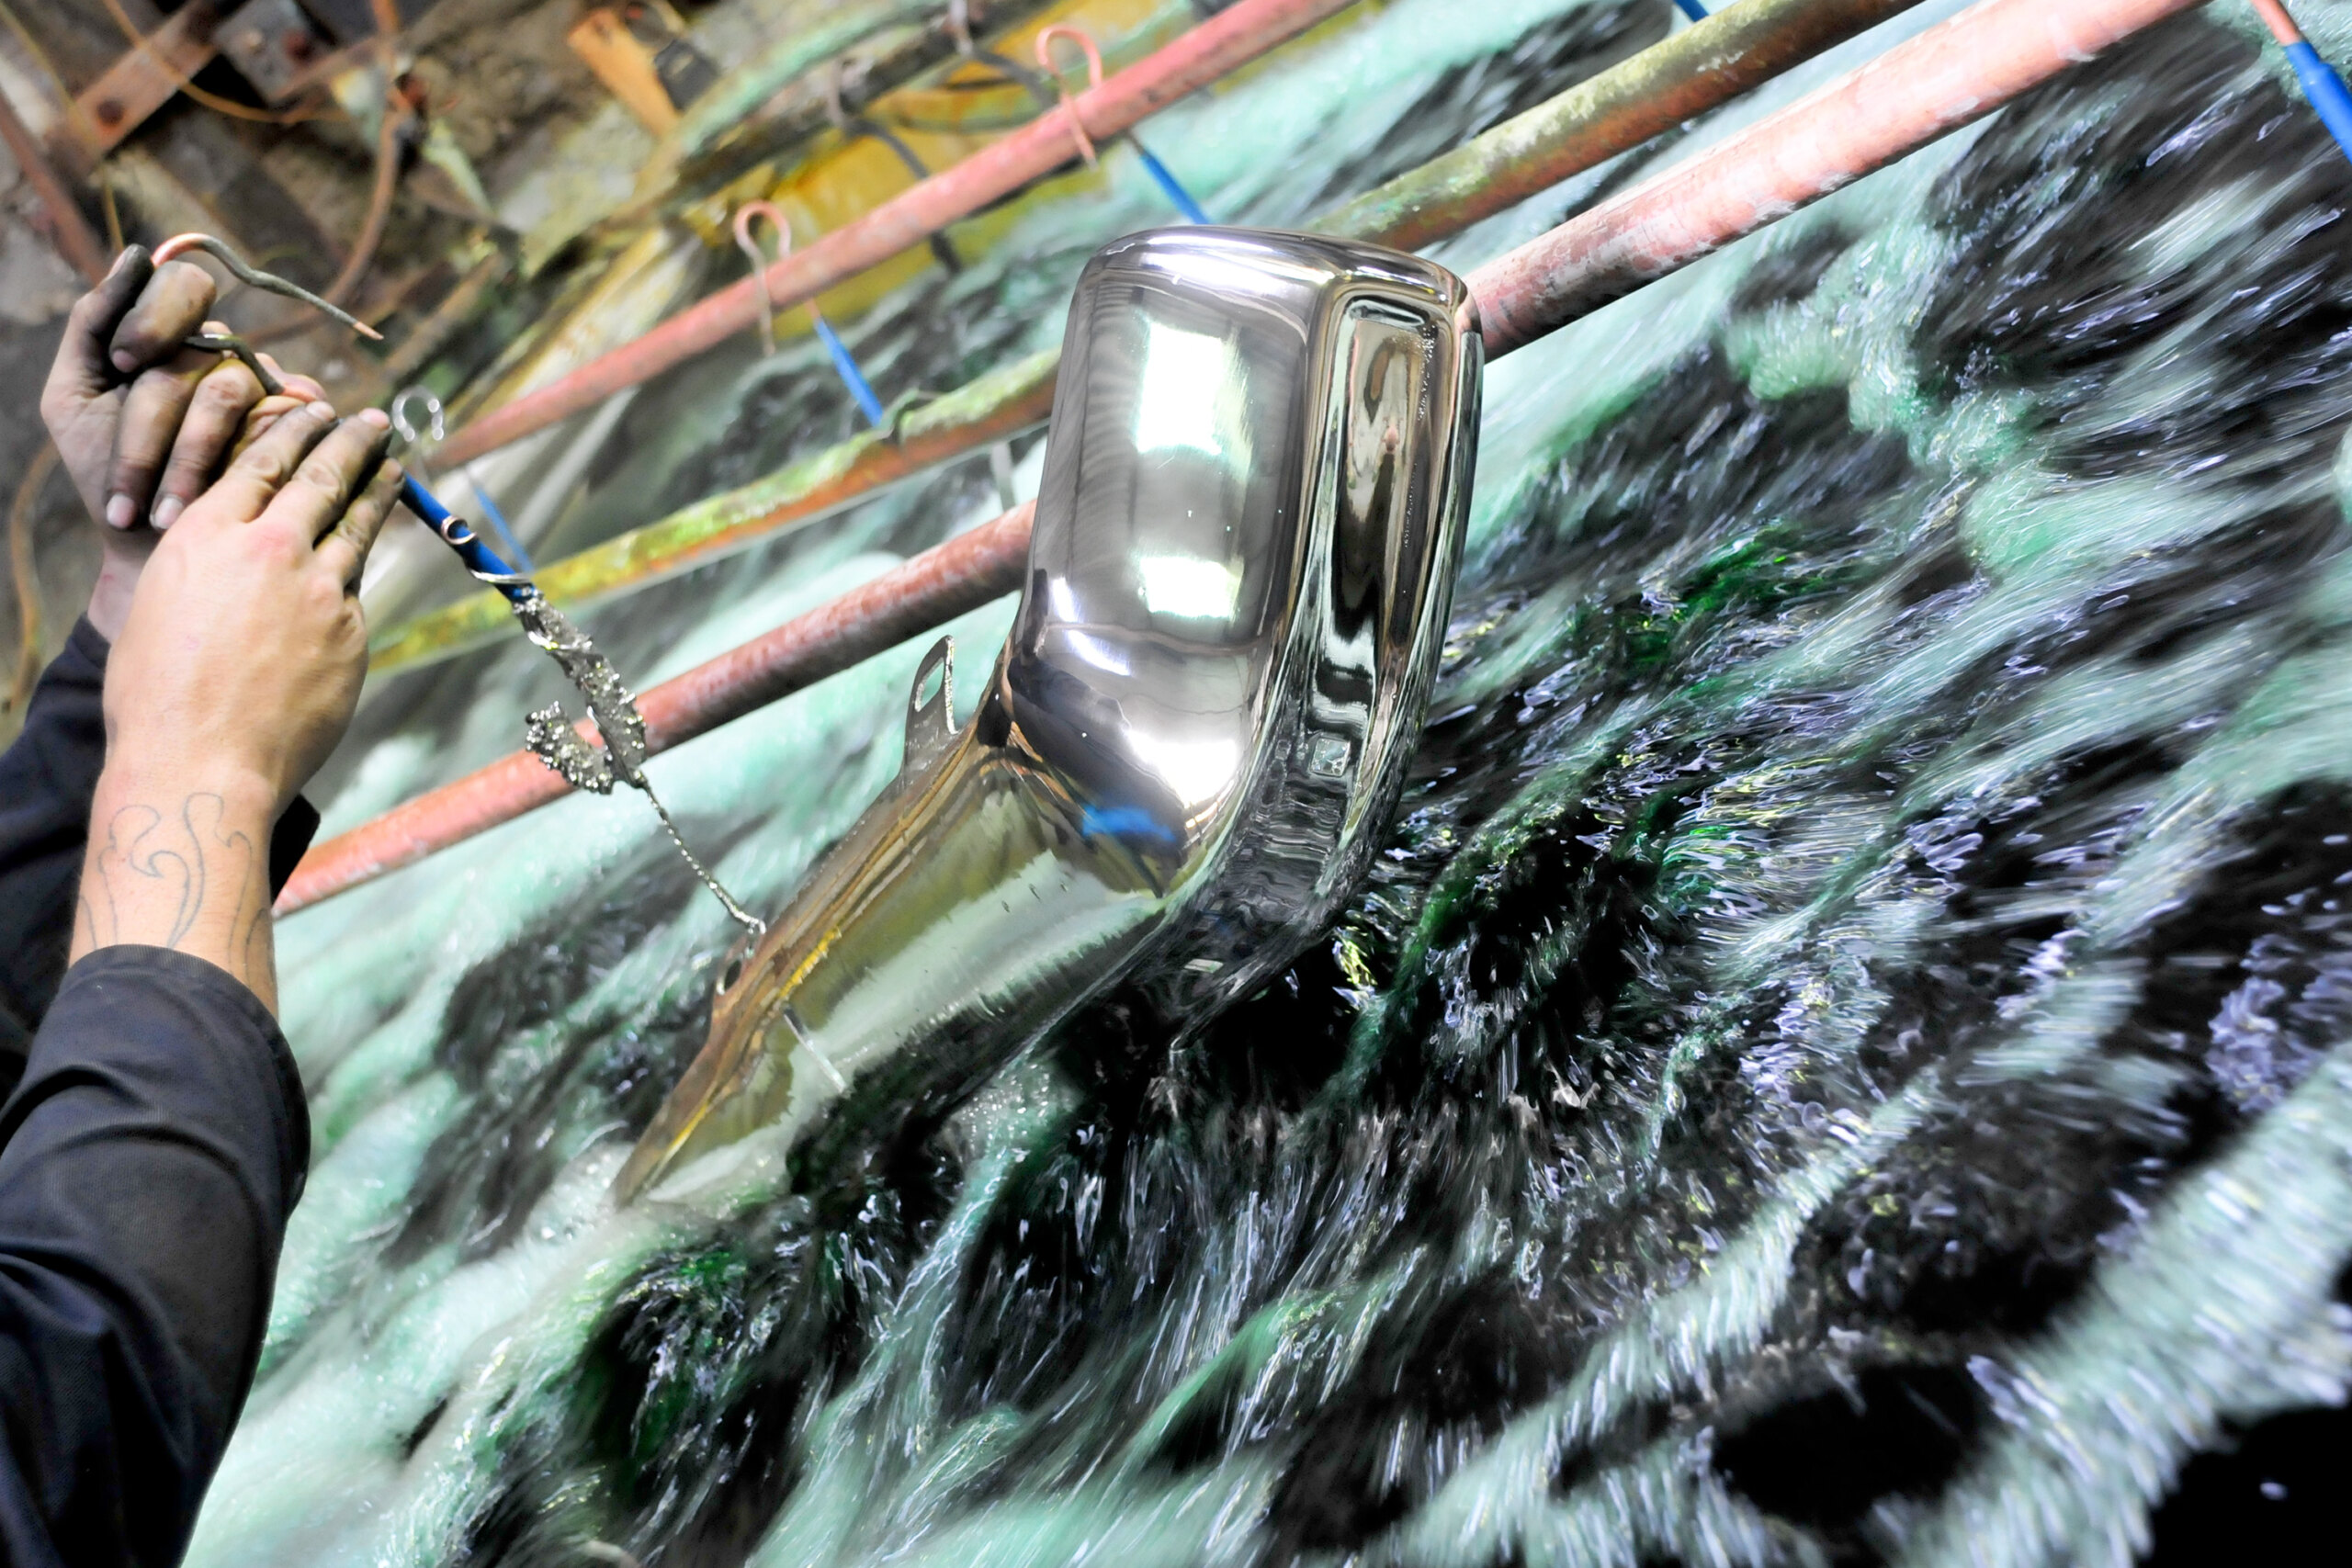
RIGHT: Parts spend no more than a minute (usually only 15-20 sec) in the highly poisonous chrome bath. After rinsing away the residue and drying, they’re good to go
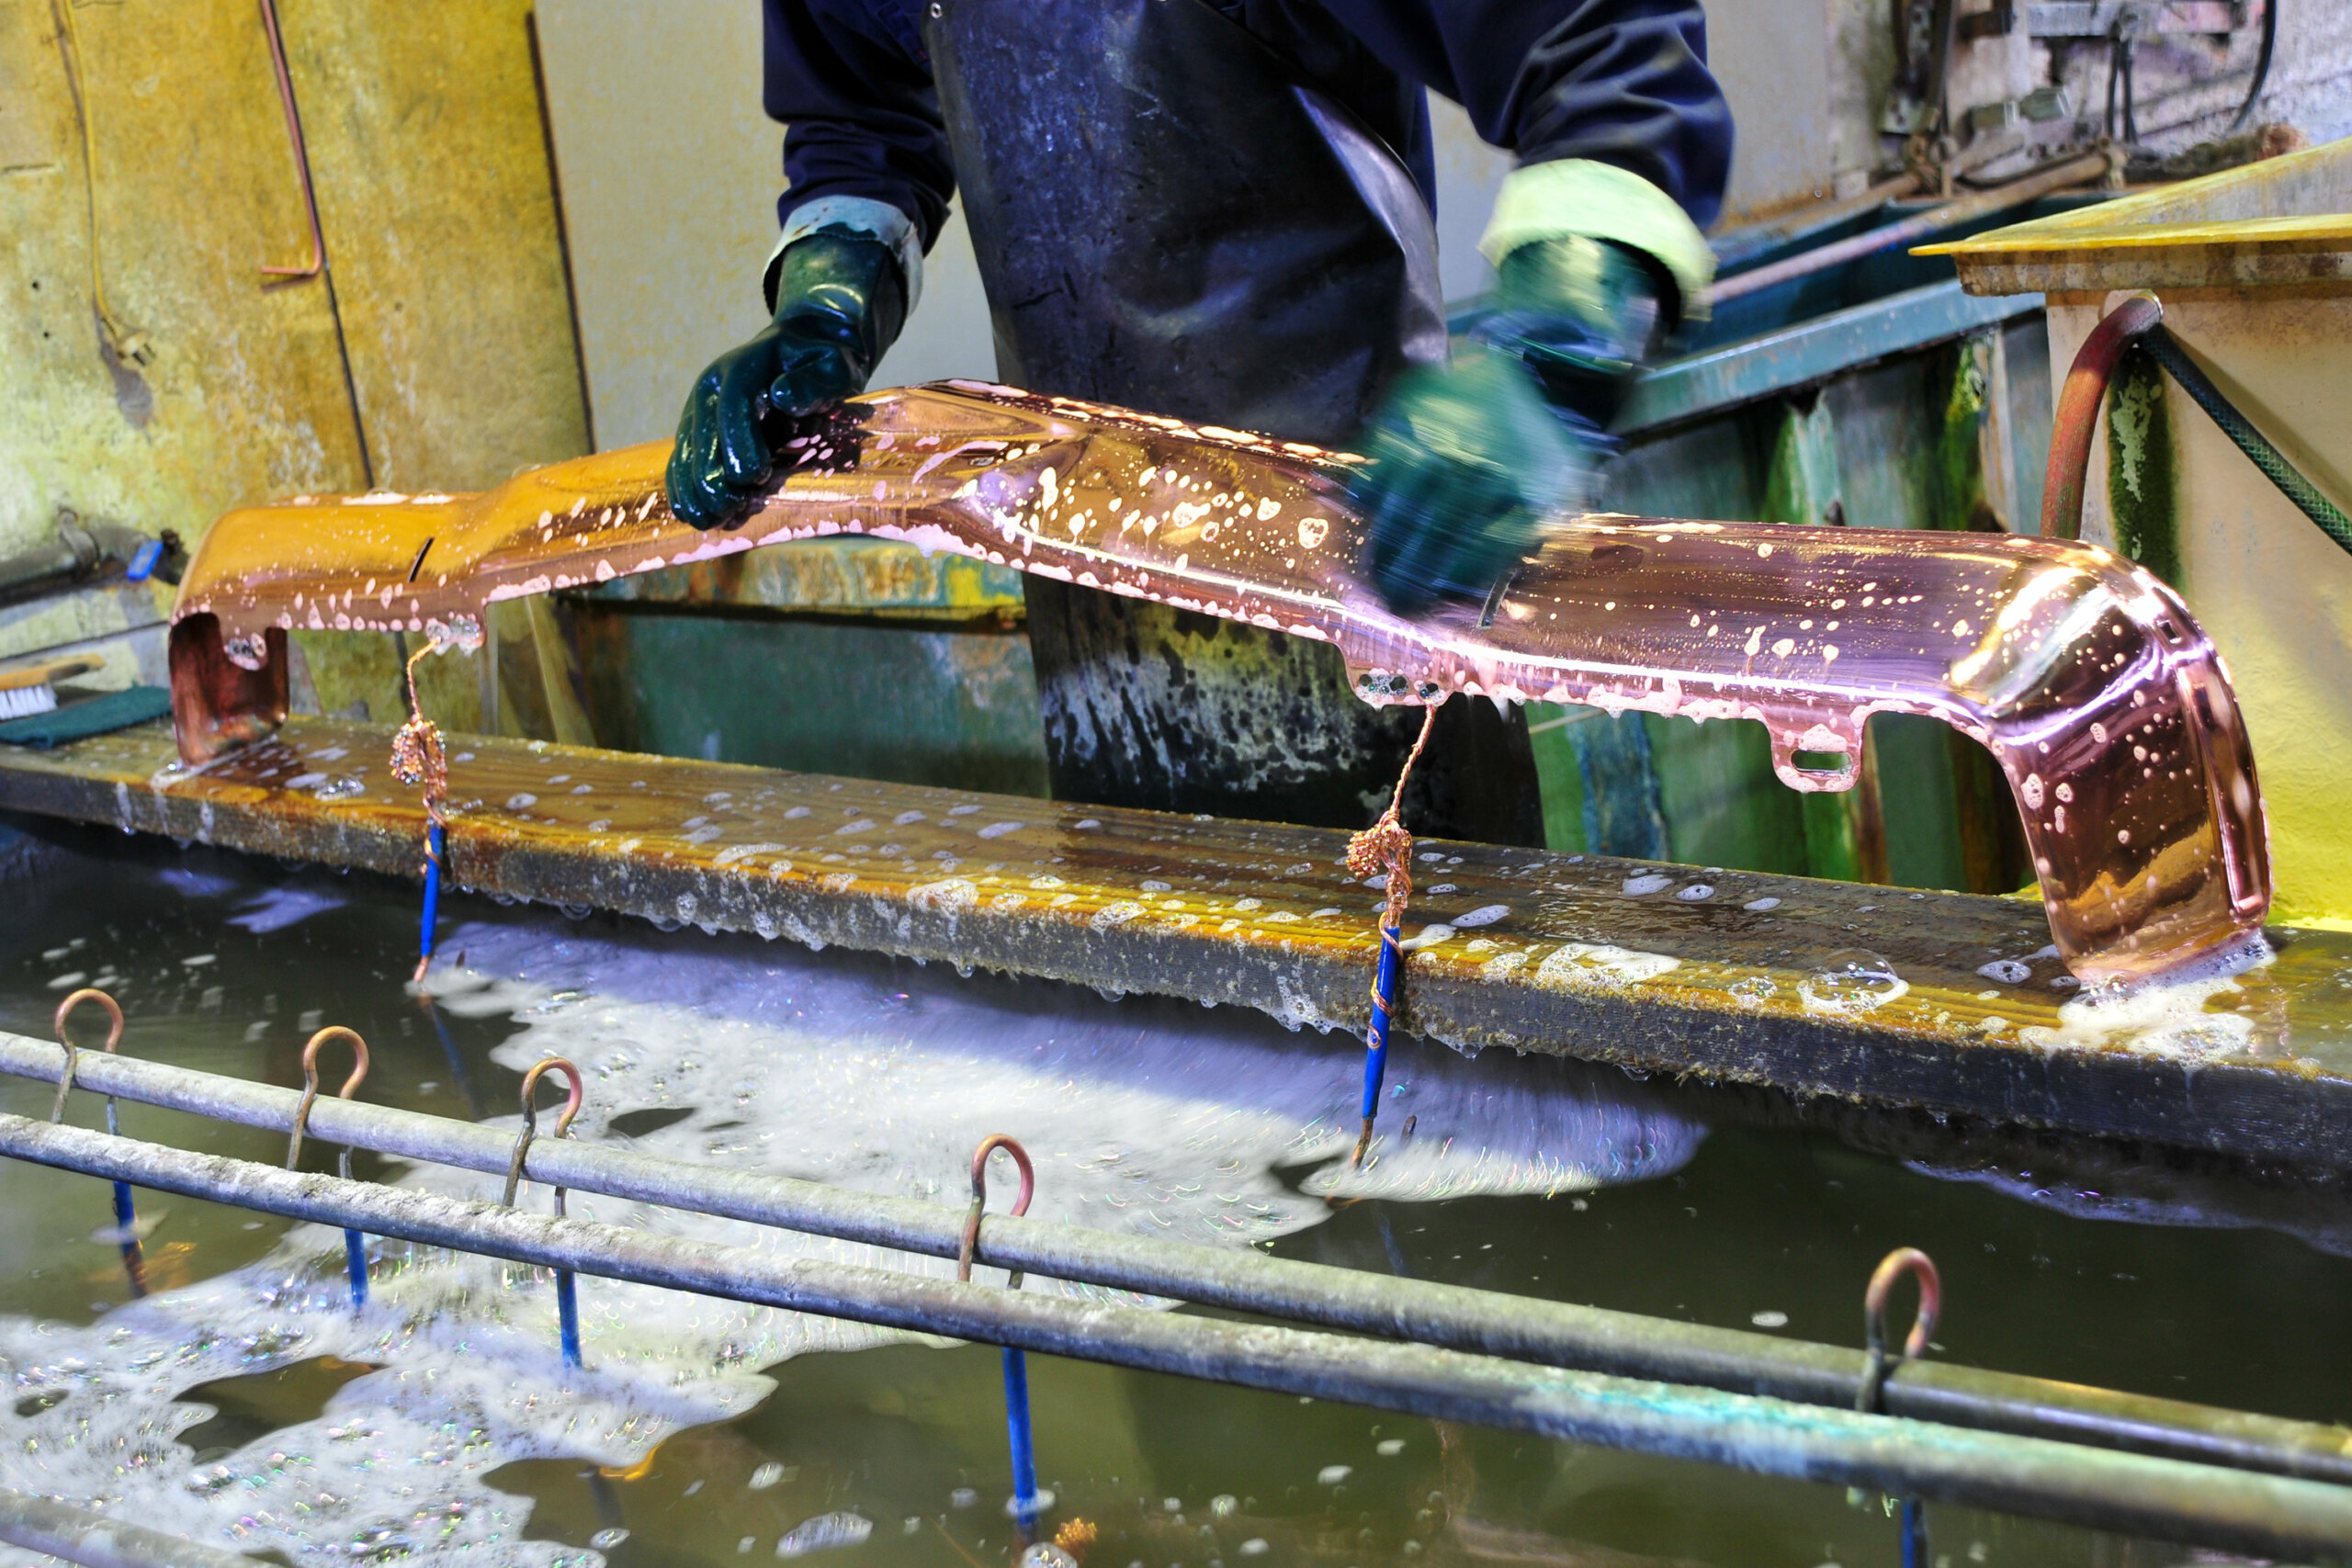
COP THIS
After initial polishing, copper is the first layer applied. It helps bind the subsequent nickel and chrome layers to the base metal and also acts to fill small imperfections in the surface of the part.
The copper is also polished and again, the standard achieved determines the quality of the rest of the job. Mechanical polishing is generally used in production and three or four layers of copper plating can be applied and polished. Doing so creates an extremely fine finish that results in a superb final result.
Immediately after polishing, parts are hot to the touch. This is why four layers of copper are generally the limit for mechanical polishing — any more and the heat generated can start to have a detrimental effect in the lower layers and actually undermine the job. If a part is less than perfect and needs more than four layers of copper, subsequent layers can be blocked back to an extremely smooth finish by hand as this approach creates much less heat.
Hand-polishing is one area where a skilled customer might have some hands-on input, and some customers do like to get their parts copper-plated, then take them away and rub them back themselves to cut costs and be involved.
“Although some do an extremely good job, this isn’t always the case,” John says. Again, it depends on your skills. Do it badly and you could increase costs. Preparing copper involves a balance between polishing imperfections out of the base metal and allowing the copper to fill them, and it takes an experienced metal polisher to make the call.
NICKEL NEXT
After the copper has been polished to the required finish, nickel is next. Harley says that chrome can be thought of as a clear coat for nickel; the brightness of the chrome depends entirely on the nickel under it. Chrome applied directly over copper is like dull silver paint and remains dull no matter how much you polish it. It’s the nickel underneath that makes chrome bright and shiny.
A part requiring the highest quality finish might spend an hour in the nickel solution to build up a good coat — many platers apply two separate coats. For extremely bright and shiny chrome, the nickel is polished to a very fine finish.

RIGHT: Each part (a Norton primary cover in this instance) is polished again after copper plating to attain a perfectly smooth surface before the nickel goes on. This type of laborious hand-preparation is the key to achieving the best chrome finish possible
GLEAM & GLITTER
With the nickel gleaming, the part is washed and immersed in the chrome bath for as little as 15-20 seconds, and up to a minute. Strange as it seems after all the intensive preparation, applying the actual chrome only takes that long.
Chrome doesn’t have to be shiny; a satin finish can be achieved using different sanding and polishing processes, and these can be used to create many subtly different finishes. Talking to a plater is the best way to find out what can be done to achieve the effect you have in mind.
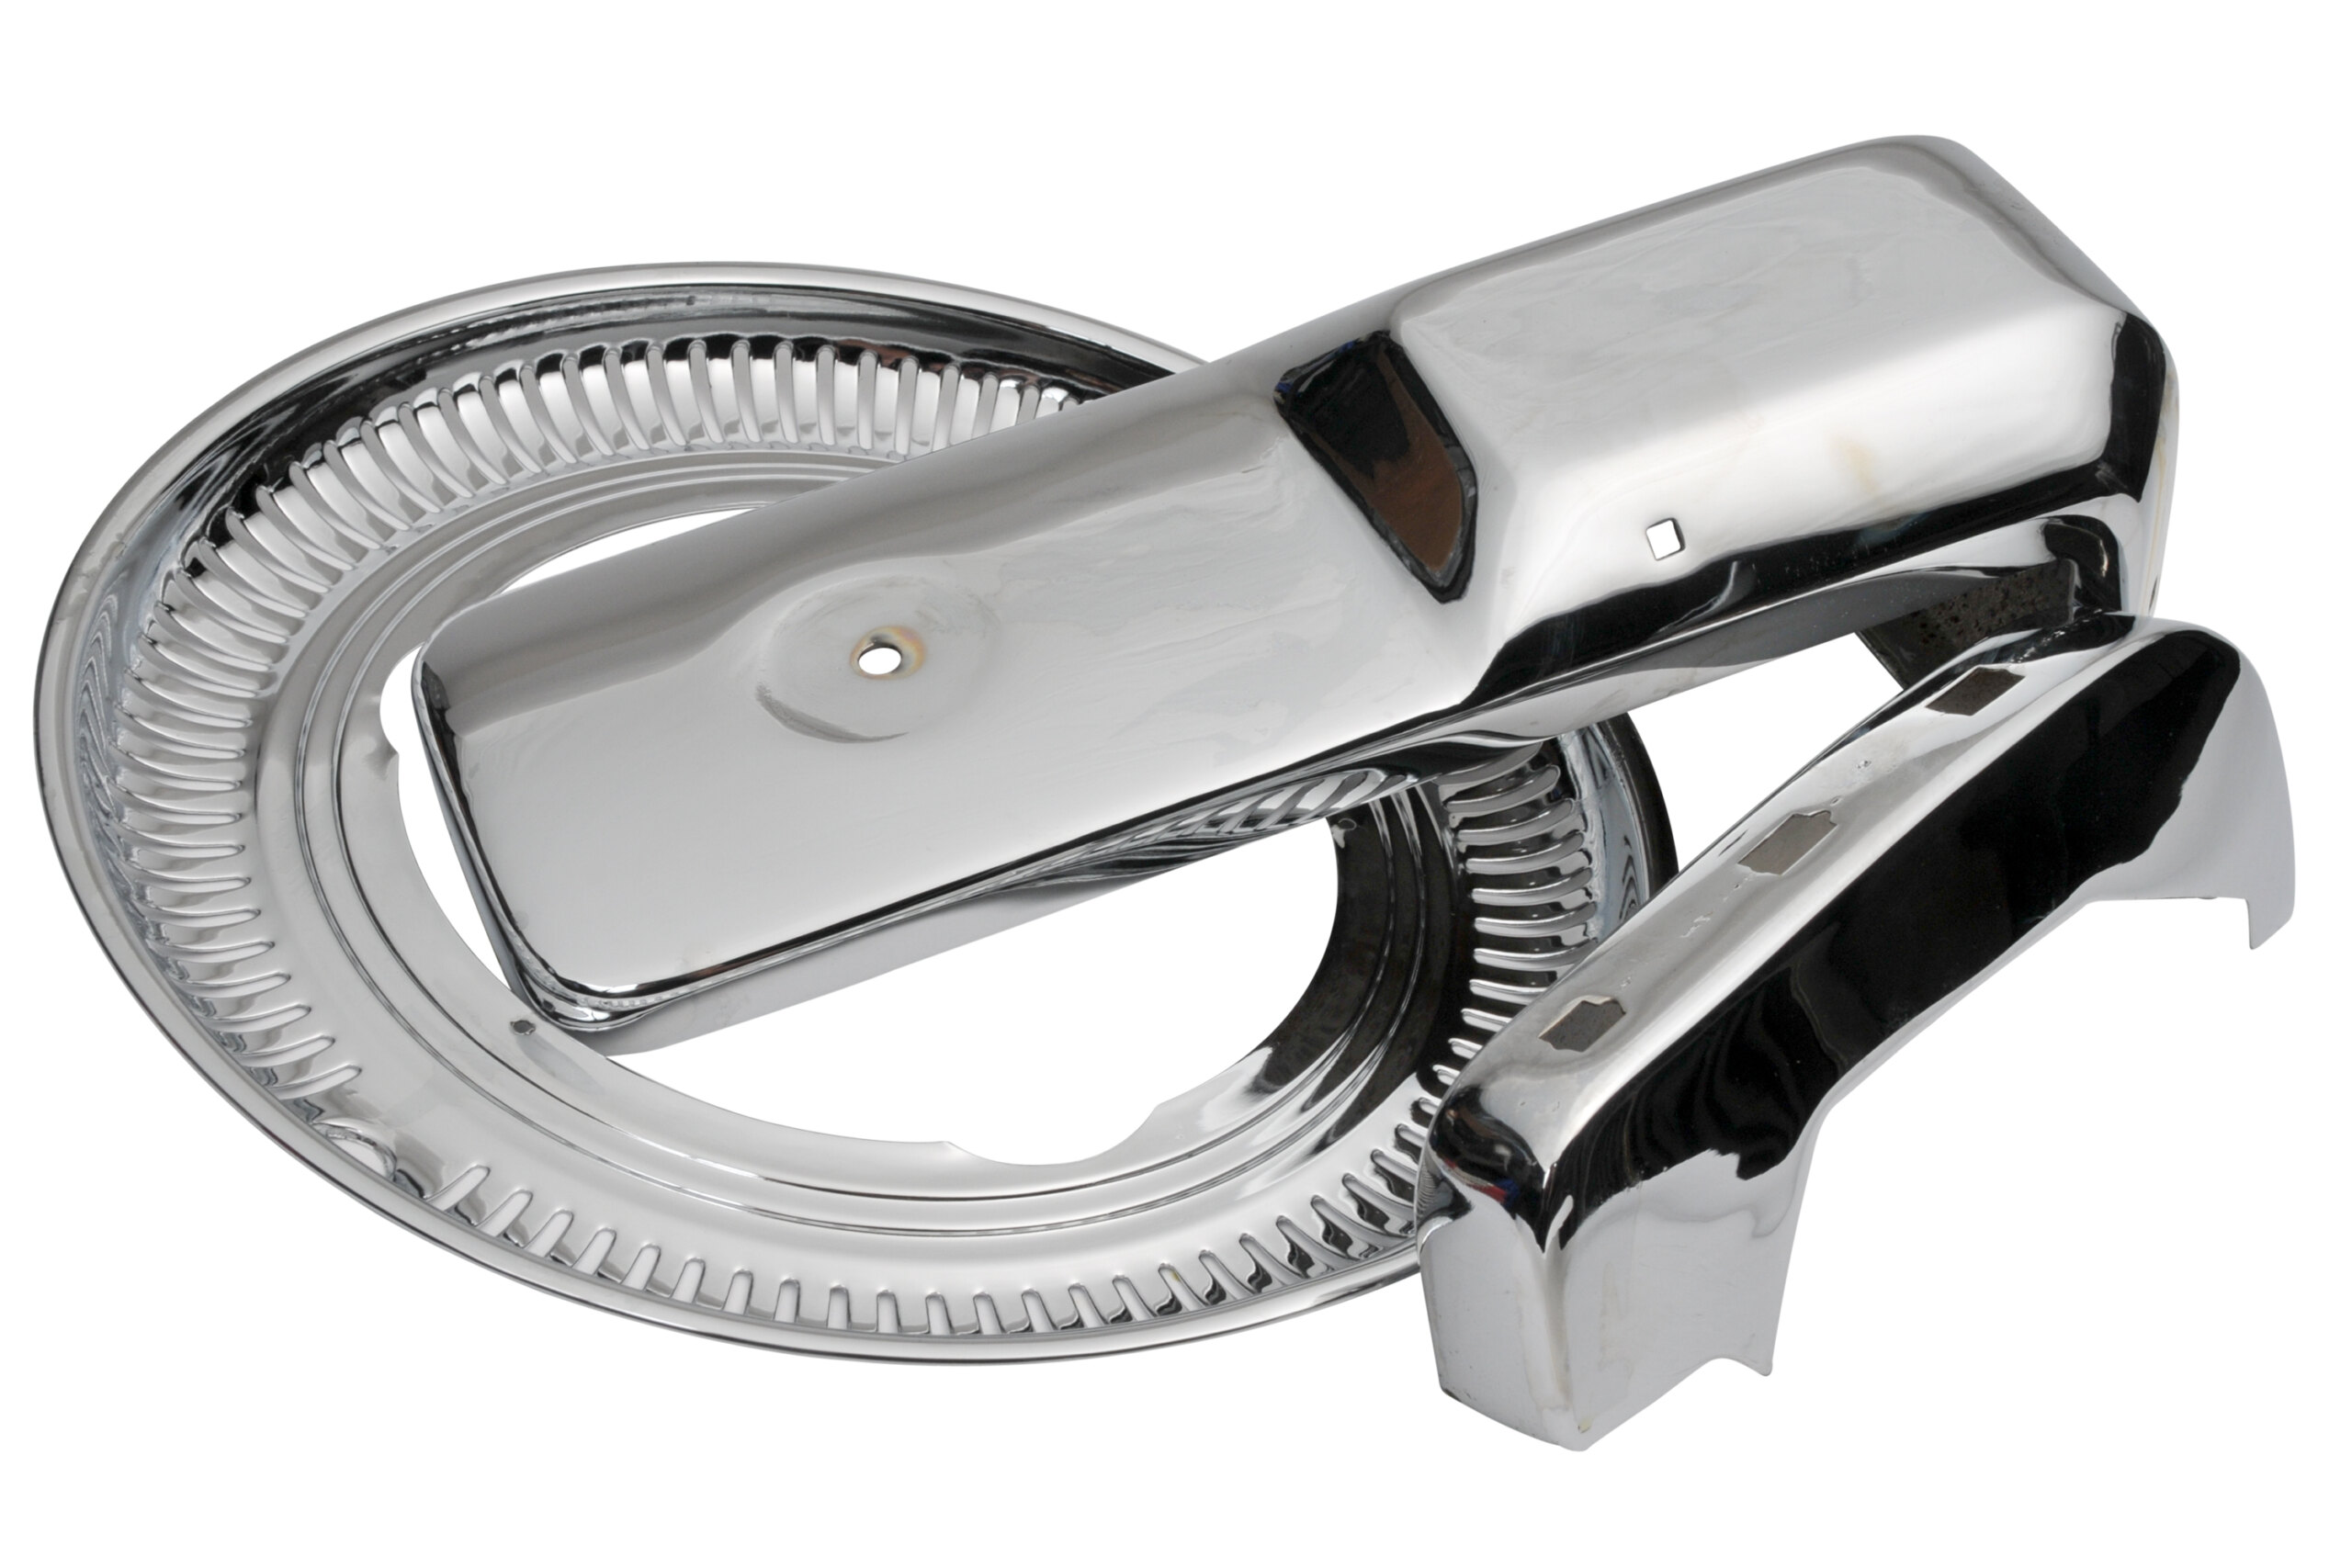
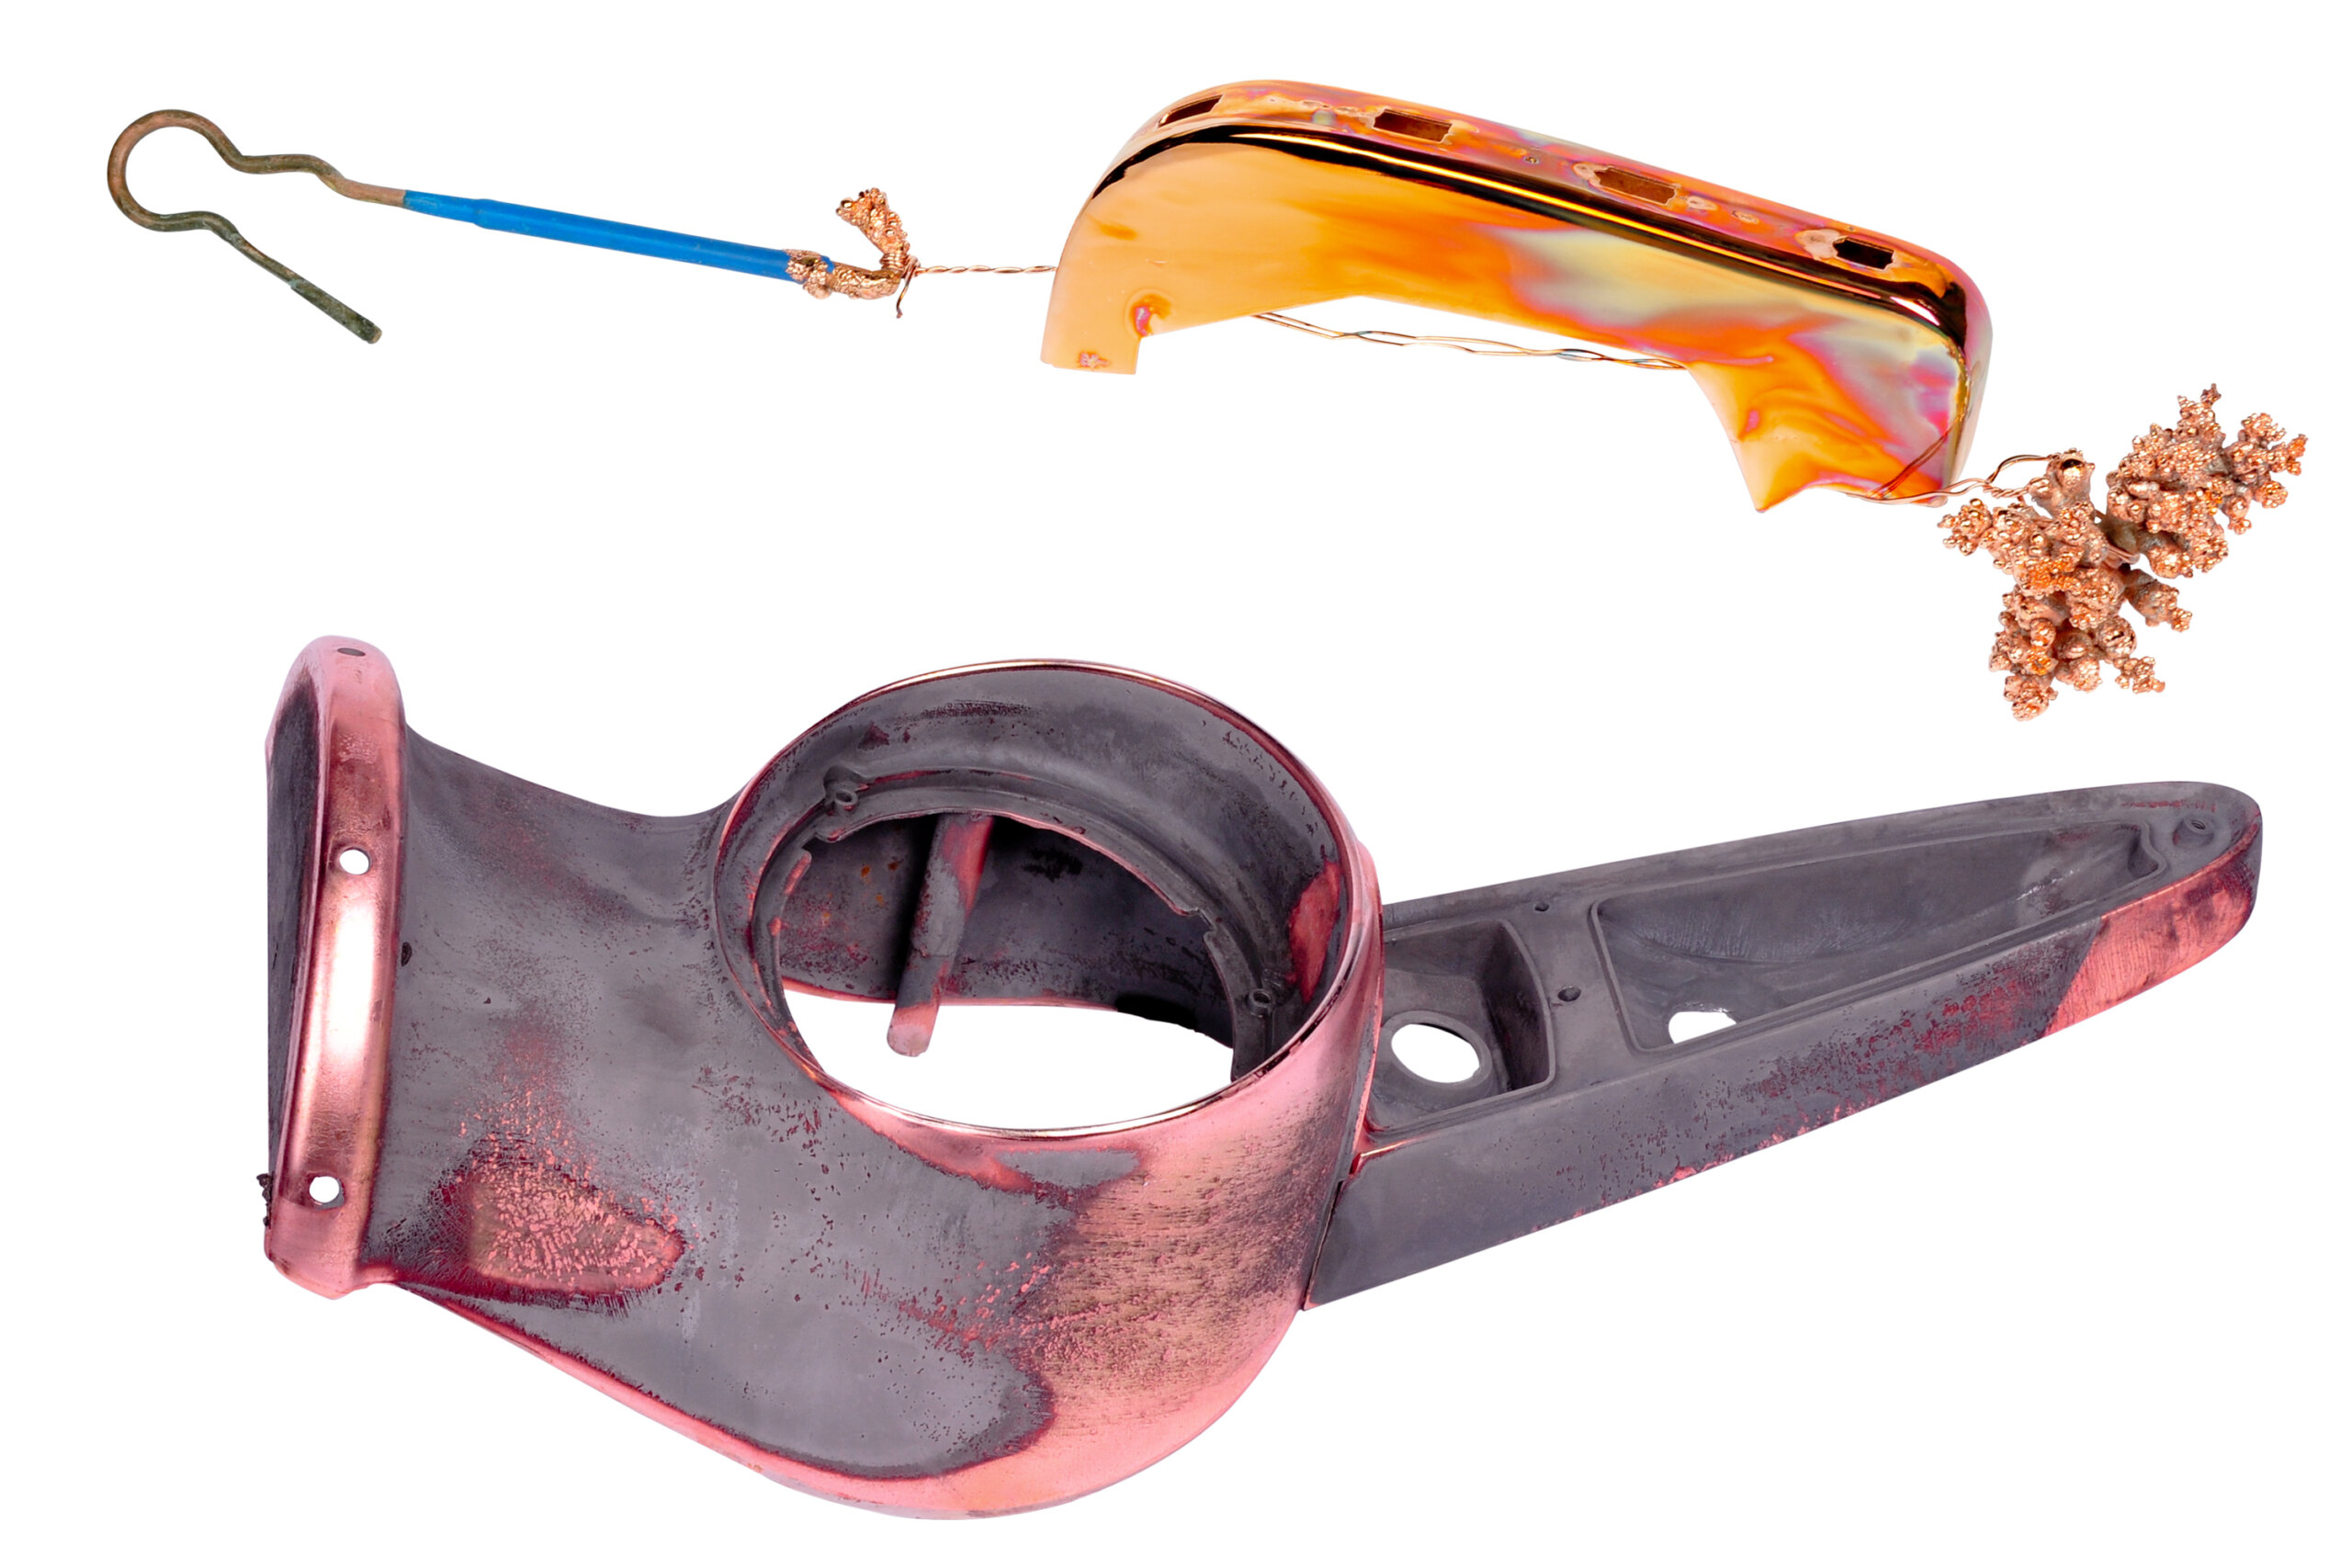
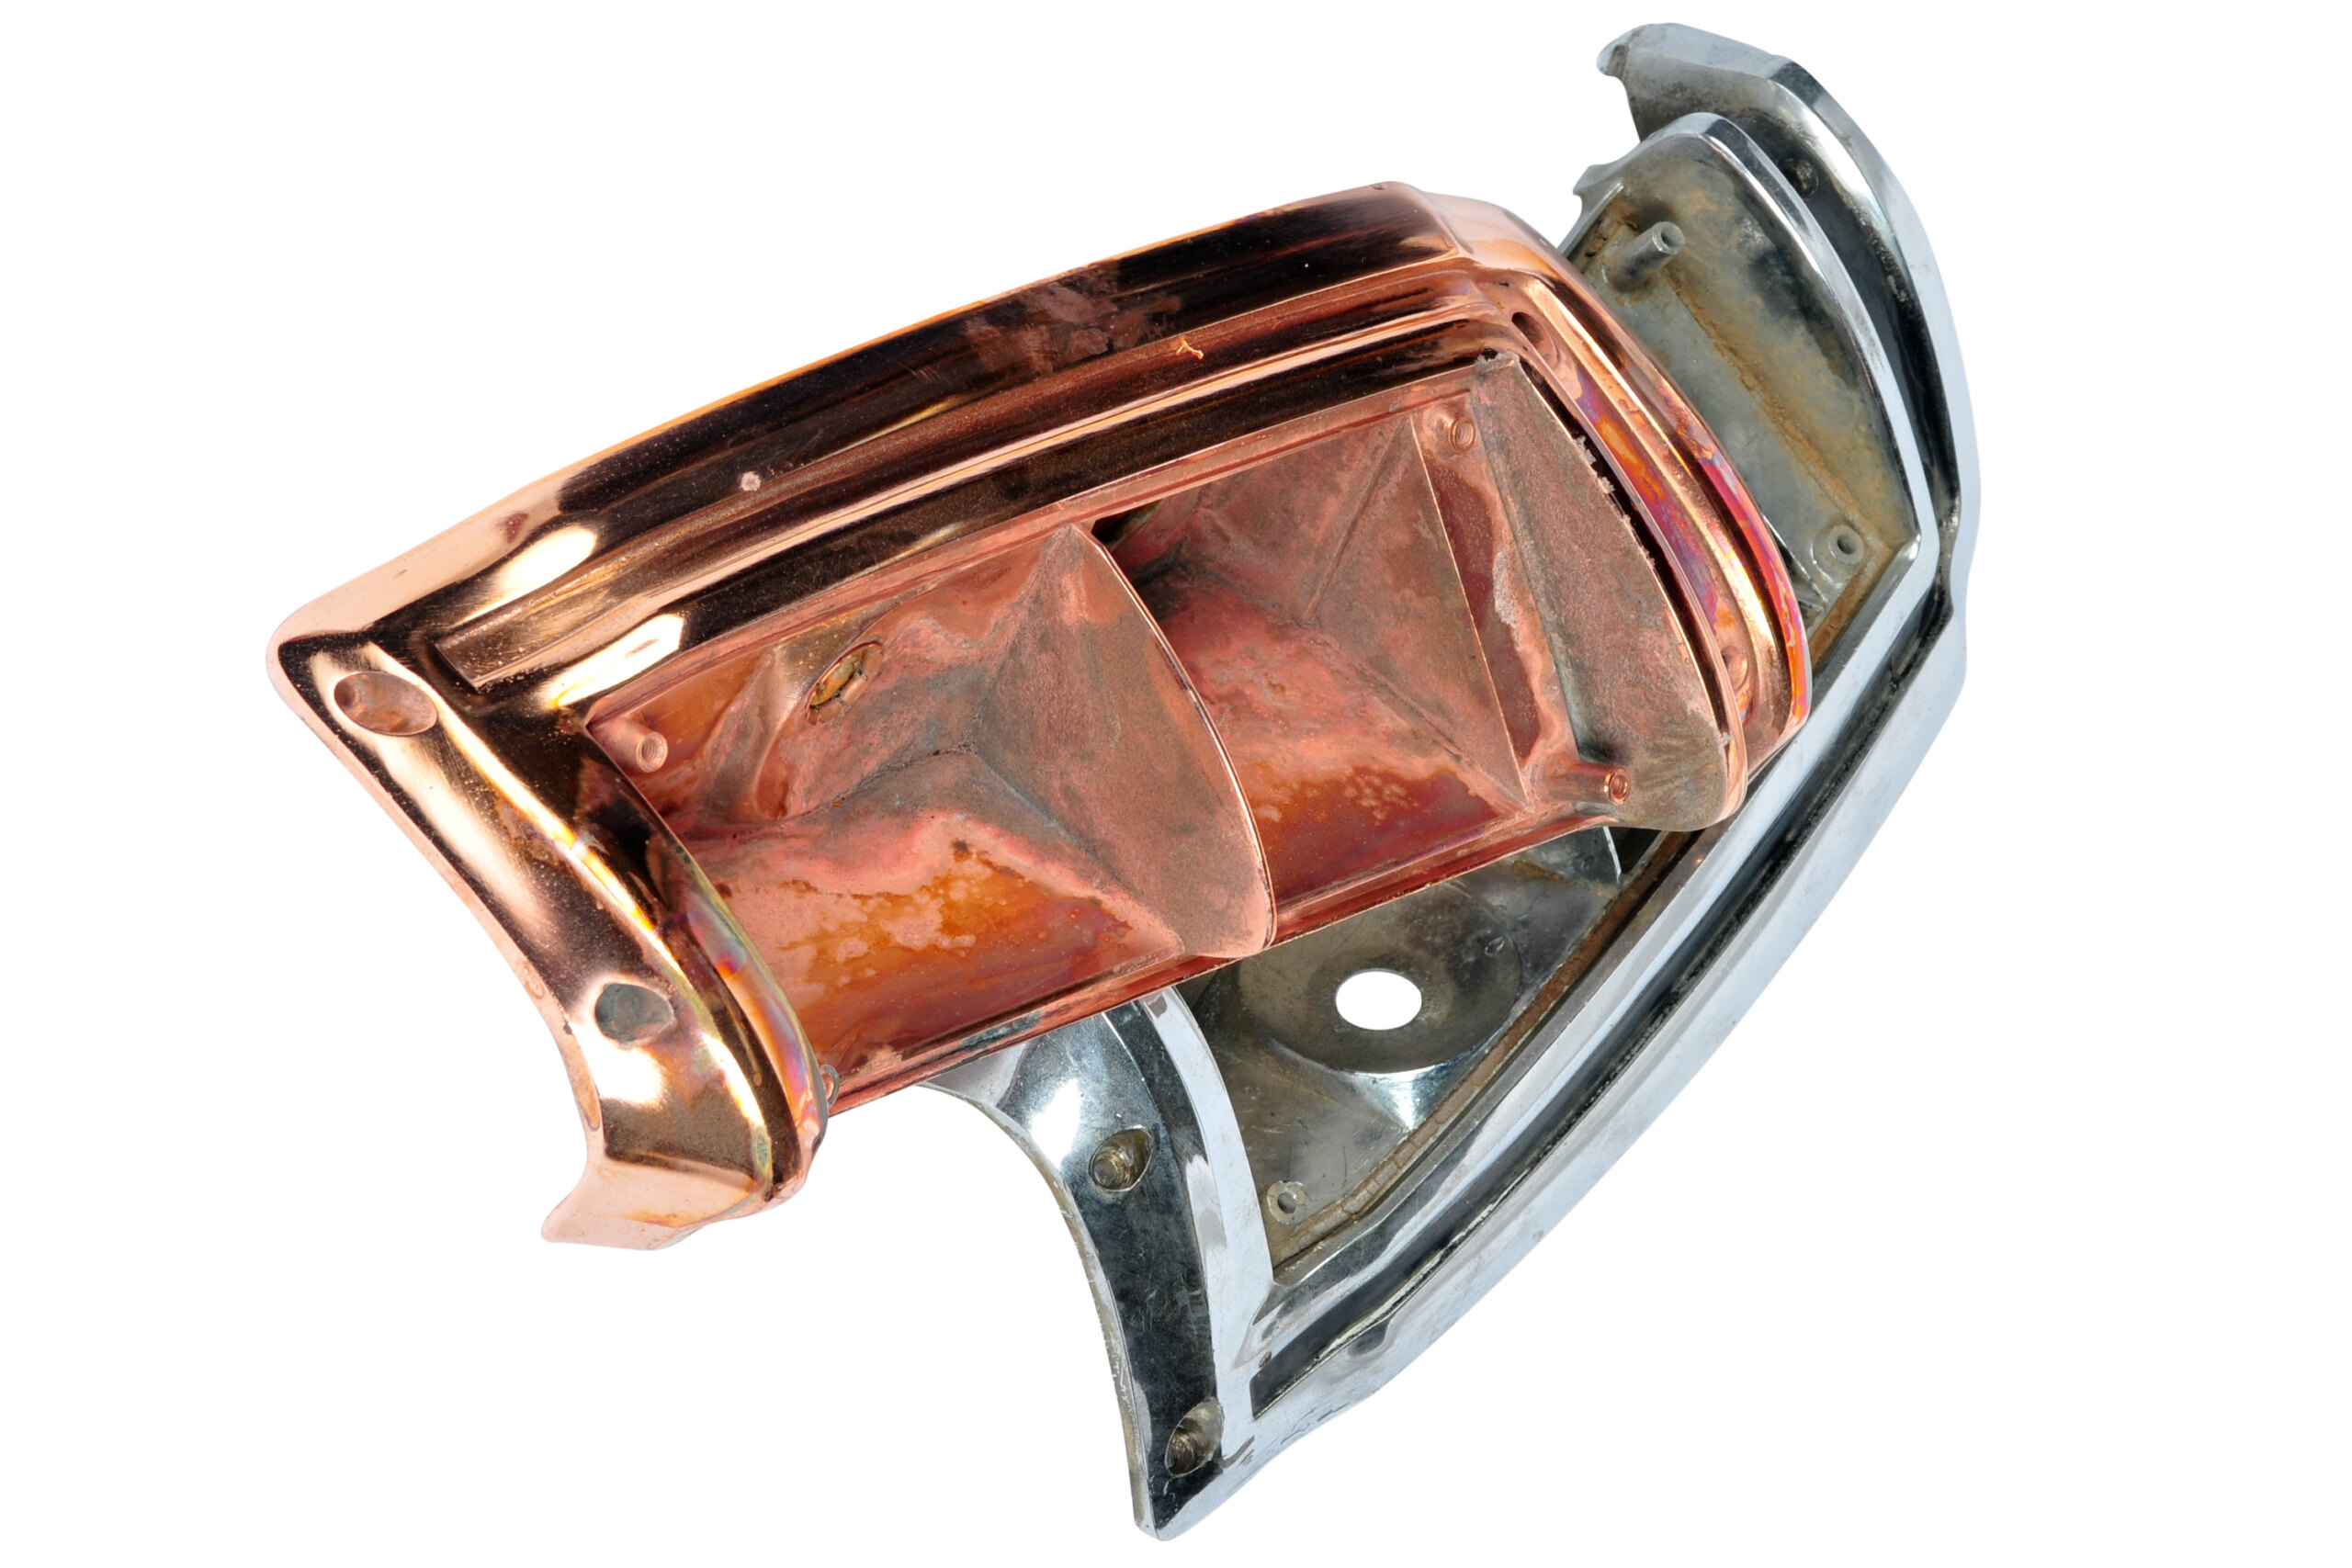
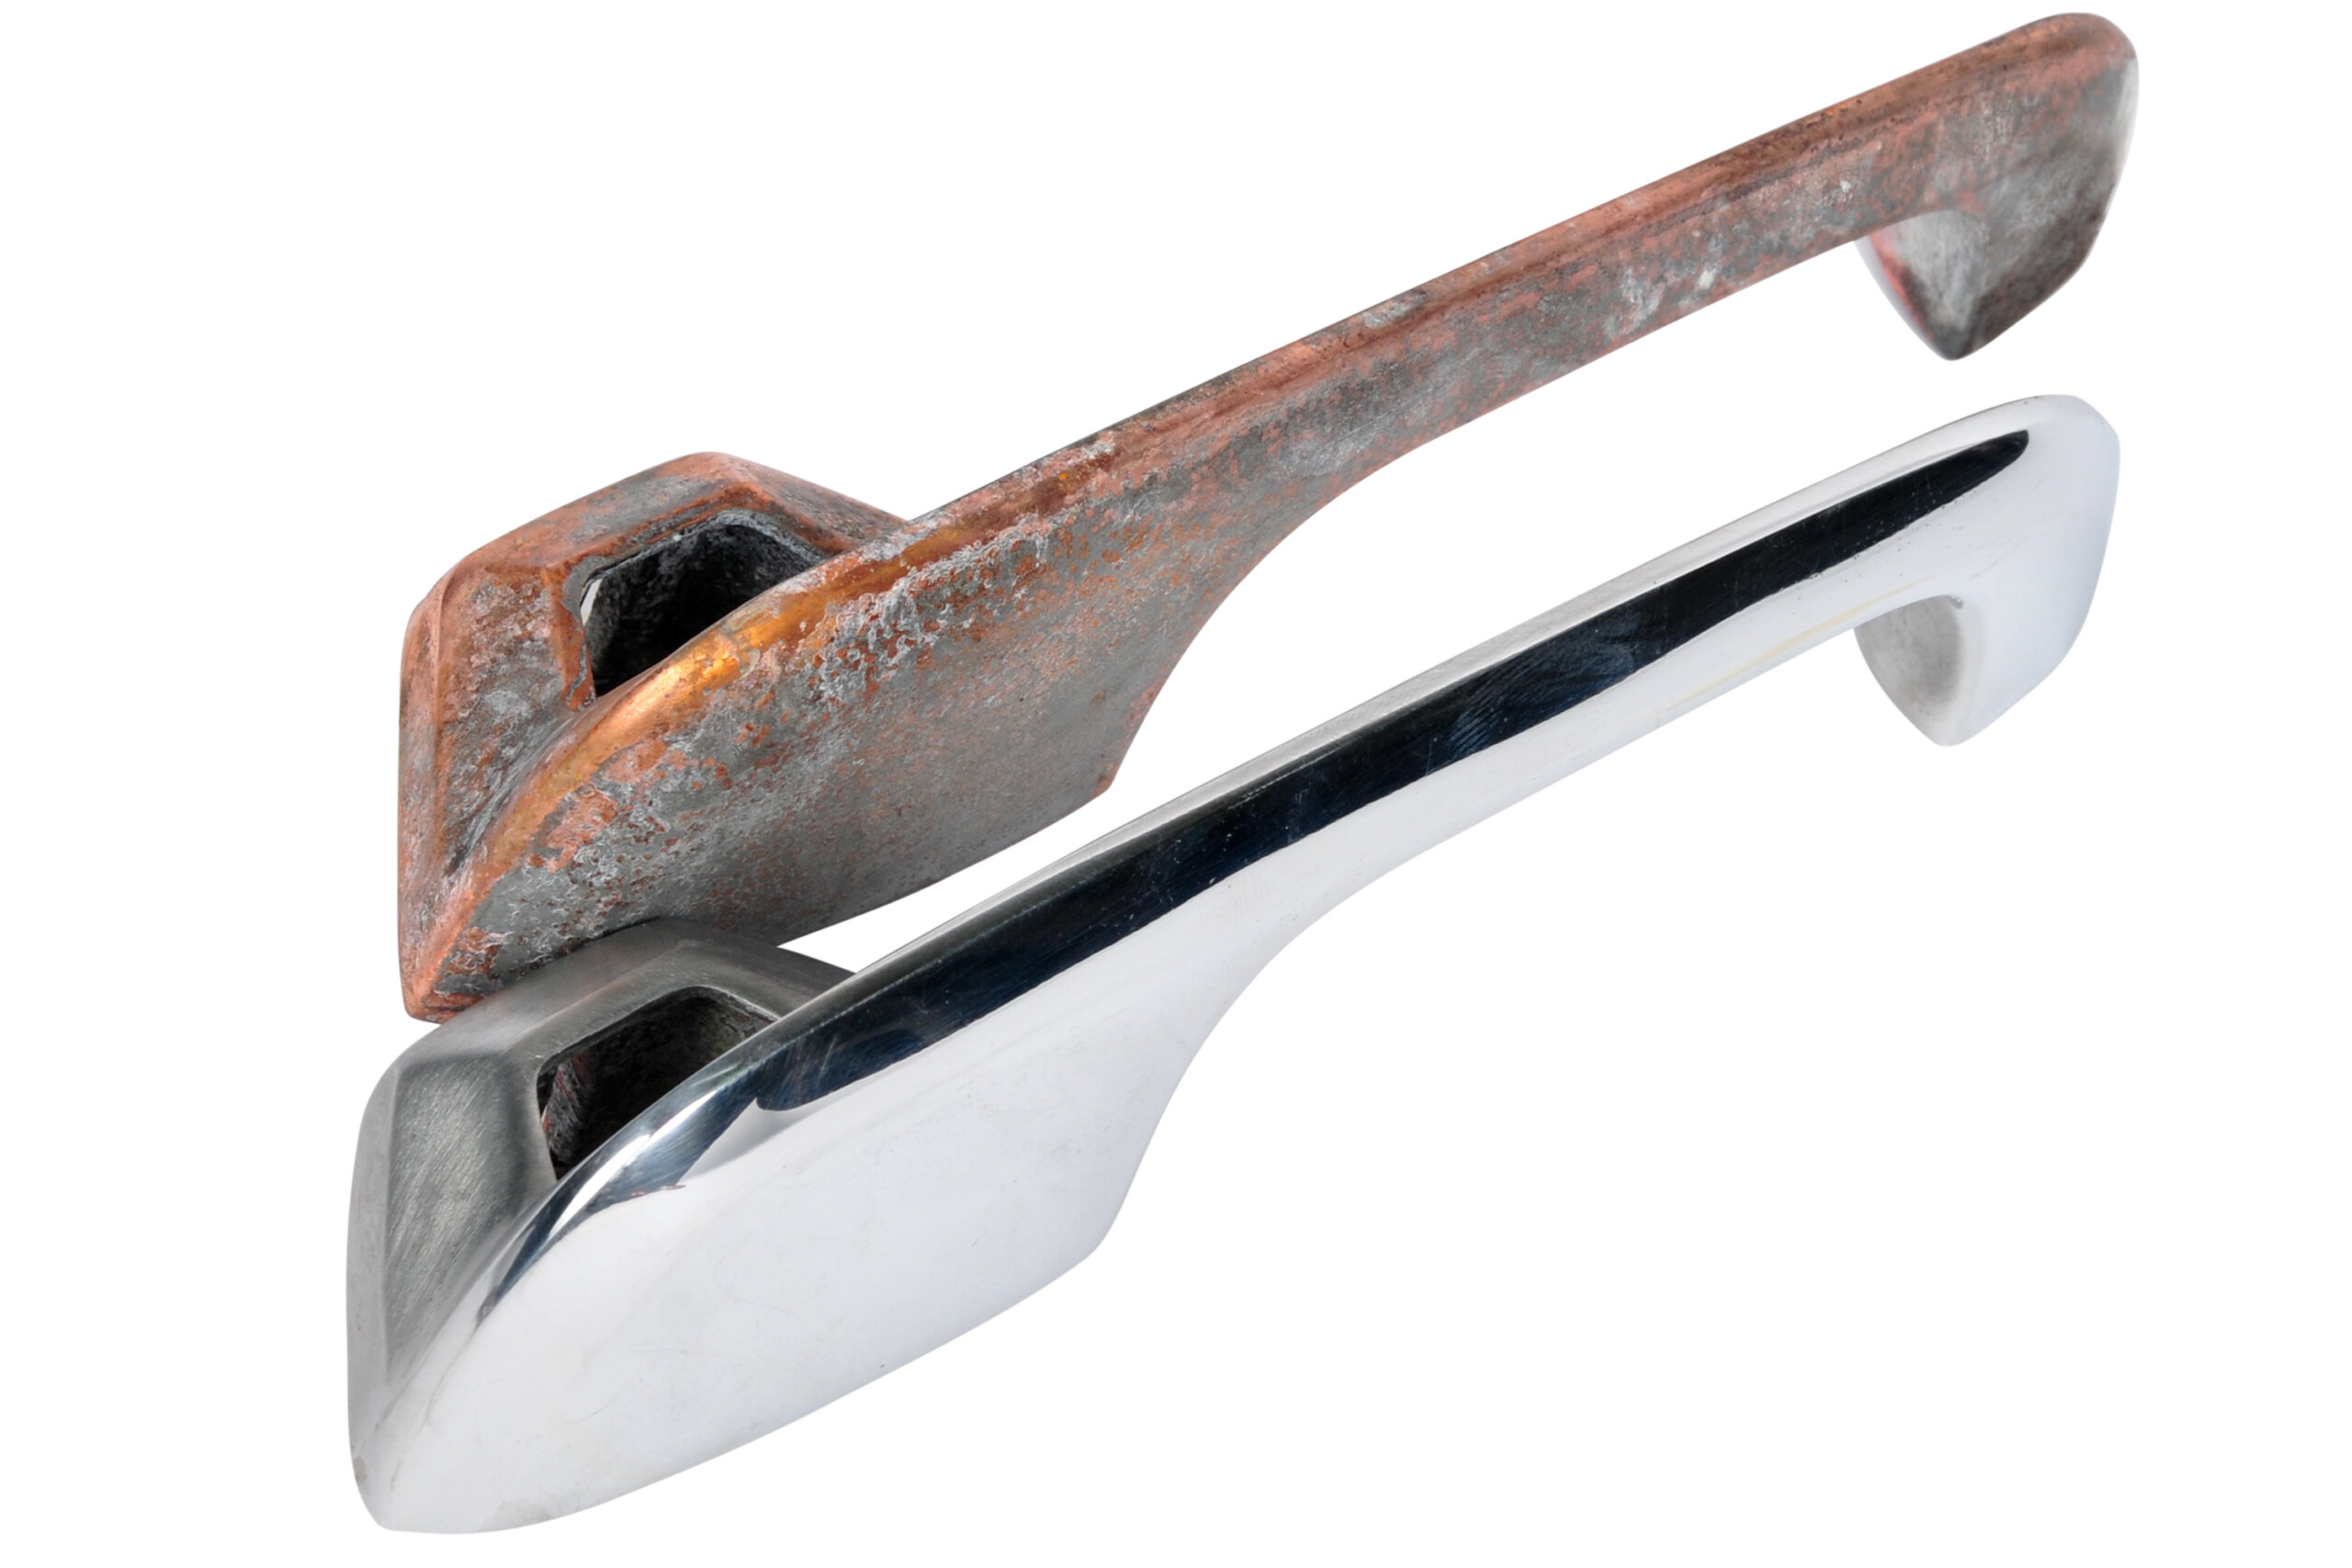
RIGHT: The corner of this HG tail-light housing collapsed and had to be re-coppered and solder-filled. As you can see, the repair was quite successful. Note how the plating hasn’t taken to any of the non-polished, unprepared areas
GET IT ON
Each of the three layers (copper, nickel and chrome) is applied by electroplating. This means the part is suspended in an electrolytic (electrically conductive) solution and a DC current is applied. The current flows from the anode — a block of the plating material (copper, nickel or chrome) — through the solution to the cathode, which is the part being plated.
This current, along with the metal salts and ions in the electrolytic solution, slowly dissolves the block of plating metal (anode) and then deposits the dissolved metal onto the surface of the job (cathode).
To facilitate the process, parts being plated must be electrically conductive. Some non-conductive materials such as plastic can be plated by applying a solution to their surface which makes them conductive.
Areas that are shielded from the flow of ions streaming between the anode and cathode (the back of a bumper bar for example) may end up yellow, which indicates poor nickel deposition. This is known as nickel blow-out and it is always an issue. Experienced platers take the time to ensure the job is carefully positioned in the bath to ensure the maximum surface area is exposed for even, all-over plating.

GET WHAT YOU PAY FOR
Being so time-consuming and labour-intensive, good chrome is costly. On top of this, copper, nickel and chrome are expensive. The tanks aren’t cheap to maintain as they need to be kept at the correct chemical balances, which requires external lab analysis.
This can entice unscrupulous platers to take shortcuts — one classic example is completely omitting the copper-plating stage.
While blemishes like pitting and linishing marks are obvious, other shortcuts can’t be seen or checked. Good and bad chrome can look the same initially but poor chrome doesn’t last.
Sadly, defective preparation or plating generally doesn’t become apparent until it’s deteriorated to the point where replating is required.


The best advice on selecting a plater is to make a judgement based on reputation — ask around the car clubs. Plating that stands the test of time is a pretty good indicator of quality and Pro-Plating was recommended to us by a number of quality car builders. You can reach the team at (03) 9510 7586.
SOLDER REPAIR
Note the deep pit and raised bubble (arrow) in the copper plating (above) on this diecast XY front indicator housing.


After flux is applied to the area to be soldered, the hot soldering iron (you could use an oxy or other gas torch to heat the iron) is applied to the work for a second or two to allow the heat to penetrate, then solder is fed into the area (above, left) — here the glob of solder adhered perfectly (above, right).


John says the solder sometimes doesn’t work on a bubble; had it not, the technique would be to drill or grind away the bubble, re-copper the part and then solder-fill again. Once soldered, the area is sanded back (above, left) for a perfect result (above right).
Comments