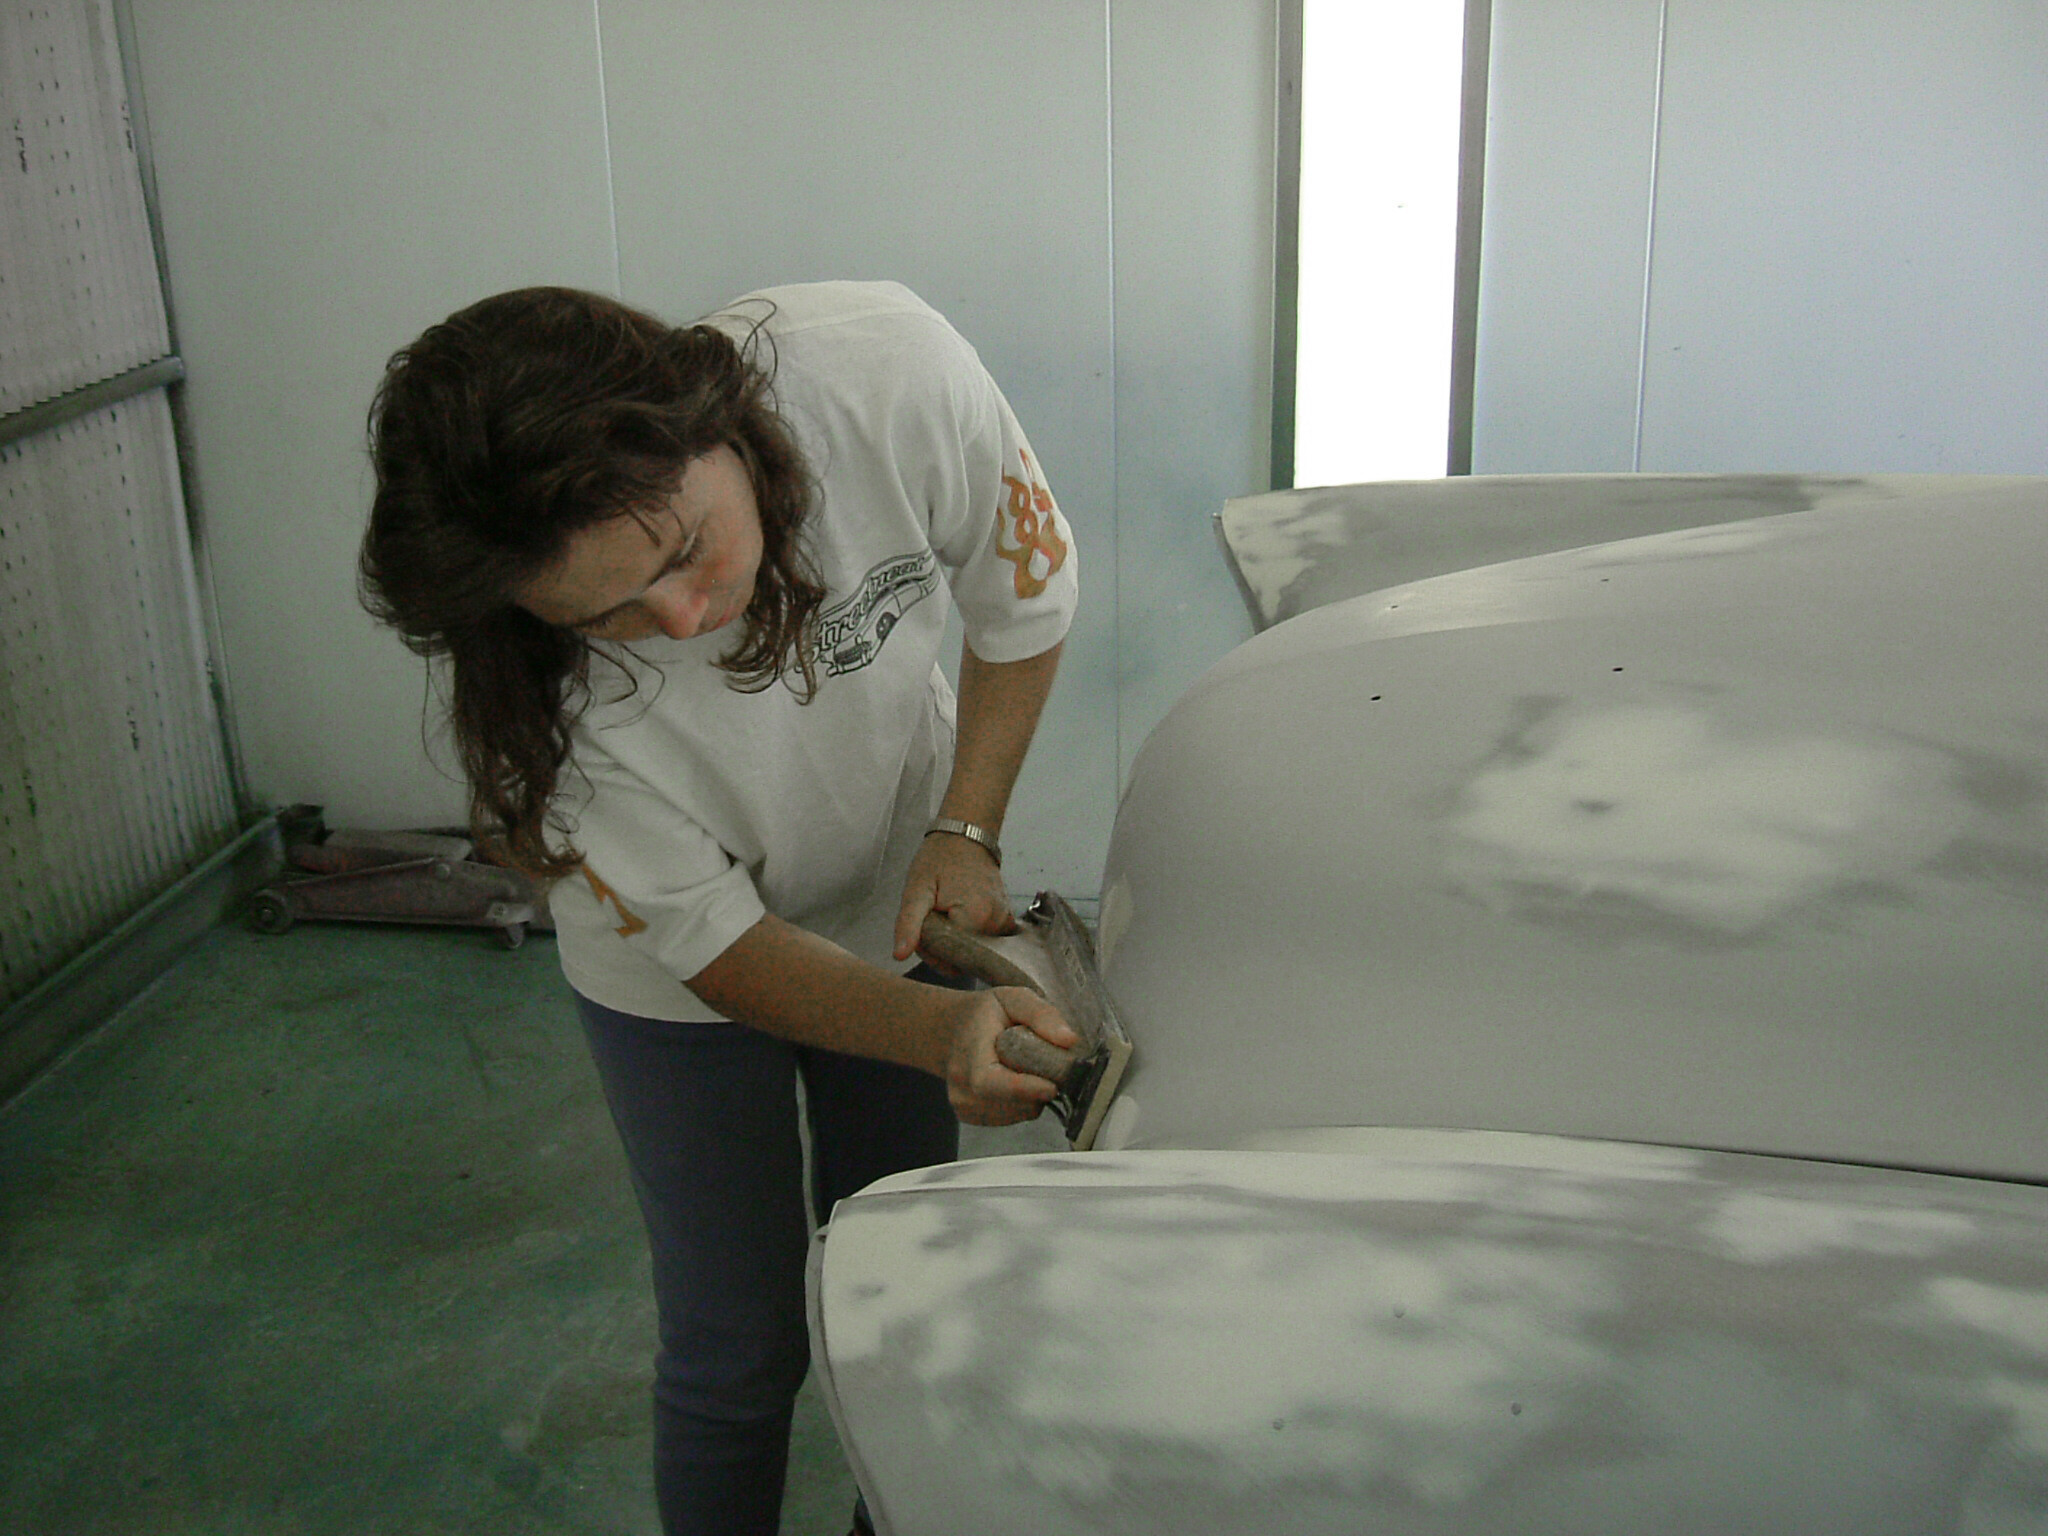
When it comes to a jaw-dropping paint finish, beauty is more than skin deep. The best laid paint will only ever look as good as the surface it’s applied to. If the underlying panel is rippled to begin with, then the finished product is going to look pretty much the same, just with paint on top.
First published in the June 2008 issue of Street Machine
So what makes for those unbelievably smooth and flawless paint jobs? Good paint is vital, of course, but there are many painstaking hours of body work followed by a few more hours of plastic surgery – or polyester resin surgery, to be precise. That’s plain old bog-work to you and me.
Go to your local auto parts or paint supplier and you’ll be confronted with several different types of plastic body filler. Which one should you use? What does each one do, and what are the differences? Read on and we’ll answer all those questions as well as cover the pros and cons of each type.
What’s bog made of?
Bog, bondo, niki, putty, mud, body filler or, as wel like to call it in our shop, smoo. Whatever name you go for, plastic body filler is a two-part product that uses unsaturated polyester resin (not unlike surfboard or fibreglass resin) mixed with an aggregate including minerals and glass micro-spheres.
Other common ingredients include talcum powder, titanium dioxide and fumed silica. Once thoroughly mixed with the hardener, they set to become a rock-hard substance that can be sanded into the desired shape.
Different fillers
Plastic body fillers come in varying grades, from fibreglass or metal strand-impregnated fillers (used for foundation and sealing work), right through to very fine, smooth and creamy finishing glazes – including stop or knife putty and spray polyester (spray-on bog).
Impregnated fillers
Metal strand or fibreglass-impregnated fillers are commonly used over prepared rusty areas, mostly for those who want a quick method of dealing with rust holes. They’re also good for a low-spot fill over a welded patch or panel seam.
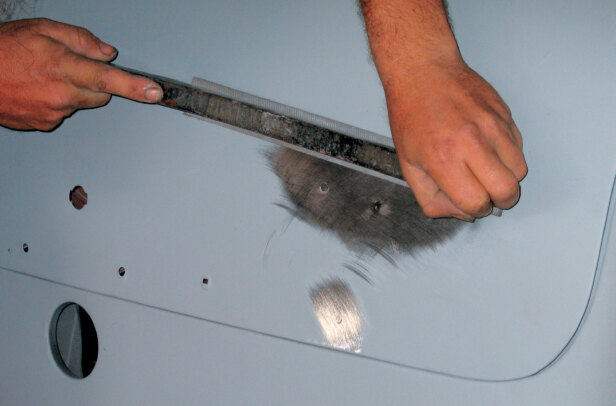
These types of filler dry like concrete and are hard to sand. In addition, the edges don’t feather very well. Normally they’re rough-shaped with 36-grit on a nine-inch sander then skimmed over with a fine, finishing filler.
A major benefit of these impregnated fillers is that they’re not hygroscopic due to their 100 per cent resinous nature.
This means they prevent moisture making its way through to the finishing bog, which makes for a much longer-lasting repair.
The lightweights
Lightweight plastic fillers are the most commonly used. They have the consistency of mashed potato and combine foundation-building qualities and finishing qualities. They get their lightweight properties from the microscopic glass spheres in the mix, which also speed up the sanding process.
As they are mostly polyester powder, with only a small amount of resin to bind it all together, they are extremely hygroscopic and so shouldn’t be allowed to get wet. These traditional lightweight fillers offer poor adhesion when applied over painted or primered (other than epoxy primers) surfaces.
Finishing glazes
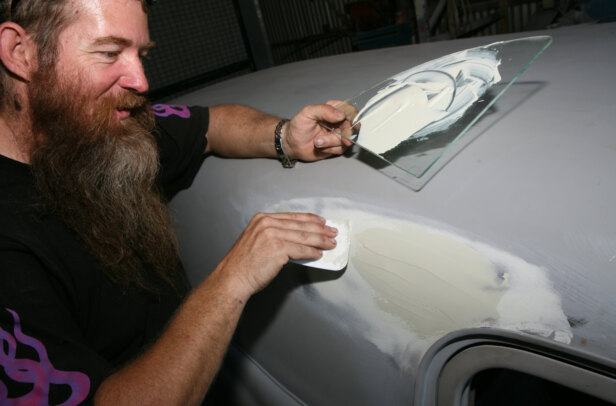
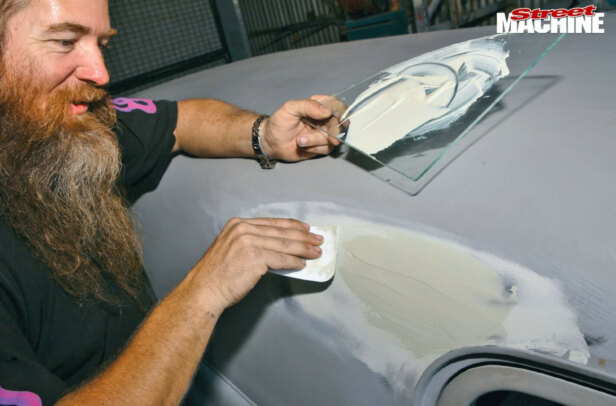
These ultra-fine fillers are nothing new but they’re starting to replace the more traditional fillers due to their self-levelling properties, ease of sanding and sheer versatility. Finishing glazes are designed for low-build application – small dents, scratches and finishing work. Major attributes are that they can be wet-sanded or applied directly over abraded paint and primers. Their biggest downside is runniness, which makes them tricky for the inexperienced to apply.
My personal favourite is a tube of U-Pol’s Dolphin glaze. After laying down some U-Pol Fibral as a high-build foundation (over a welded seam, for example) I then use the Dolphin Final Glaze to finish the job off. This saves hours of laborious bog-work as its self-levelling properties create a relatively flat finish that’s far easier to sand.
You may find that some panel-beaters don’t even own a tin of bog and exclusively use finishing glazes. This is because they beat the panels close to the final finish; I haven’t owned any bog for more than six years.
Epoxy primer
For many years, freshly abraded metal was the optimal surface on which to apply plastic fillers as older fillers relied totally on mechanical bonding to attach. The automotive refinishing industry has now widely adopted the practice of applying a two-part epoxy primer prior to laying down any filler; this has been widespread in marine and industrial environments for decades. Some paint manufacturers, such as Glasurit, now insist on the application of epoxy primer prior to plastic filler or the 10-year paint warranty is void.
Epoxy primer differs slightly from regular two-pack primer in that it has its own unique reactive thinner, which is its catalyst. Although commonly used over fibreglass (essential for the promotion of maximum adhesion for other primers), when applied to bare metal, epoxy primer provides an excellent sealing coat to guard against the onset of corrosion.
It bonds to bare metal better than plastic filler, while it is itself an even better surface for plastic fillers (as well as polyester spray-on bogs) to mechanically and chemically adhere to. In combination, these two properties help tremendously in preventing future delamination. It even allows higher than normal build thicknesses, though you shouldn’t abuse this facet.
It really is remarkable stuff but there are a few rules when using epoxy primers. They must be allowed to cure for a full 24 hours before anything is applied over the top. They will also take to just about any sound and prepared surface except acrylic etch primers so it’s vital that all traces of these are removed before application.
When and where
If you’re not governed by strict paint warranties, applying epoxy primer prior to bog-work isn’t really necessary for small jobs, just the full panel repairs and large resto jobs. The old practice of lading large amounts of filler over bare metal is now considered rather bad.
Over time the resins leach out of the filler, making it dry and crumbly and allowing corrosion-forming moisture to creep in, which is a major cause of delamination. Also, thick applications of bog are not as flexible as thin skims and will eventually throw in the towel and fall off due to the expansion and contraction of the underlying metal.
There are many brands of epoxy primer on the market and all have the same basic properties. I use and recommend PPG DP40 or PPG Delfleet. The DP40 is more expensive (around $300 for six litres) but easier to use as it dries relatively quickly.
The Delfleet is cheaper (around $180 for five litres) and has higher build qualities, which is a major bonus. But it remains wet for longer, so it can run easily if you’re not experienced at working with it.
Rub through
Areas around your bog work will mostly likely be abraded back to metal – don’t panic; where the bog remains, so does the epoxy primer underneath. After the bog work has been completed, the whole area is then epoxy primered again.
Why? Because the next step in the process of panel preparation is a few coats of spray polyester (spray bog), which must be applied over epoxy primer as it doesn’t hold to bare metal. The spray bog is filed with 60 or 80-grit on a long file board to level out the repair area and any minor imperfections that were missed in the first bogging stage.
If you rub through to bare metal when you’ve finished sanding the spray bog, you can either re-epoxy the area or squirt on some high-build two-pack primer; it’s up to you.
I prefer to re-epoxy the whole job to be doubly sure everything is completely sealed.
Bog over lead
Until it was phased out about 20 years ago, auto manufacturers commonly used lead to hide unsightly panel joins. Unfortunately, most bogs won’t stick to lead. If the original lead is sill good, you can lay down some epoxy primer and plastic filler over the top.
If there’s any doubt, it’s best to de-tin the area by heating the lead with an oxy torch and wiping it away with a water-soaked rag. Once thoroughly de-tinned, apply epoxy primer and allow it to cure for 24 hours. Then, using a fibreglass bog, fill the main void before final finishing with a fine plastic filler.
Health warning
Despite the fact that plastic fillers are far safer to work with than lead, they still pose appreciable health risks – the dibenzoyl peroxide hardener (commonly labelled as benzoyl peroxide) is a known carcinogen.
The fumes are quite toxic too, and unmixed fillers can cause burns in cases of prolonged skin contact. Once hardened, the filler itself is appreciably less toxic but breathing the fine power created when sanding is far from beneficial. The use of gloves, mask, and proper ventilation are all recommended.
Stow it
Contaminate your bog and it will go off in no time. Keep it clean and uncontaminated and your average tin of filler has a shelf life of two to three years – provided you stir it up regularly, keep the tin properly sealed and store it in a cool, dry place away from sunlight. Some of the final glaze-type fillers come in a tube, so they keep better and are less likely to become contaminated.
In part two we’ll show you how to mix, apply and work plastic fillers, as well as giving you plenty of practical, useful tips on achieving a dead-flat finish. Given enough time and practice, you too can achieve a show-winning finish!
Lead vs Bog
Lead wiping is the stuff of legends but there are a few myths that mut be dispelled. Lead wiping is old technology – most auto manufacturers phased it out in the mid 80s. When used as they are designed, today’s epoxy primers, fibreglass bogs and modern, lightweight plastic fillers are arguably streets ahead of lead wiping in terms of technology and longevity.
Lead wiping involves the use of acids and lots of heat – not the best things for keeping panels straight and rust-free. The acid fumes and toxic heavy metal components are less than beneficial for the environment or the person applying the stuff. Lead wiping is a very slow and exacting process. Being rid of all the acid is extremely important, otherwise it leaches out and leads to delamination, It needs to be applied with the utmost attention to detail by somene with considerable experience. On the other hand, even the inexperienced can achieve an acceptable result with bog.
Don’t get me wrong lead wiping has its place. I lead-wiped my chopped and file-finished radical custom EK van as I was displaying the car in its bare metal birthday suit. However, I’ll also be going over all of the leaded areas with PPG DP40 epoxy primer to act as an adhesion promoter and sealer, before laying on some modern plastic filler to finish off the finer details.
Comments