
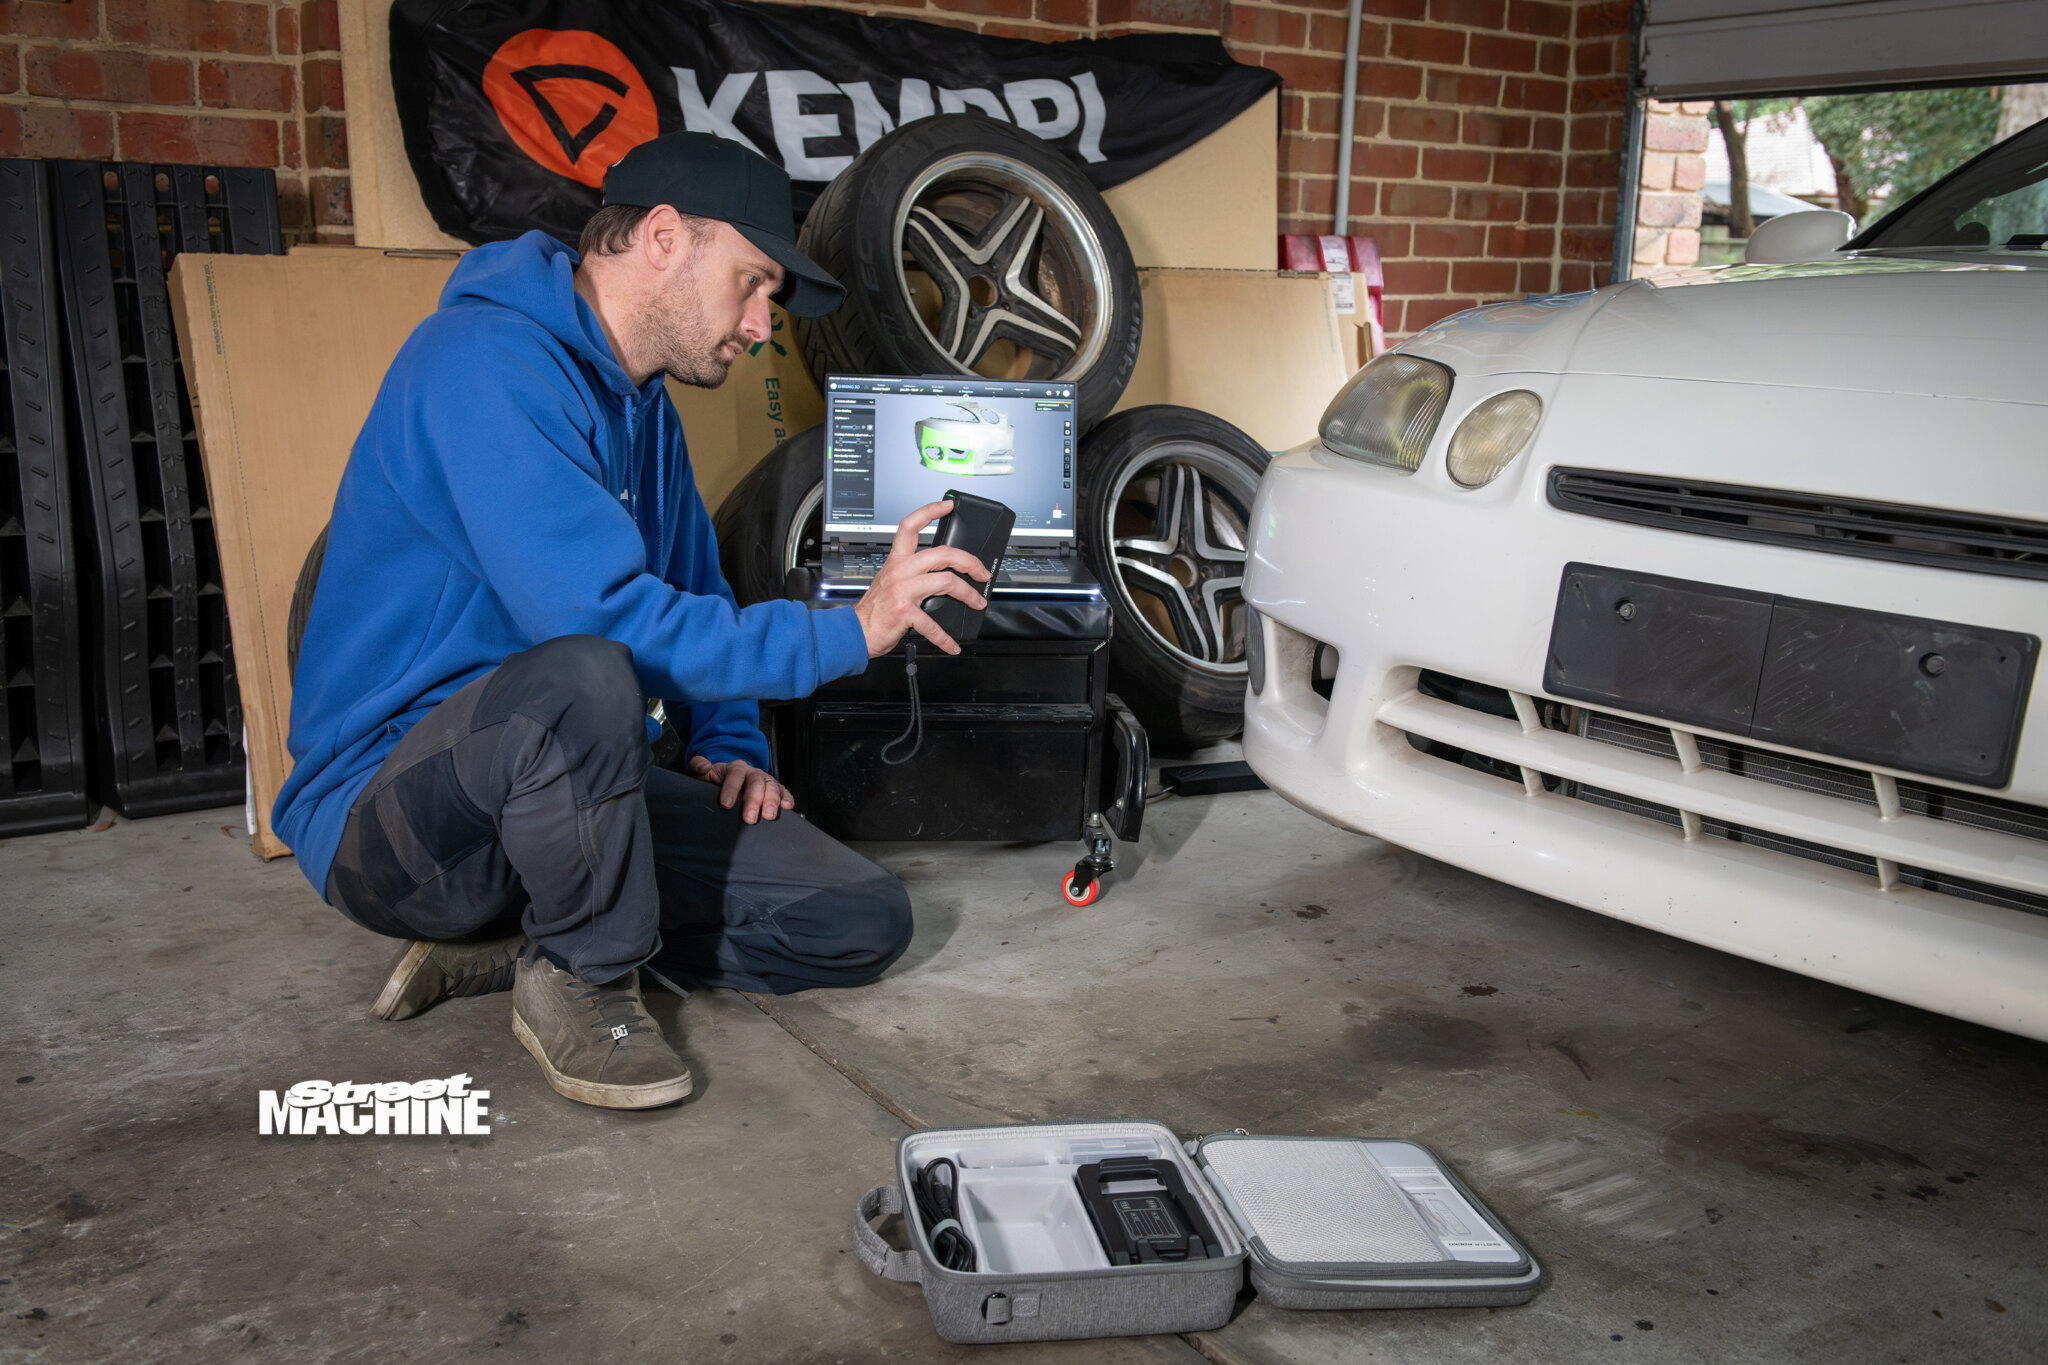
What’s your favourite tool brand in the workshop? Snap-on? Dewalt? Or Kellogg’s? Yep, the humble cereal box has long been a toolkit staple for most backyard mechanics and fabricators, and I’m no exception, having busted out the Coco Pops box to make up templates for intercooler brackets, air boxes, catch cans, and patch panels to replace rust holes. However, there is now a better way, and it’s becoming more accessible by the day to people like you and me.
First published in the September 2026 issue of Street Machine
Until recently, 3D scanners could only be found in industrial applications or the home workshops of enthusiasts who could afford to spend my annual income on new wheels without blinking. In 2026, however, there is a huge range of far more reasonably priced scanners available, and they’re capable of results that could only be obtained from $40,000 industrial machines less than a decade ago.
I am currently using one of the new Einstar Rockit scanners, which the company graciously lent me a few weeks back. I own one of the original Einstar scanners, but only a few short years later, the new Rockit is a huge leap forward, not only in terms of quality but also ease of use. For starters, it does away with cables altogether, connecting wirelessly to my laptop and running off its own battery power.
The Rockit retails for a hair under $3000, which might seem like a lot, but considering the time and expense it can save you when the part you make from your scan just fits and works first go, it will quickly more than pay for itself.
I’ve created a lot of parts for my race and street cars over the years, and many of them have been 3D printed. Even if I want to make a part out of steel or by using CNC machining, the ability to quickly 3D scan and print a plastic prototype means I can test-fit the part before I make the real thing, which obviously saves a lot of heartache down the track.
PROJECT: SOARER AIR DUCT
Around nine years ago, one of my first part designs was for some brake ducts for my Hyundai Excel circuit car. Back then, I used the trusty cereal box to make a template of the original fog-light hole in the front bar, marking out the stock mounting holes. Then, using my questionable eyesight and myriad protractors, rulers and angle finders, I tried to map the best route for the duct to follow so it didn’t hit the radiator supports or any piping behind the front bar. From there, I used my wife’s office flatbed paper scanner to scan these cardboard templates, before using my Computer Aided Design (CAD) software to adjust it so it fit the measurements I’d scribbled on my notepad.
Needless to say, this process took many iterations and a pile of failed 3D prints before my final design slotted into its home and worked.
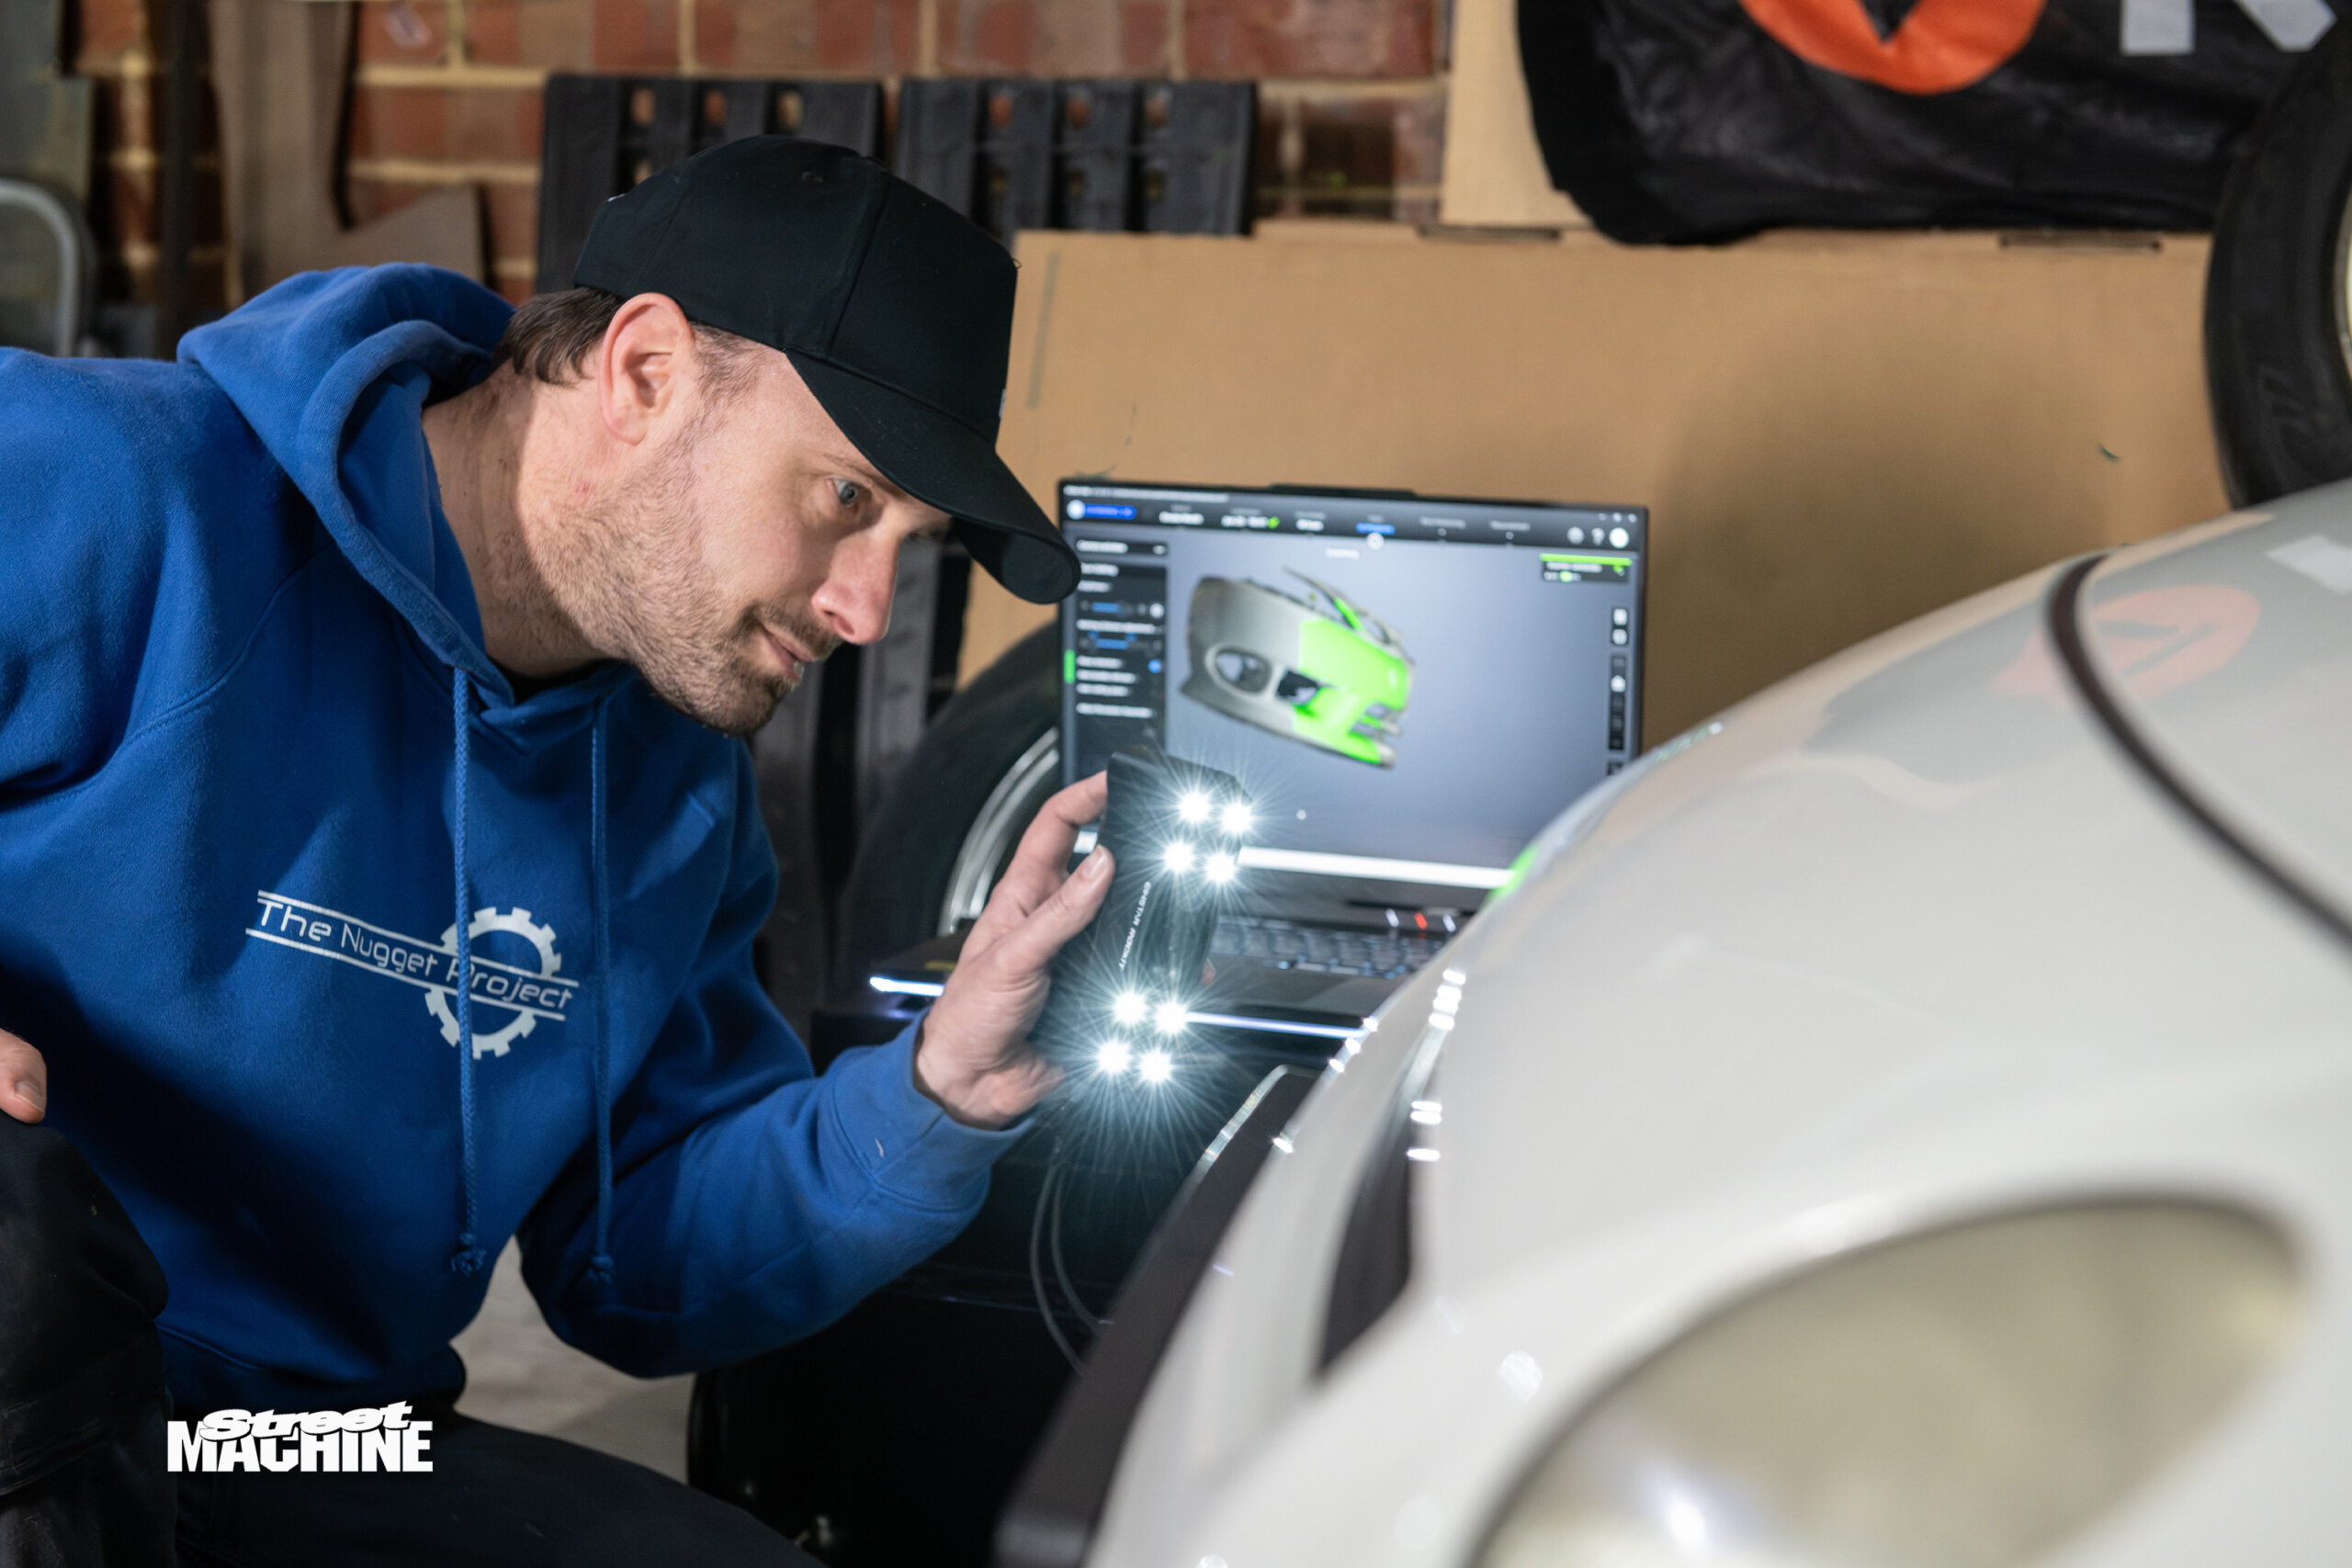
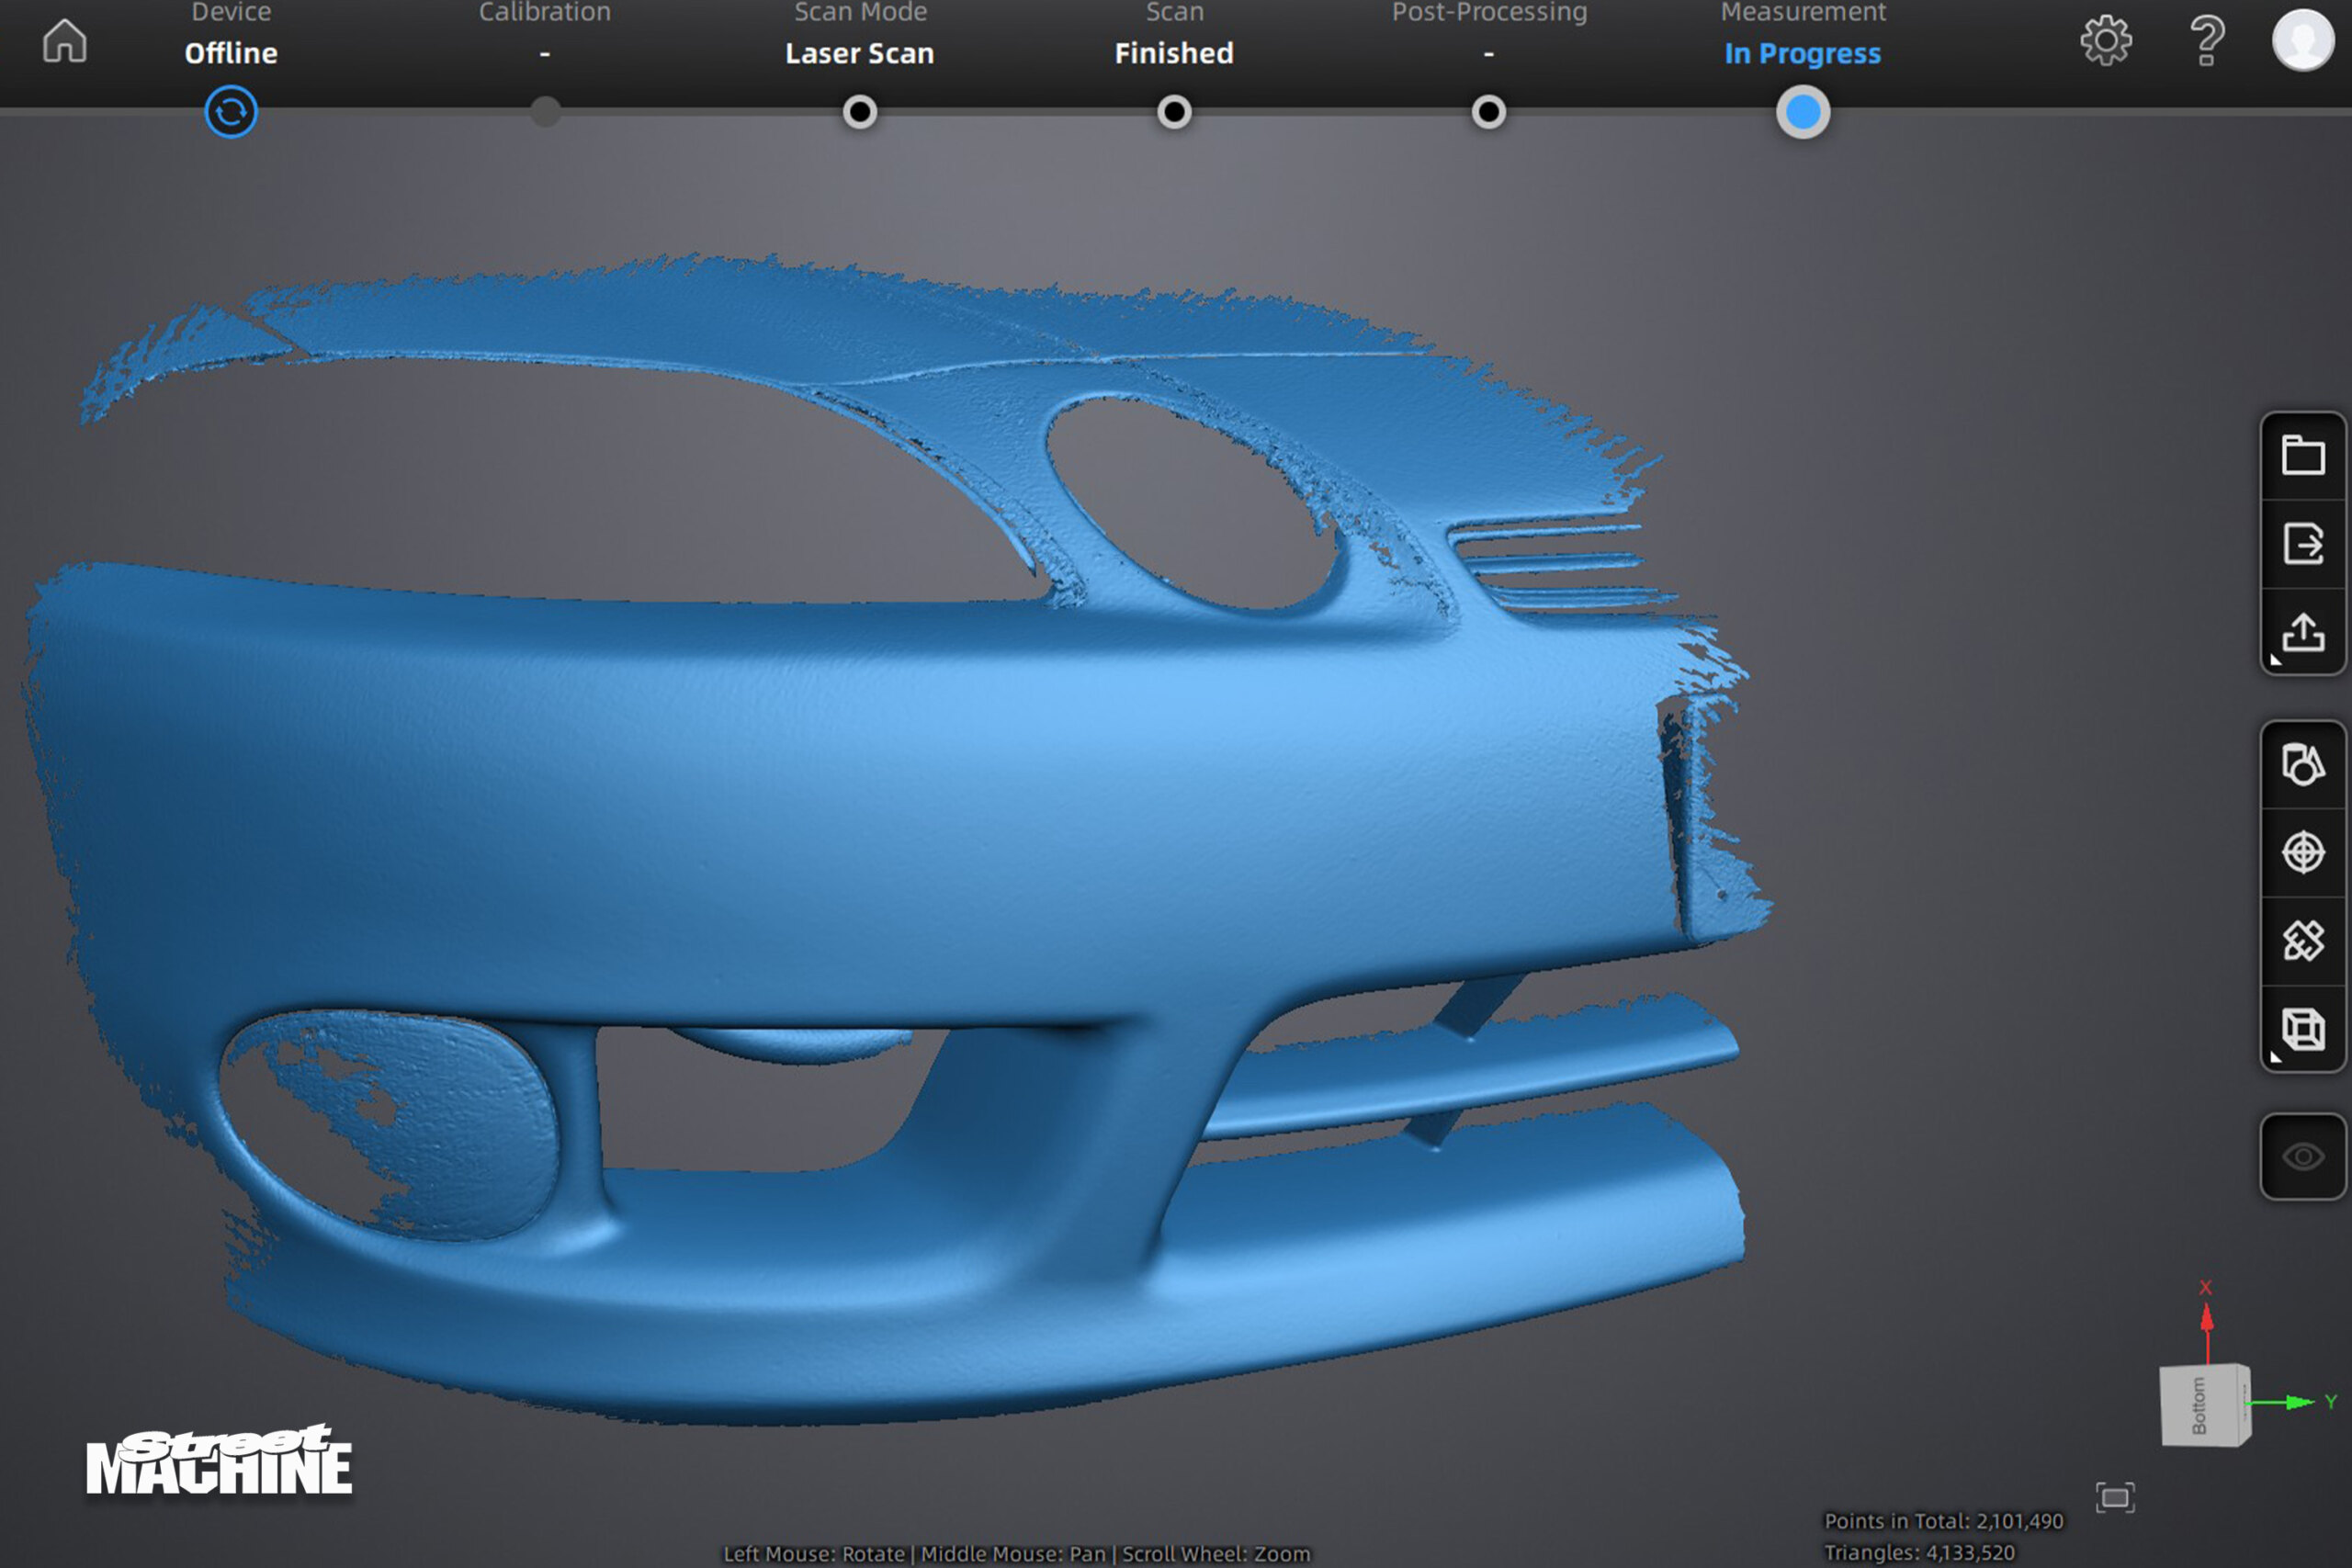
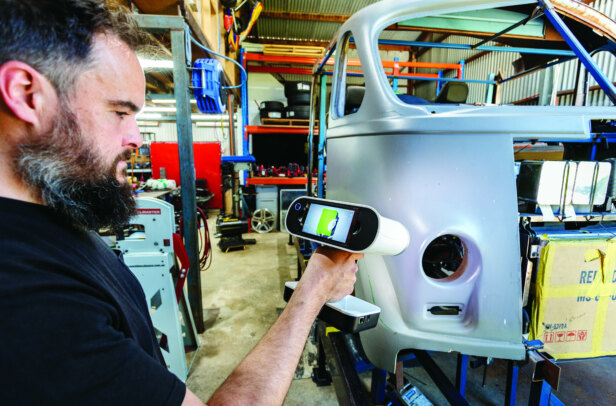
But with this new Rockit scanner, it’s a very different story. I wanted to make an air duct to fit the stock front-bumper intake of my 1999 Toyota Soarer, so I could run a hose from there up to the air box. After a quick set-up process using the supplied calibration board, I used the Rockit to scan the bumper intake, instantly producing a 3D image on my laptop screen. We’re talking every curve, screw head, hole and mounting point, which I could never replicate by measuring with traditional methods. Within a couple of minutes, I had a scan of the bumper intake that was accurate to within 0.3mm, although the Rockit is capable of scanning all the way down to 0.05mm.
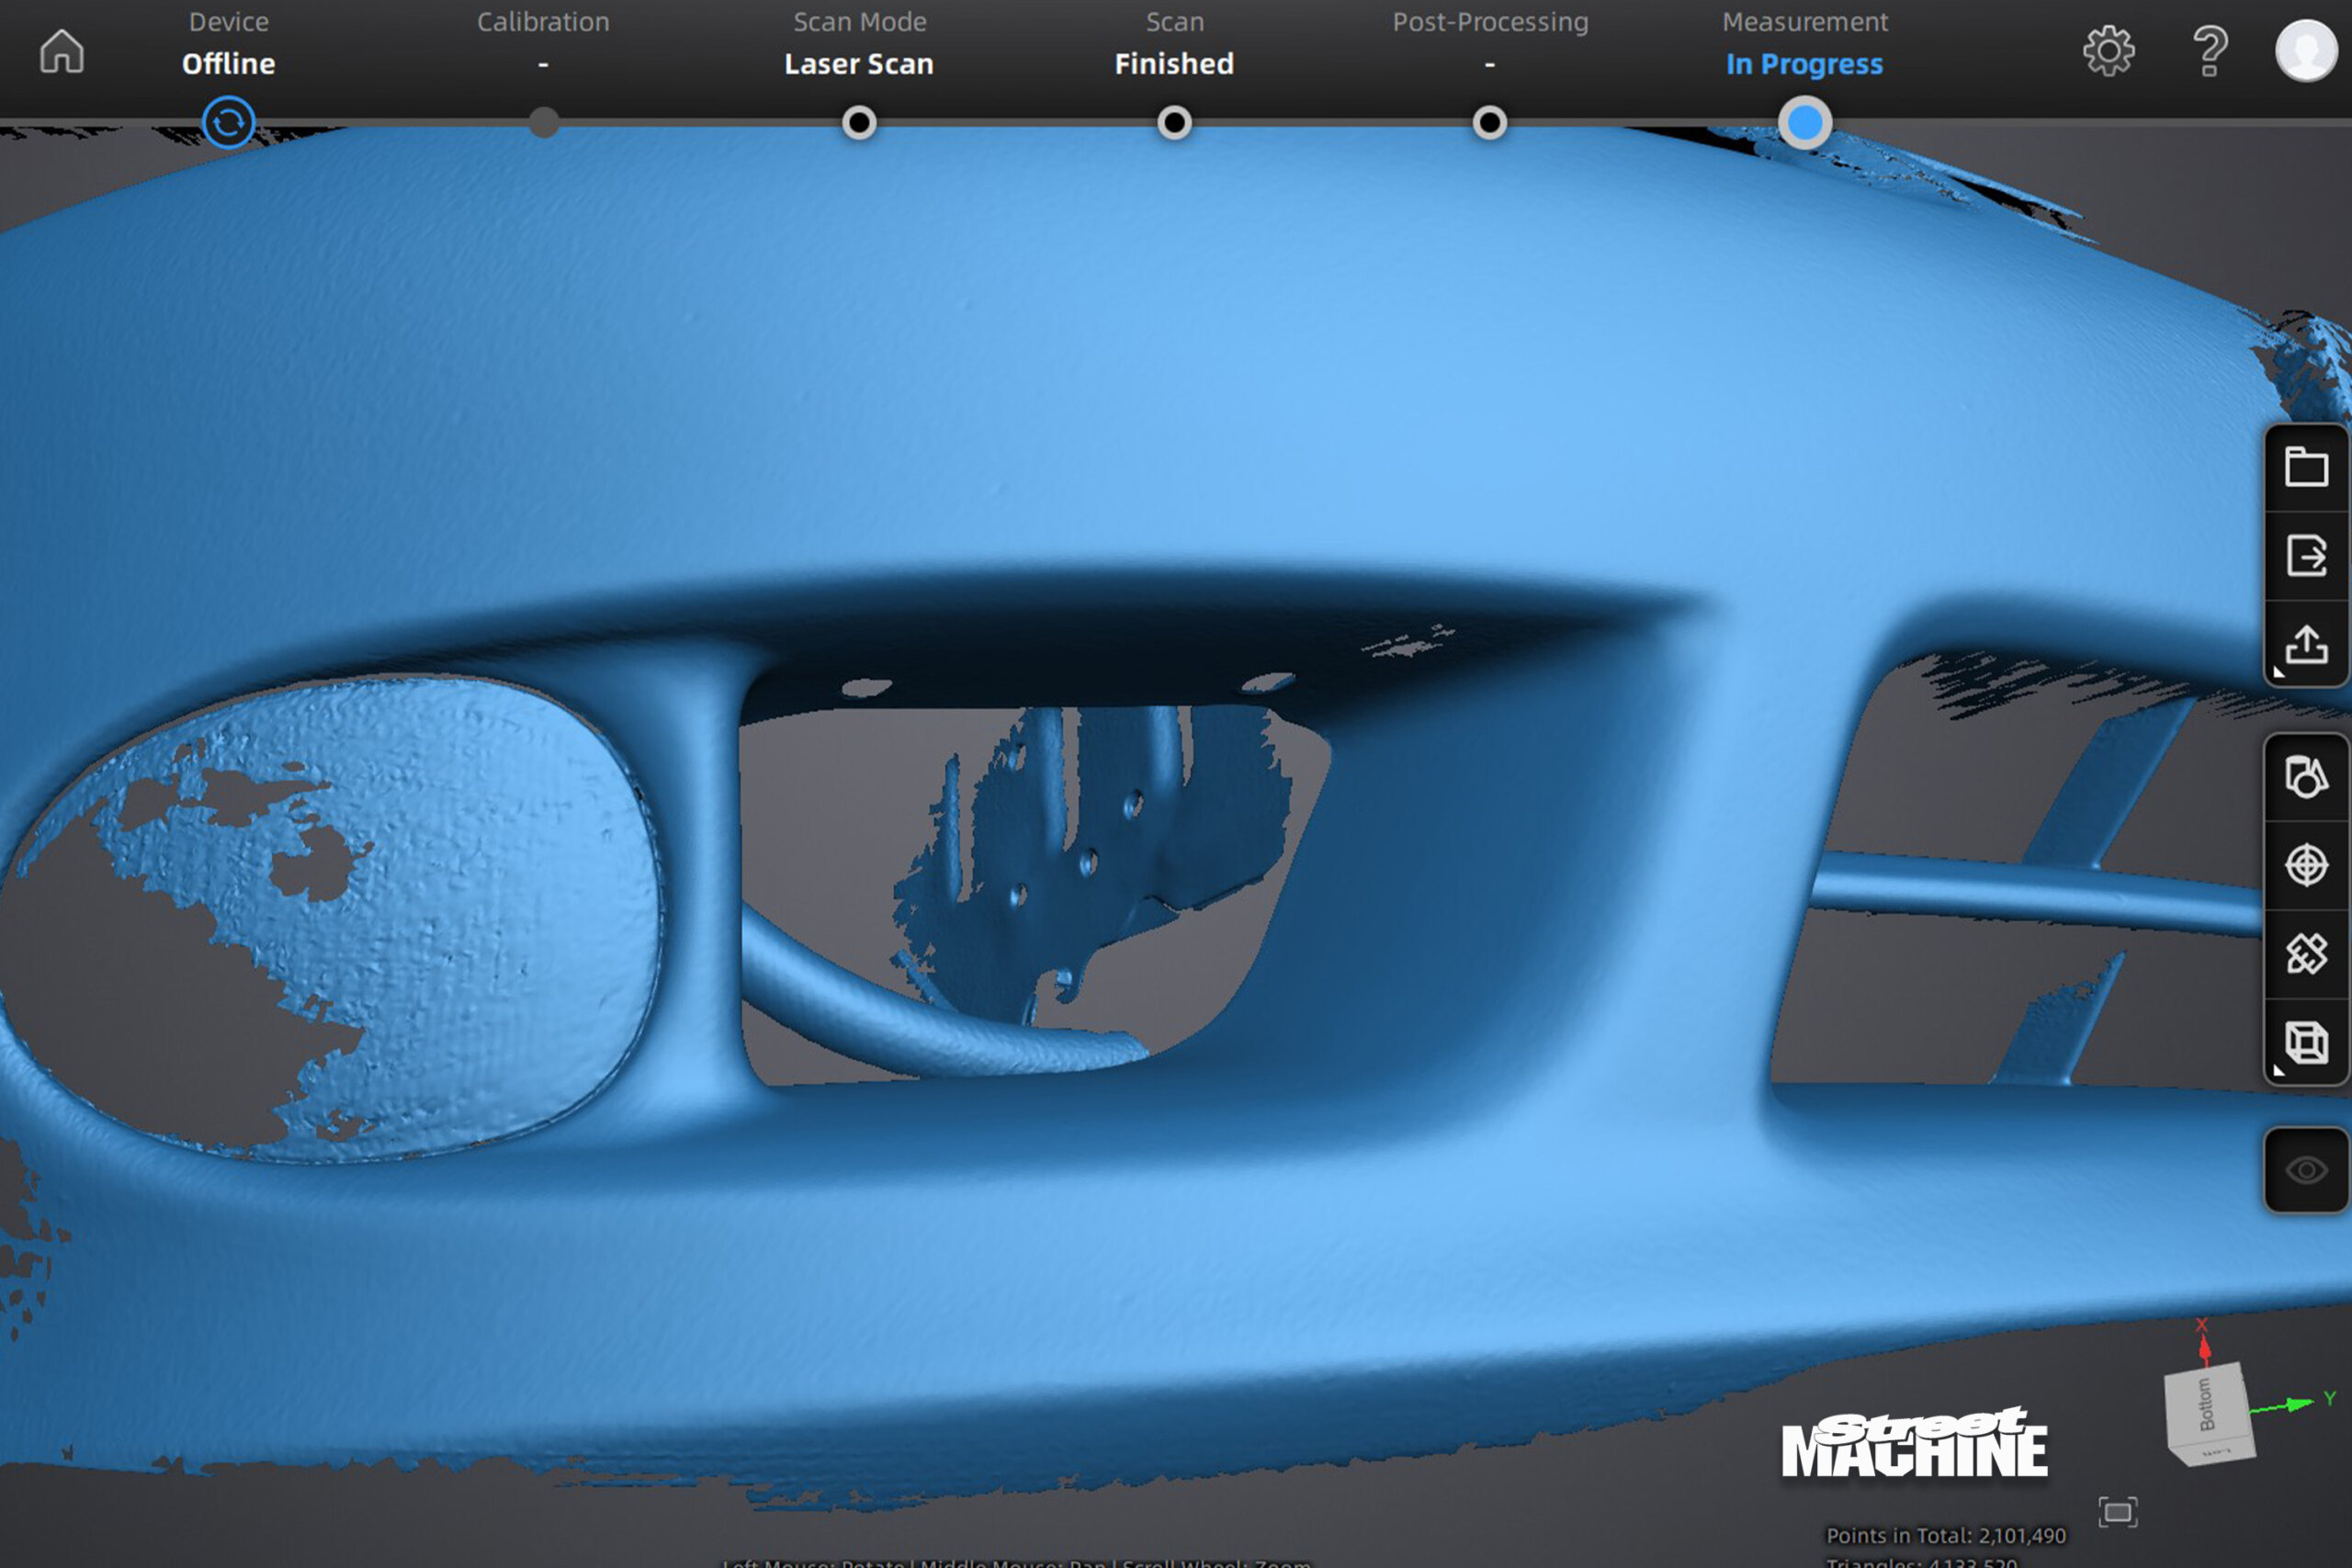
I loaded the scan into Fusion 360, an industry-standard CAD software platform, and was then able to create cross-sections of the stock intake so I could design a duct that would match the intake’s curves. In the scan, I could see a screw on the inside used as a mounting point for the fog light, and two holes above that to help locate the bumper with some plastic trim, so I could use those as mounting points for my new duct.
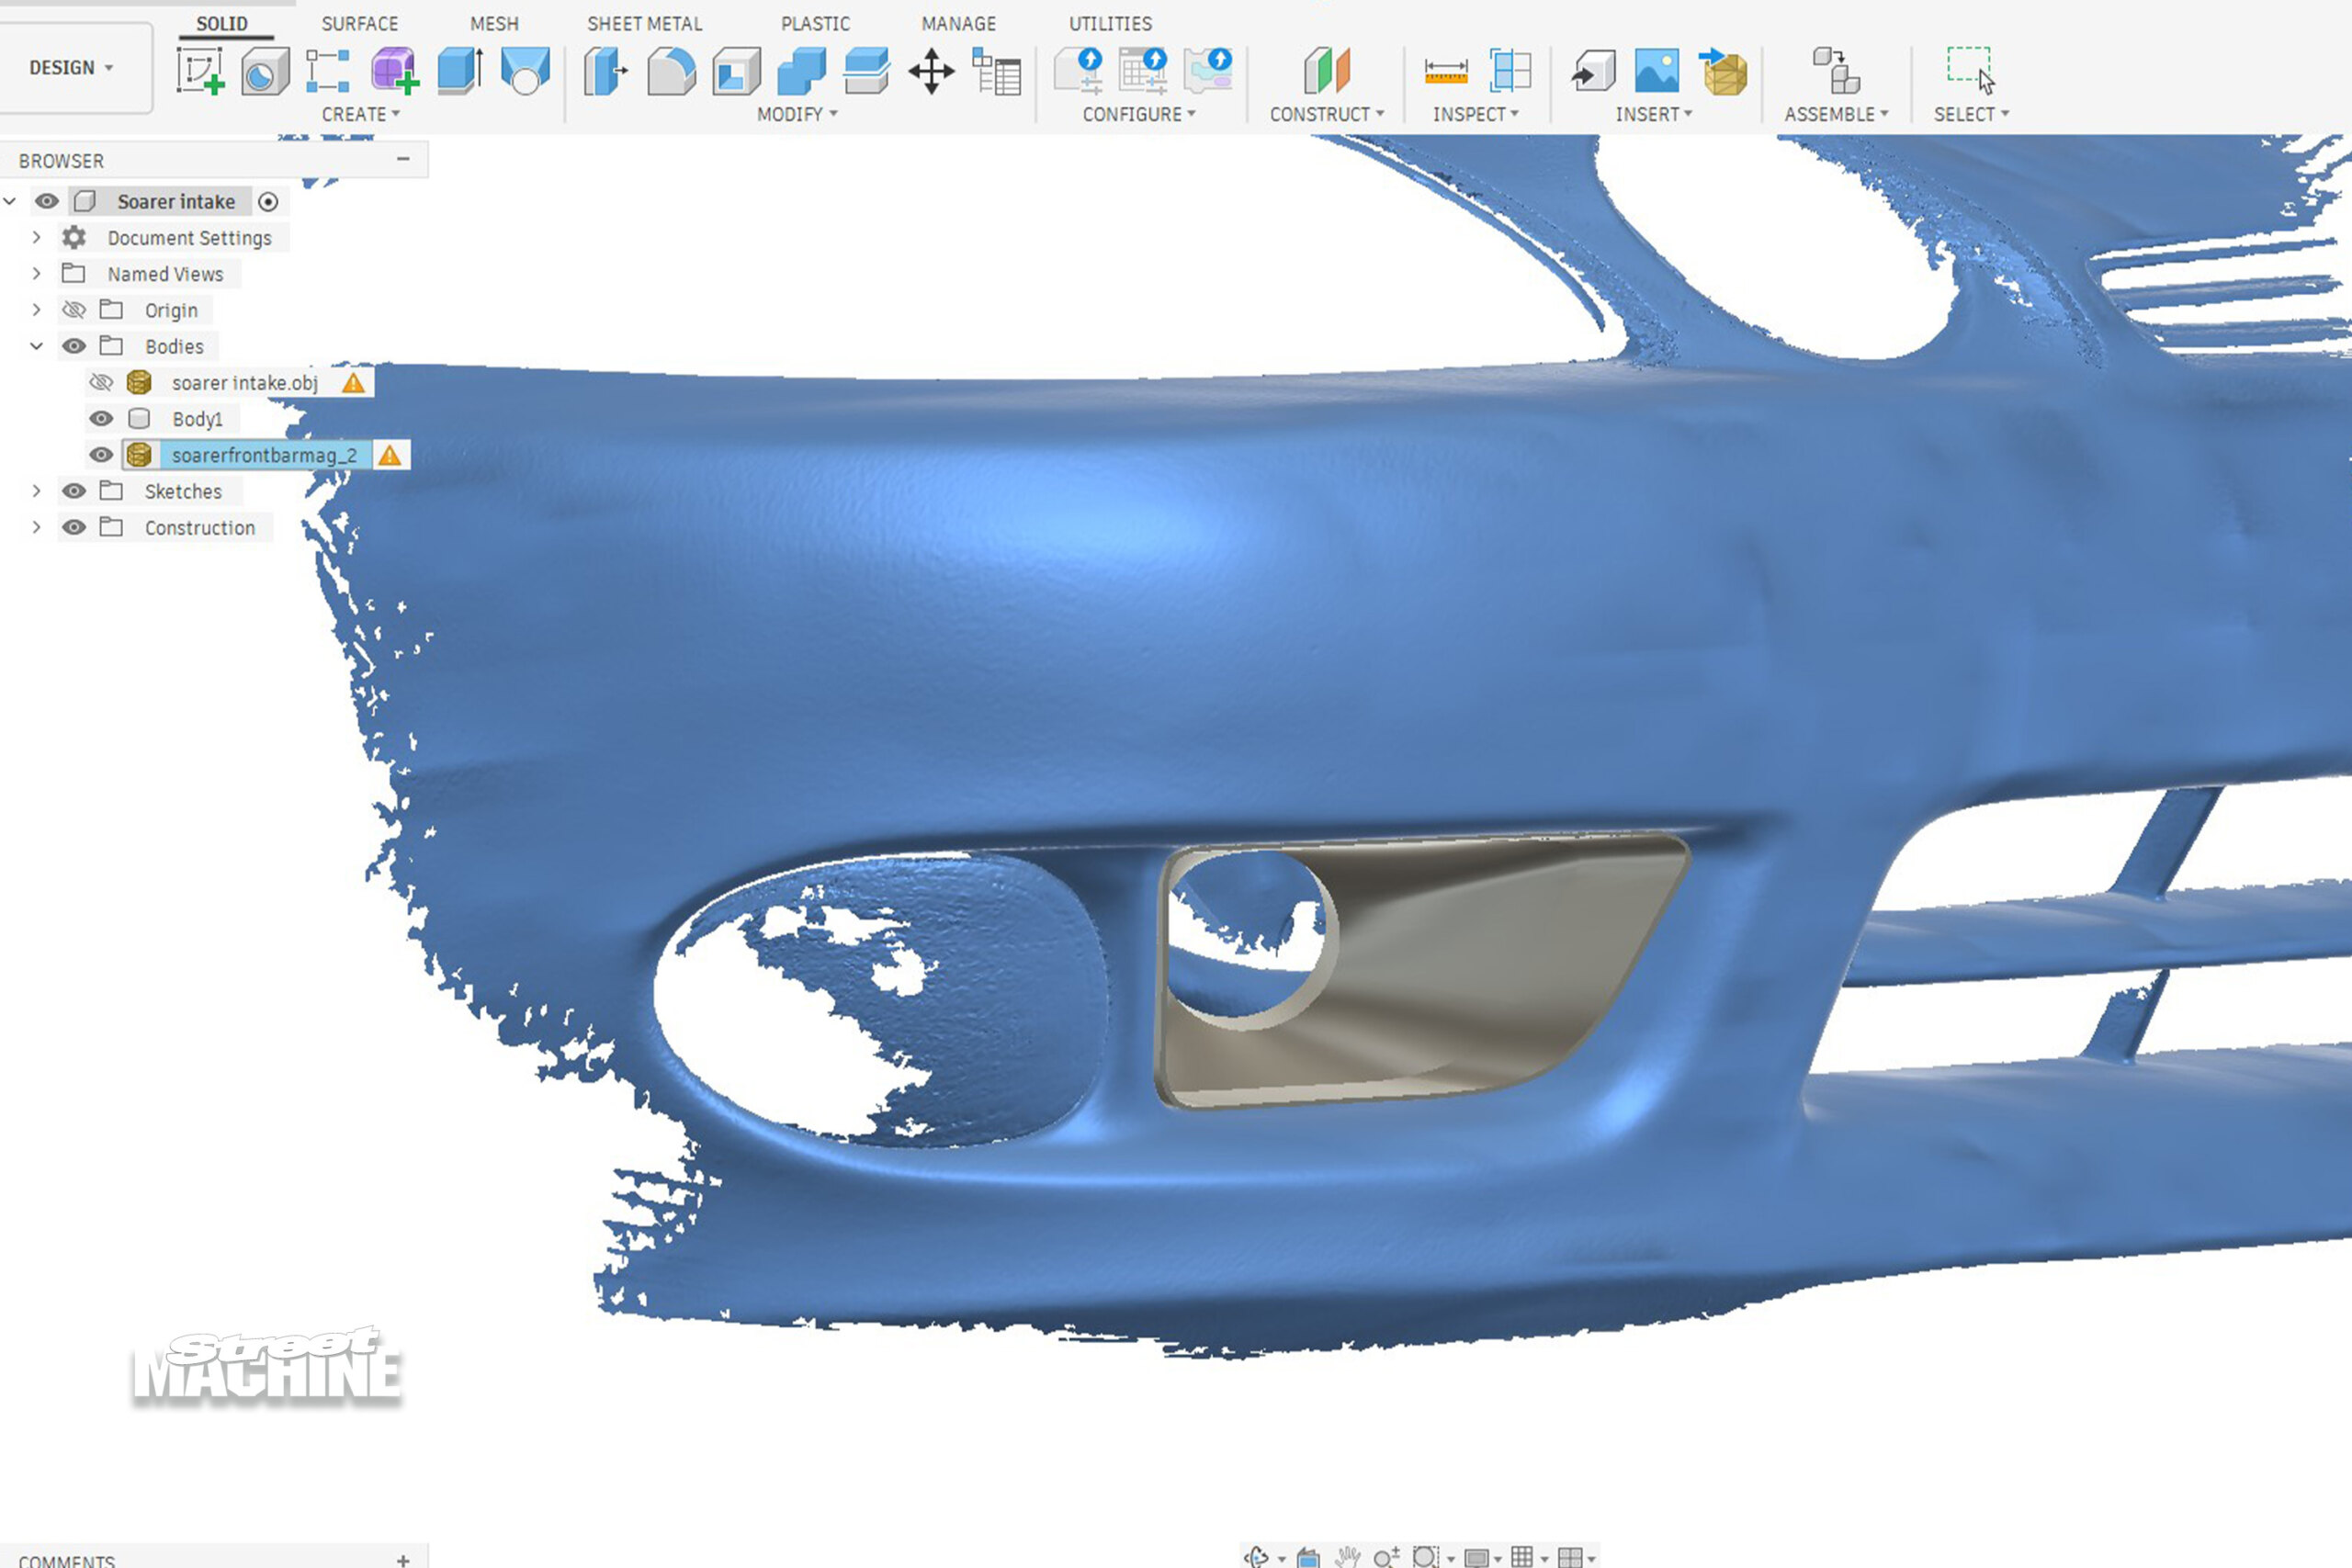
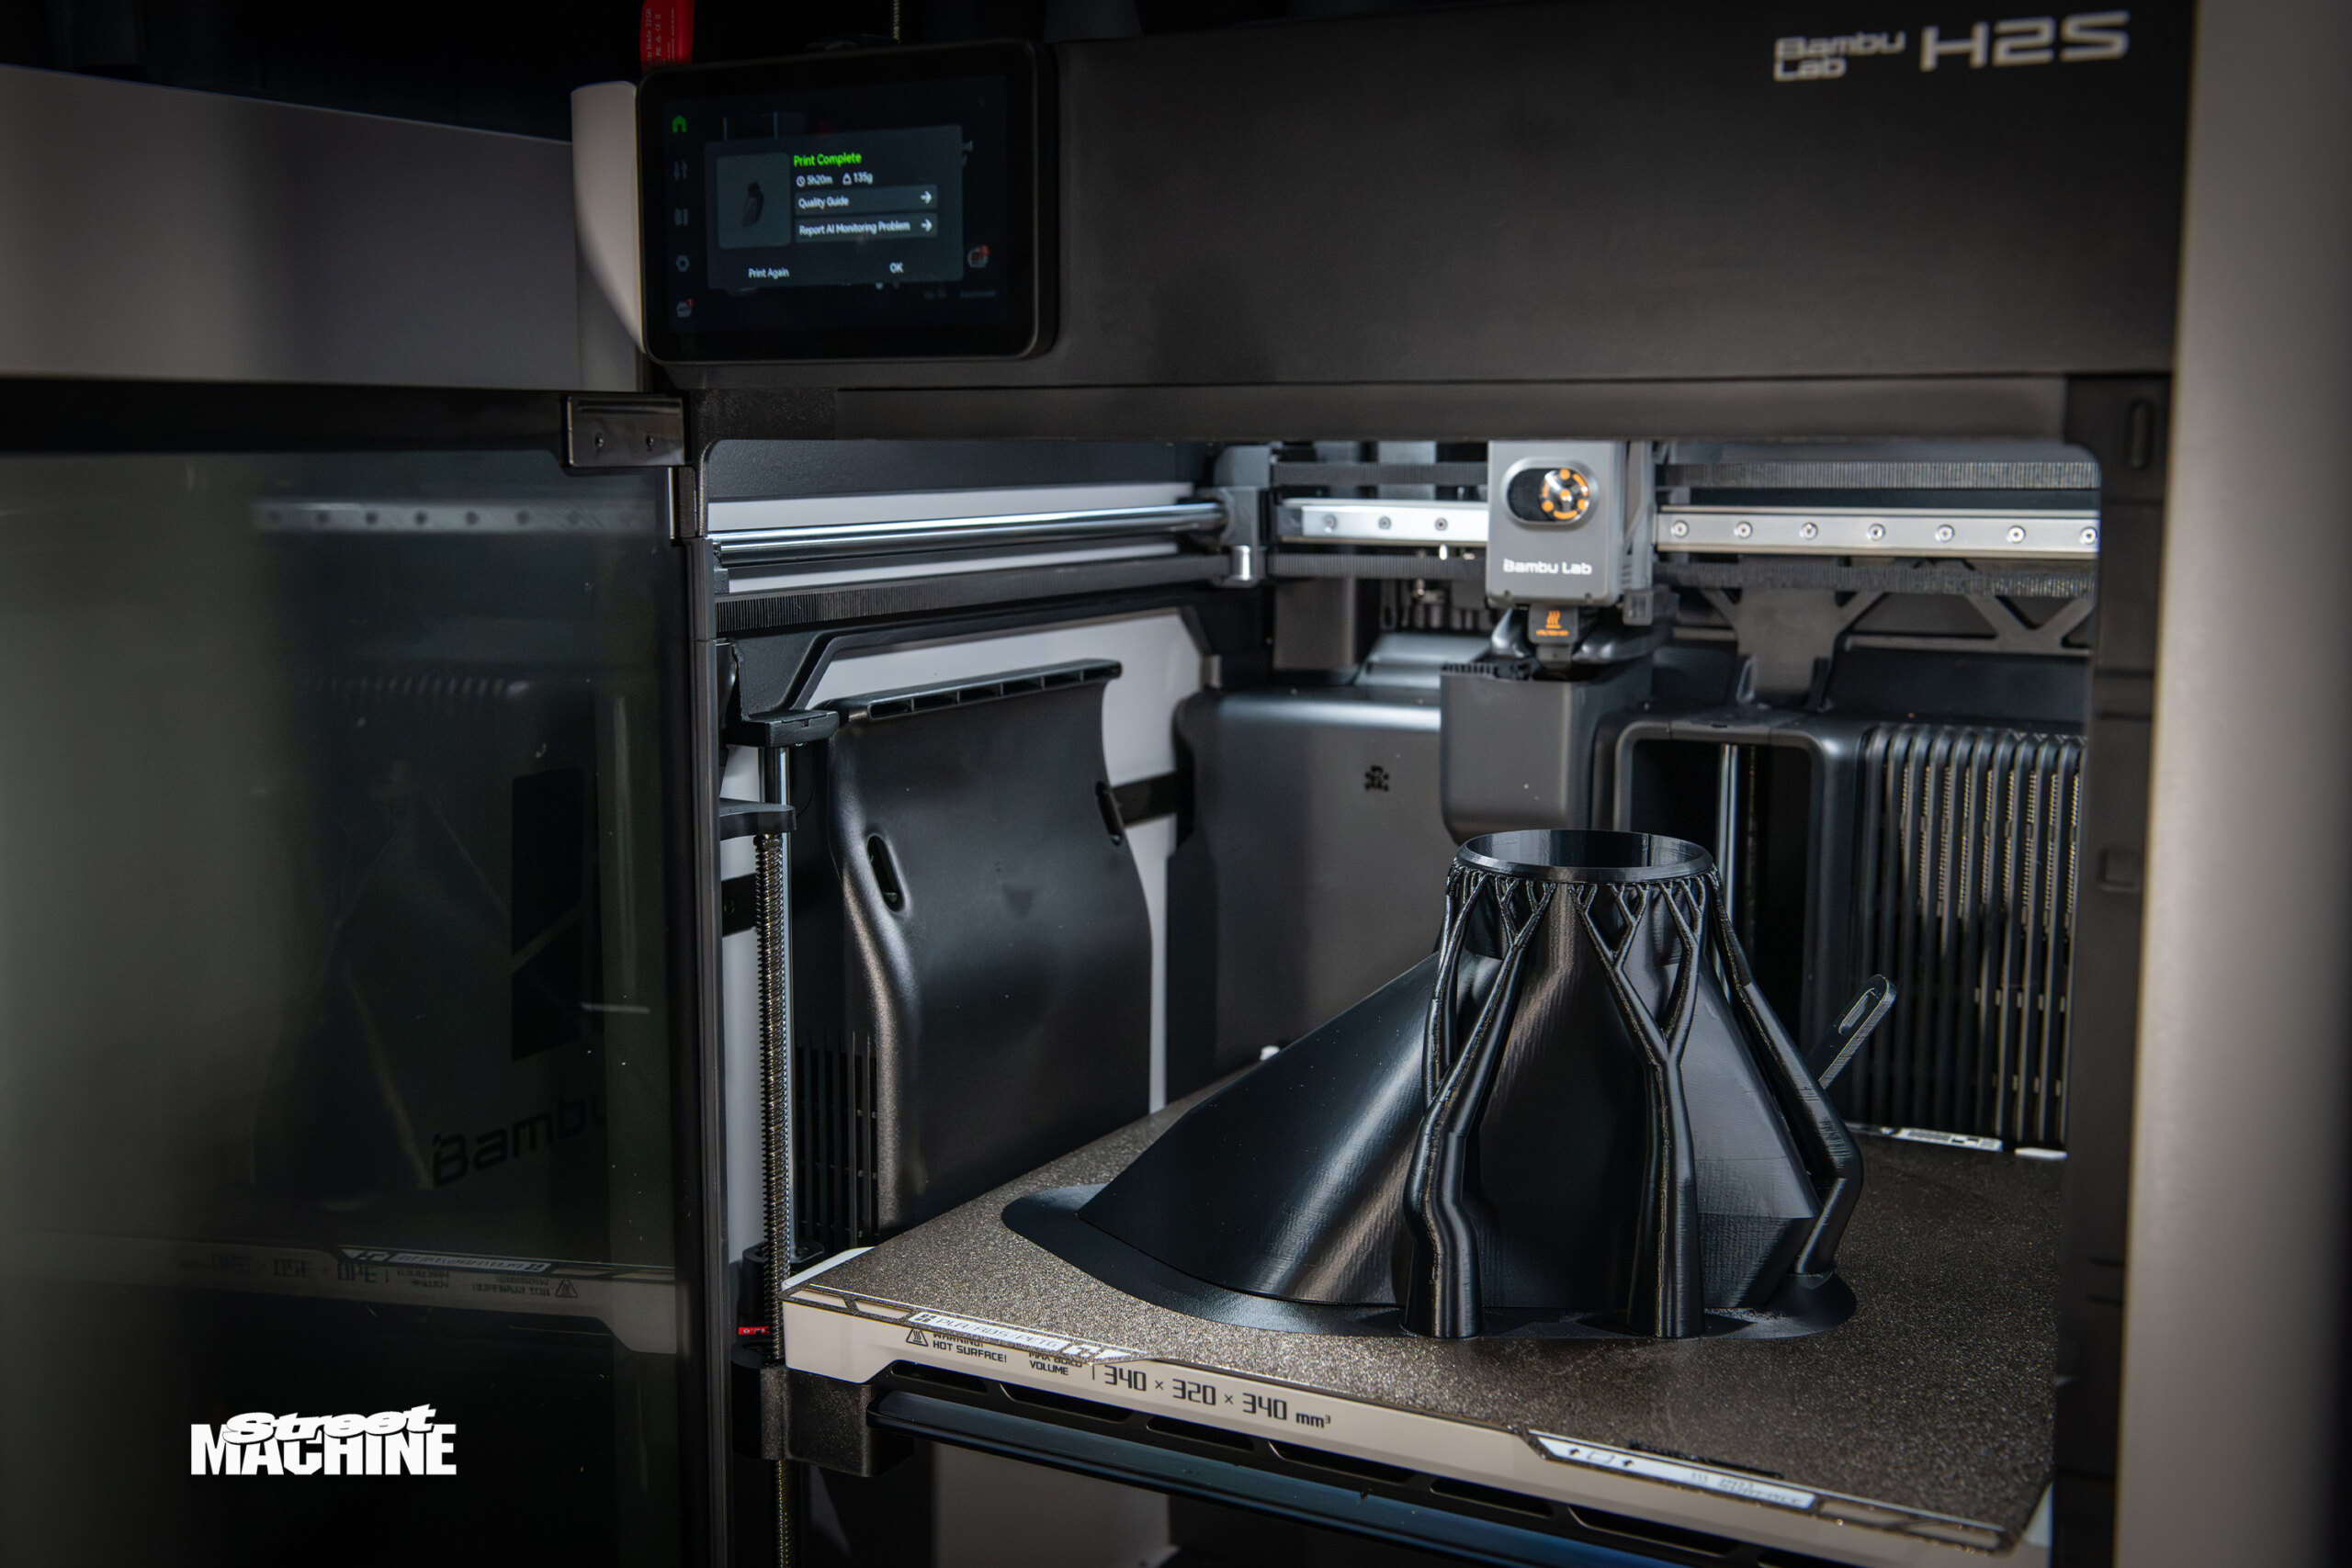
Now, full disclosure: when I’m not filming cars at Street Machine Drag Challenge or taking photos for the magazine, I’m busy with my business, The Nugget Project, where I 3D-scan and design car parts for like-minded folk – everything from brake ducts to gauge clusters. So, because I work in CAD every day, the design of my Soarer air duct took me less than an hour. I sent the file to one of my 3D printers in the garage, and within a few hours I had a test piece printed in Acrylonitrile Styrene Acrylate (ASA), a strong and UV-stable plastic perfect for this type of application.
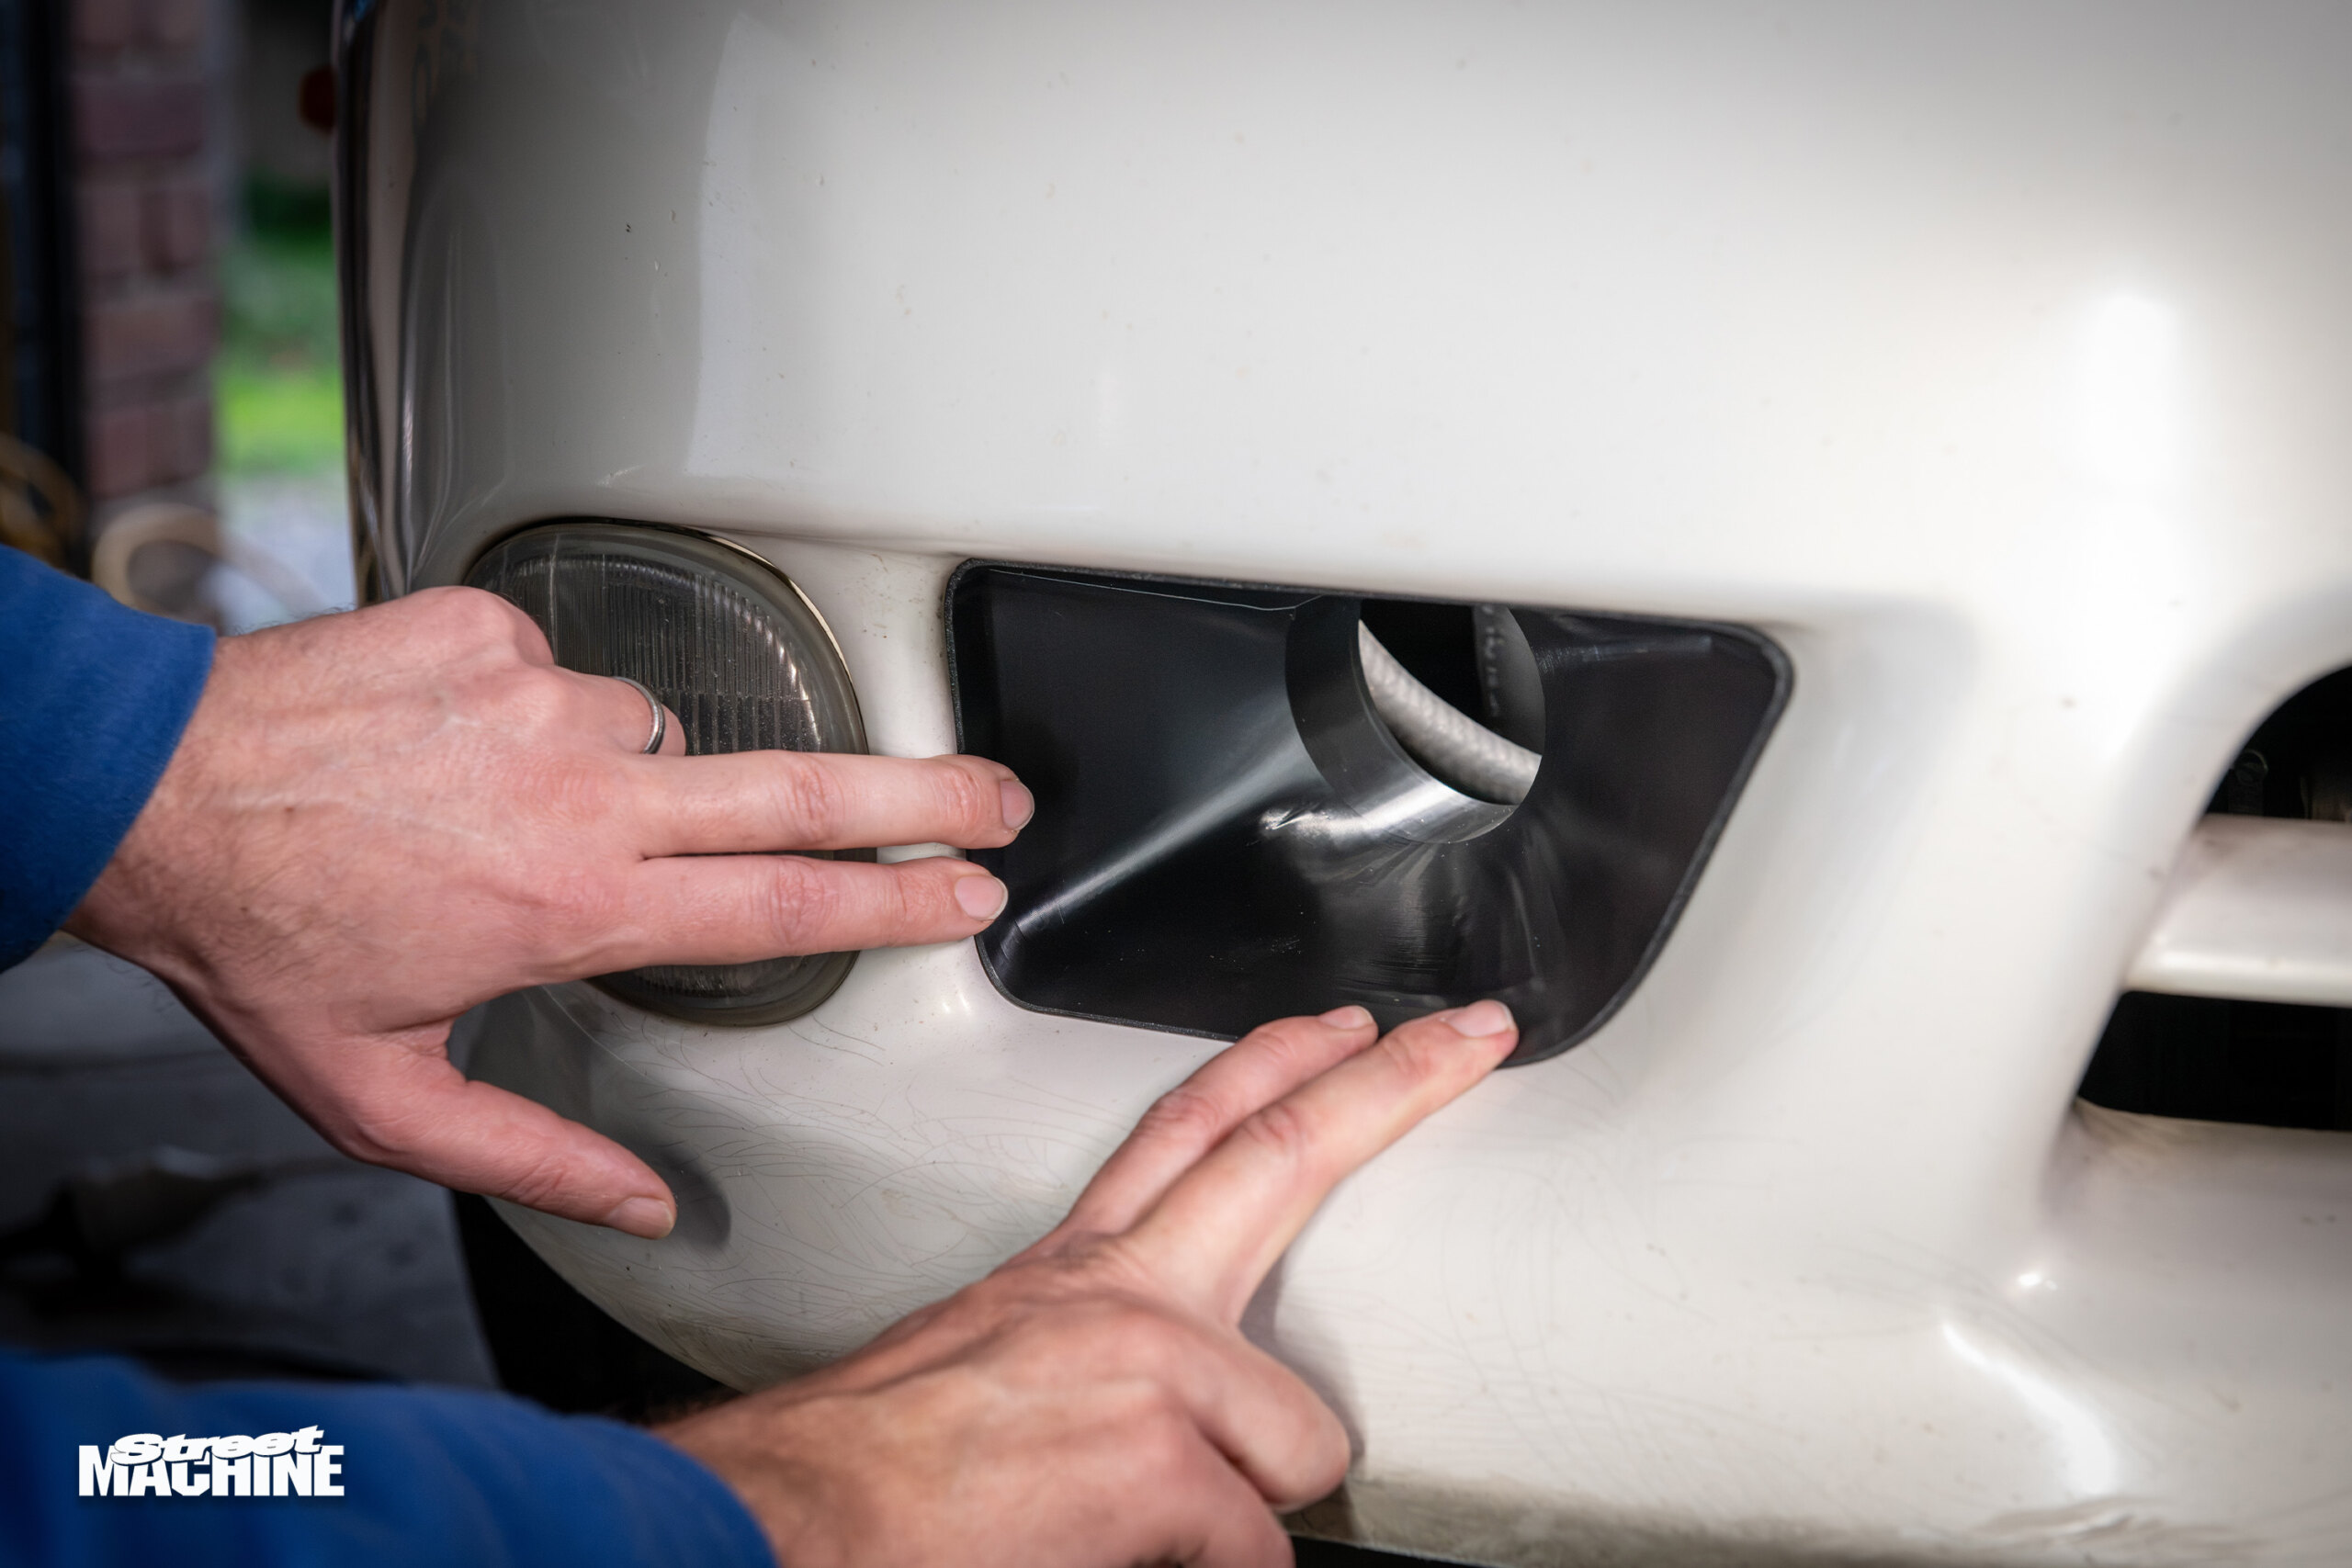
Nine years ago, that first brake duct test print for my Excel didn’t fit in the front bar; the duct clashed with the rad support and the holes didn’t line up. But now, the air duct I made for the Soarer slotted directly into its home first go, with millimetre-perfect fit and all three mounting holes lining up. What was a test piece instantly became the final design, ready to be bolted in.
THE HULL TRUTH
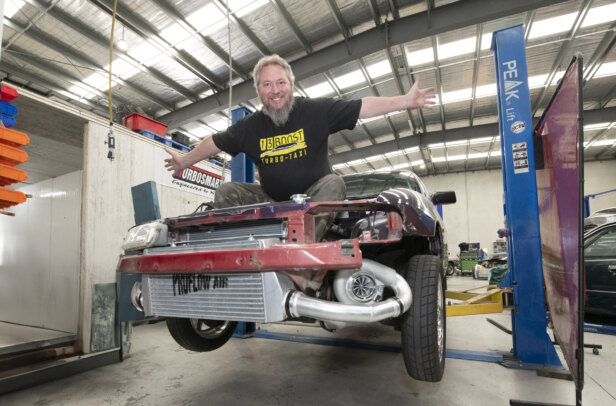
Matt Hull previously worked closely behind the camera with Scott Taylor to produce some of the most epic videos in the nine-year run of our Carnage YouTube series. Matt not only filmed and edited the videos but also swung spanners and starred in a couple of episodes – including taking on Mount Panorama in his own Hyundai Excel racer.
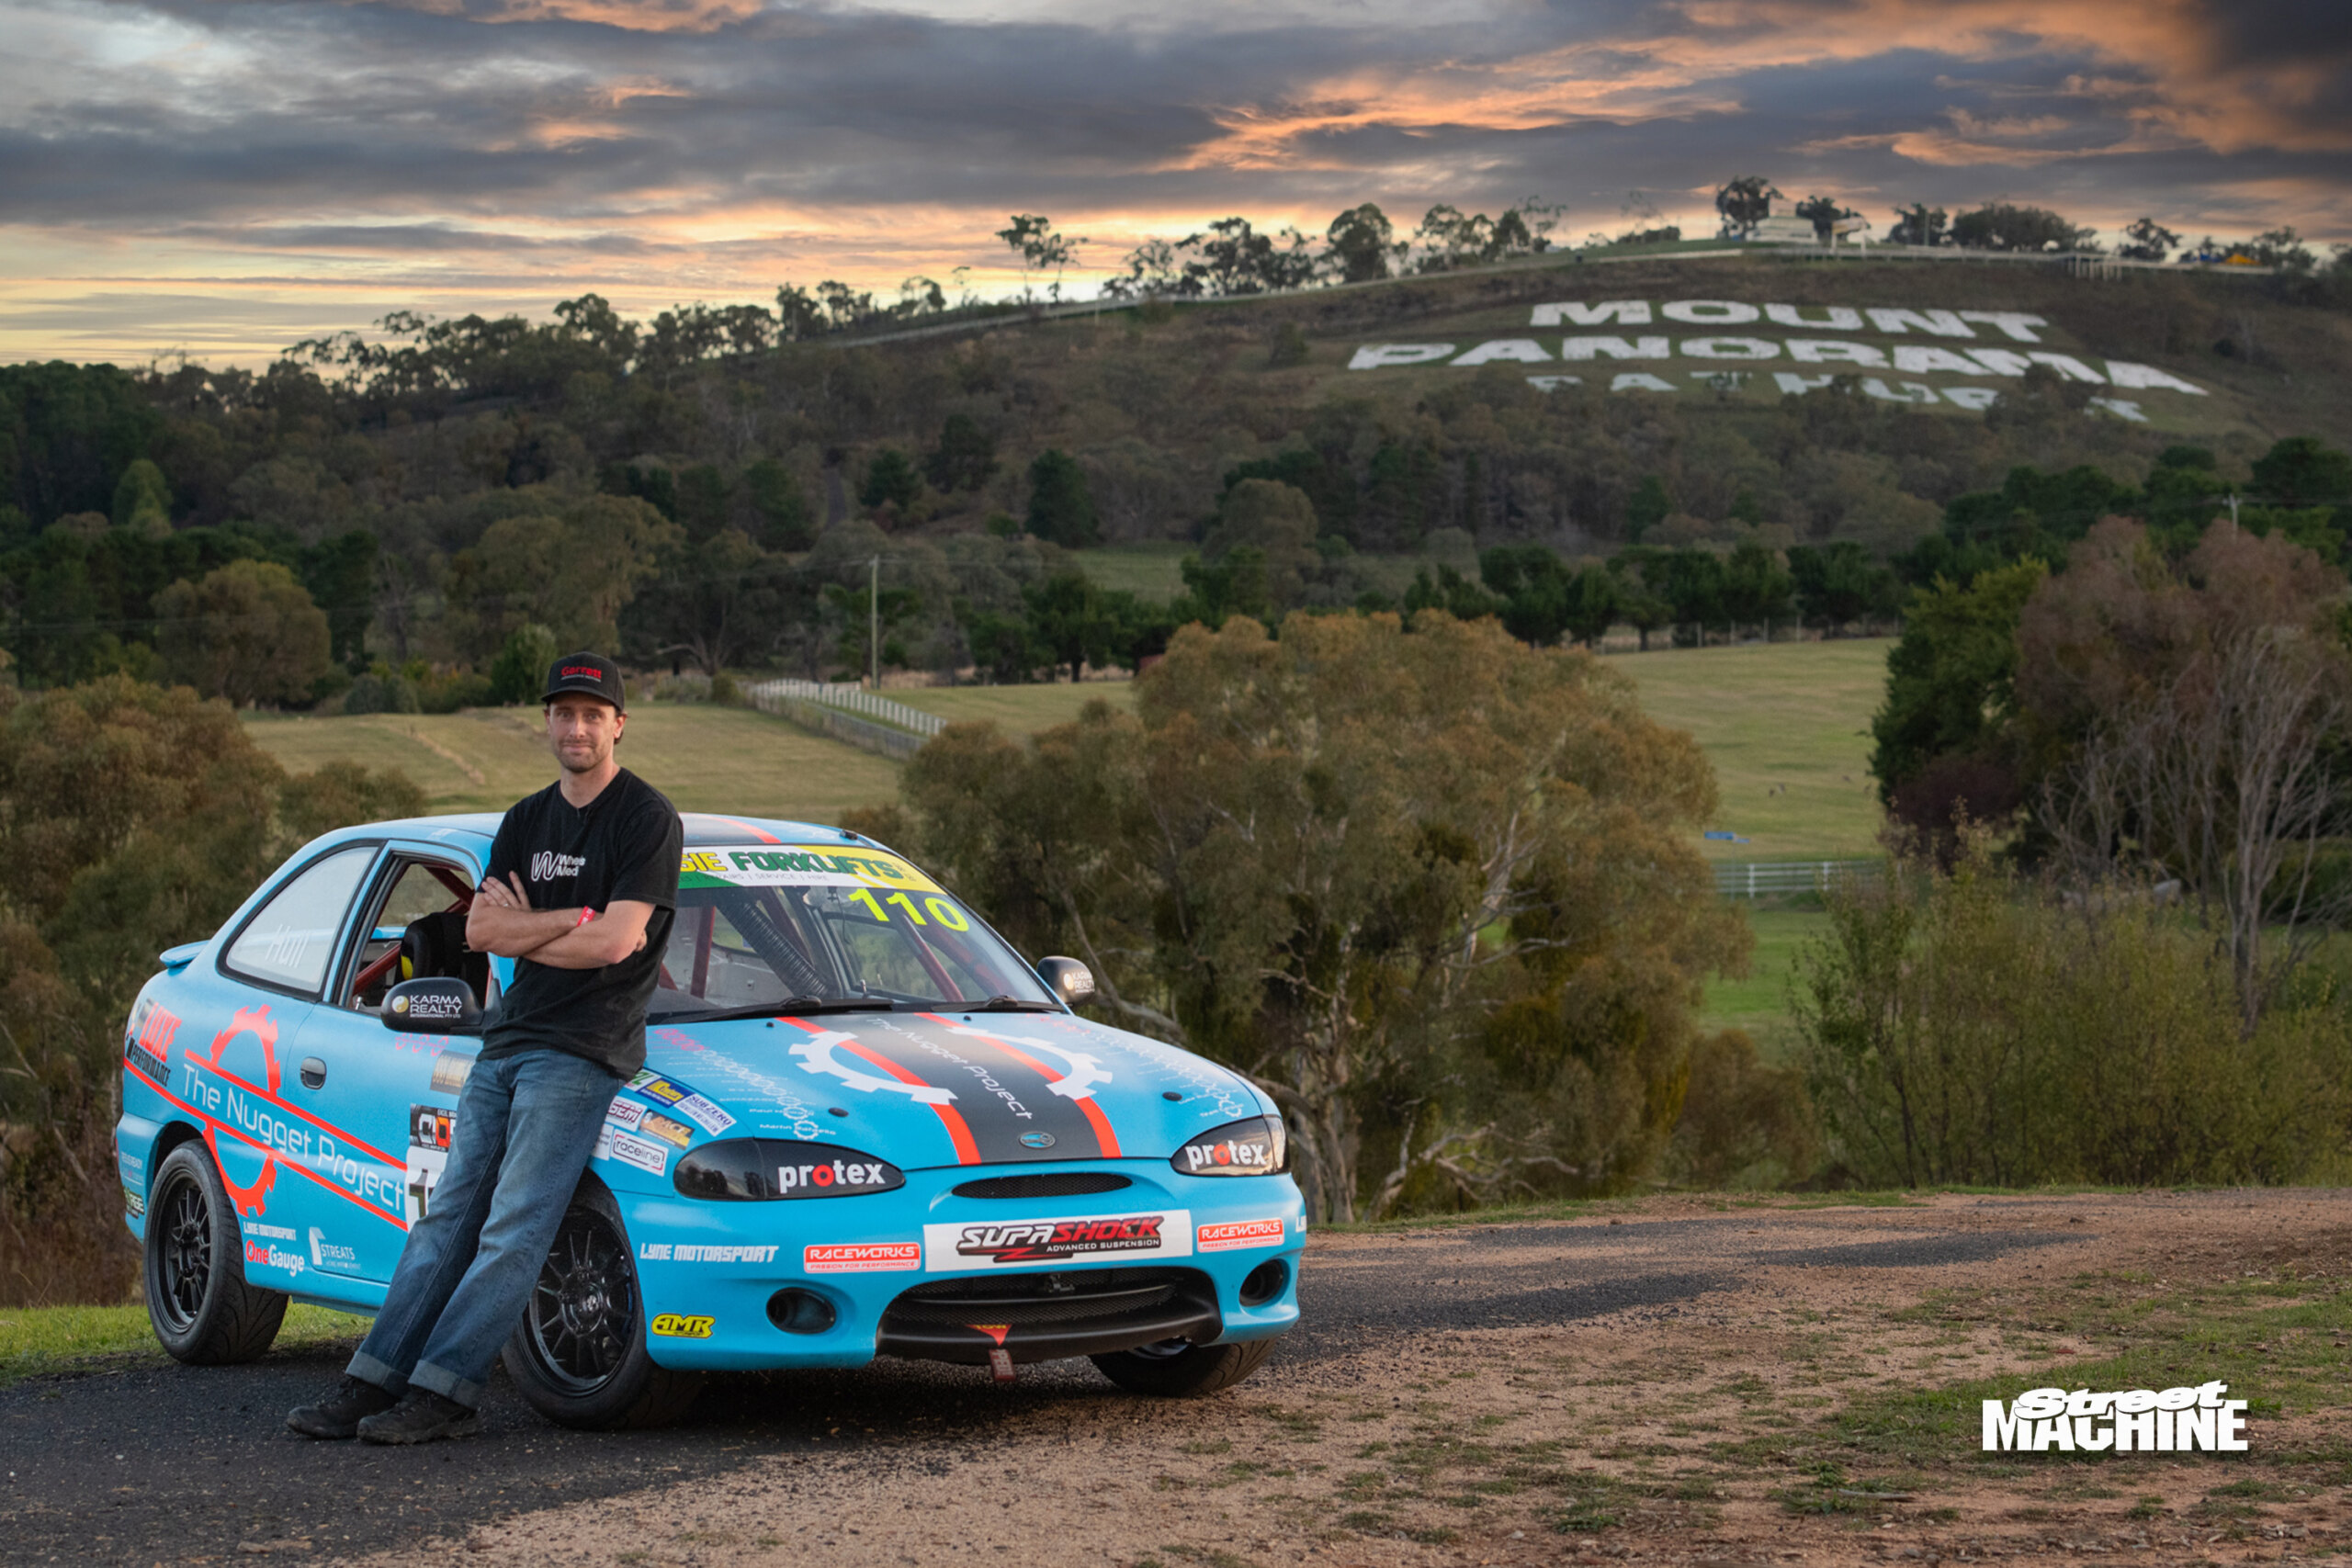
Matt has also penned a few yarns for us and done some cool feature car shoots, and currently masterminds our Drag Challenge and Summernats coverage.
Check out The Nugget Project on the socials to keep up with Matt’s creative output.
PROJECT: TORANA SCOOP
Making a part like my Soarer duct is something I reckon anyone could do in their shed with a similar scanner, a semi-decent 3D printer and some CAD practice, but what about much larger parts?
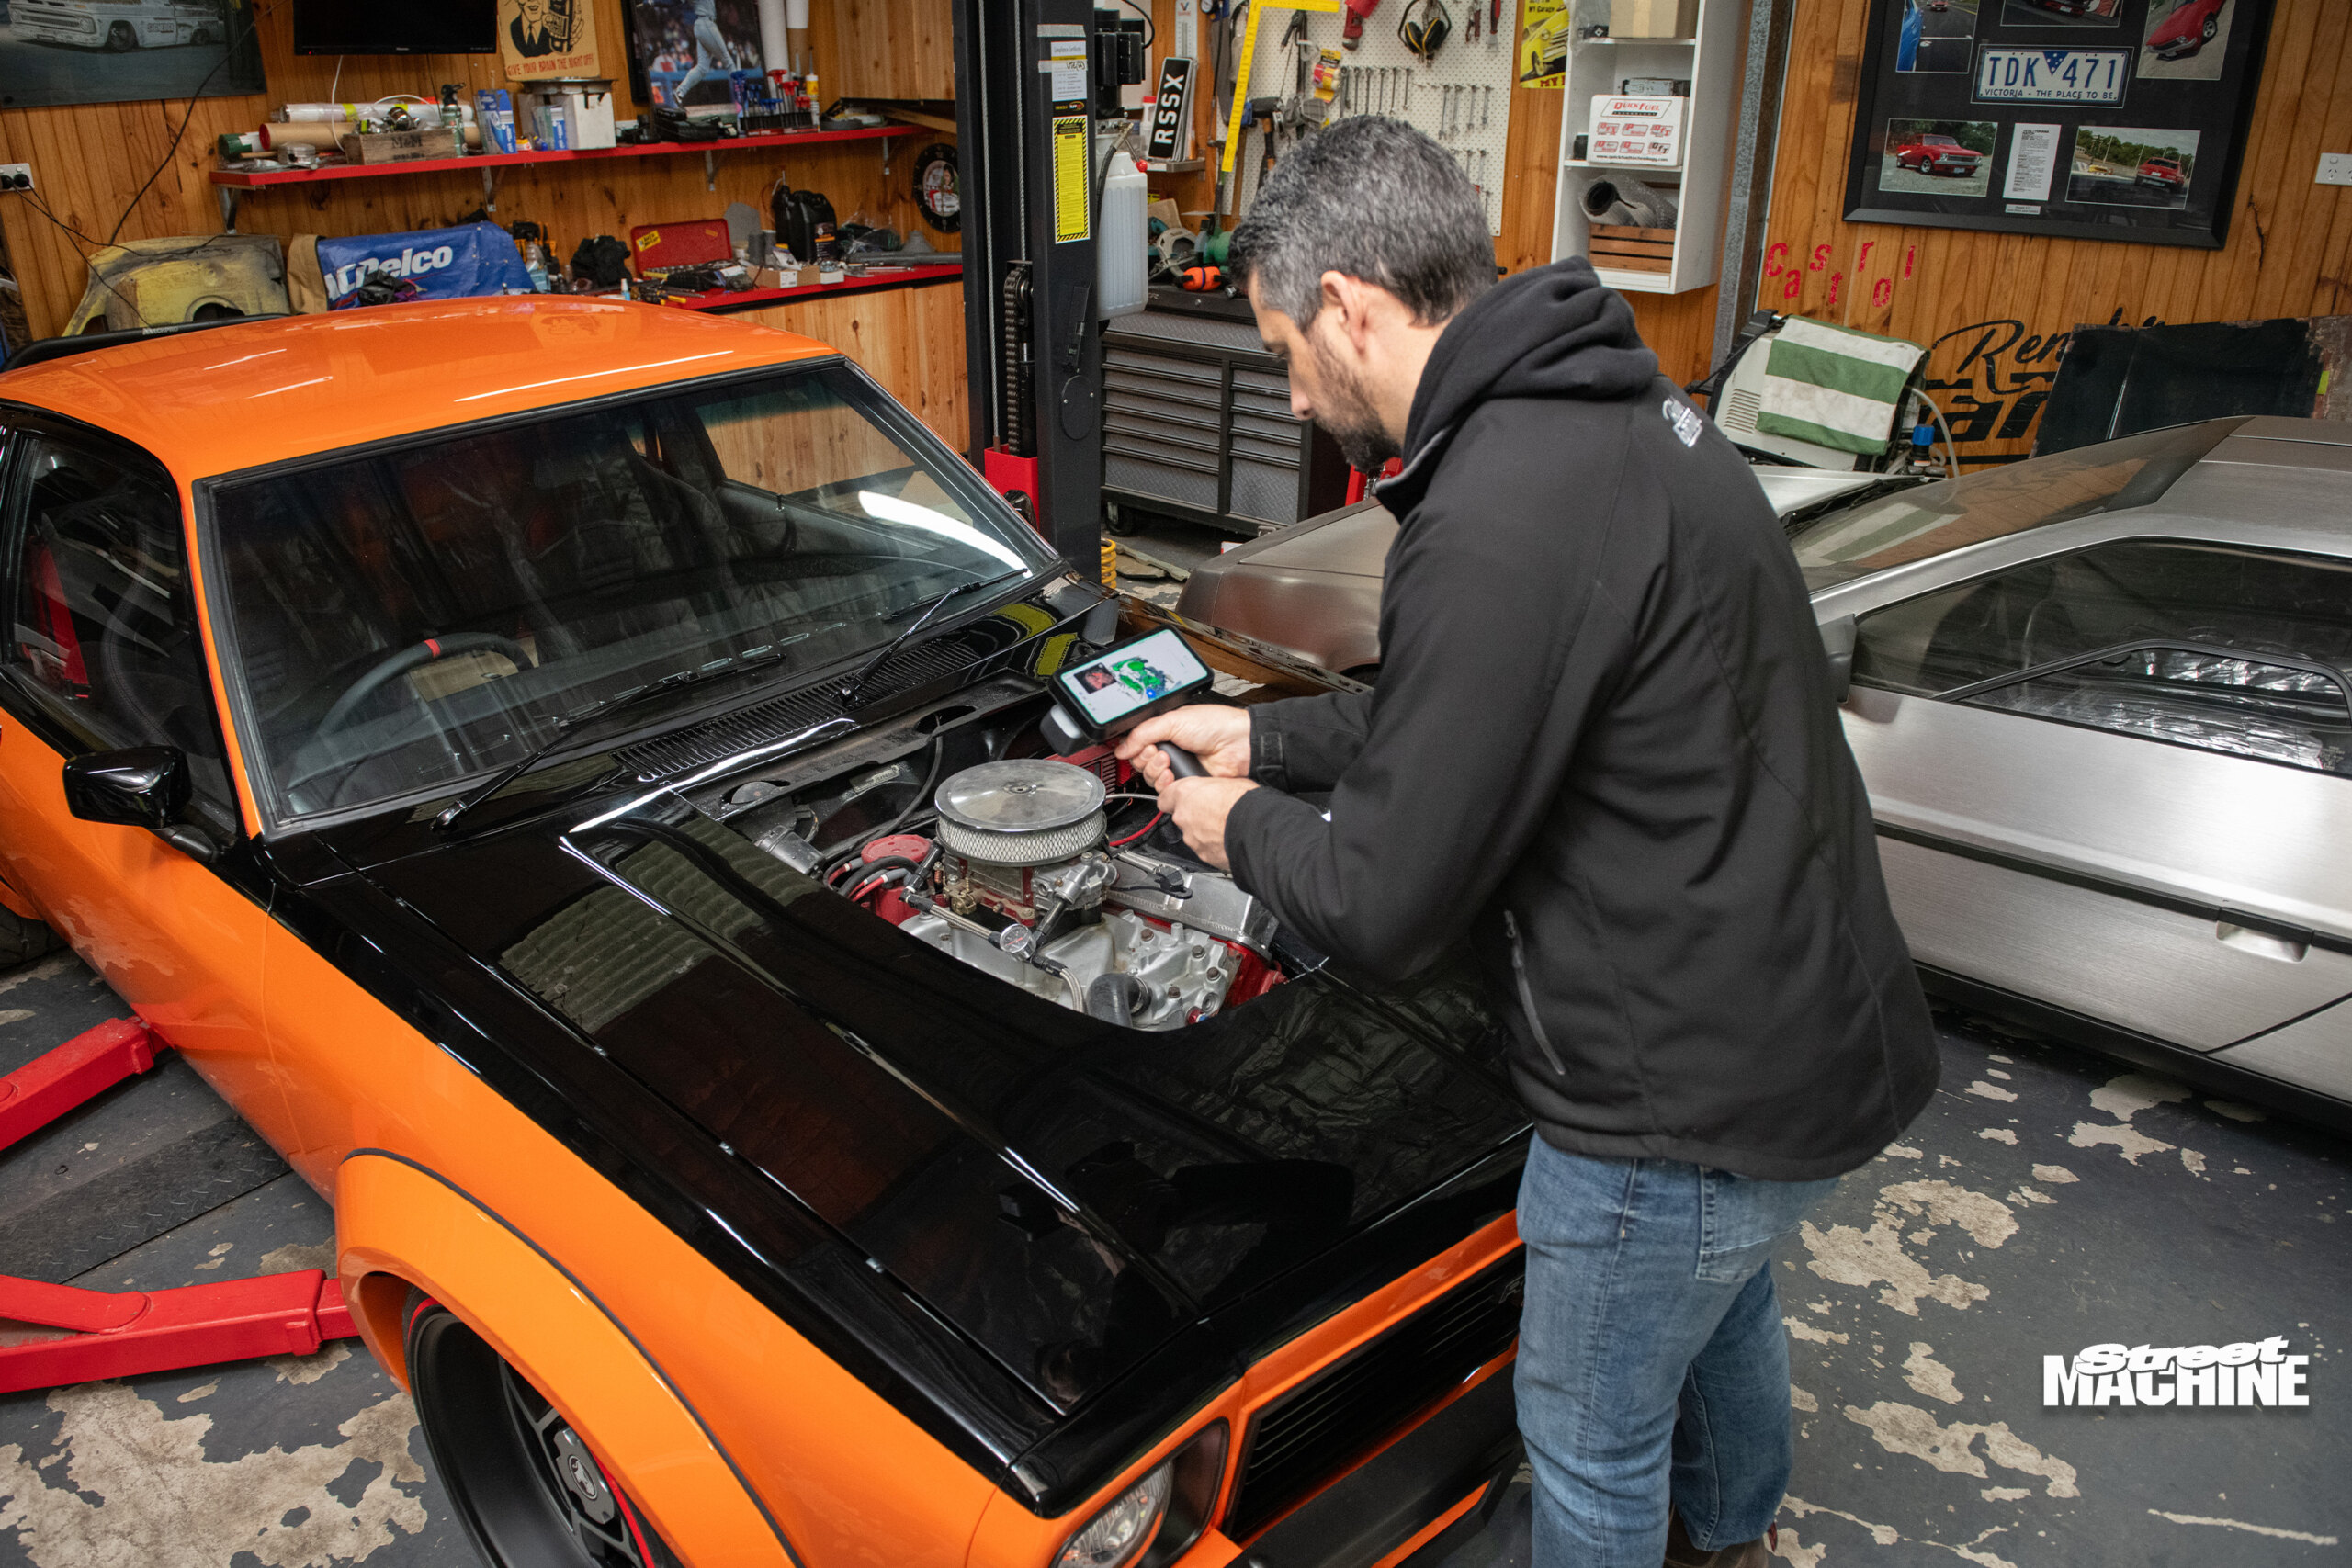
My mate Matt Barnsley from The Render Garage has a beautiful LX Torana hatch, which some of you might have seen up close at this year’s Meguiar’s MotorEx. Matt used his Einstar Rigil scanner to scan his Torry so he could design and make a cool bonnet cowl scoop for the car.
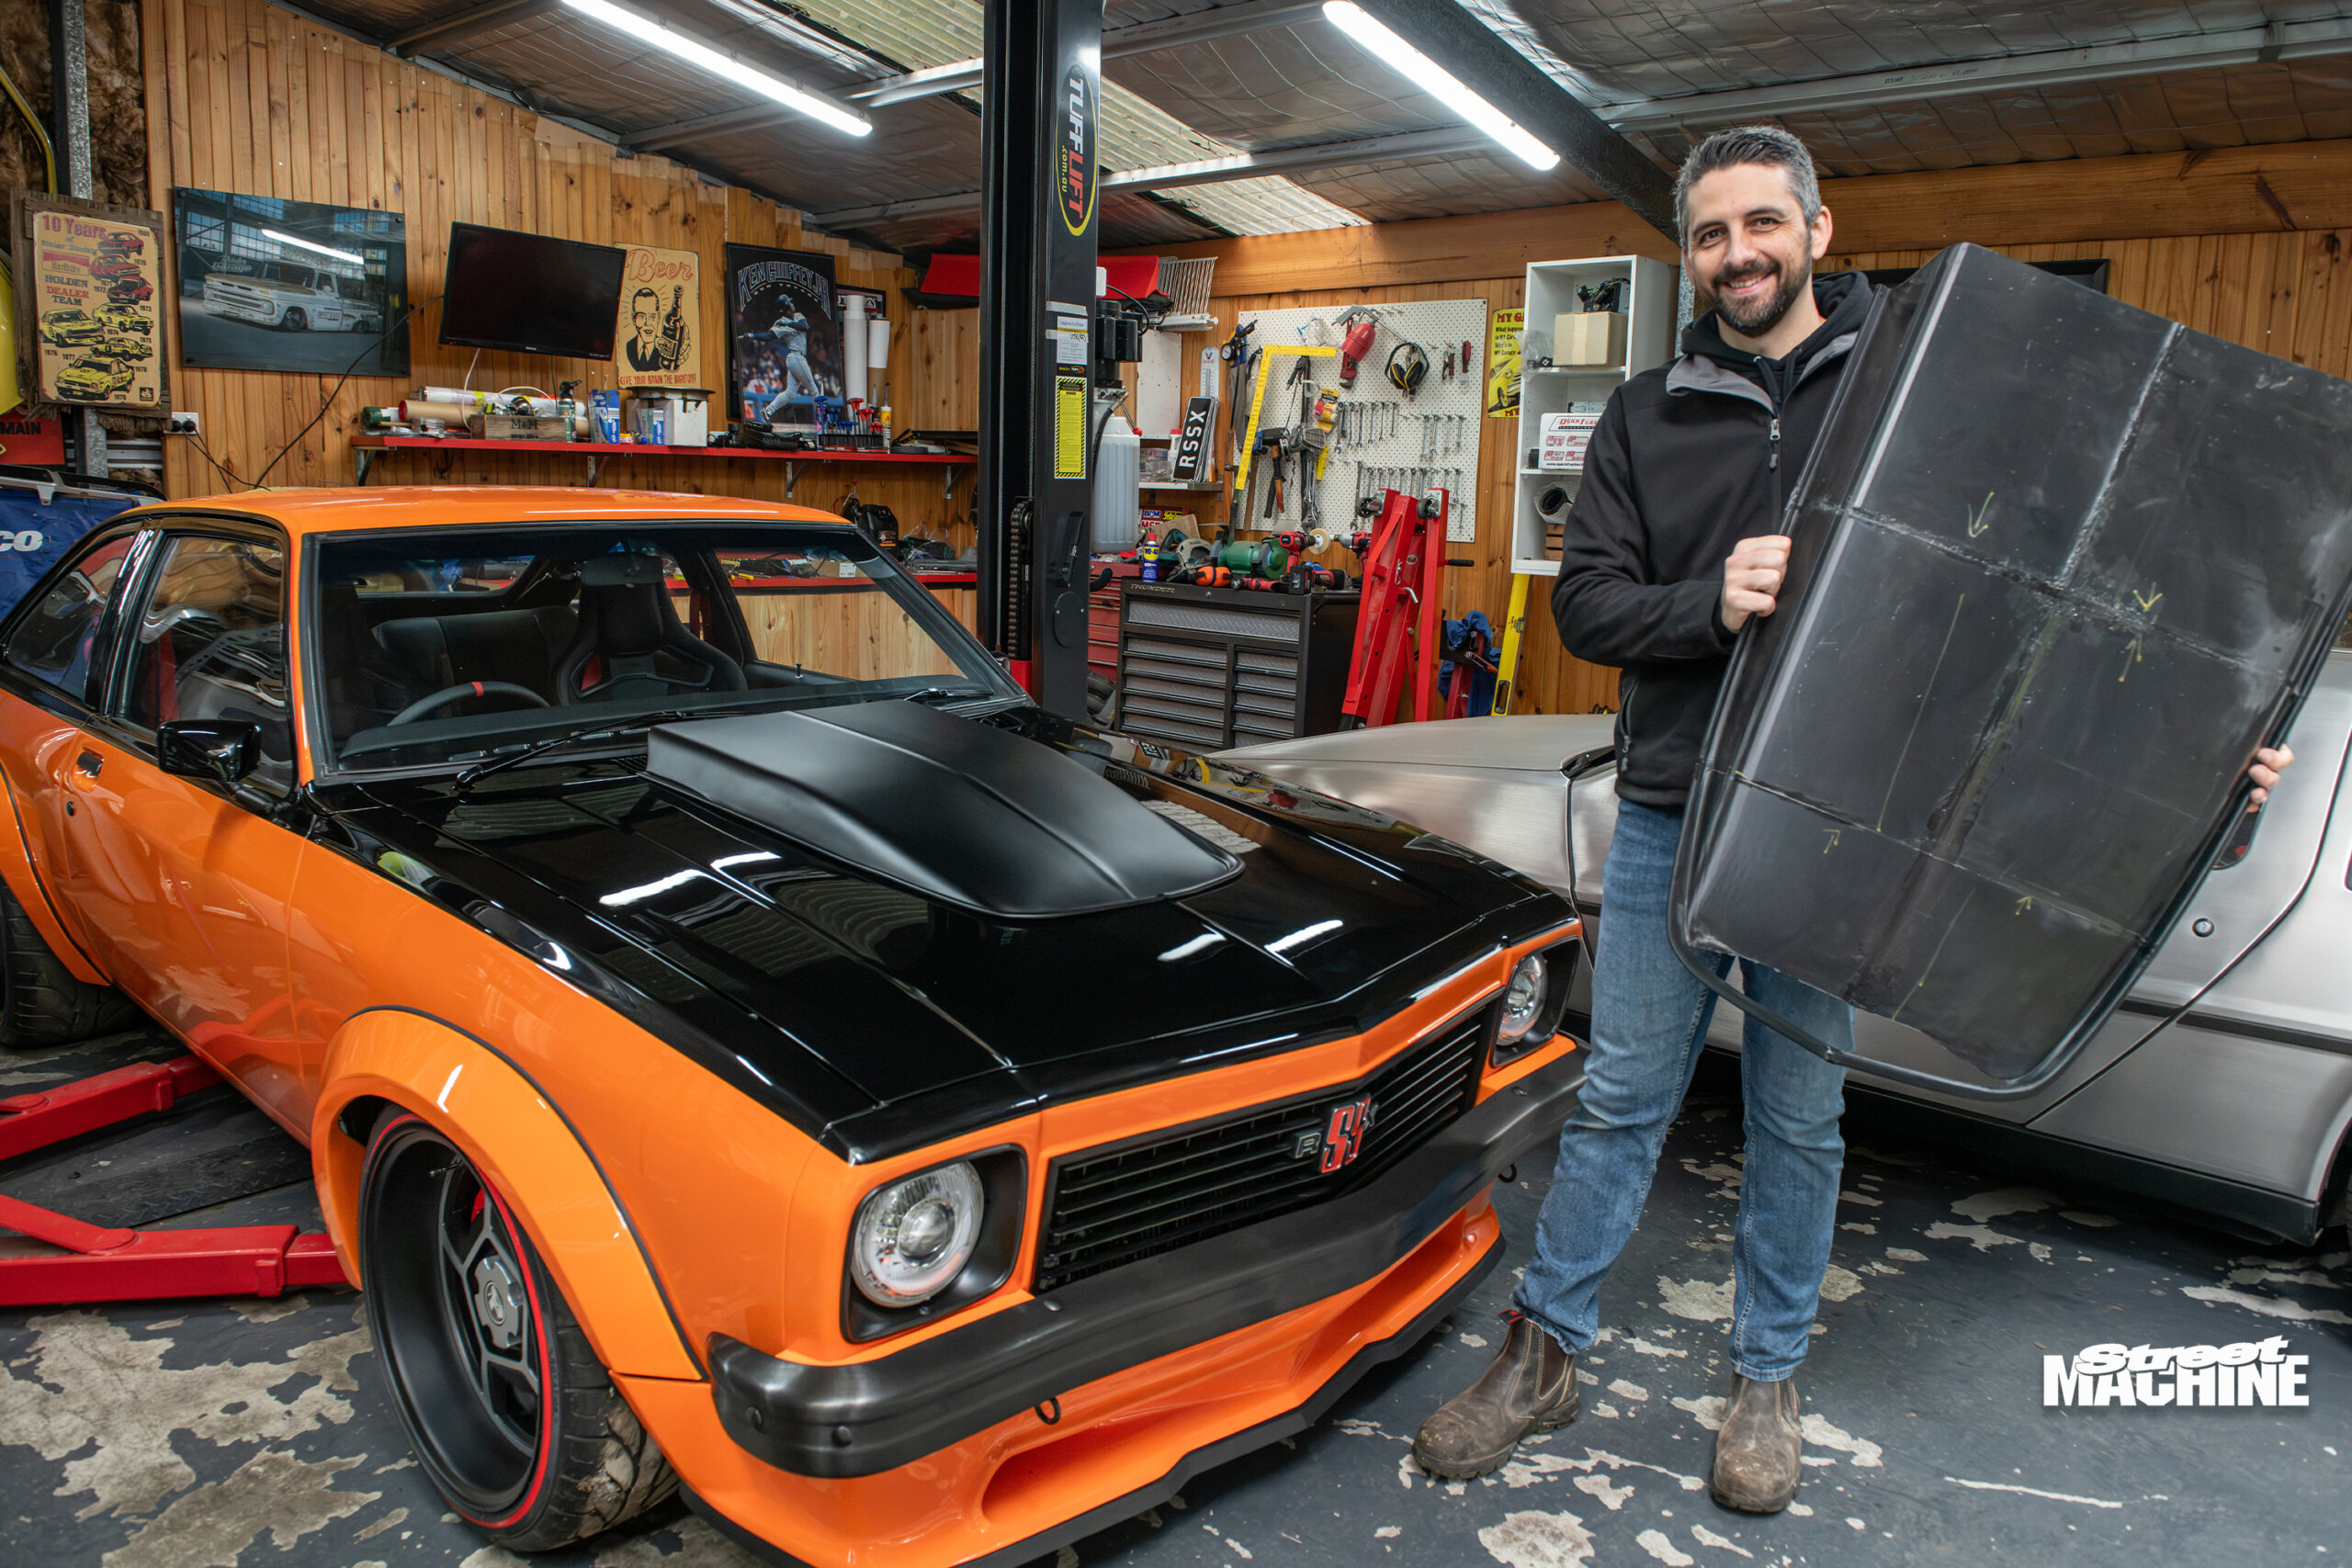
Once he’d finalised the design in CAD, Matt recruited me to 3D-print the cowl in six pieces. He and Dale Ward from Ward Paint & Fabrication then bonded the pieces together and had the scoop filled, painted and fitted to the car in time for MotorEx. It looked amazing.
Matt also designed the Torana’s rear spoiler, front bar, front skirt and fender flares in CAD using 3D scans he made in his garage.
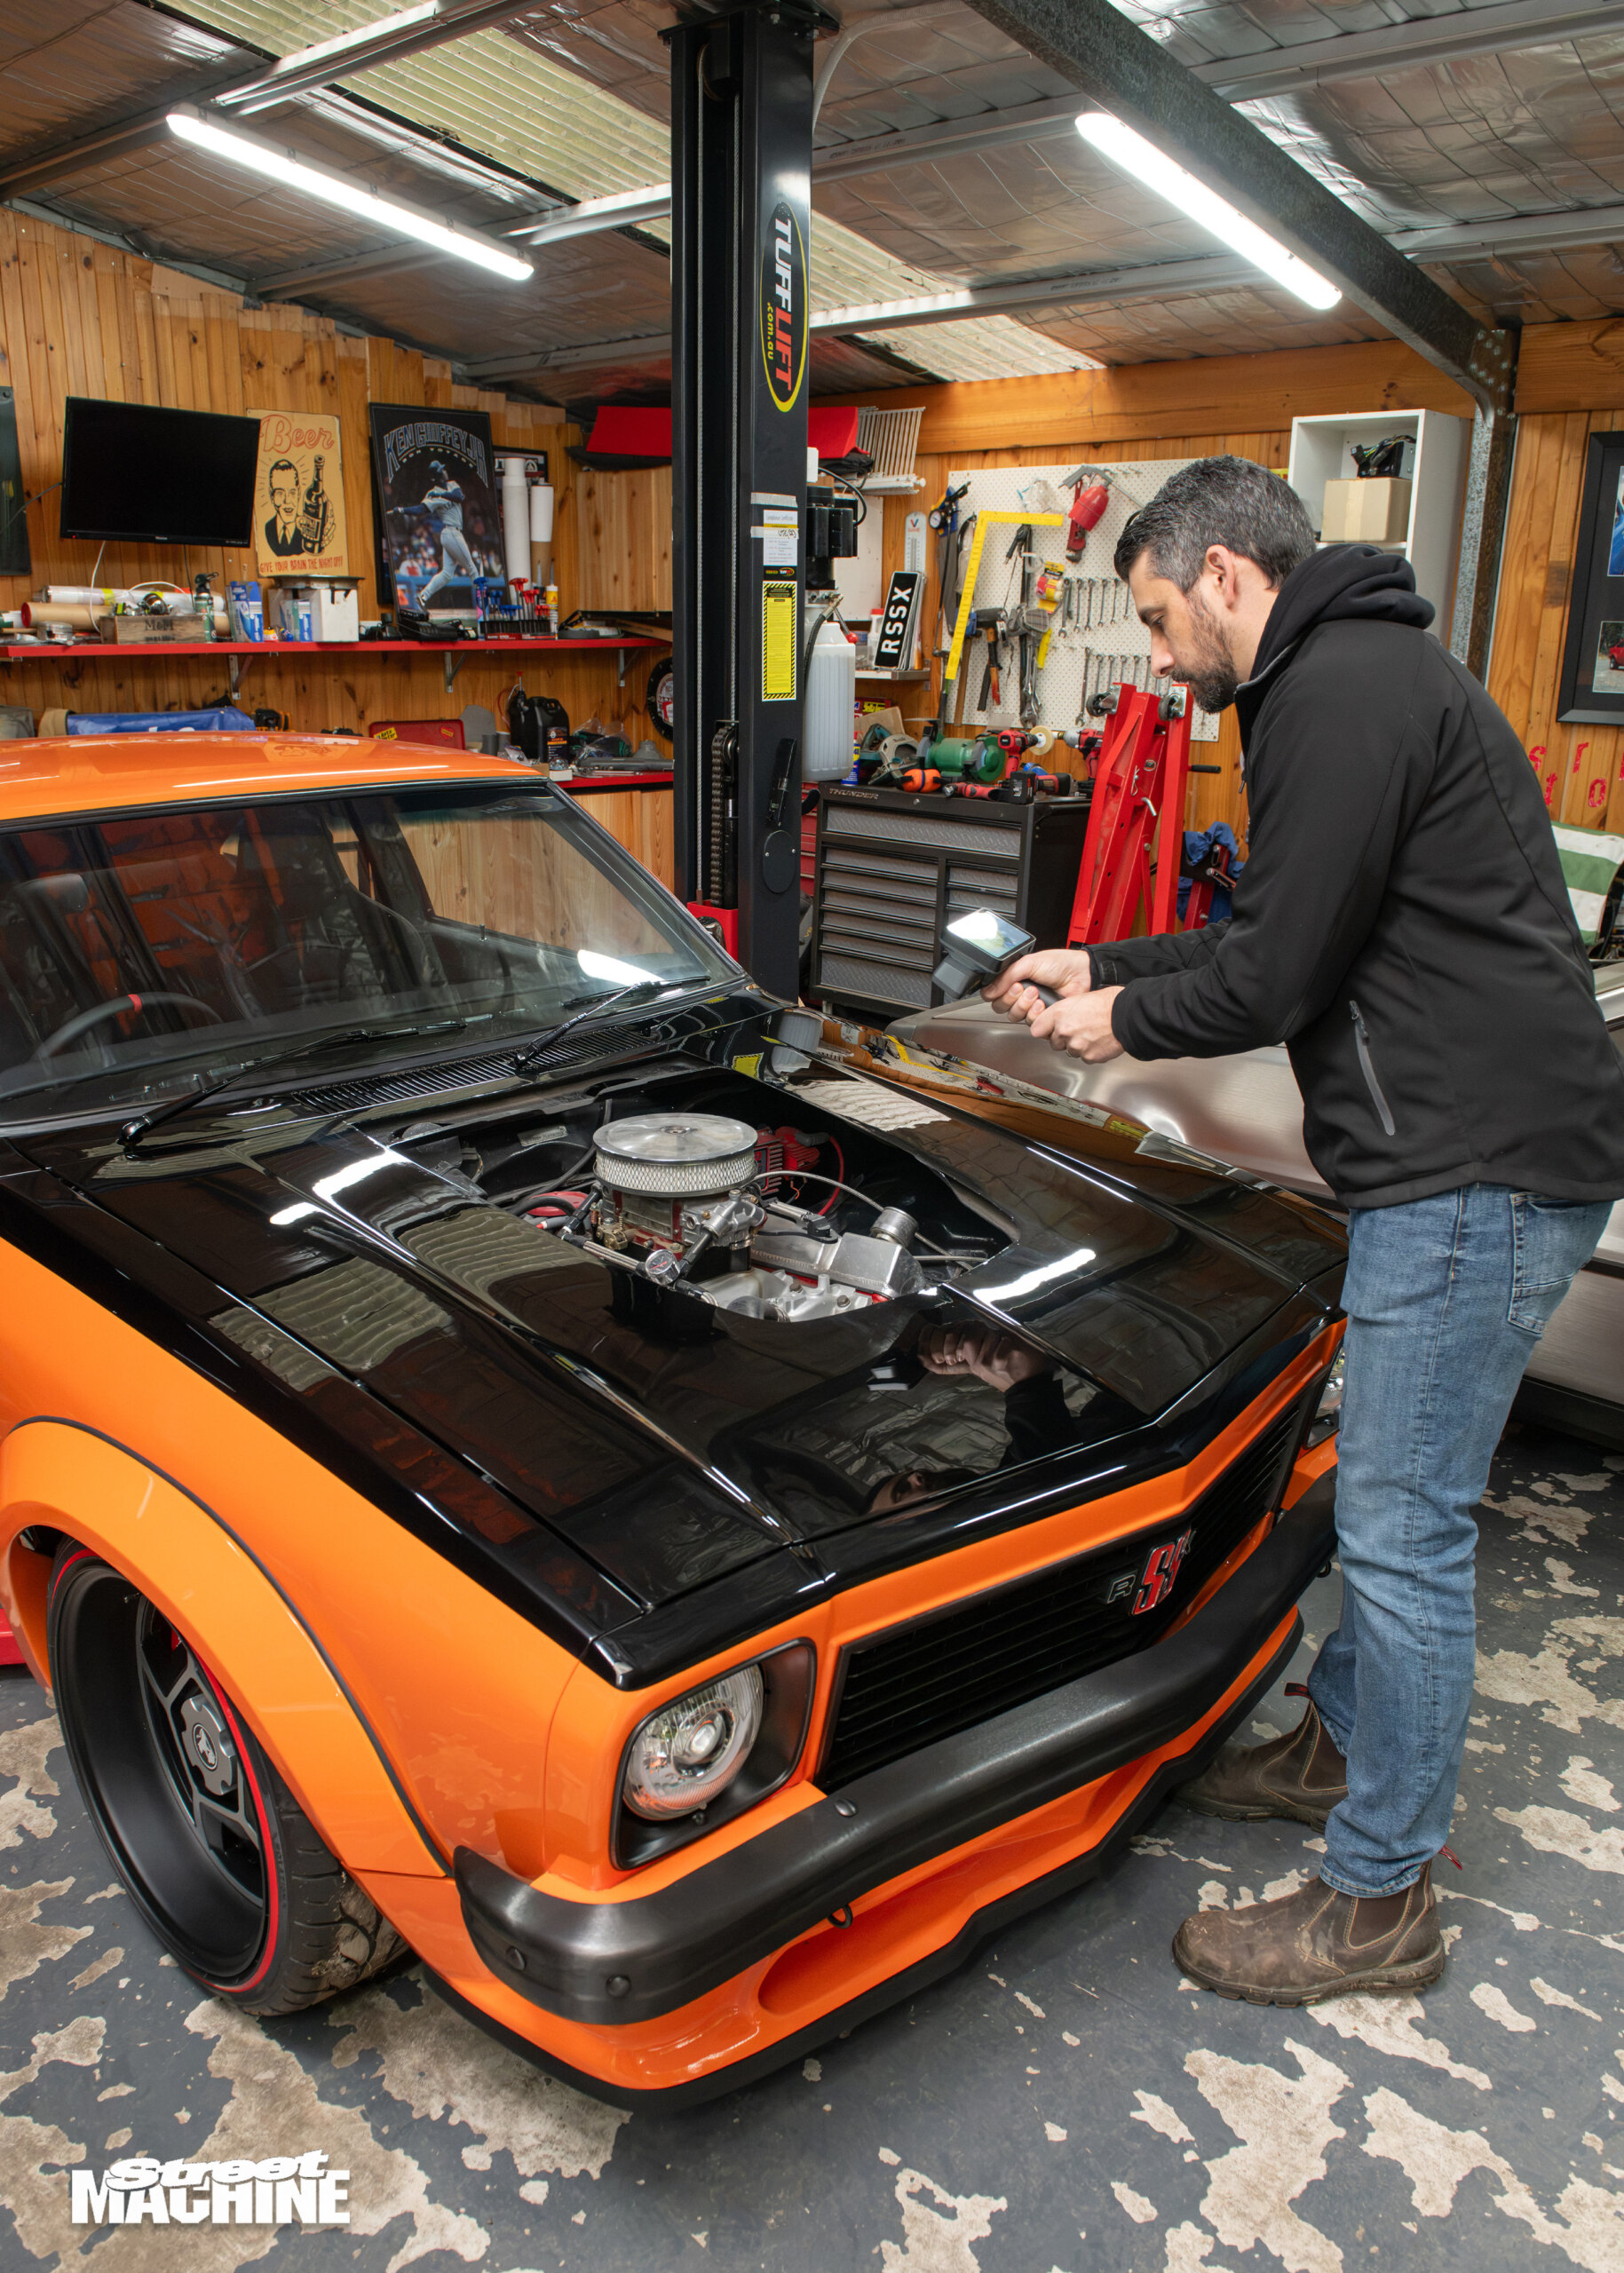
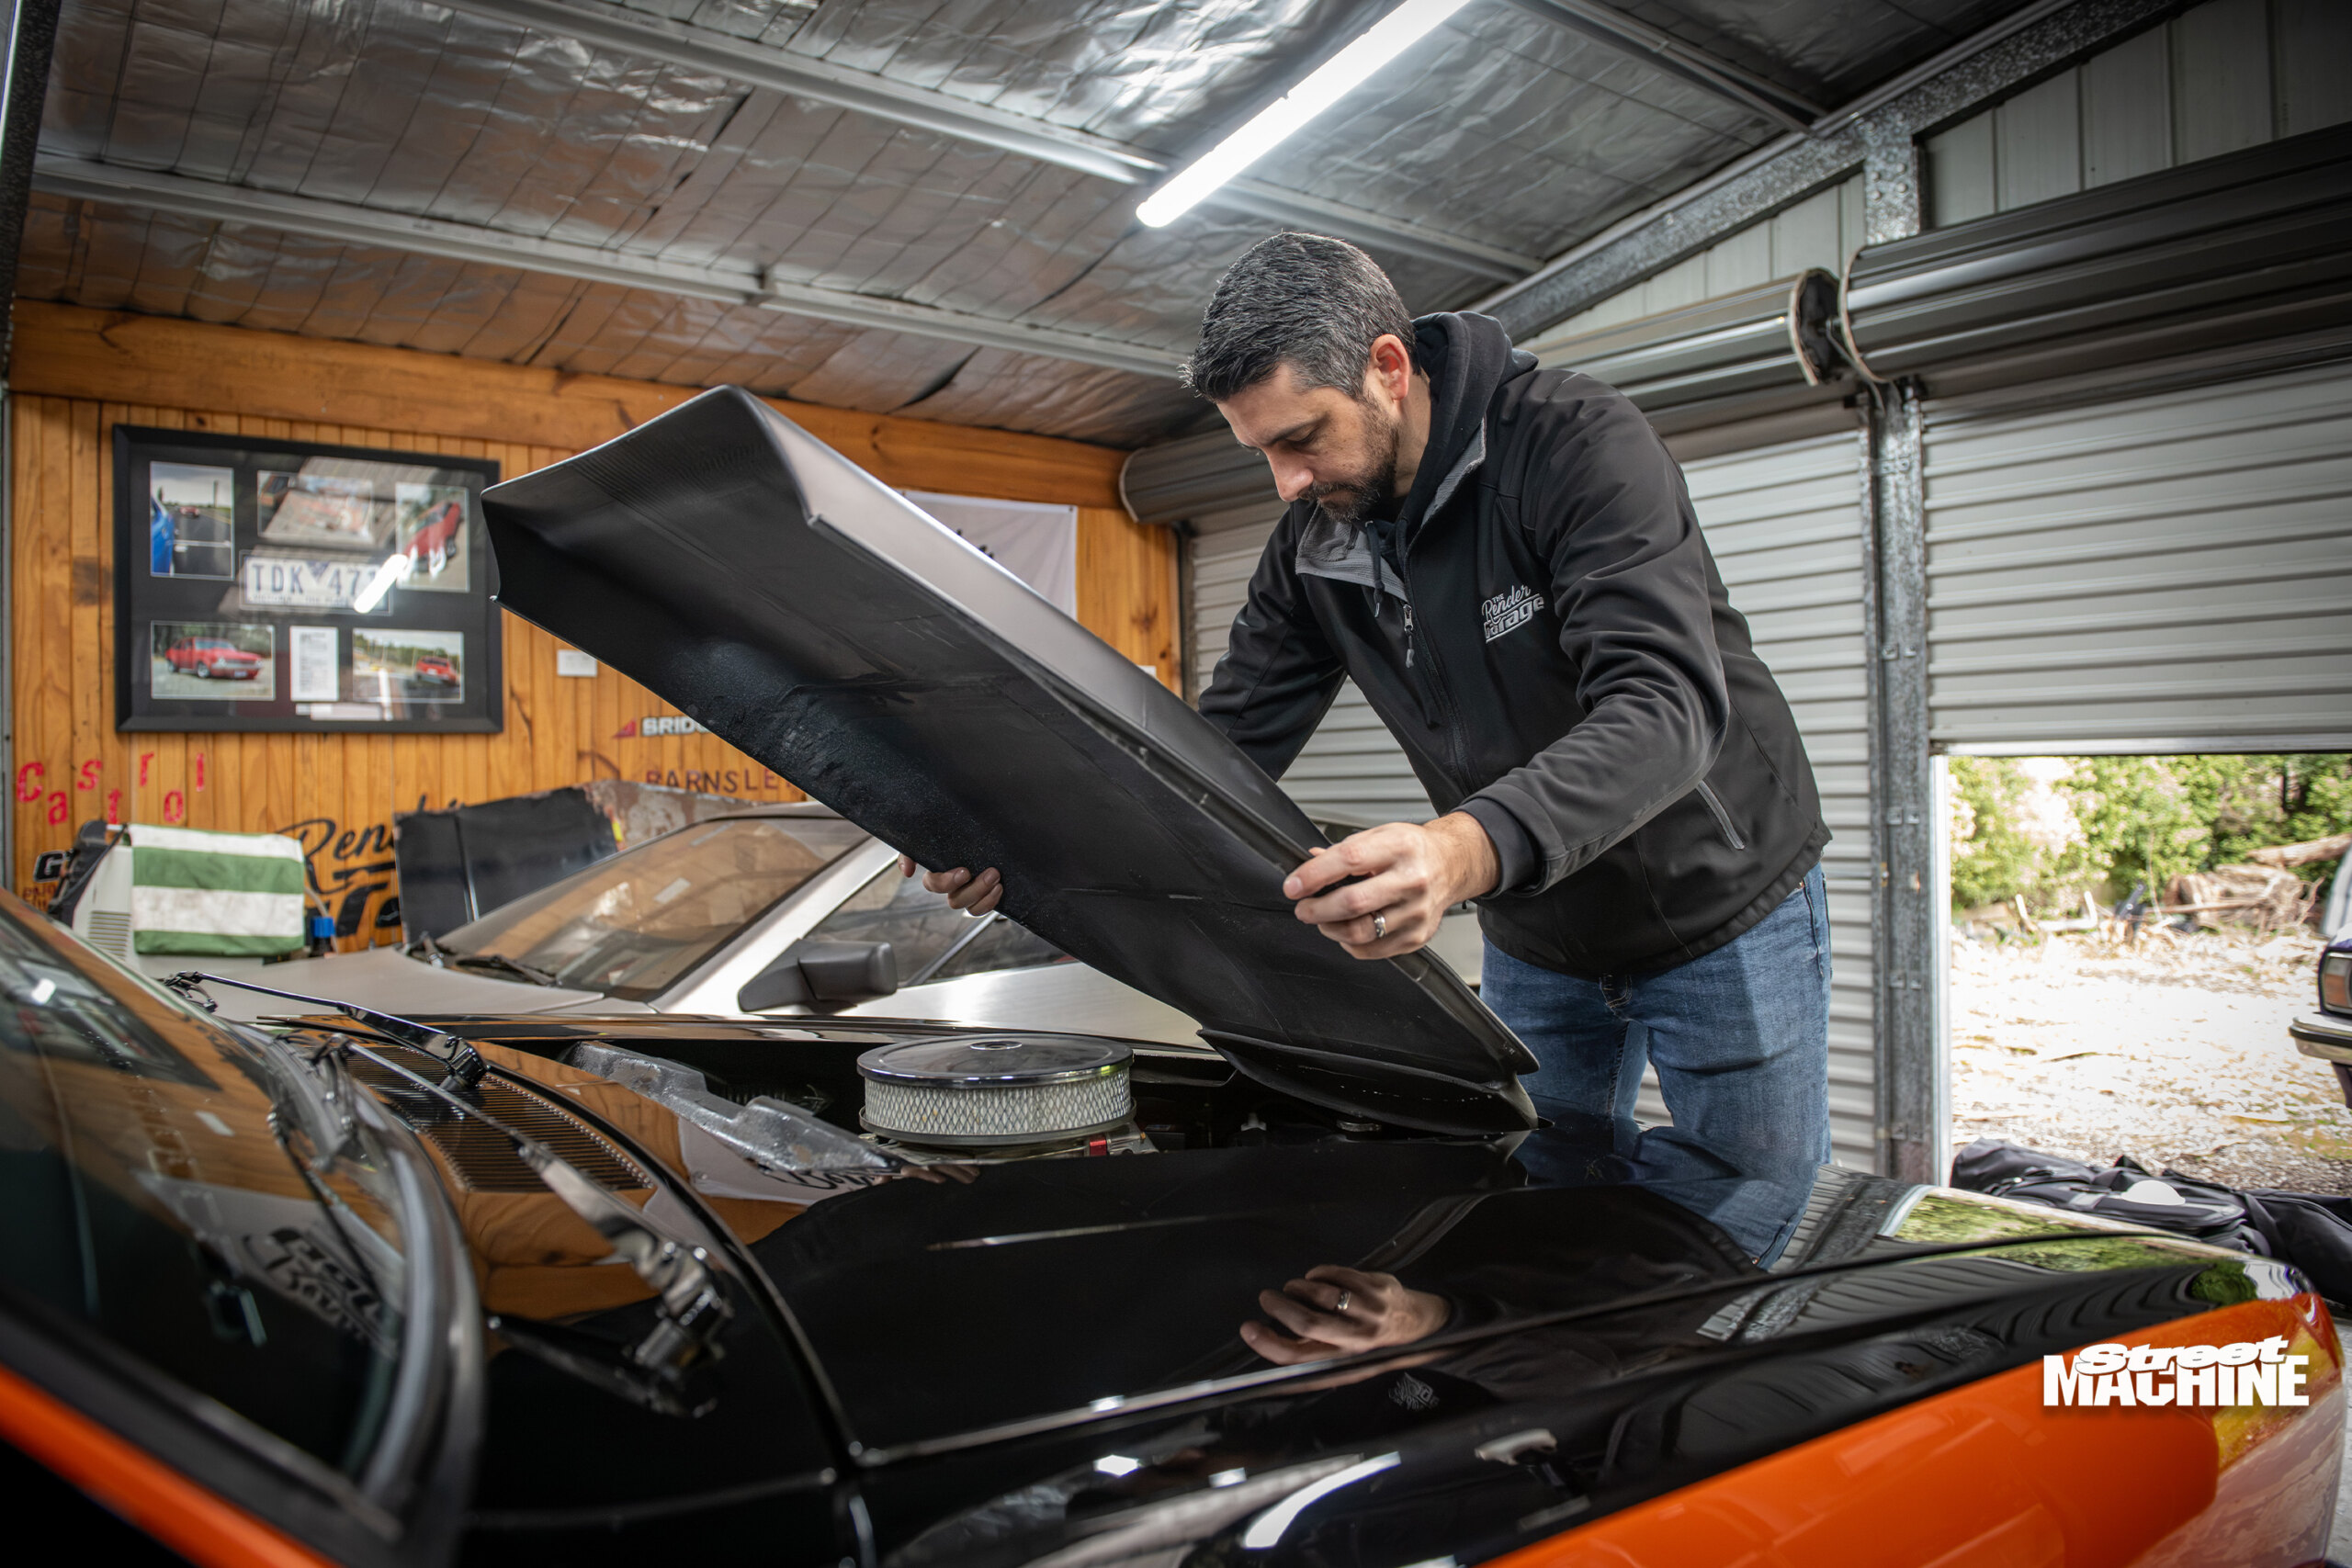
Although these parts were printed in sections and bonded together, there are many other ways to make similar pieces. Giant industrial 3D printers can print large items in one piece, but domestic printers can print the same piece in parts to be glued together and used as bucks to make fibreglass moulds. Multiple fibreglass or even carbonfibre copies can then be made from the moulds.
CAN I SCAN?
While the Einstar Rockit can be had for three grand, the range of consumer-grade scanners is growing by the day, with some basic scanners retailing for as little as $1000. My next step is to move to a ‘standalone’ scanner like Matt B’s, which has an integrated screen with a much beefier processor, so you can scan without needing to be connected to a laptop. The downside of this type of scanner is the price. Obviously, packing a much faster processor and a screen into a scanner means you are now looking at $7000 for a decent one, while the sky is the limit for higher-end ones.
If you opt for a scanner that needs a laptop, don’t use your five-year-old work computer that’s primarily used for spreadsheets and email – you really need something quite high-end and beefy to run a scanner, and even more so if you want to connect it wirelessly.
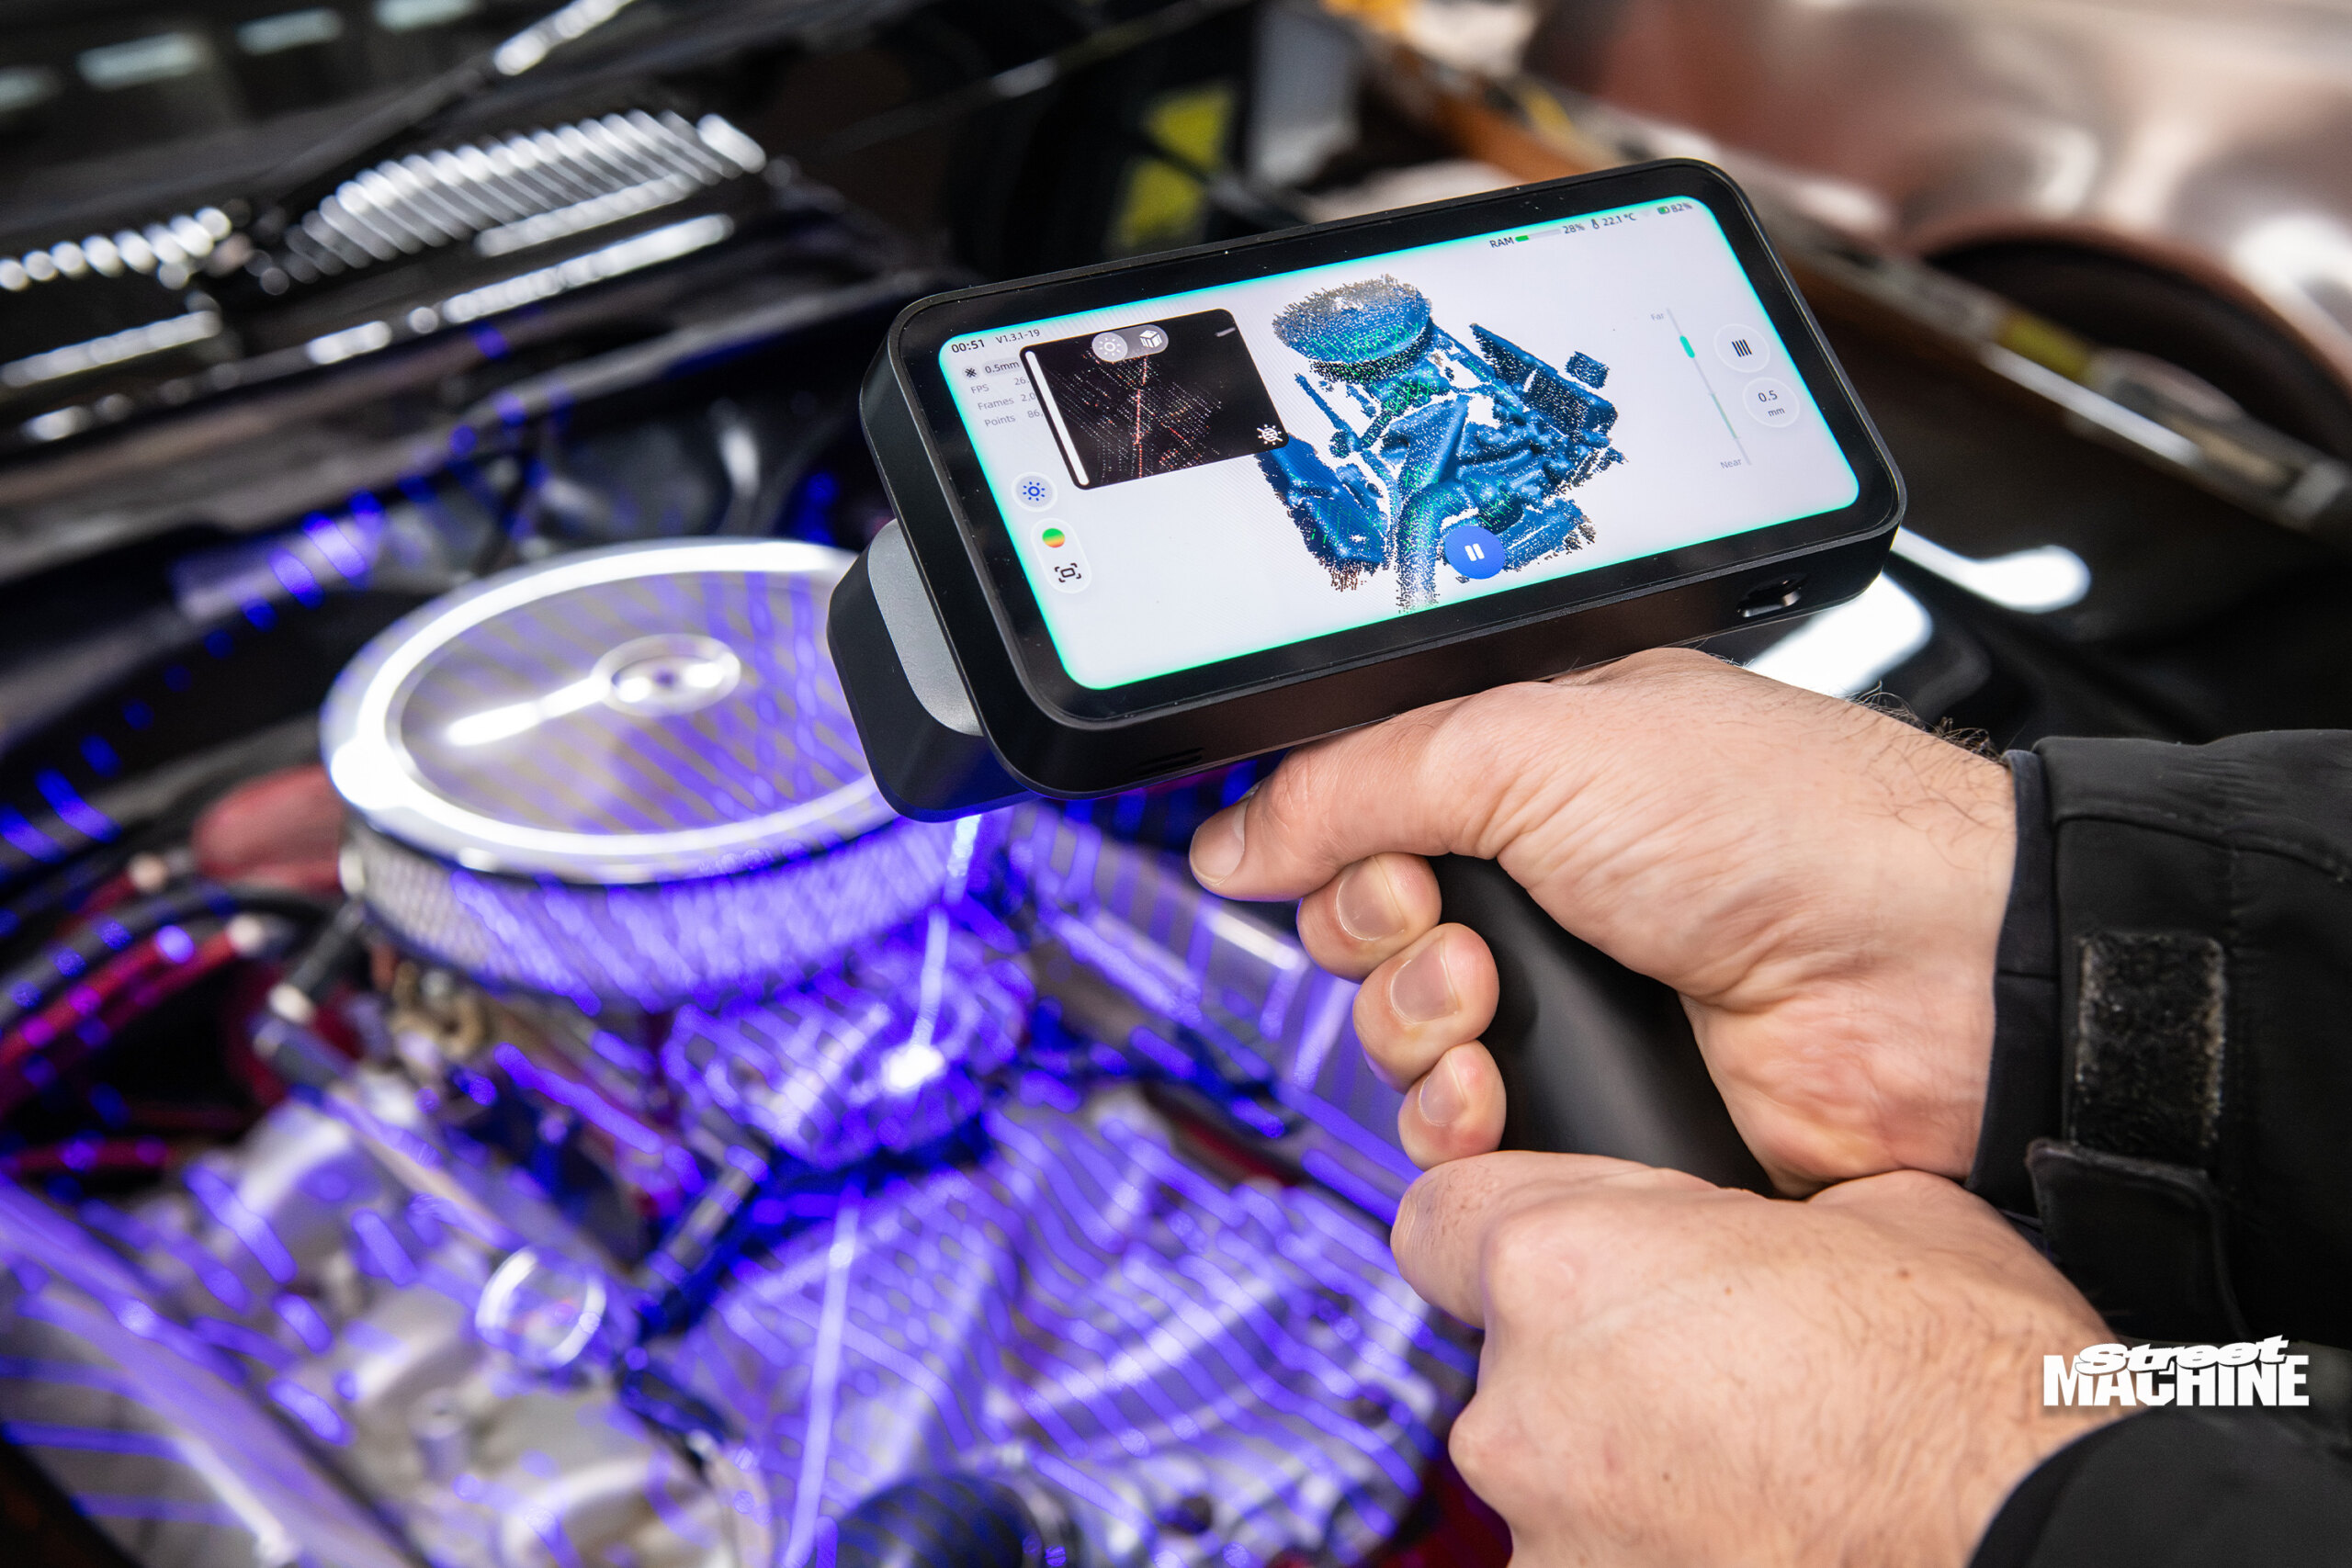
So, is it time to rush out and buy a scanner yourself? Well, if you just like to tinker in the shed and only need to fabricate a few pieces a year, then maybe the joy of cutting up your Frosty Flakes box and visualising your design out of cardboard is a more familiar and easier way to go.
However, if you’re in your shed every weekend fabricating new parts for your project, the addition of a scanner and CAD software to your arsenal may just save you a tonne of time. The ability to see your project on the screen, try different designs, see what fits, and tweak the design without ever picking up a grinder or sparking up a welder is invaluable. A 3D scanner could just be the tool you need to streamline your process, and finally get your car off jack stands and you behind the wheel!
FULLY RENDERED
Matt Barnsley’s history with Street Machine goes back to his appearance in Young Guns with his LX Torana hatch (SM, Jan ’09). He’s followed an interesting path since, including some time as a freelance photographer for the mag, and collaborating with us on the promotion of the VF Sandman while he was working on projects for Holden.
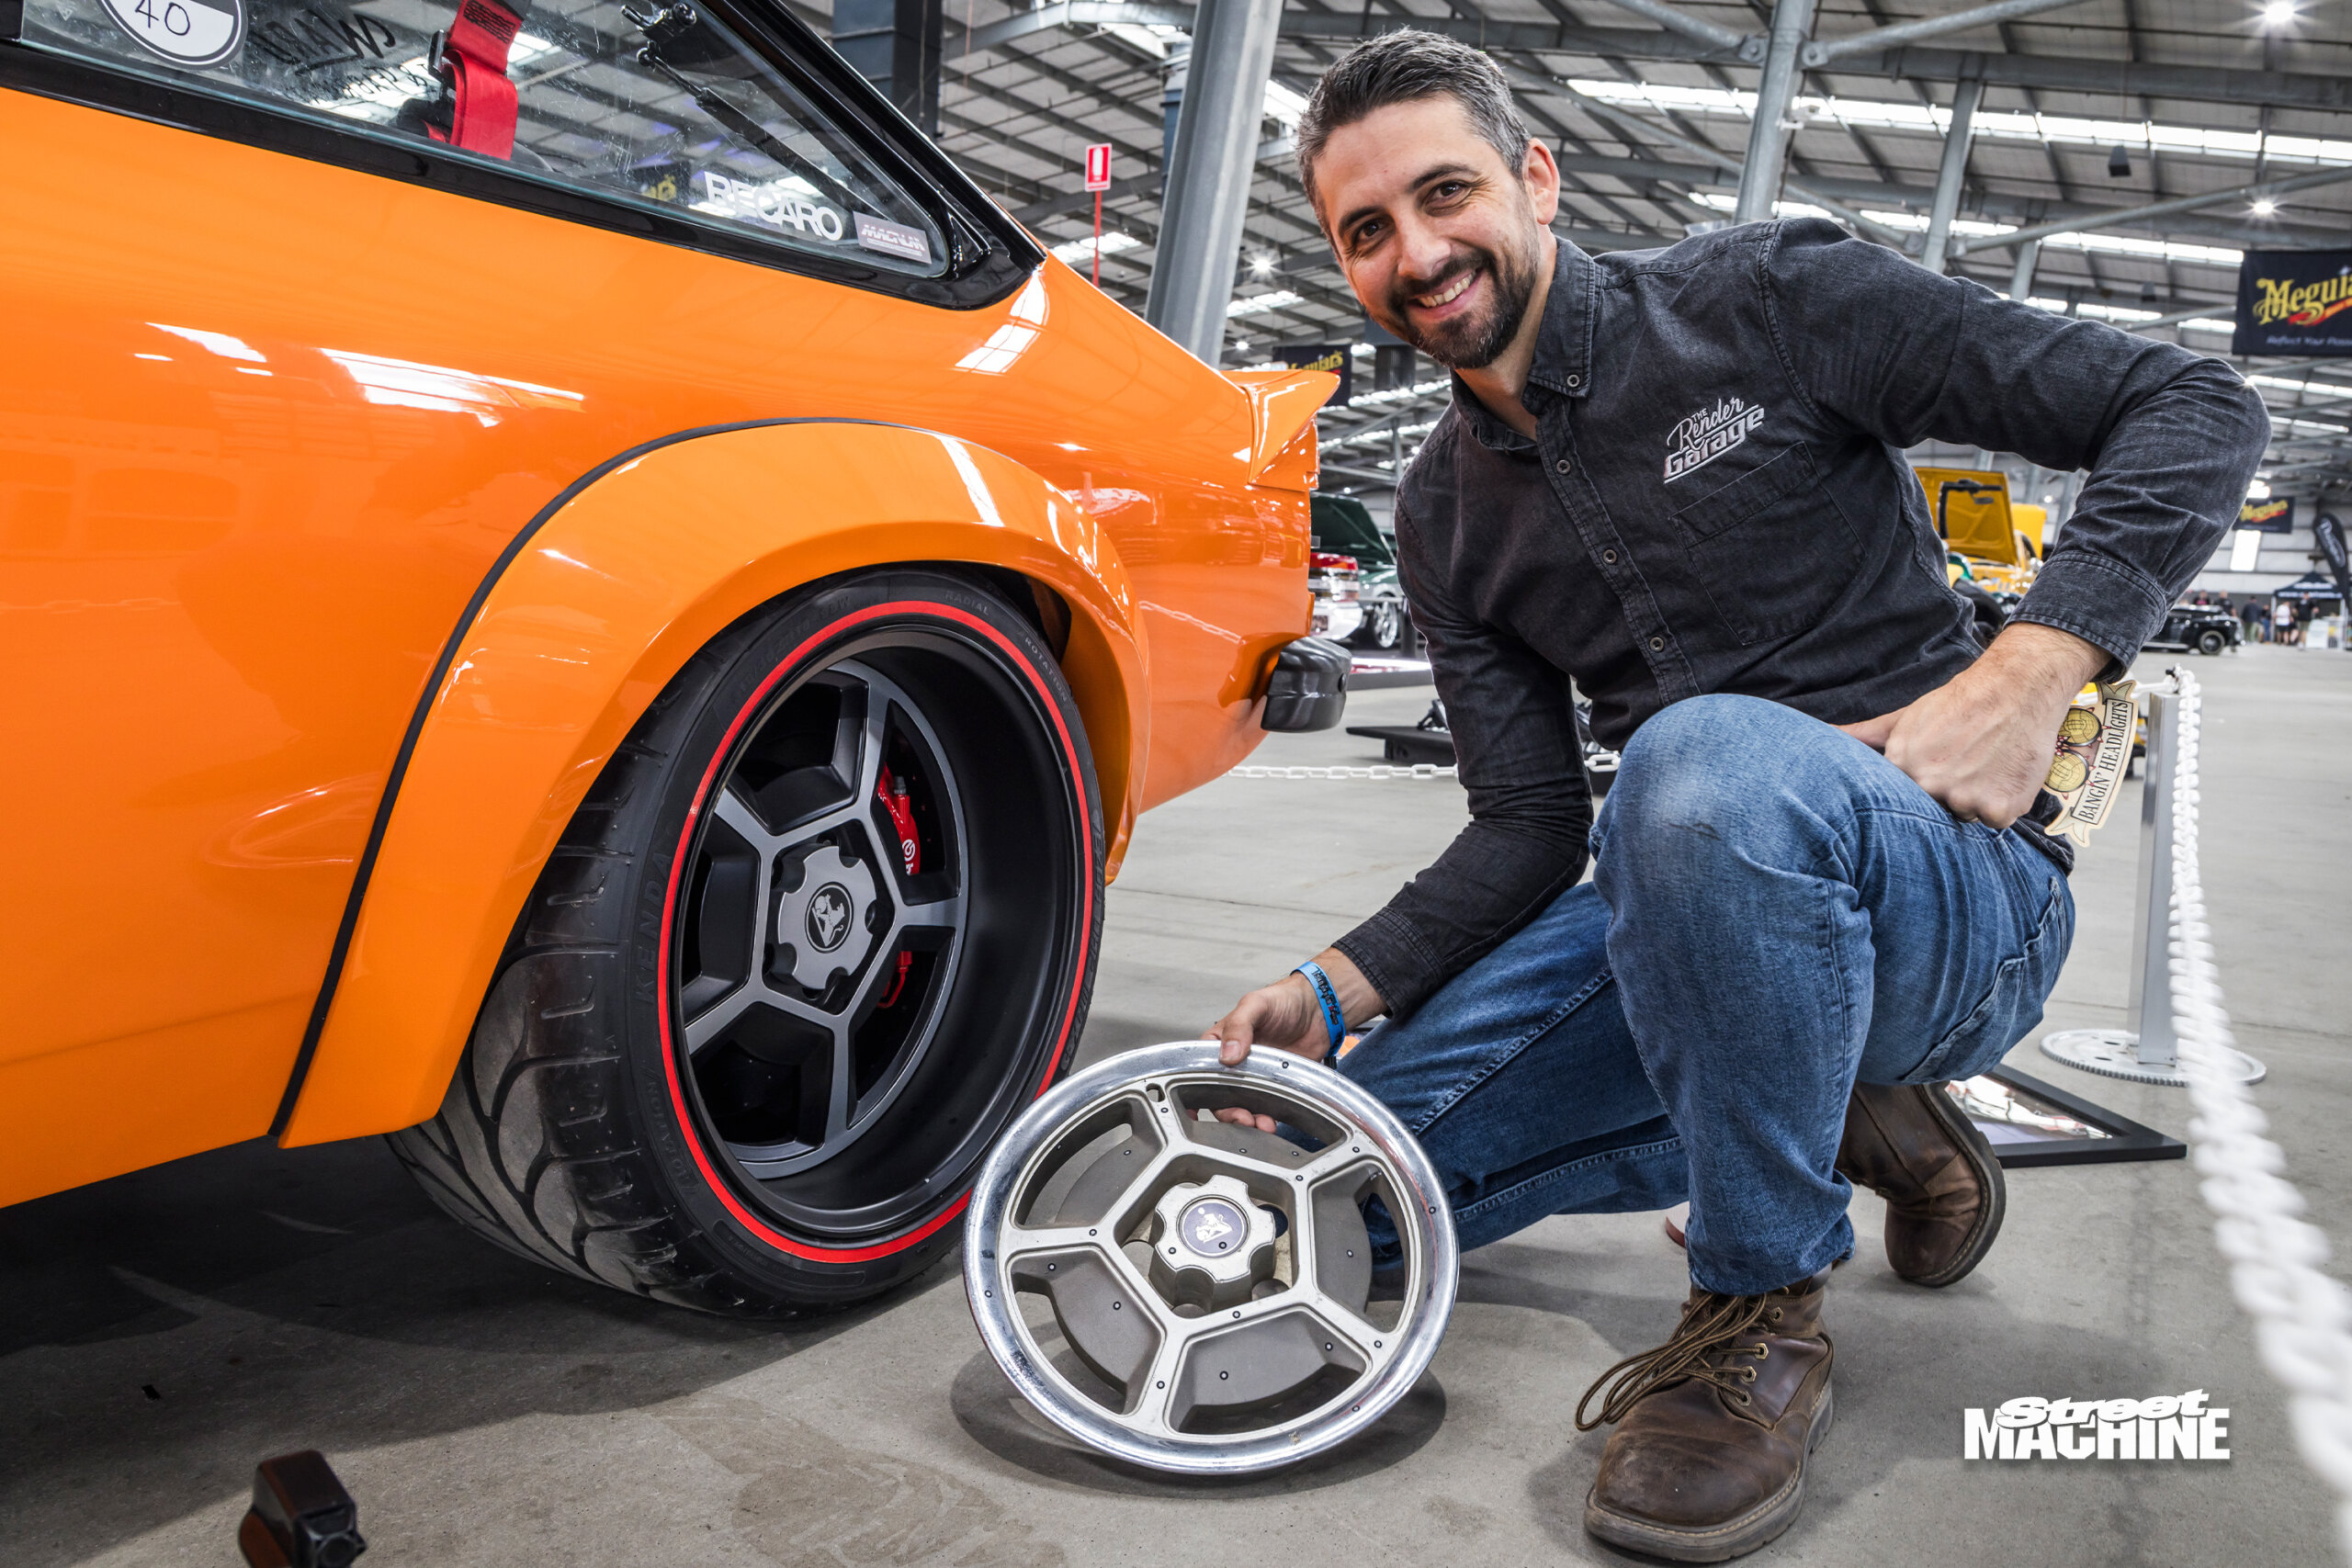
More recently, Matt’s been the man behind The Render Garage design studio, and has also been our man on the ground at the annual SEMA Show in Las Vegas for the past few years.
Matt debuted his massively ambitious RSSX Torana project at Meguiar’s MotorEx this year to universal acclaim.
Comments