Turning the powerplant in your ride into a pile of scrap metal happens to all of us in this hobby at some point. From dusted head gaskets to busted ring lands, spun bearings, dropped valves or wiped cam lobes, there are plenty of ways to get the job done.
But all may not be lost. Depending on how well you’ve hurt the old noise-maker, you may be able to fix it at home with some basic tools. Sure, it’s not a Saturday-morning job for someone learning what a torque wrench is, but with time and patience, even a novice shade-tree mechanic can rebuild their engine.
For the sake of this story, we’re assuming that the engine is either simply a tired, high-mileage unit or has had a minor failure like a piston ring land. If you’ve gone rods-out, you’ll be needing a new short motor anyway.
STEP-BY-STEP:
1. The first port of call is to find a factory service manual for the engine you’re working on (or the car the engine is from).
This gives you all the tips and tricks on disassembly and reassembly, plus torque settings for the bolts when you go to rebuild it.
2. You’ll need an engine crane to do the job, and don’t skimp on a cheap engine stand, either, as you’ll be spending plenty of time spinning your motor around on it.
3. Building your engine at home means you’ll need the basic hand tools plus a good torque wrench, micrometer, bore gauge, dial indicator, and a tap-and-die kit for chasing threads.
A paint pen is also a good idea for marking torqued bolts.
4. Once the engine is pulled out and torn down, you’ll need to pop all the plugs and bearings out of the block before washing it – this is a crucial step.
If your engine failed, you’ll need to wash all the debris out of the oil galleries; if it’s a high-mileage unit, wash the old sludge out if it.
Short of getting everything professionally hot-washed, a steel drum with regular unleaded petrol is the best parts-cleaning method.
5. Spray-on oven cleaner will carve through engine grease and oil better than cheap degreasers. After it is thoroughly washed, give the block a liberal coating of a sealing spray like WD40, or fresh engine oil.
Running a tap through all the bolts in the block will also avoid nasty surprises with threaded bolts when it comes time to put everything back together.
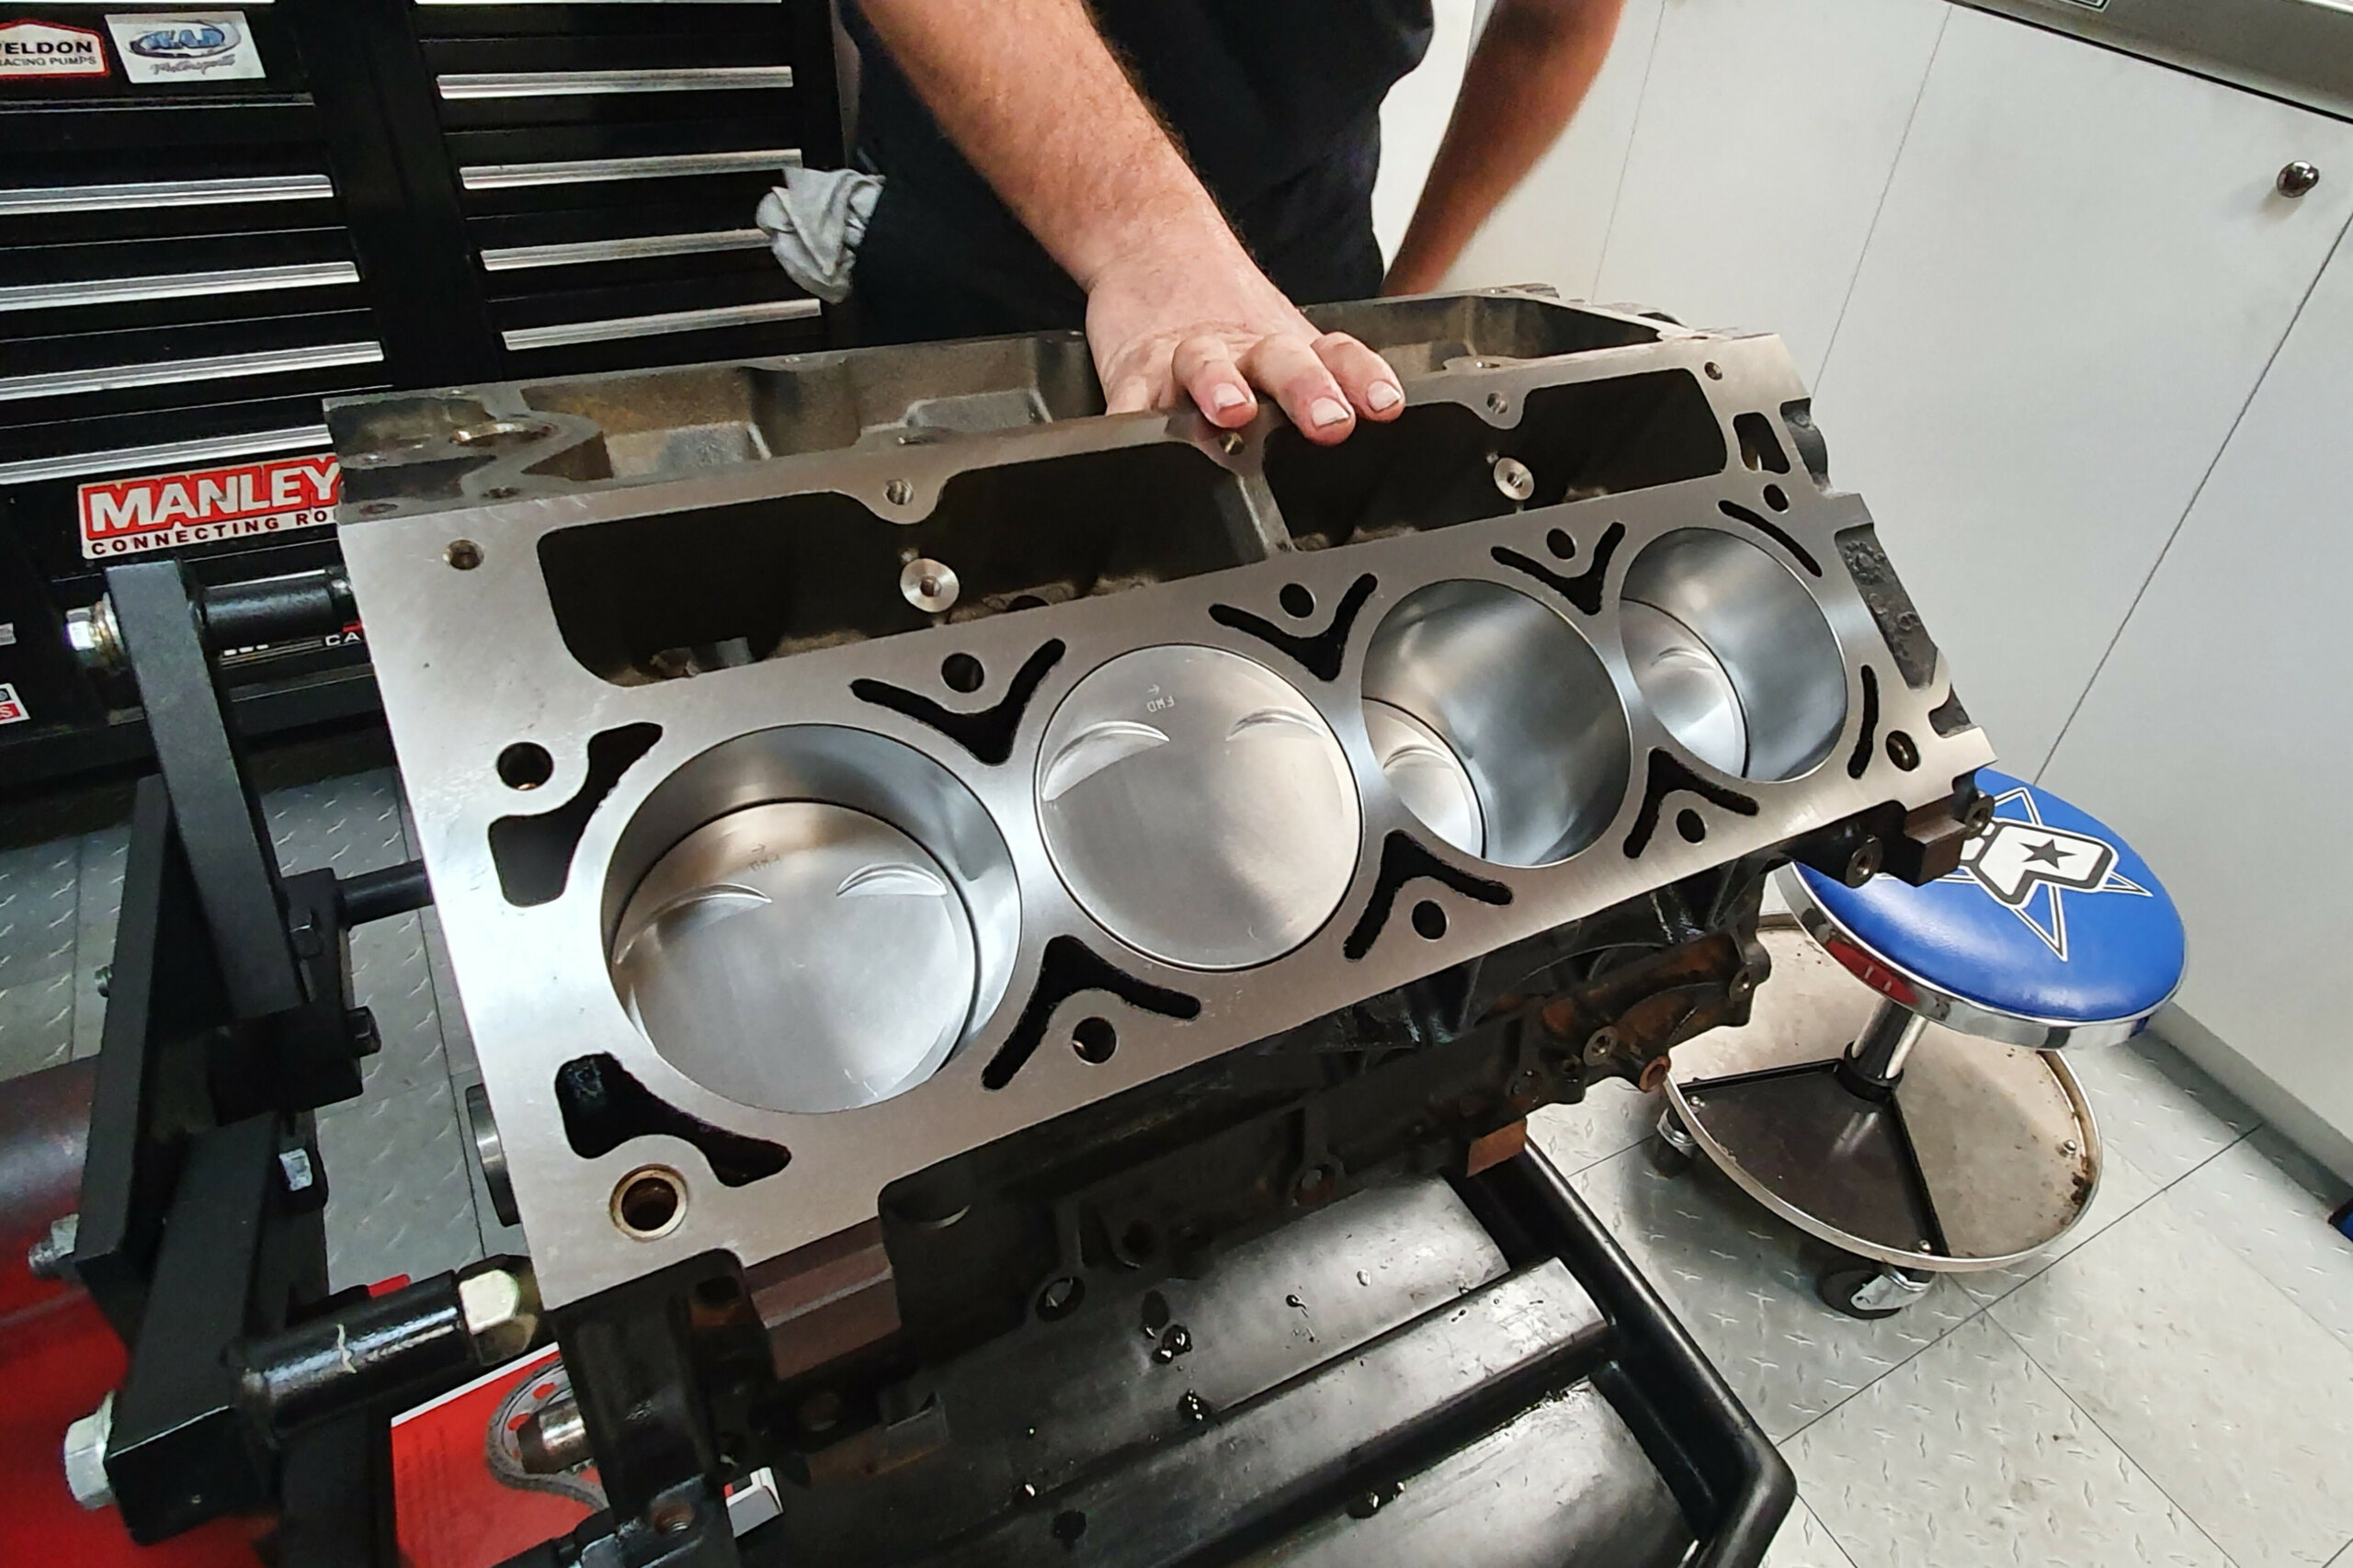
6. The first step of the build, before you order any parts, is inspecting and measuring the bottom end. Run a finger around the bores to check for cracks, scores or lips in the top of each cylinder.
A scratch that catches a fingernail means you’ll need to get a professional machine shop involved; ignoring it will kill your nice new piston super-quick.
7. Machining the block is the foundation of the build, and it is a specialised trade for a reason. Cylinders need to be honed to ensure there are no worn patches in the walls that the piston could catch or slap on, and to ensure the piston rings seal to the cylinder for good oil control.
The deck face must also be machined to provide perfect sealing to the cylinder head and intake manifold.
8. Machining the engine at home will require a ball hone, which is normally used on an electric drill to give a quick freshen-up to the cylinder walls. Soak the hone in a spray like WD40 and make a few passes down each cylinder, checking progress as you go.
Once done, give the bores a coat of fresh engine oil to prevent flash rust forming.
9. Using a bore gauge to measure the size of each cylinder will tell you if you’re shopping for new pistons or if you’ll get away with throwing new rings on your old slugs and going again.
Heavily worn or scored bores will need professional machining and new oversize pistons, which is the point where many people upgrade to a complete stroker kit.
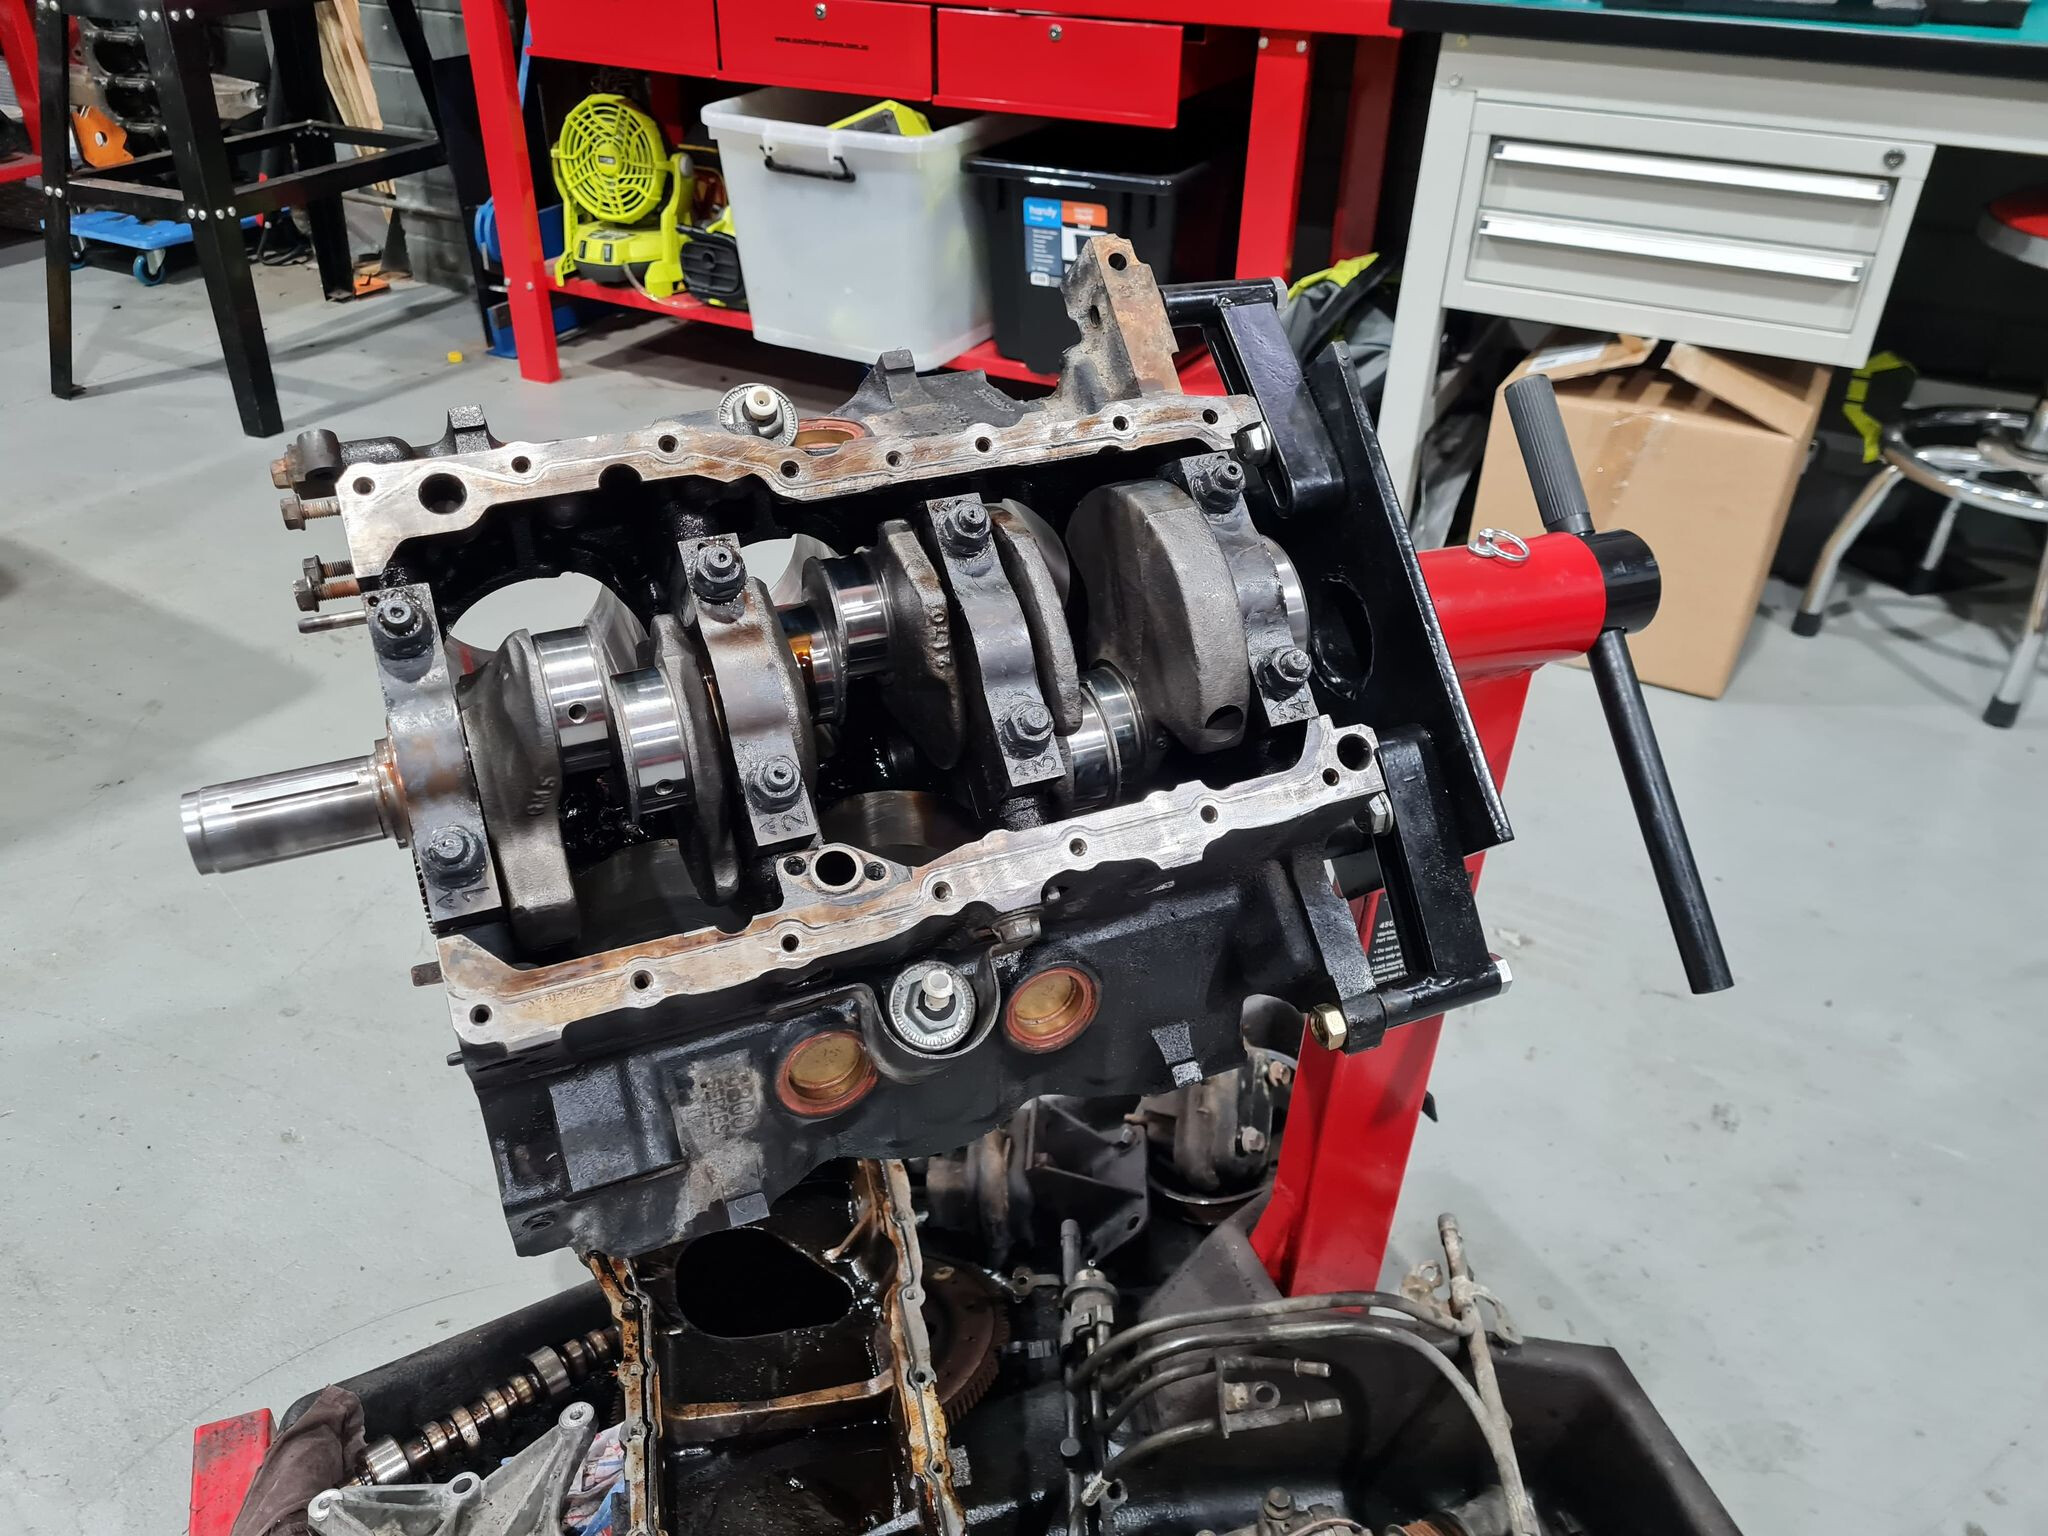
10. If you think the crankshaft isn’t bent or in need of linishing, the next step is to check the crank journal sizes with an external micrometer.
Having a notebook to write down all the measurements means you can always refer back the rebuild specifications later on.
11. Refit the main caps to the block and use a bore gauge to measure the crank tunnel. With the measurements for the crank journals and crank tunnel, you can then calculate what size main bearings are required.
This is critical to having your new engine last, as the crank spins on a thin film of oil between it and the bearings.
12. Don’t mix up the order of the main caps in your engine; getting this wrong can mean your mill won’t spin over due to incorrect clearances.
Some older donks need the rear main seal fitted when the crank goes in, and it can be a good idea to get rid of the original rope seal in favour of a modern one-piece item.
13. The rod end bearings need to be sized to the crank journals.
Some old engines from the 60s or earlier use press-fit caps on their conrods, which can cause problems for novice home engine builders with only basic tools. So, do some research into your engine before you crack it open.
14. When disassembling the engine, check whether it uses press-fit wrist pins on the pistons or circlips to hold them in.
Press-fit pins can be reinstalled at home by gently heating the small end of the conrod and then quickly reassembling the piston, pin and rod together; however, the job is best done by experienced hands.
15. If you’re reusing your pistons, you should pull the rings off and give all the slugs a good wash.
They’ll need to be thoroughly inspected around the crowns, ring lands and wrist pins, as any damage will have you shopping for new pistons.
16. Piston rings need to be gapped before being fitted for the last time, and this will depend upon your combo, as nitrous and forced-induction mills need bigger gaps compared to NA set-ups.
A piston-ring filing machine isn’t needed, but go easy filing the ends, and regularly check the clearance on a piston in the bore.
17. For pushrod engines, throwing in a new set of cam bearings is an excellent idea. As with the crank tunnel bearings, a tunnel bore gauge is used to check the bearing size needed.
Installing these bearings then requires a special slide hammer tool, and they’re traditionally fitted from the back of the engine to the front.
18. Traditional muscle car engines almost universally use a flat-tappet camshaft, which needs a strict break-in procedure to be followed on first start-up.
Not doing this results in flattened lobes and a ruined cam, so don’t be shy with assembly lube when fitting the cam, and read the break-in instructions on the cam card.
These cams require oils with a high zinc content, too, which can be difficult to find.
19. Once the short motor is together, spin it over a few times to check for any tight spots that could indicate an issue with the clearances, main caps or timing.
It is a good idea to do this before fitting the sump, valley plate or timing cover so you can easily correct these potential trouble spots.
20. For combos not using a stock-style piston, a dial indicator can be used to measure how far above or below the deck height the piston sits at top dead centre.
This measurement is used to work out the best head gasket thickness to achieve the optimal compression ratio for your combo.
21. Chucking on a new timing chain and gear is a smart move, as the chains get slack over time, which affects ignition timing.
When upgrading to a dual-row timing chain, double-check that the chain is perfectly aligned, as some, like on LS mills, need the crank snout machined to allow the dual-row chain to sit back for proper alignment.
22. Most common engines will simply have you lining up the dots on the cam and crank timing wheels, but it can be a good idea to double-check the timing by degreeing in the cam with a degree wheel and a dial indicator on cylinder number one.
There are some excellent instructional vids on YouTube for how to do this, and it should happen before cylinder heads or oil pumps go on.
23. When fitting the head gaskets, check they don’t shroud the bores, and boosted applications should really use a multi-layer steel gasket.
Head studs are also cheap insurance against lifting heads or blown gaskets.
24. Check the piston-to-valve clearance by putting Plastigauge putty on the crown of piston number one where the intake and exhaust valves sit, then bolt a cylinder head down and assemble the valvetrain to that slug.
Wind the engine over and pull the cylinder head back off to check the piston-to-valve clearance. This is especially important when fitting high-lift camshafts to high-compression combos.
25. If you’ve upgraded the cam, you should check the pushrod length once the heads are on and torqued down.
Going too short with the pushrods won’t let the cam get its maximum lift, while too long will hold valves open, preventing the engine from running.
26. Once the valvetrain is together, double-check the rocker tension and lifter preload. Engines that use poly locks need an Allen key on a central adjuster and a ring spanner on the outer clamping nut to set the rocker in position.
Rotate the engine so the cam is on its base circle, and tighten the rocker down until there is mild resistance when you spin the pushrod between your fingers. Then do another half-turn and lock the adjuster down.
27. Modern overhead-cam engines need care taken if they have shimmed cam buckets, as this affects the clearances for the cams to spin.
If you do mix up the buckets and shims, your best bet is to take the complete head to a specialist and have them reassemble it for installation.
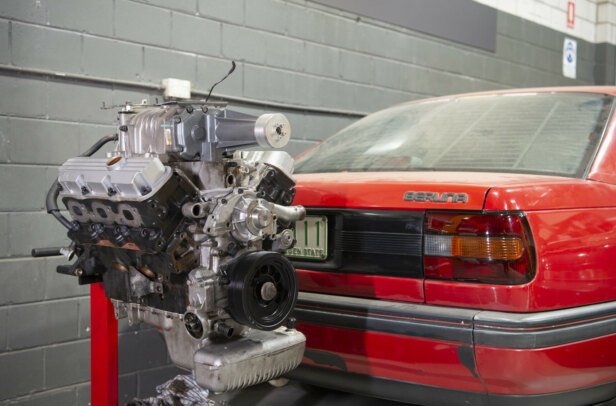
28. Now you’ve got a complete long motor, you’re ready to refit all the accessories, drop the engine back in and get to doing the cam break-in or starting on a run-in tune.
After the initial run-in period, drop the oil and look for any glitter in the pan or filter, as that would mean something is very wrong inside your donk. If it is okay, it is a good idea to run mineral oil in the engine for the first 1000km.
STROKE RISK
One of the most dangerous elements of an engine build is the “while we’re in here” factor, which can lead to a radical escalation of the build that can see inexperienced hands floundering. So rather than buying a set of pistons and rods on their own, it can be tempting to pick up a cheap stroker kit.
However, before splashing your hard-earned down, you should take plenty of measurements of your existing combo, including the bore and the size of your pistons and conrods. The length of the conrods (journal to journal) and the height of the pistons (wrist pin to crown) can cause issues if they are too long or too short.
Too long in the rods or too tall in the pistons will hang the slugs above the deck height of the block, potentially hitting valves or running too much compression. Too short will have the pistons recessed in the bore and not producing enough comp, which will make for a lazier engine.
Similarly, researching whether your stroker kit requires the bottoms of the cylinders to be machined for clearance is vitally important. This prevents getting the bottom end buttoned up only to find the engine won’t turn a full rotation!
All of these factors are why having a notebook full of your engine’s measurements is incredibly handy, so you can accurately research the awesome new parts you want to fit.

Comments