RIPPING the heads off your vehicle to fix a blown gasket might seem a little overwhelming, but if you break it down it’s a fairly approachable task. Some engines have their own idiosyncrasies through the removal and assembly processes, but the basic concept of sandwiching a gasket between the block and head remains the same.
Signs of head gasket failure can include white smoke from the exhaust, milky oil, a bubbling radiator or a rough idle.
Here’s an overview of the process.
This article was first published in the February 2020 issue of Street Machine
STEP-BY-STEP
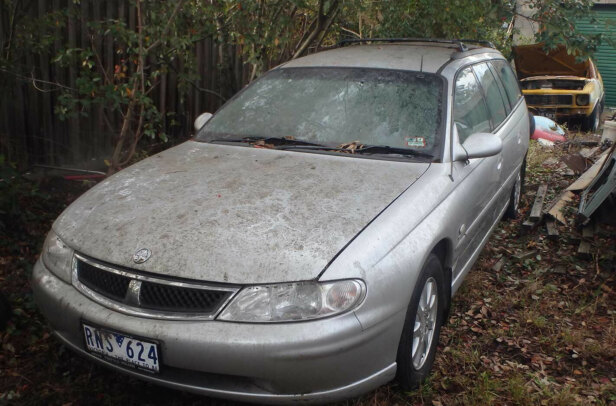
STEP 1. In order to demonstrate and document this procedure, we have pulled a Fairlane from the paddock. The early four-litre SOHC mill had a reputation for head gasket issues, and could well be the reason that this one was parked up. Before you start, purchase a full gasket kit that also includes gaskets for the exhaust manifold, intake manifold and the like, as replacing all gaskets at once is usually the best option. First up, the cooling system is drained, leaving the engine dry.
STEP 2. Label your plug leads, as this can come in handy later on. Remove them and any other hoses or breathers that will stop you from yanking the head. Next up, the rocker cover (or valve cover) can be removed.
STEP 3. The milky oil and rusty rocker assembly components mean it’s pretty safe to assume there is a head issue. On closer inspection, a broken rocker on the rear cylinder is also found.
STEP 4. Both the exhaust and intake manifolds are unbolted. A handy idea here is to lay the bolts out on a piece of cardboard to avoid any confusion with different lengths when it’s time to reassemble.
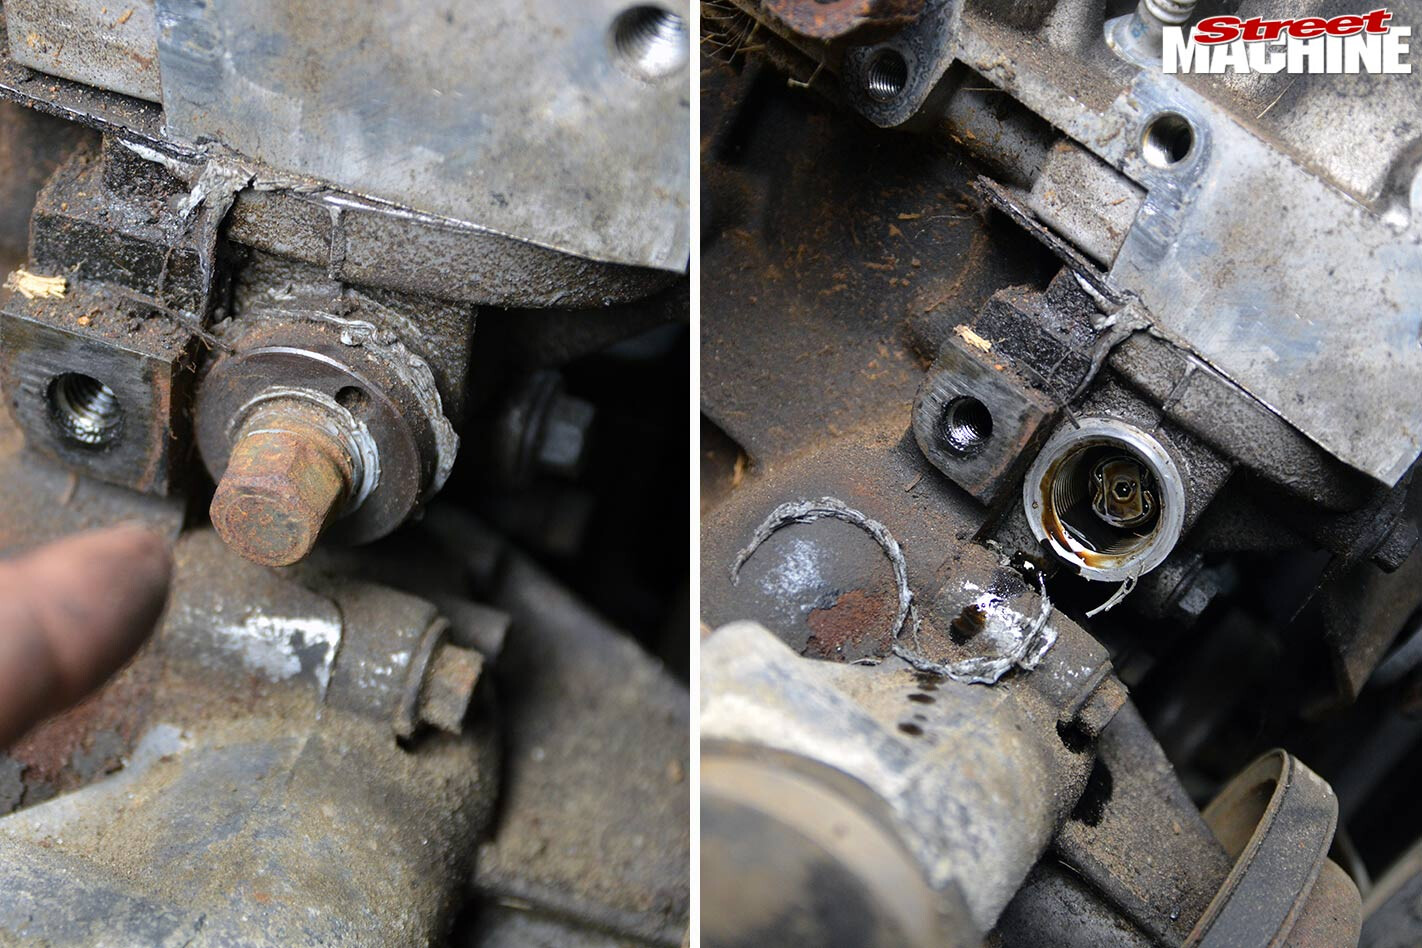
STEP 5a. The SOHC has a cam chain tensioner located behind the power steering pump; this is one of those vehicle/engine-specific things we mentioned earlier.
5b. This needs to be removed or it’s going to cause a lot of frustration. It’s made up of seven parts, but should come out as two pieces.
STEP 6. Once the tensioner is out, the timing chain sprocket can be removed from the end of the camshaft. Zip-ties can be used to keep the timing chain fixed to the sprocket to eliminate the possibility of a tooth being jumped. Also specific to this engine is a chain guide to the right of the sprocket that will need its bolt removed.
STEP 7. Once all your bits and pieces have been removed, it’s time to unbolt the head. A single hex high-impact socket is used to remove the head bolts in the opposite pattern to how they are installed.
STEP 8. The head comes off without too much of a fight, and straight away it’s clear that number six cylinder is the one with the issues. The cylinder itself has had leakage, while the alloy head shows corrosion. This also explains the broken rocker. With the Fairlane having sat for so long, it is likely that the number six cylinder has slowly filled with water, and upon start-up hydraulic lock has occurred, resulting in failure of the cast-aluminium rocker arm.
STEP 9a. A clean-up using scrapers and some wet/dry sandpaper (500-grit in this case) shows both the head and the block faces to be in good shape.
9b. A straight edge is used to check the alloy head for signs of warpage, and the number six valve is inspected. Looks like we got lucky.
STEP 10. Before the gasket is dropped into place, compressed air is used to blow out any extra gunk that may be lurking. The head is then carefully lowered back on and the new head bolts are torqued down using the recommended process supplied with the kit. This one is a three-stage process, working from the middle out – no ugga-duggas here.
STEP 11a. The next step on this engine is to swap out the rocker assembly with a spare.
11b. After removing the assembly, the camshaft is found to be in a sorry state as well, so in the end both are replaced with a matching pair from a spare head that was lying around the shop.
STEP 12a. With the replacement camshaft lined up to the existing sprocket keyway, it is bolted back into place. The next job is to ‘load’ the timing chain tensioner before inserting that back into the block. Once it’s installed, an Allen key is used to ‘unload’ the spring to put tension back onto the chain.
12b. The engine is now turned over by hand to ensure there are no issues, with close attention paid to the troublesome valve on the rear cylinder. Everything is given the green light. From here it’s pretty much a reversal of the teardown, though it usually takes longer due to cleaning up bits and pieces for the new gaskets. After some fresh coolant and an oil change, things are running smoothly again.
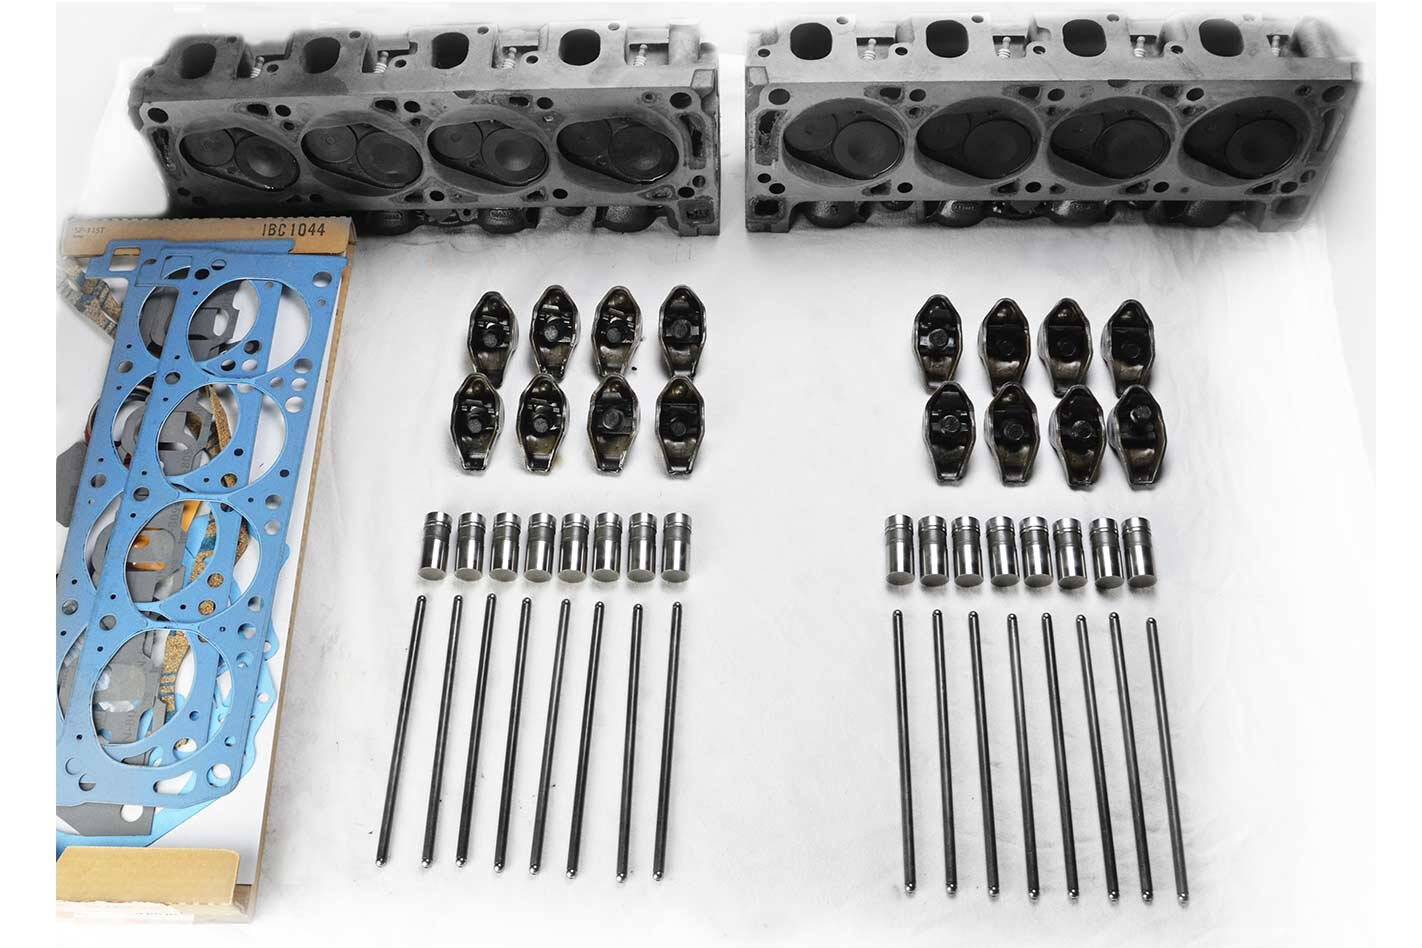
PUSHROD DINOSAURS
REPLACING head gaskets in pushrod engines is no more or less difficult than in overhead-cam mills; they’re just different. Laying pieces out systematically to make it easy to put them back where they came from is key. Cast-iron heads may also require a re-torque after a certain number of kilometre.

Comments