
First published in the August 2012 issue of Street Machine
Oil is often described as the lifeblood of an engine. It’s not a bad analogy except that oil doesn’t clot. Spring a leak in your engine and oil will just keep bleeding out until there’s none left.
Oil leaks can be external, internal, non-pressurised or pressurised. Pressurised leaks are the worst as they usually result in significant oil loss in a short time. Non-pressurised leaks are often simply inconvenient but they can have significant effects.
FOLLOW THE SIGNS
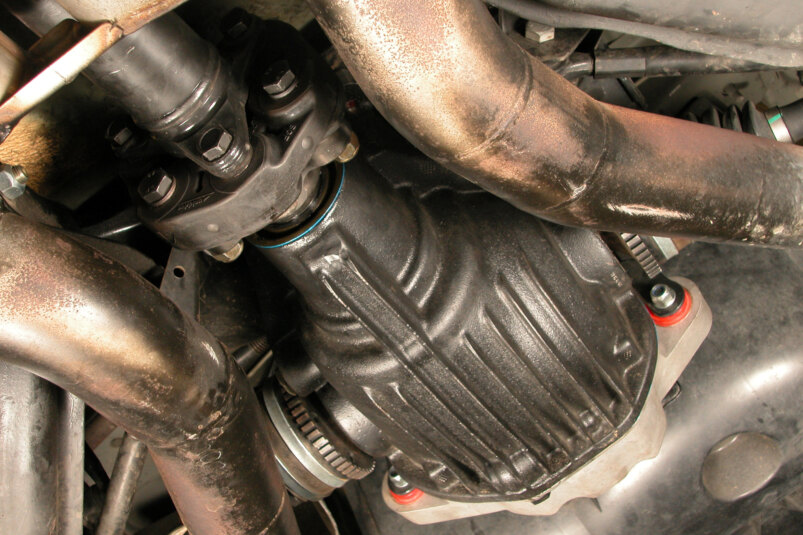
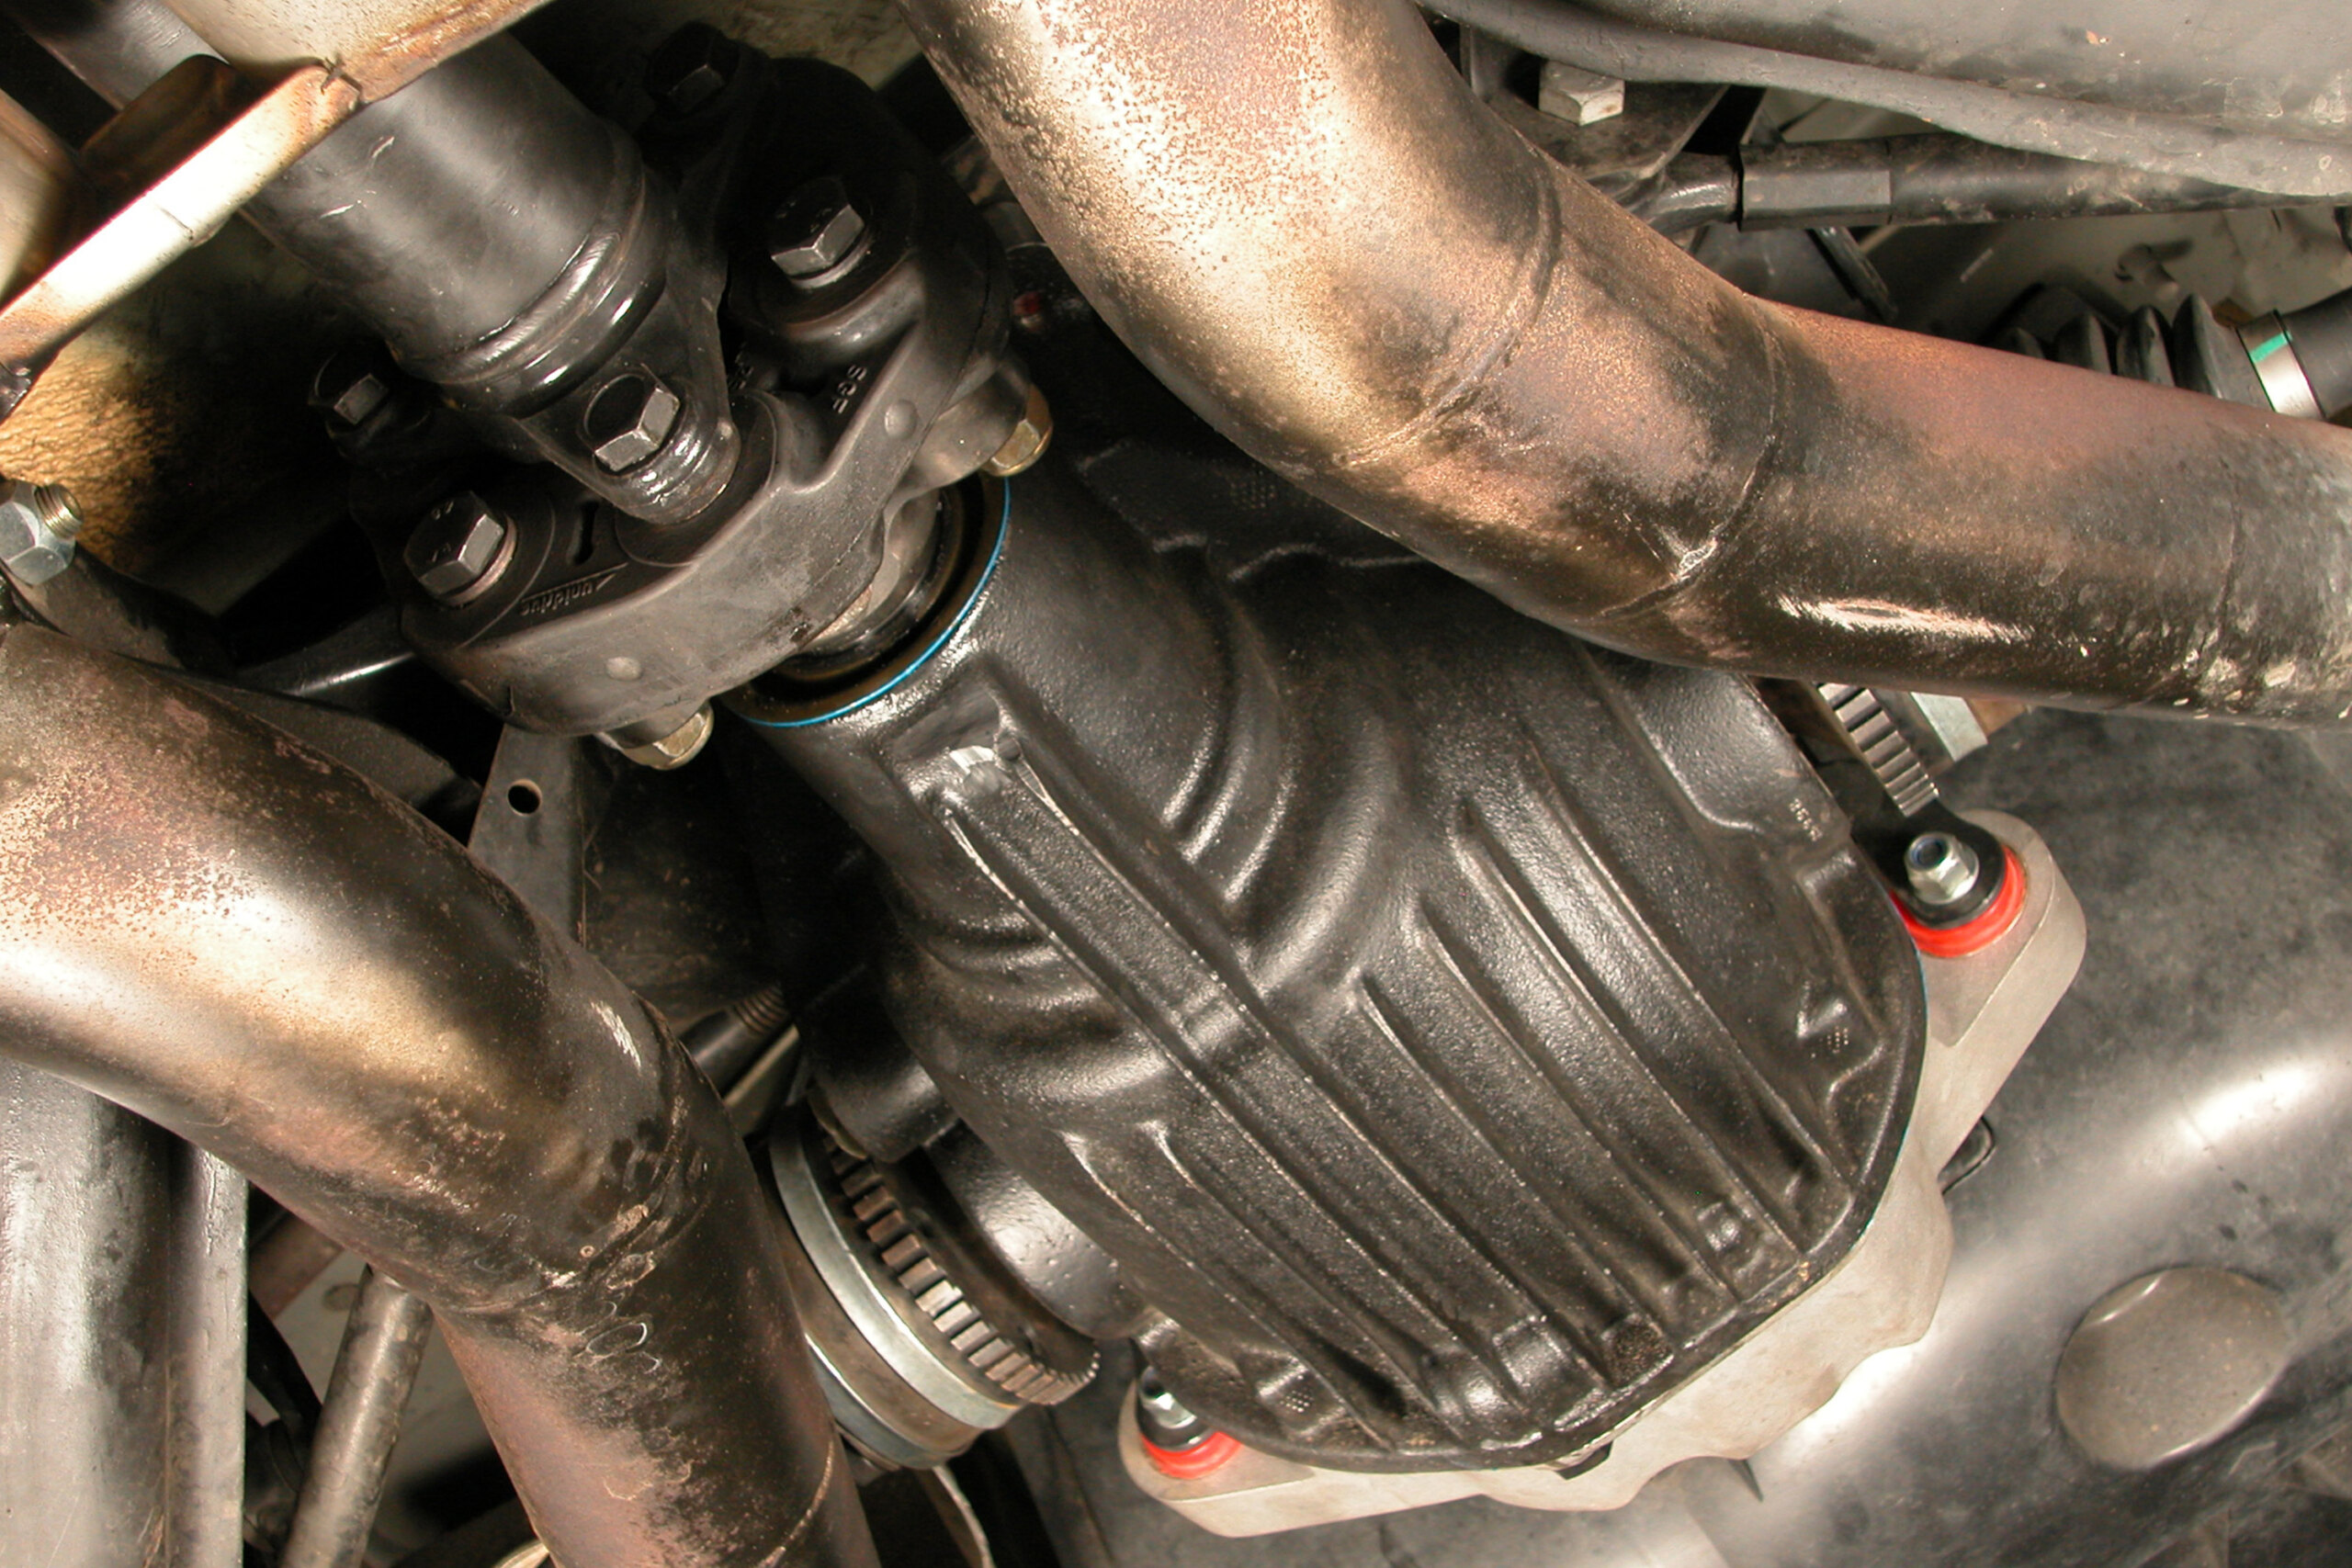
The most common indication that your streeter has an oil leak is a spot (or worse a puddle) of oil on the ground under it, often referred to as marking its territory. The position of the spot indicates the basic location of the leak and may help you track it down. If it’s under a live-axle diff, it’s going to be coming from the pinion seal (the mating face between the centre and housing) or from the rear cover. On an IRS rear, the axle seals add two more possibilities for you to inspect.
Wetness or leakage around the rear of a transmission also has limited possibilities and almost certainly will be coming from the rear seal, though the side plates on some manual gearboxes are also leak-prone.
Under the engine, things are not so simple. The path from leak to drip point can be tortuous and though tracing the path back to the source is simple in principle, it can be tricky in practice because of access. A mirror and torch will be invaluable. If basic detective work doesn’t unearth the source, thoroughly degrease the area and you should be able to track it down.
PRESSED TO PERFORM
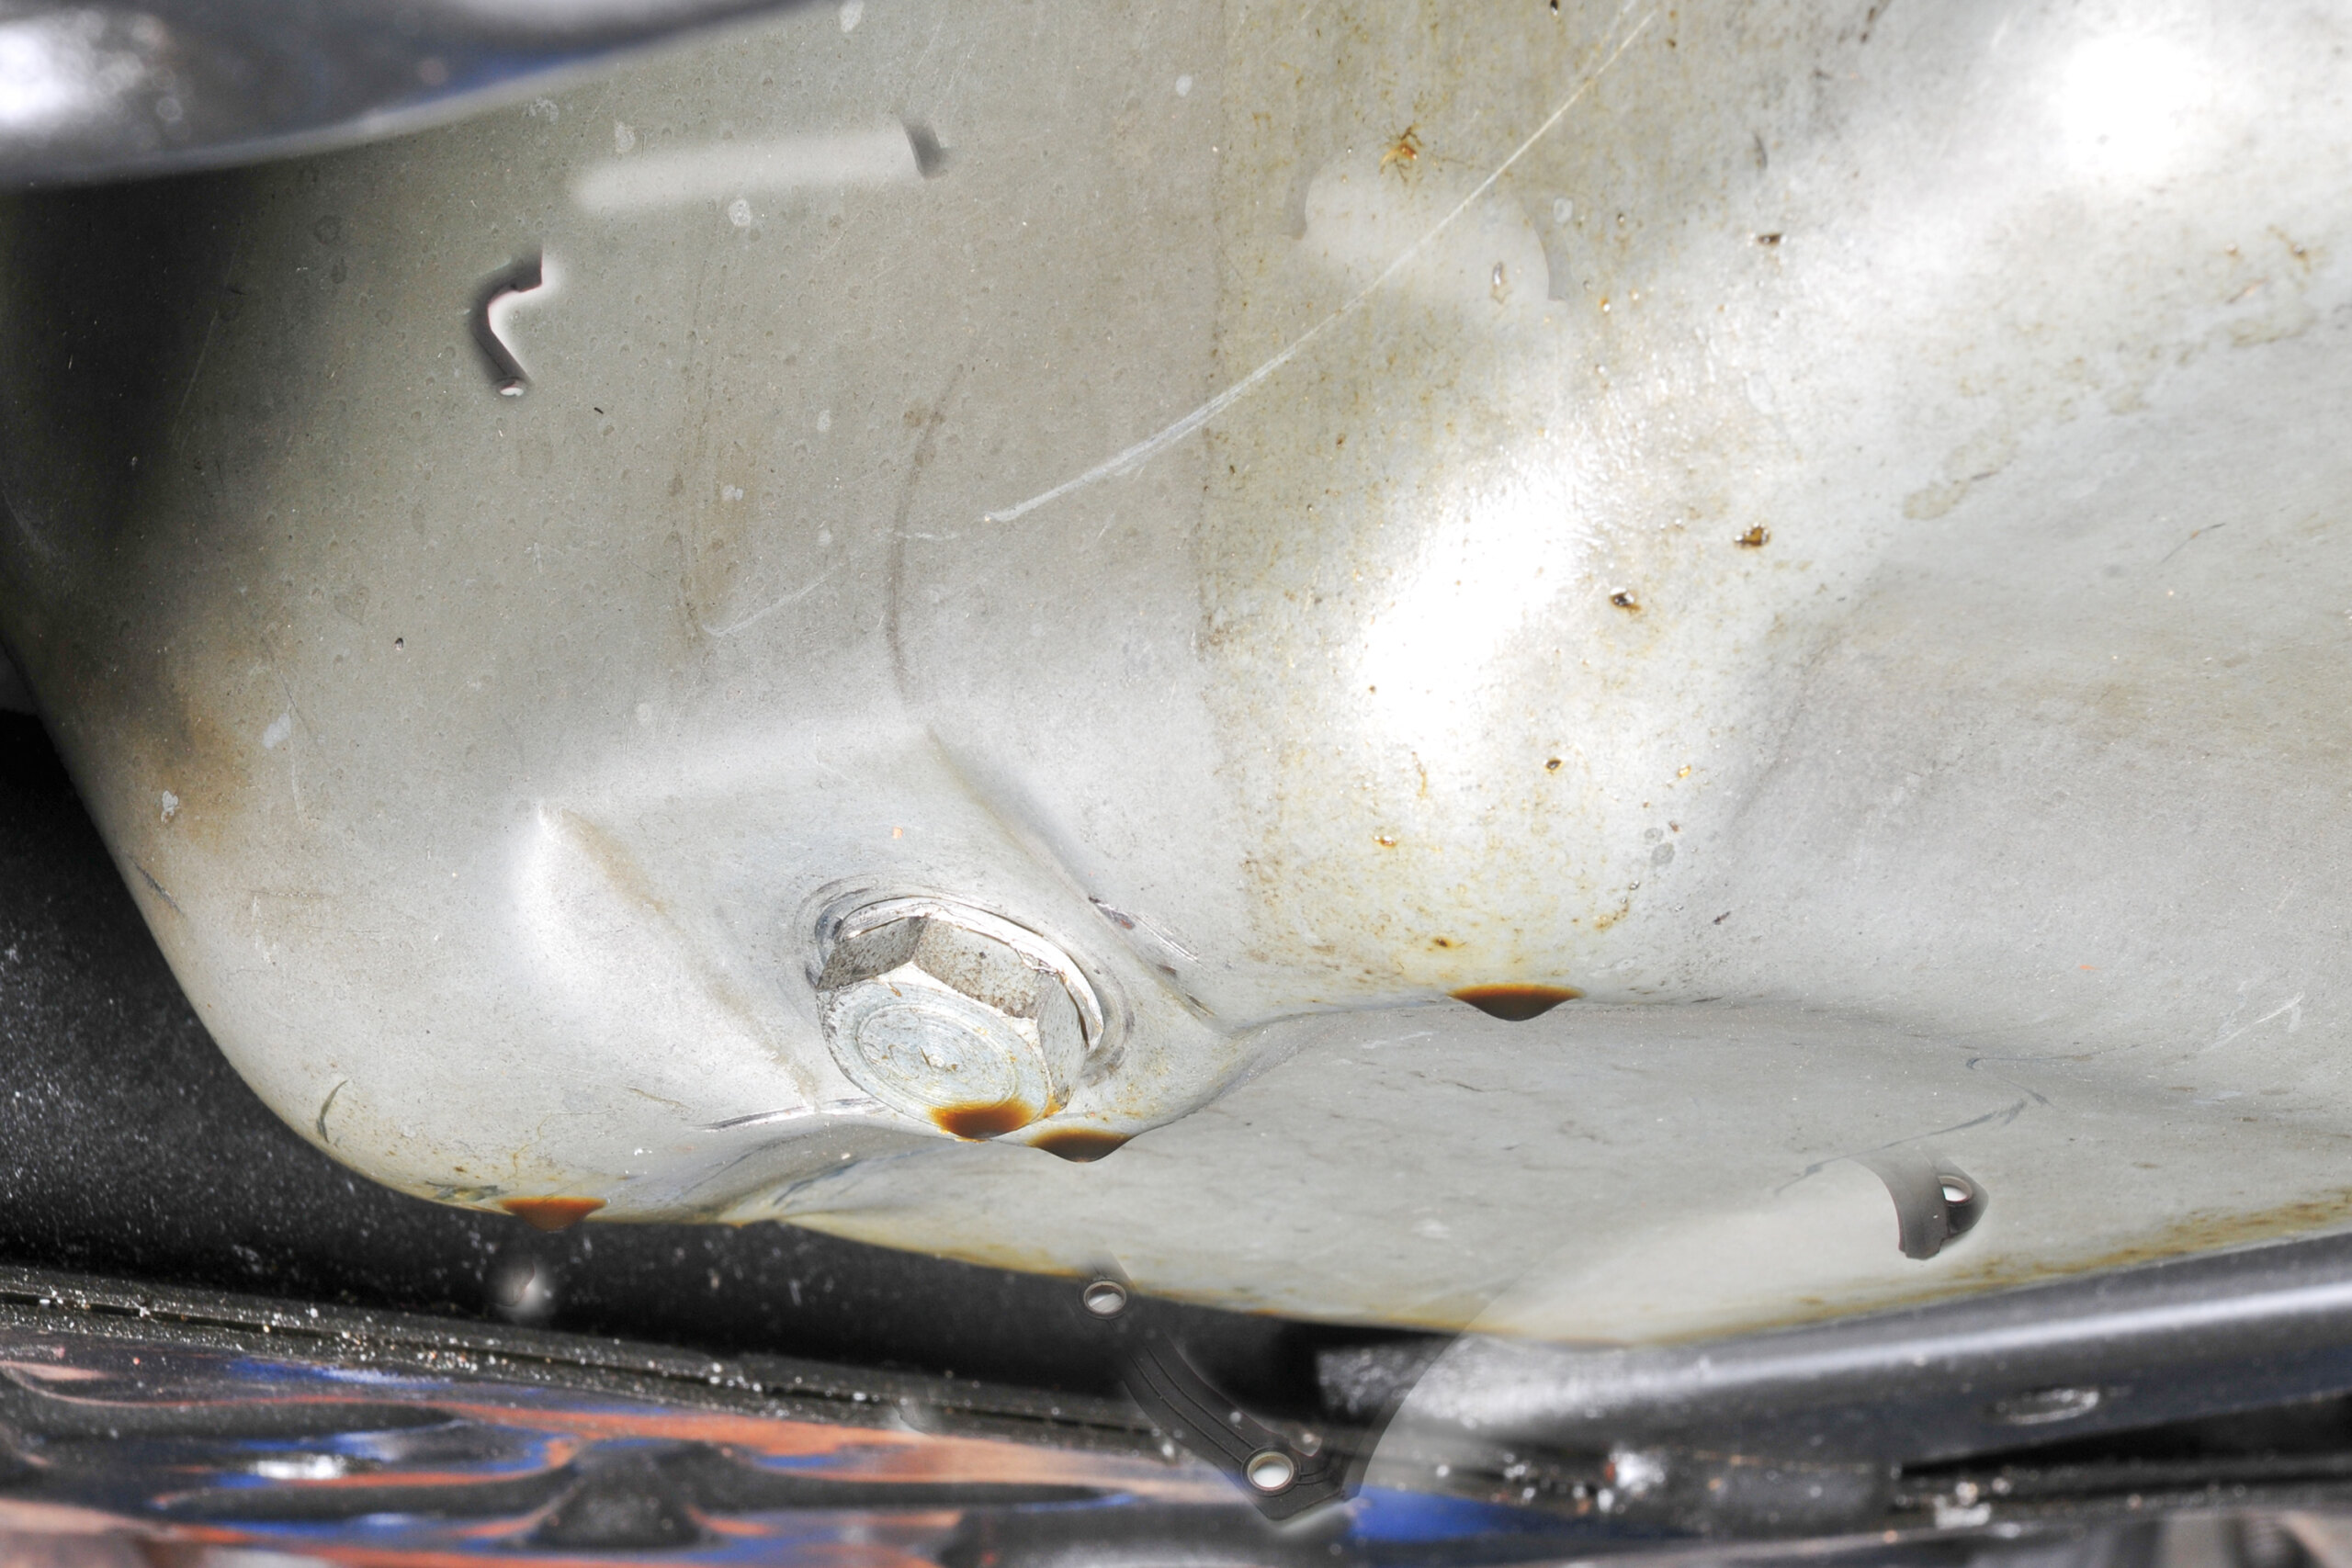
One common source of non-pressurised external oil leaks is the sump-to-block gasket. Be careful when diagnosing this as the culprit may be an oil leak elsewhere on the engine running down and accumulating at the gasket face.
On pressed steel sumps, the gasket face can become damaged or distorted. Any bends or bumps can lead to uneven clamping of the gasket, resulting in a leak. Always check for flat, straight gasket flanges before installation.
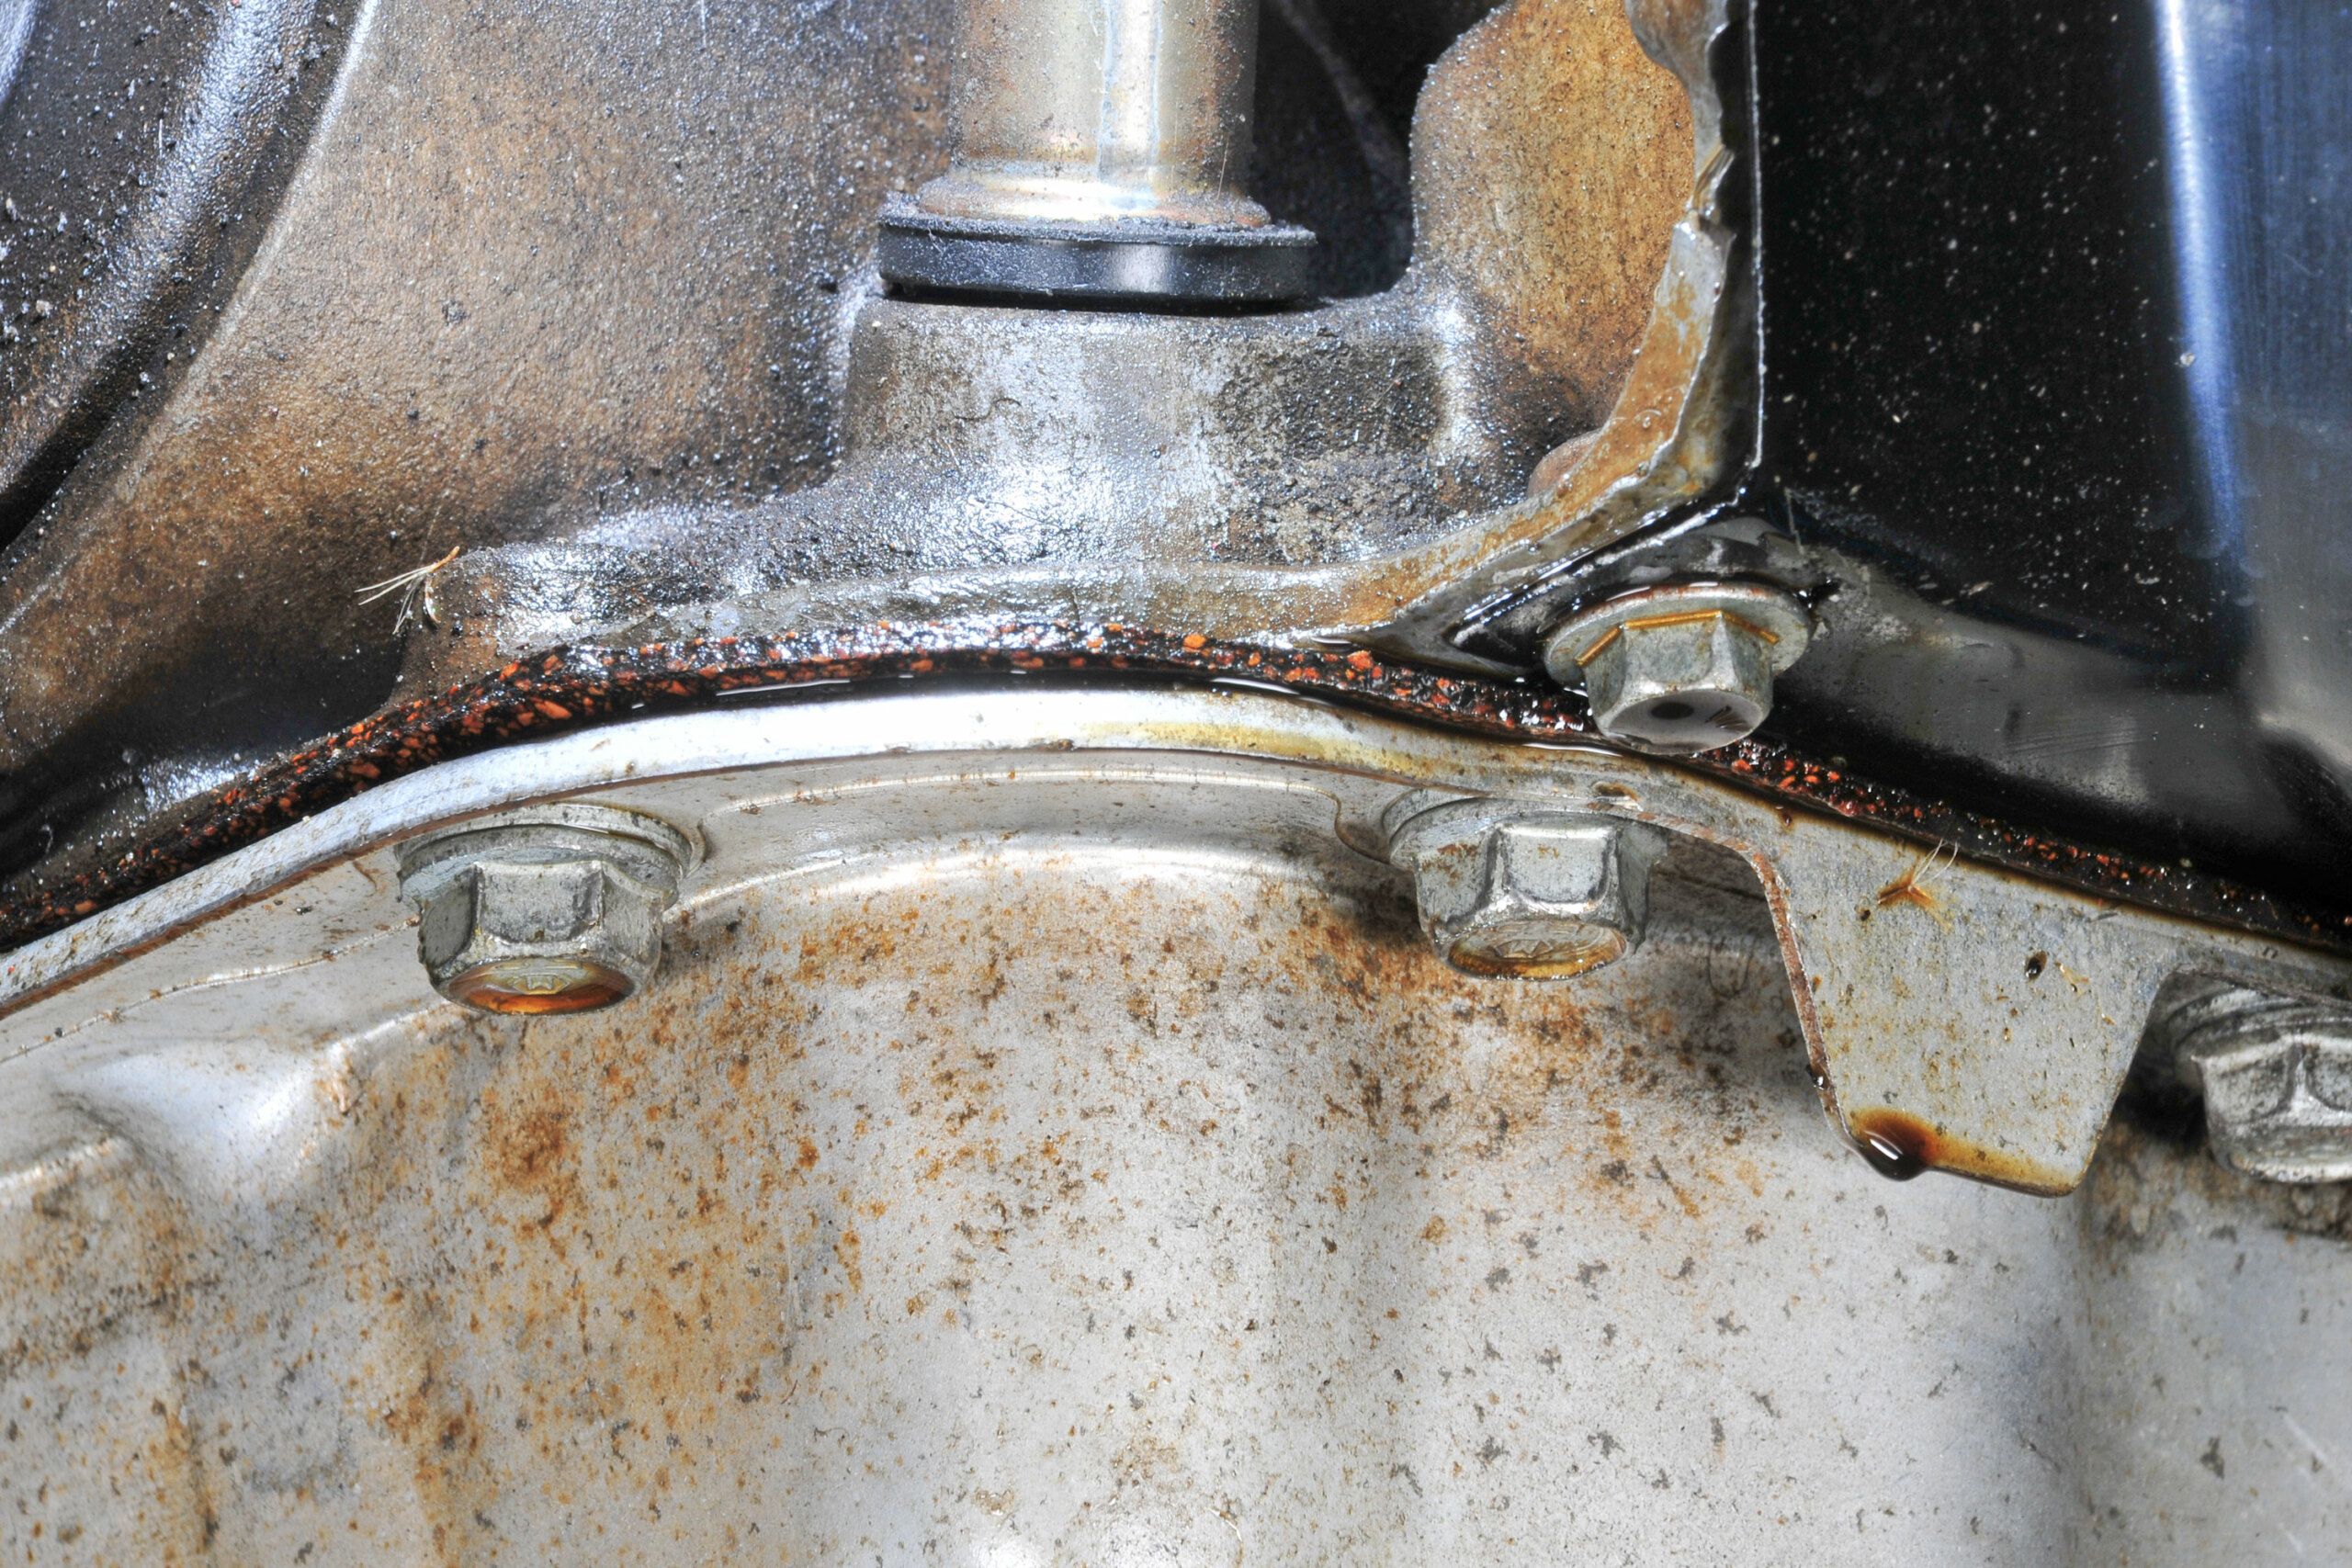
Pressed steel rocker covers are susceptible to the same sort of damage, as too are pressed steel automatic transmission pans, especially if care isn’t taken when letting the ’box rest on the pan while it’s out of the car.
All gaskets should be evenly clamped — the same pressure on each bolt. This can be difficult for inexperienced operators to achieve with cork gaskets as they provide much less ‘feel’ than other types. If you keep tightening down on a cork gasket it’ll just keep crushing without giving much feedback. When tightening, you’re looking for the gasket to begin bulging — squeezing out indicates over-tightening, which can permanently distort the steel pressing. If the gasket becomes unloaded because of such distortion, oil will definitely make a bid for freedom.
Aside from generally looking better, cast rocker covers don’t distort like pressed steel and thus clamp their gaskets more evenly.
Gaskets can move during assembly. Using studs on rocker covers and the sump is a good idea, as they locate the gasket and ensure it remains in position during fit-up. Modern engines have replaced cork with rubber, which is much tougher. Mind you, cork has been used successfully for decades and will continue in use; it just means you must pay attention to the preceding details. There have been a number of attempts to improve cork — rubber has been added to modify its compressive characteristics, and layered constructions with steel stiffeners are also available.
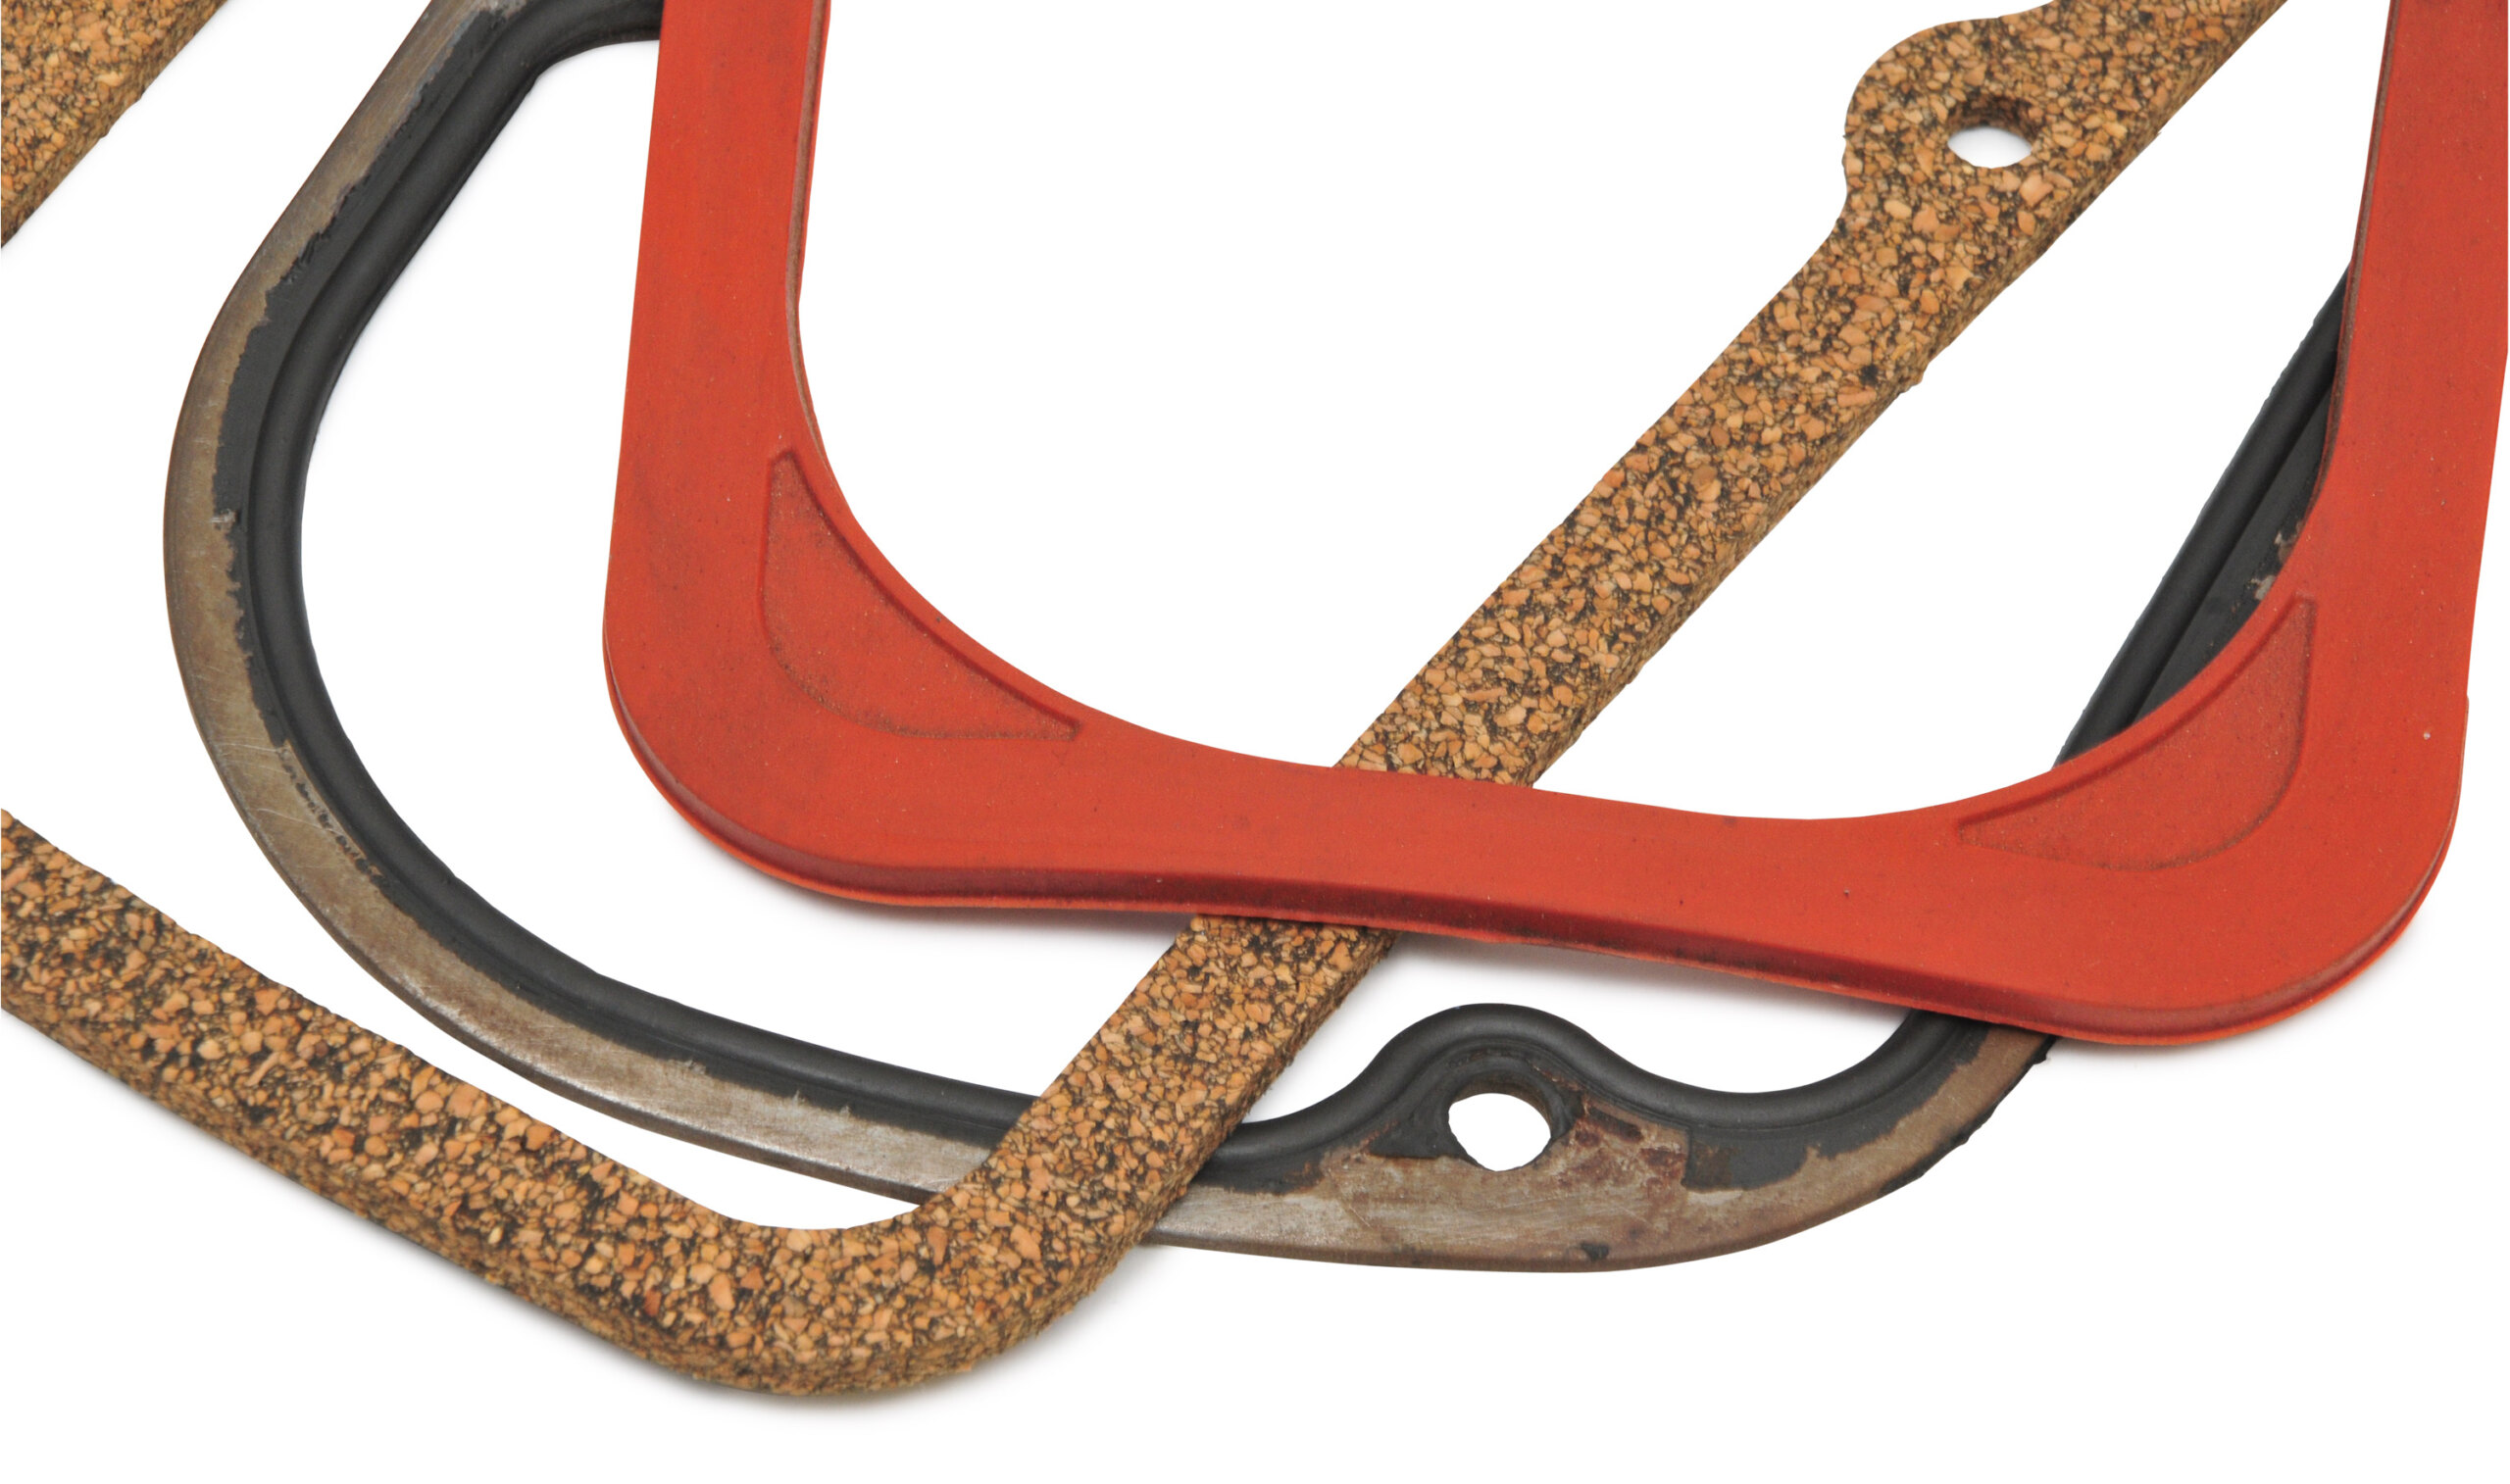
LEAKING SECRETS
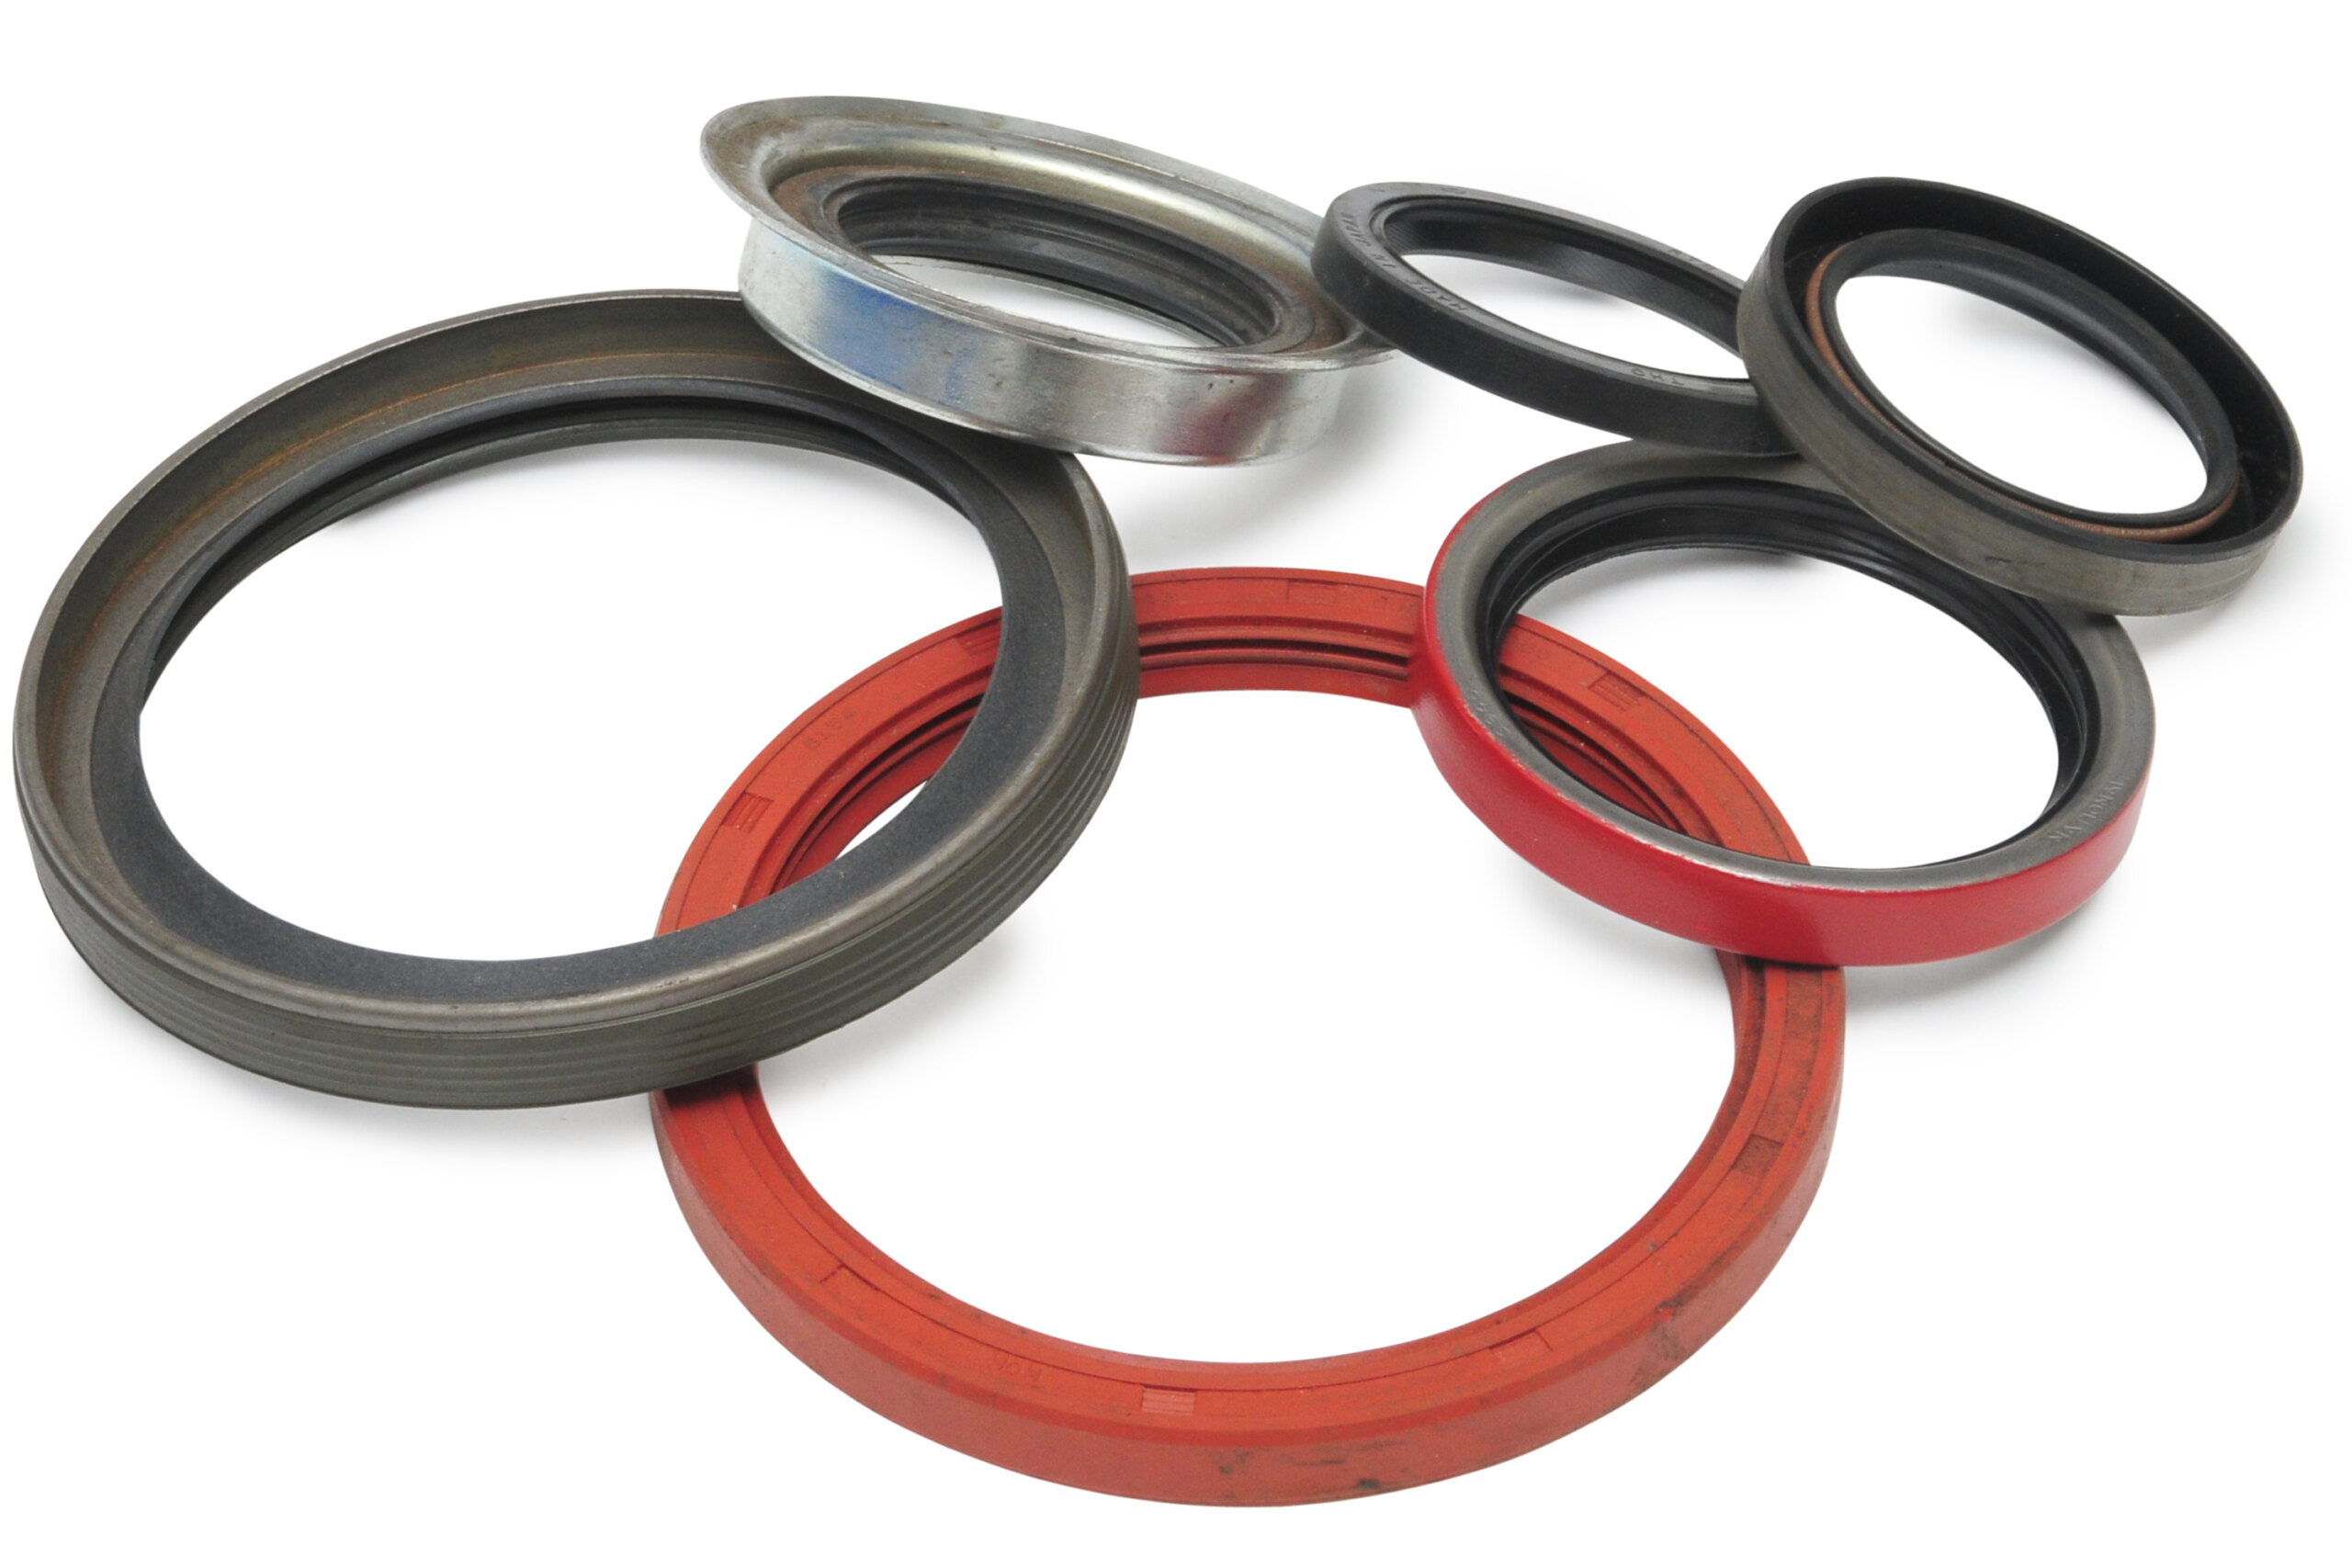
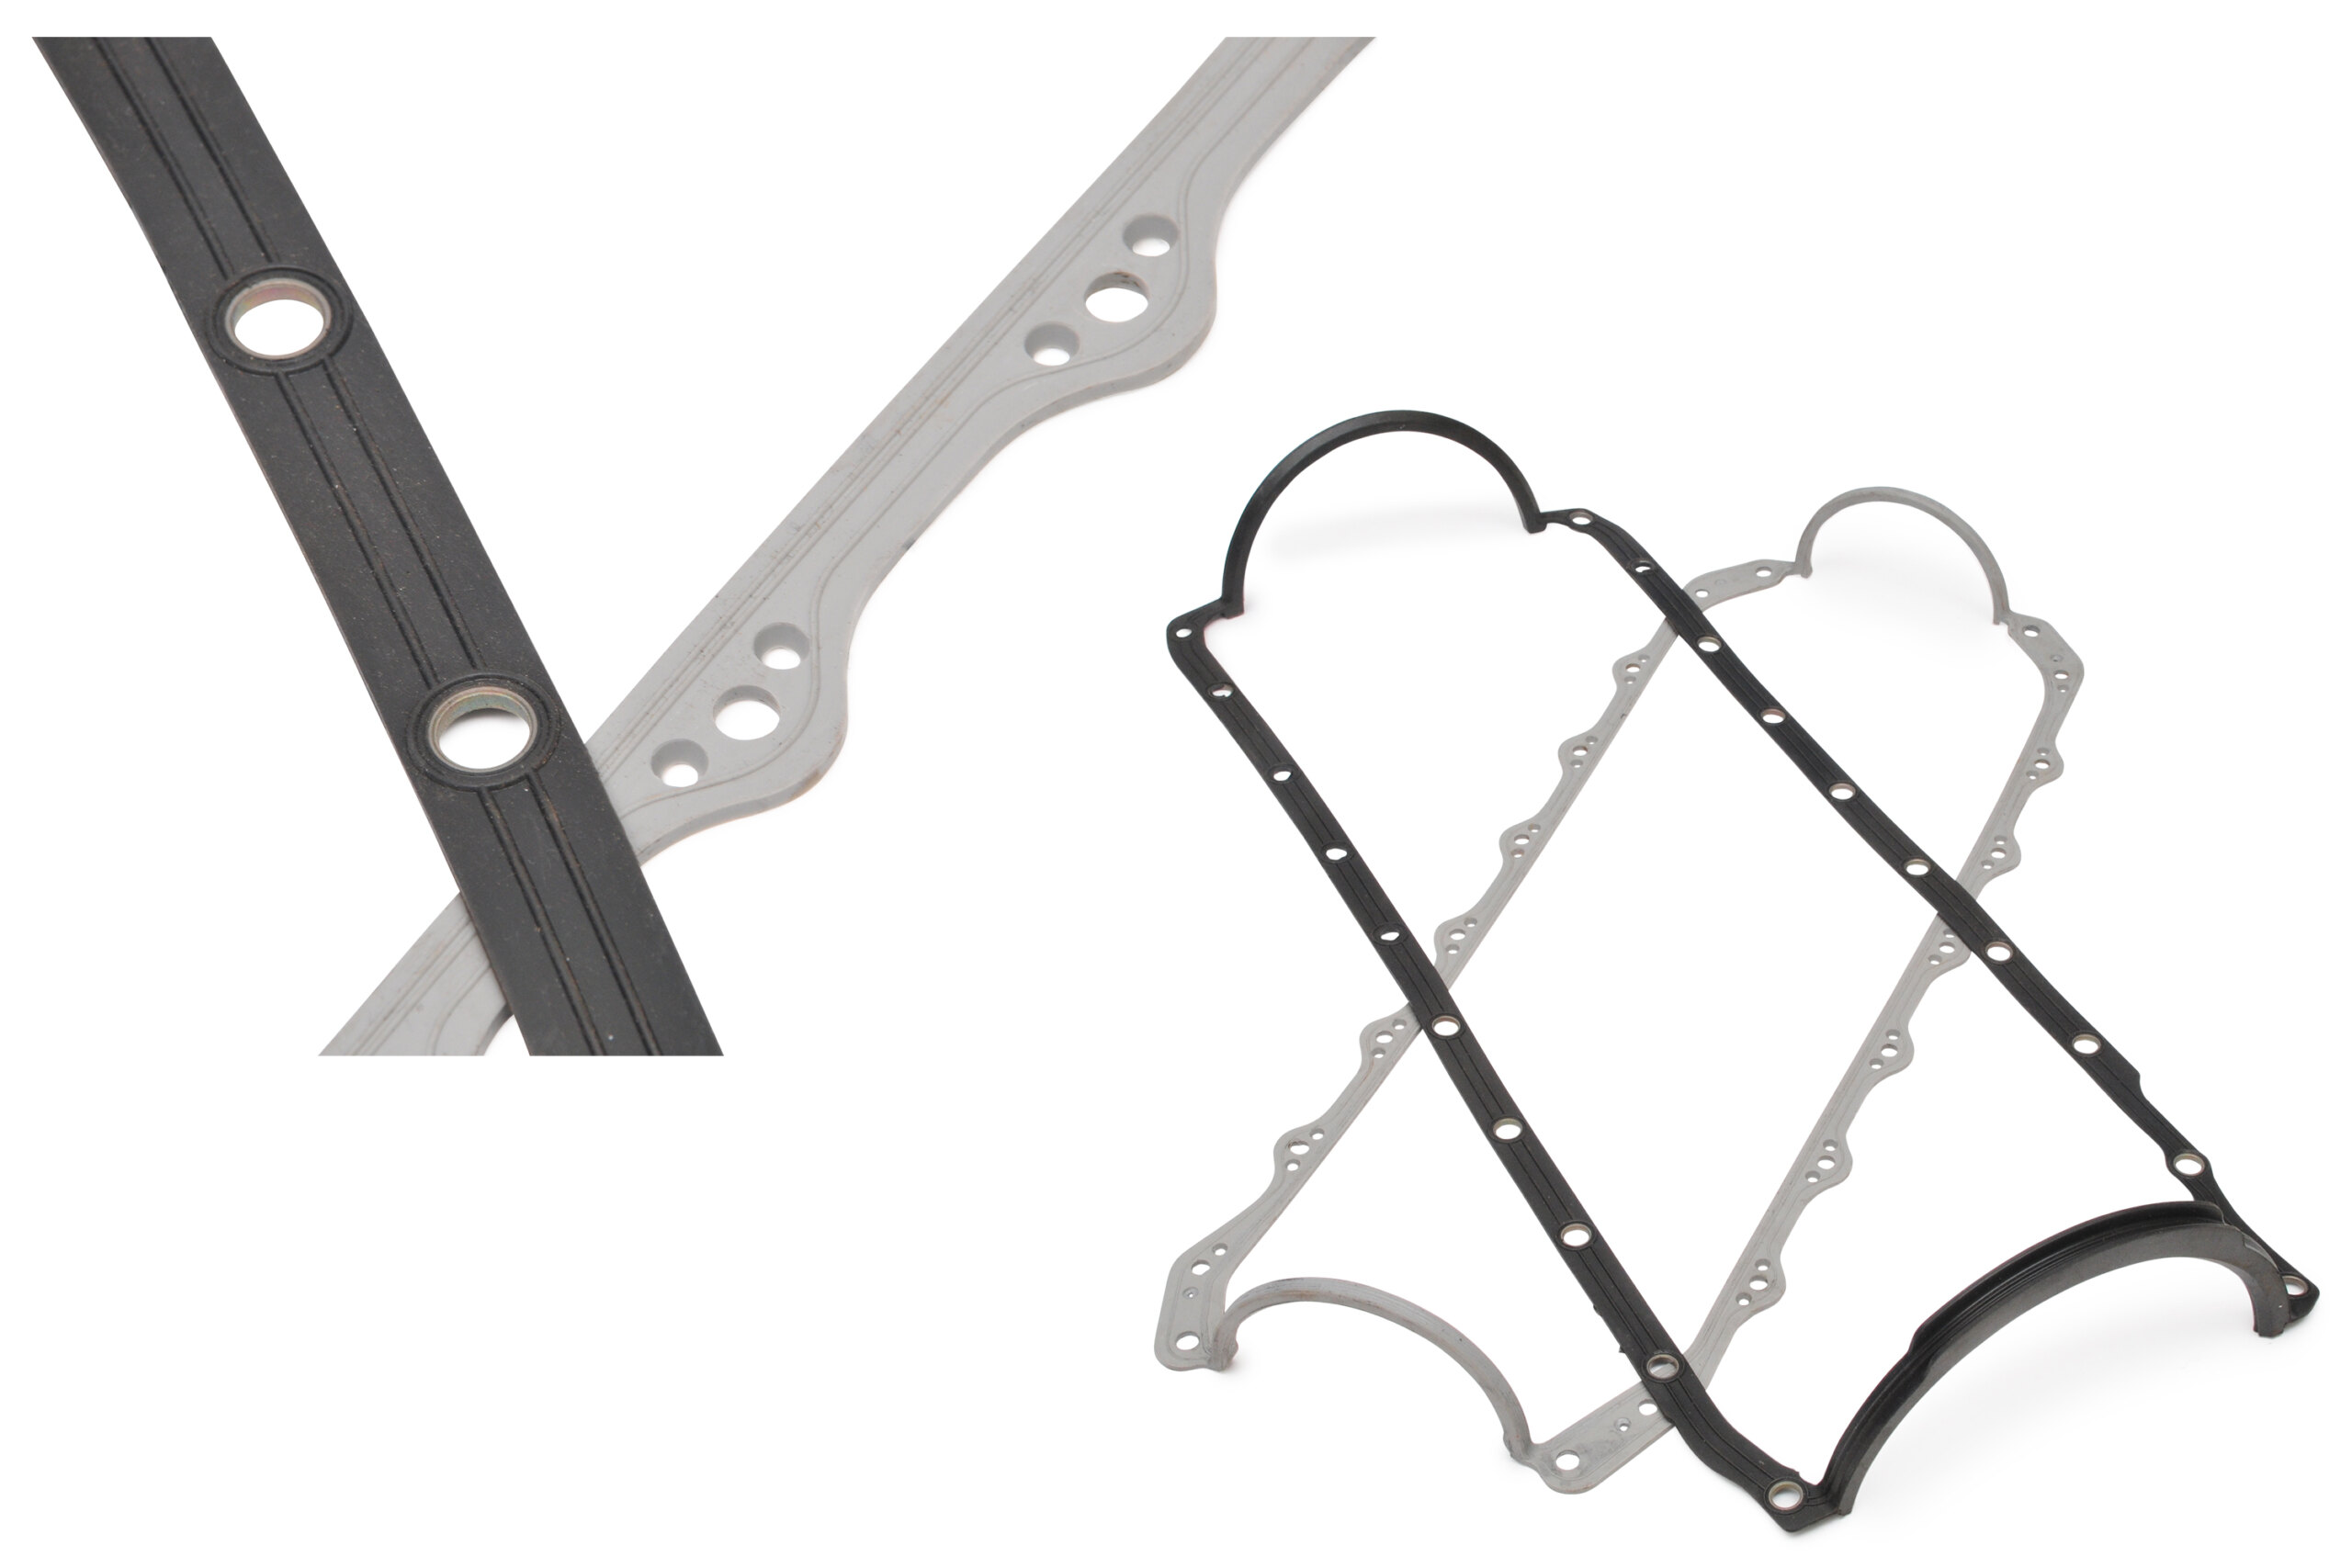
Some rubber sump gaskets are of one-piece construction and incorporate front and rear sections. Others, such as those for the big-block Chevs, have four individual gaskets — front, rear and two sides.
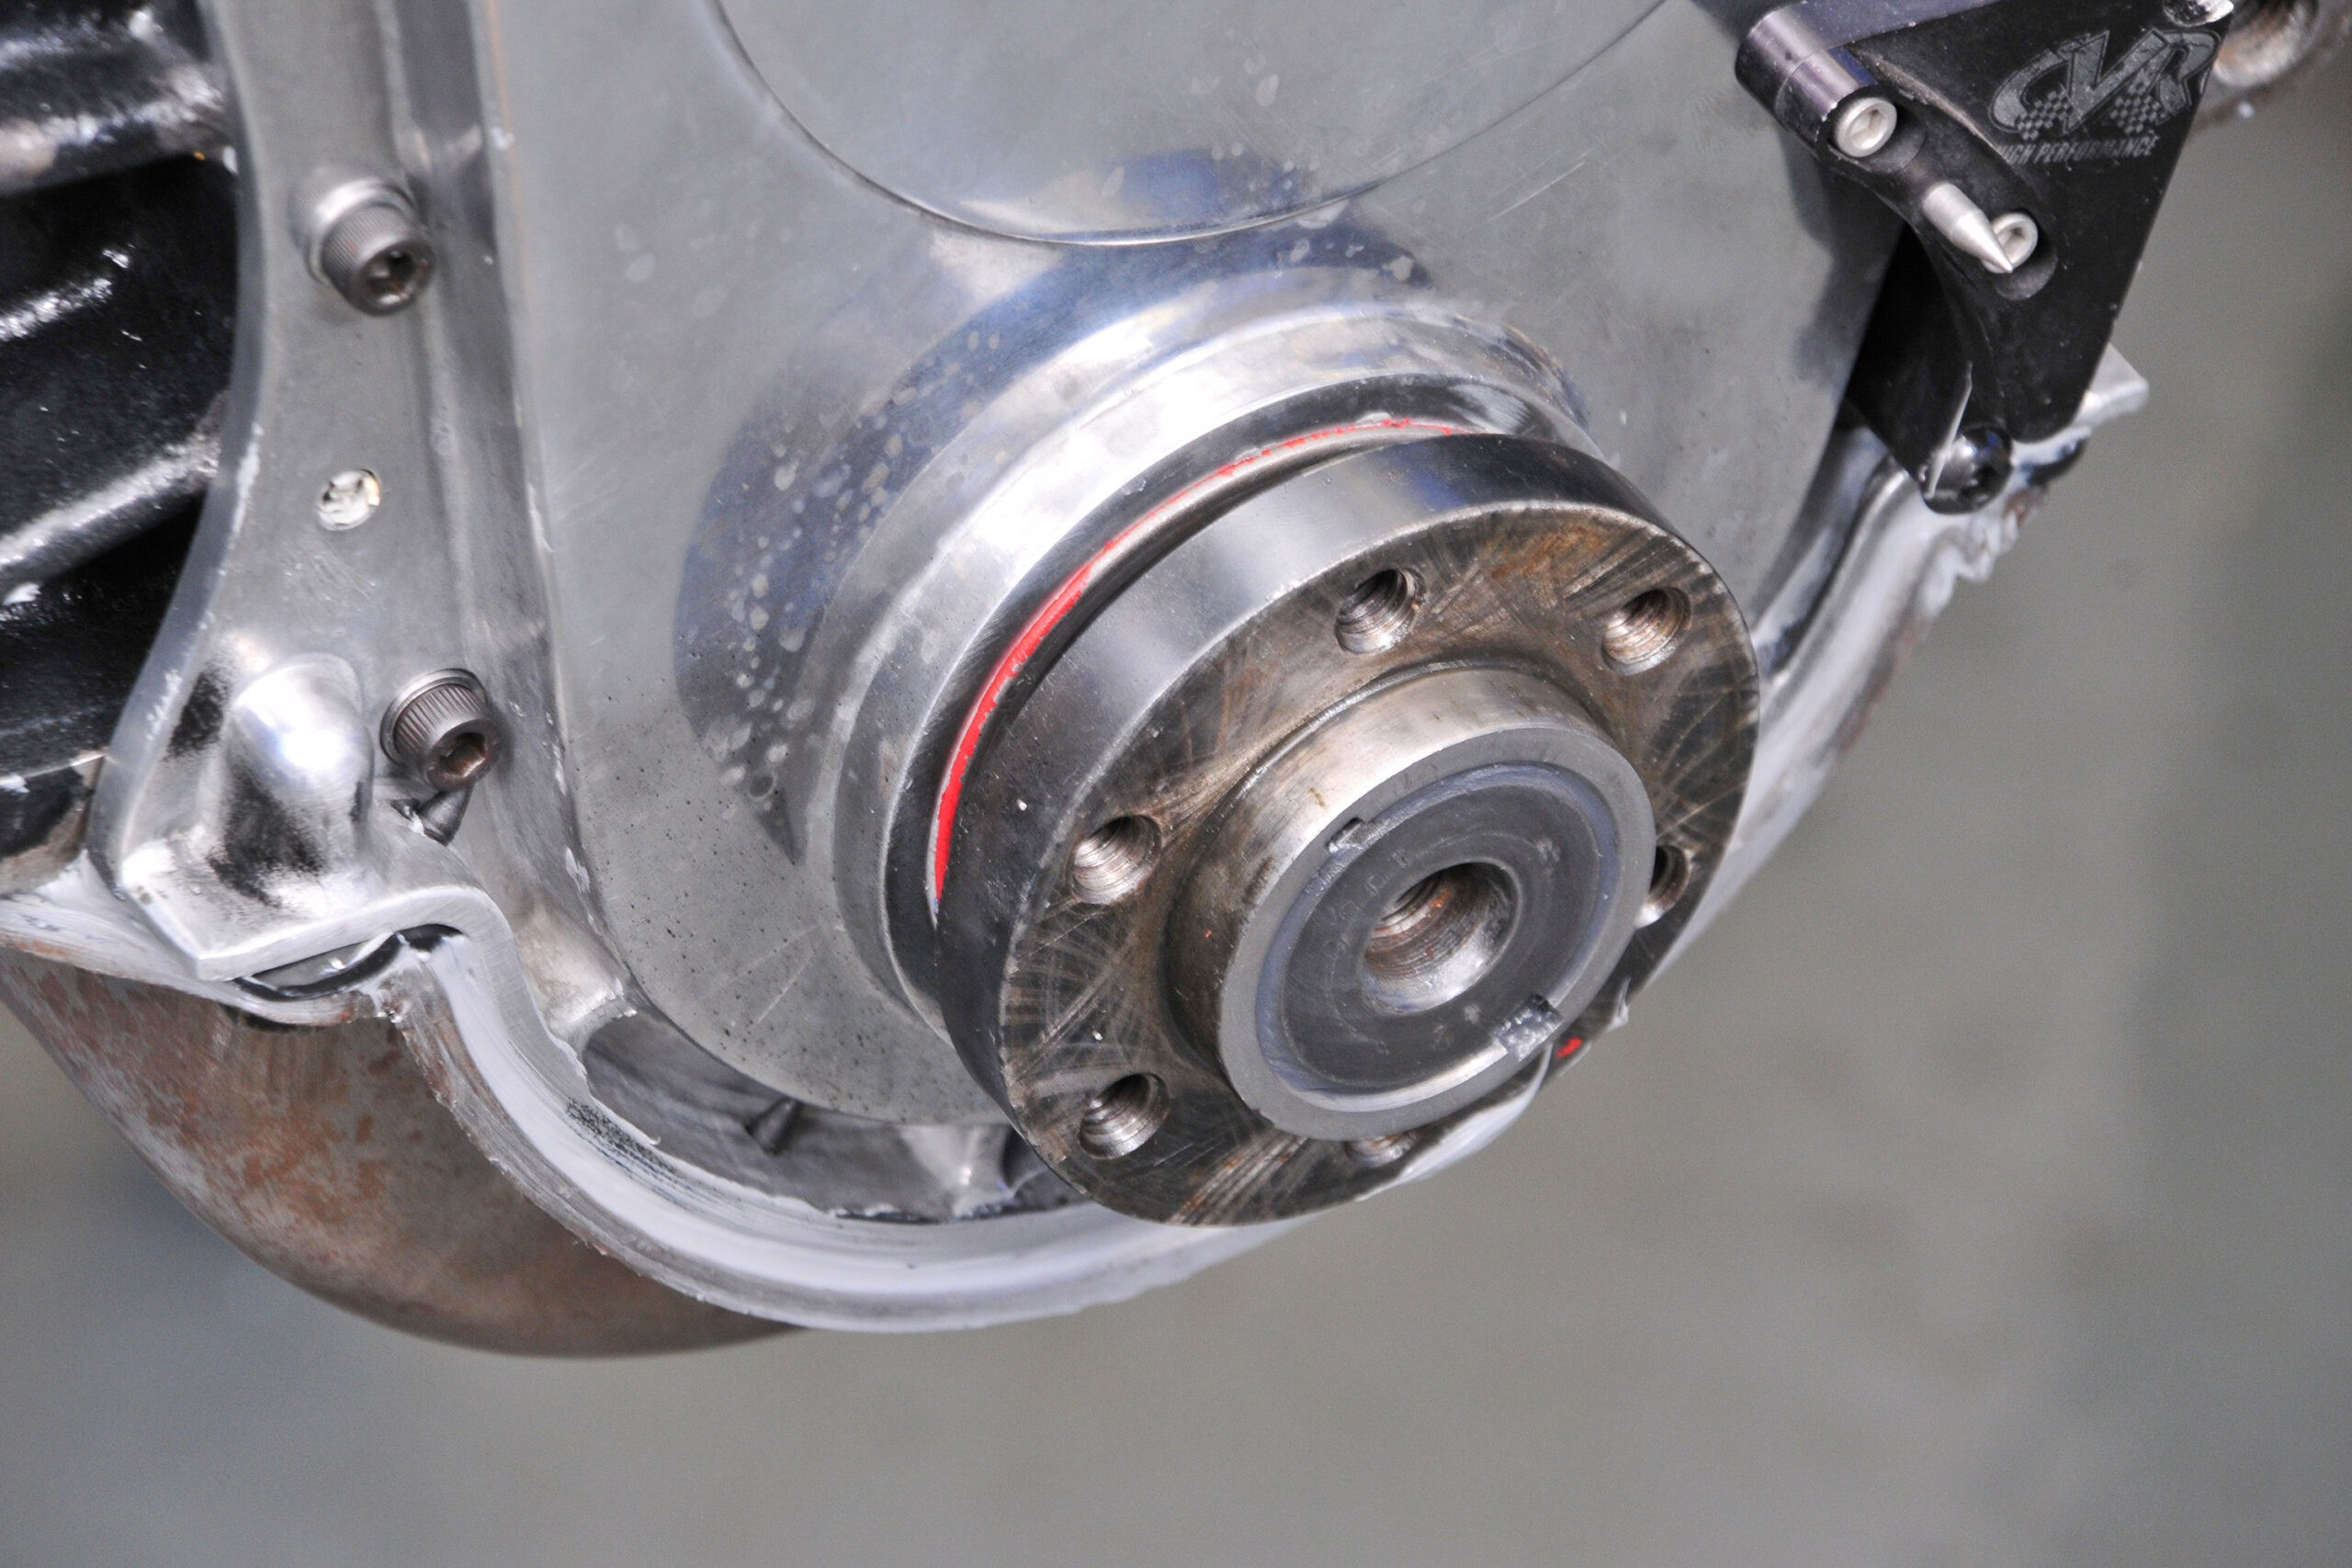
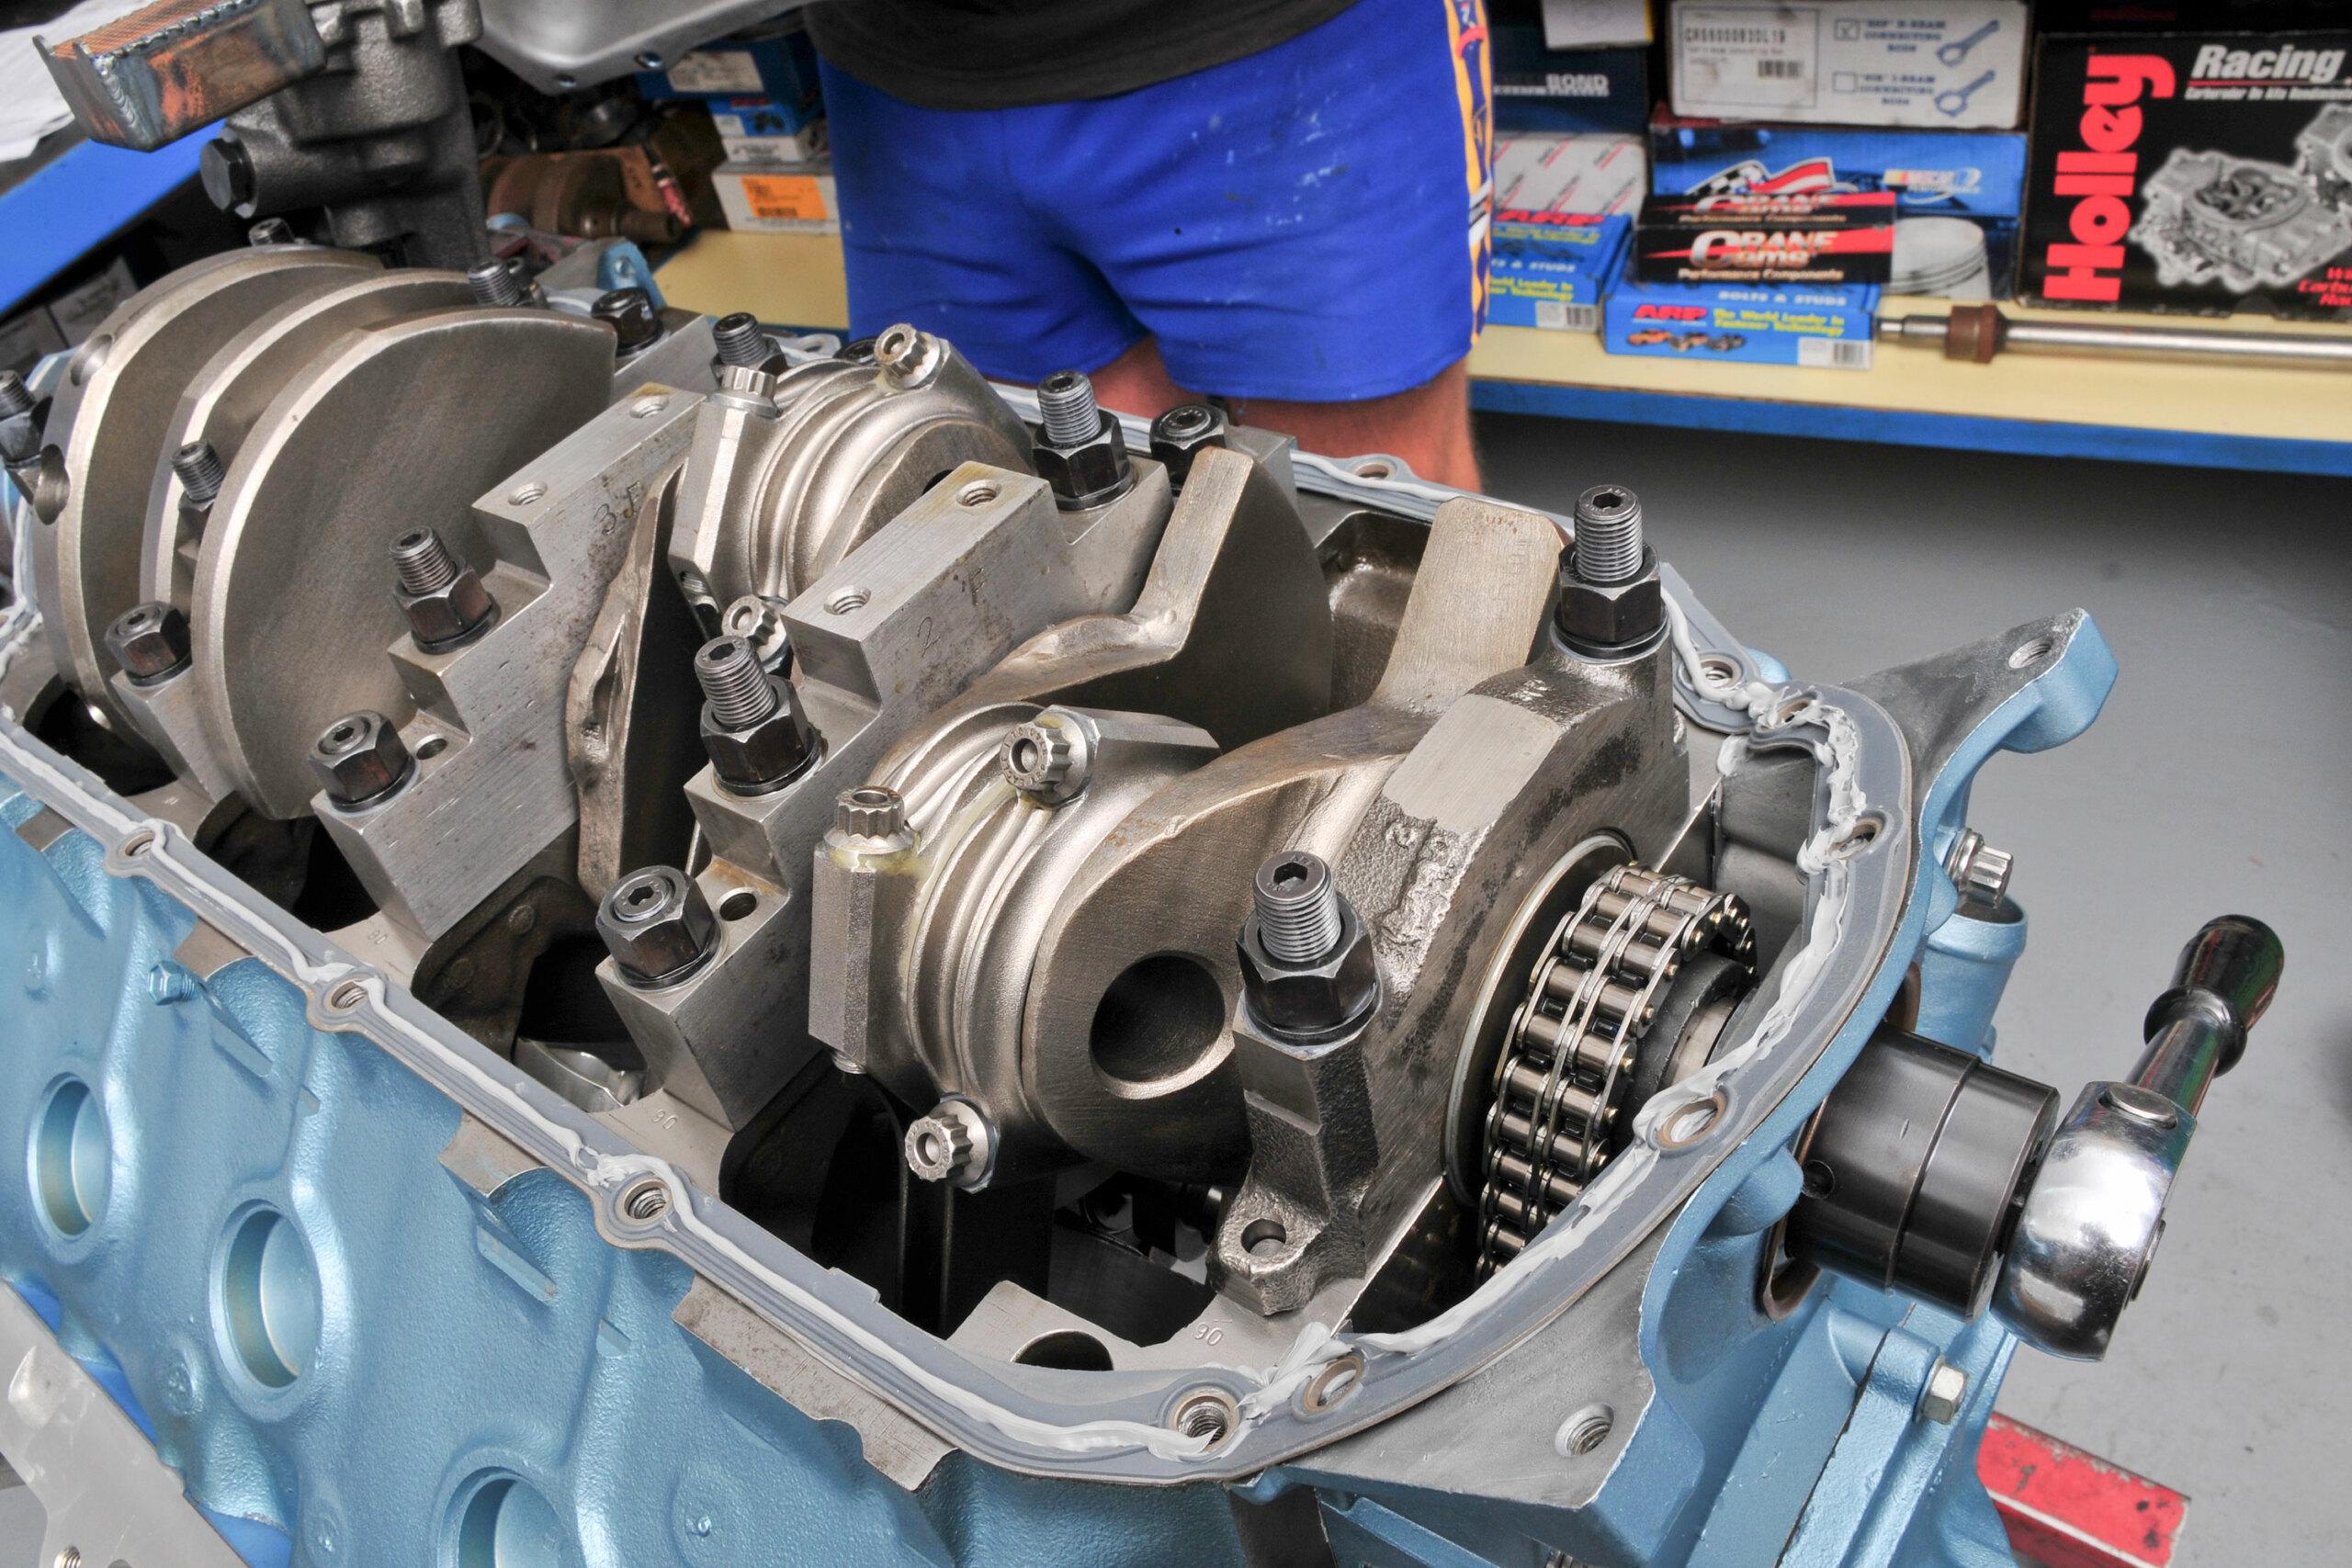
Attention to detail at the points where the various sections meet is essential as these areas most certainly will leak without appropriate sealing. Single-piece rubber gaskets still need to be sealed where components like timing covers and sumps meet. Some rubber gaskets are also reinforced with steel. However sump, valley plate and other gaskets for the LS series engines are made of aluminium, with just enough rubber attached to the metal to make it seal.
OUT THE REAR
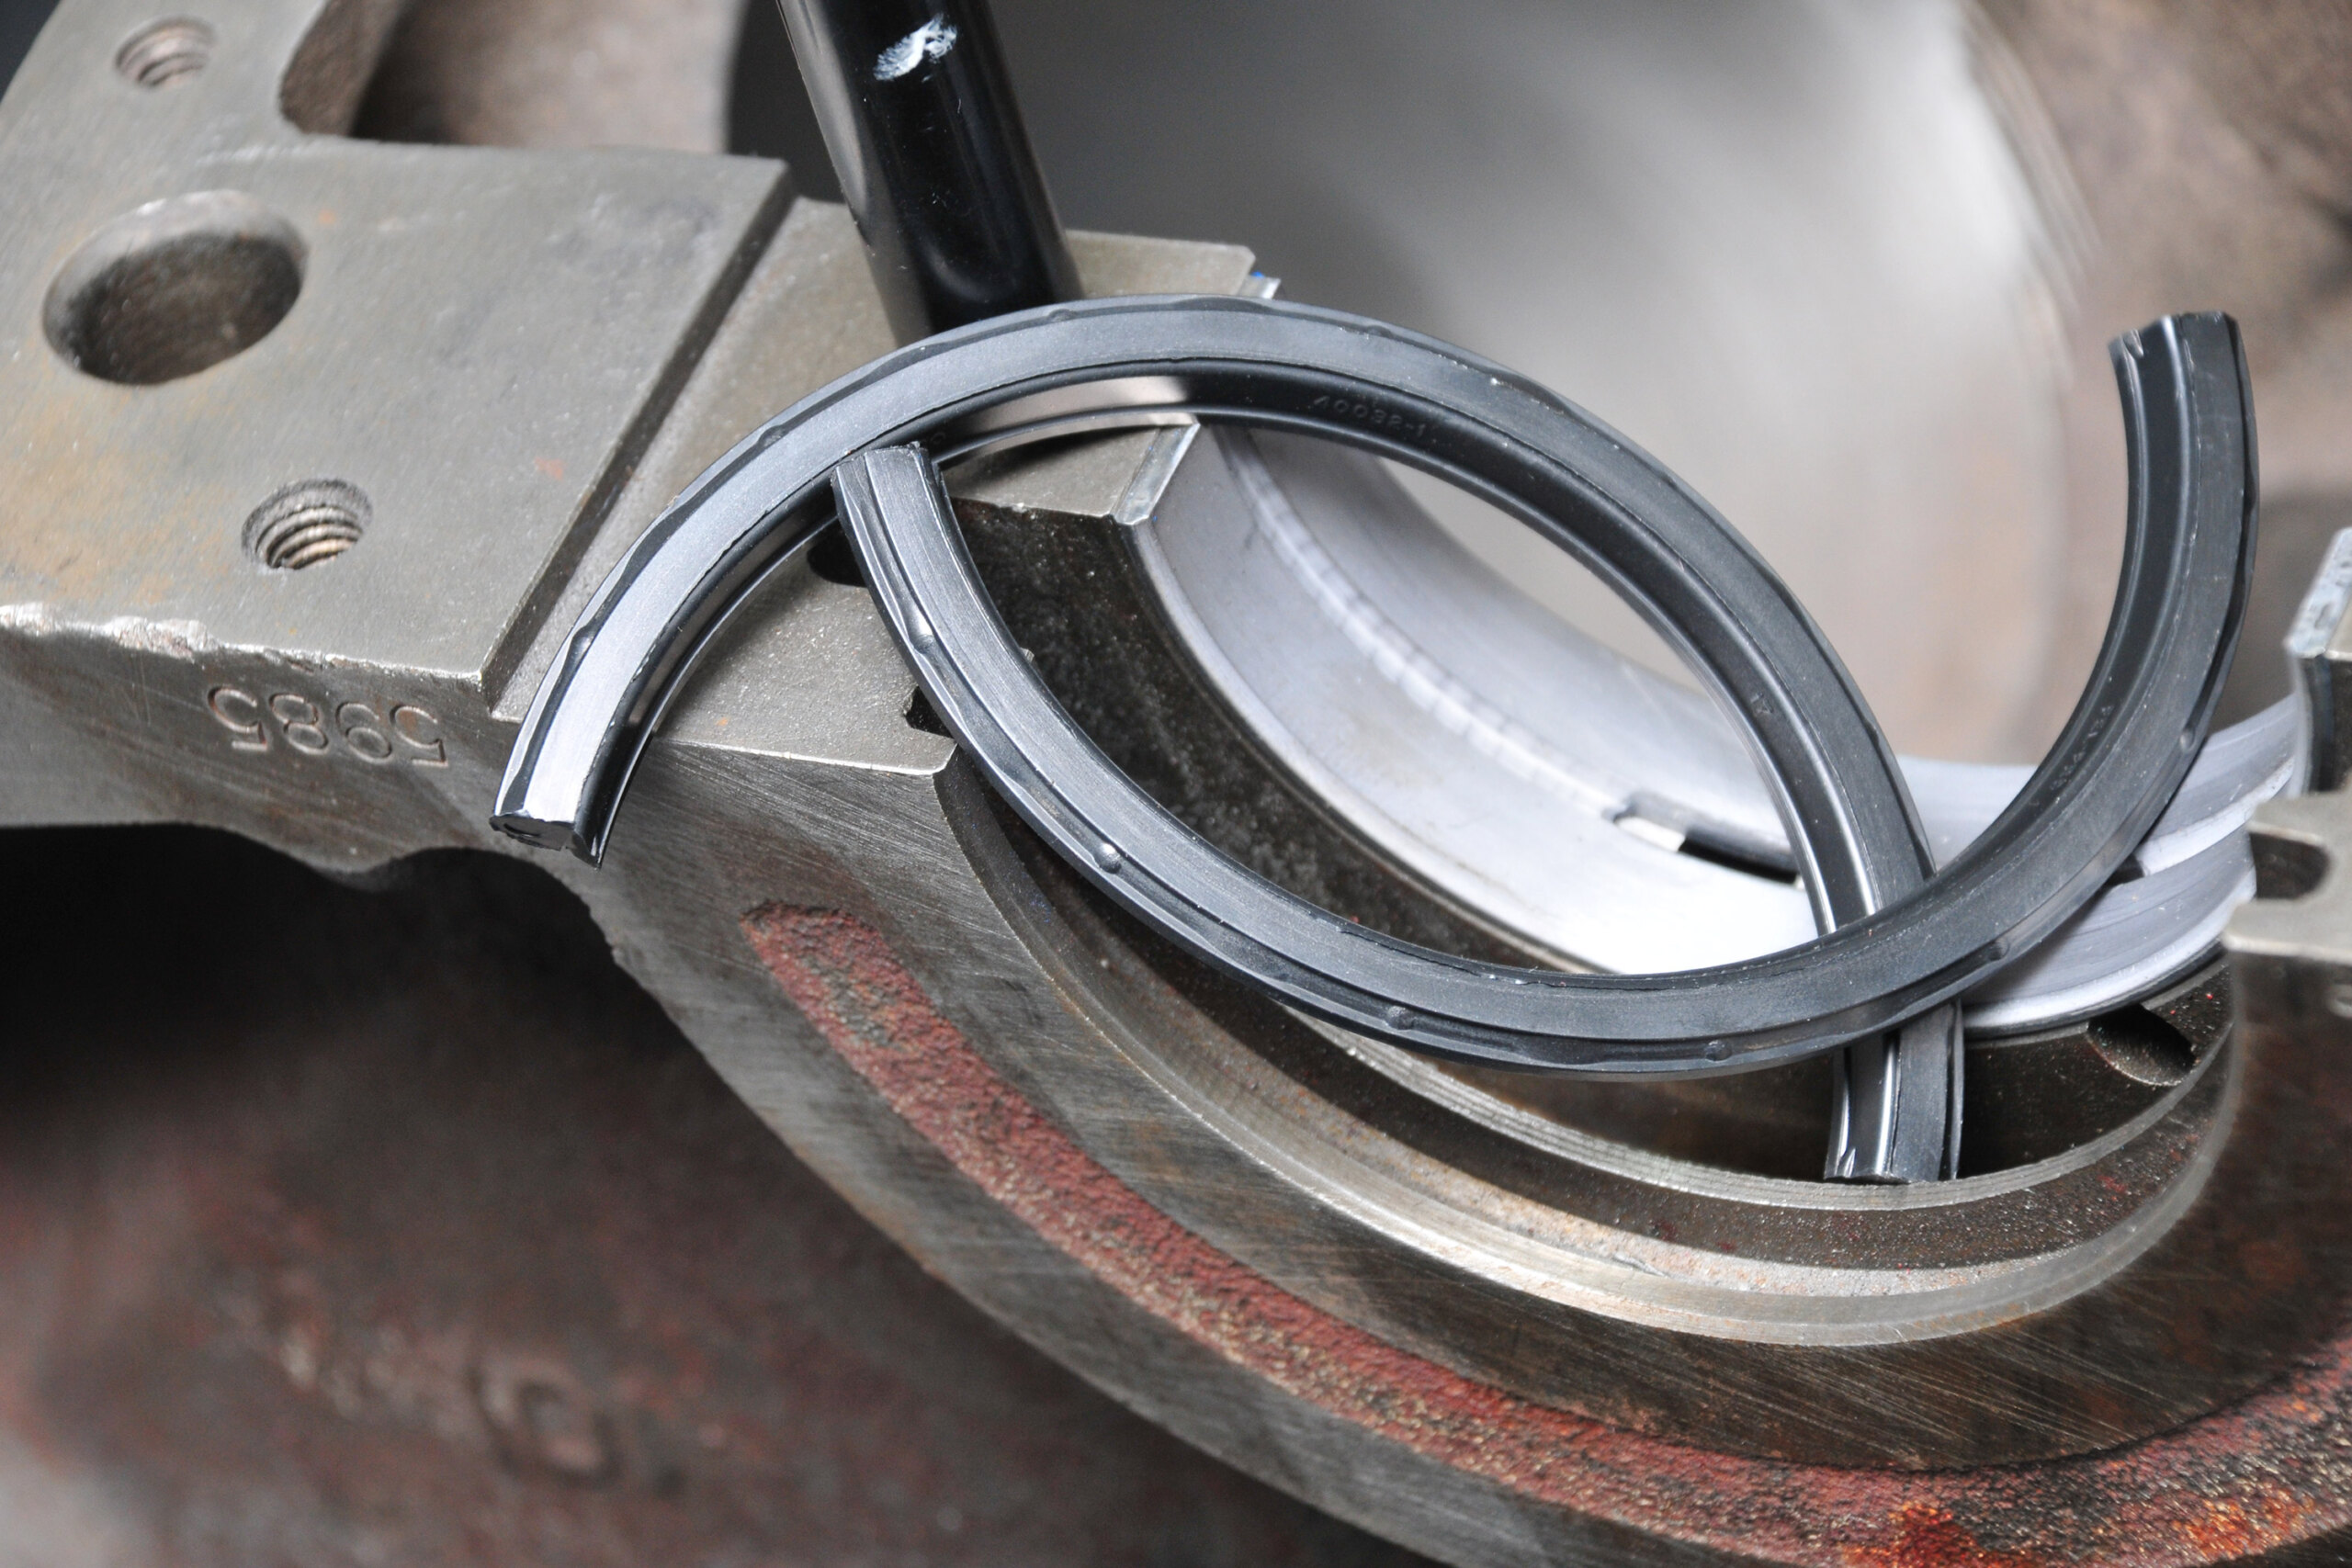
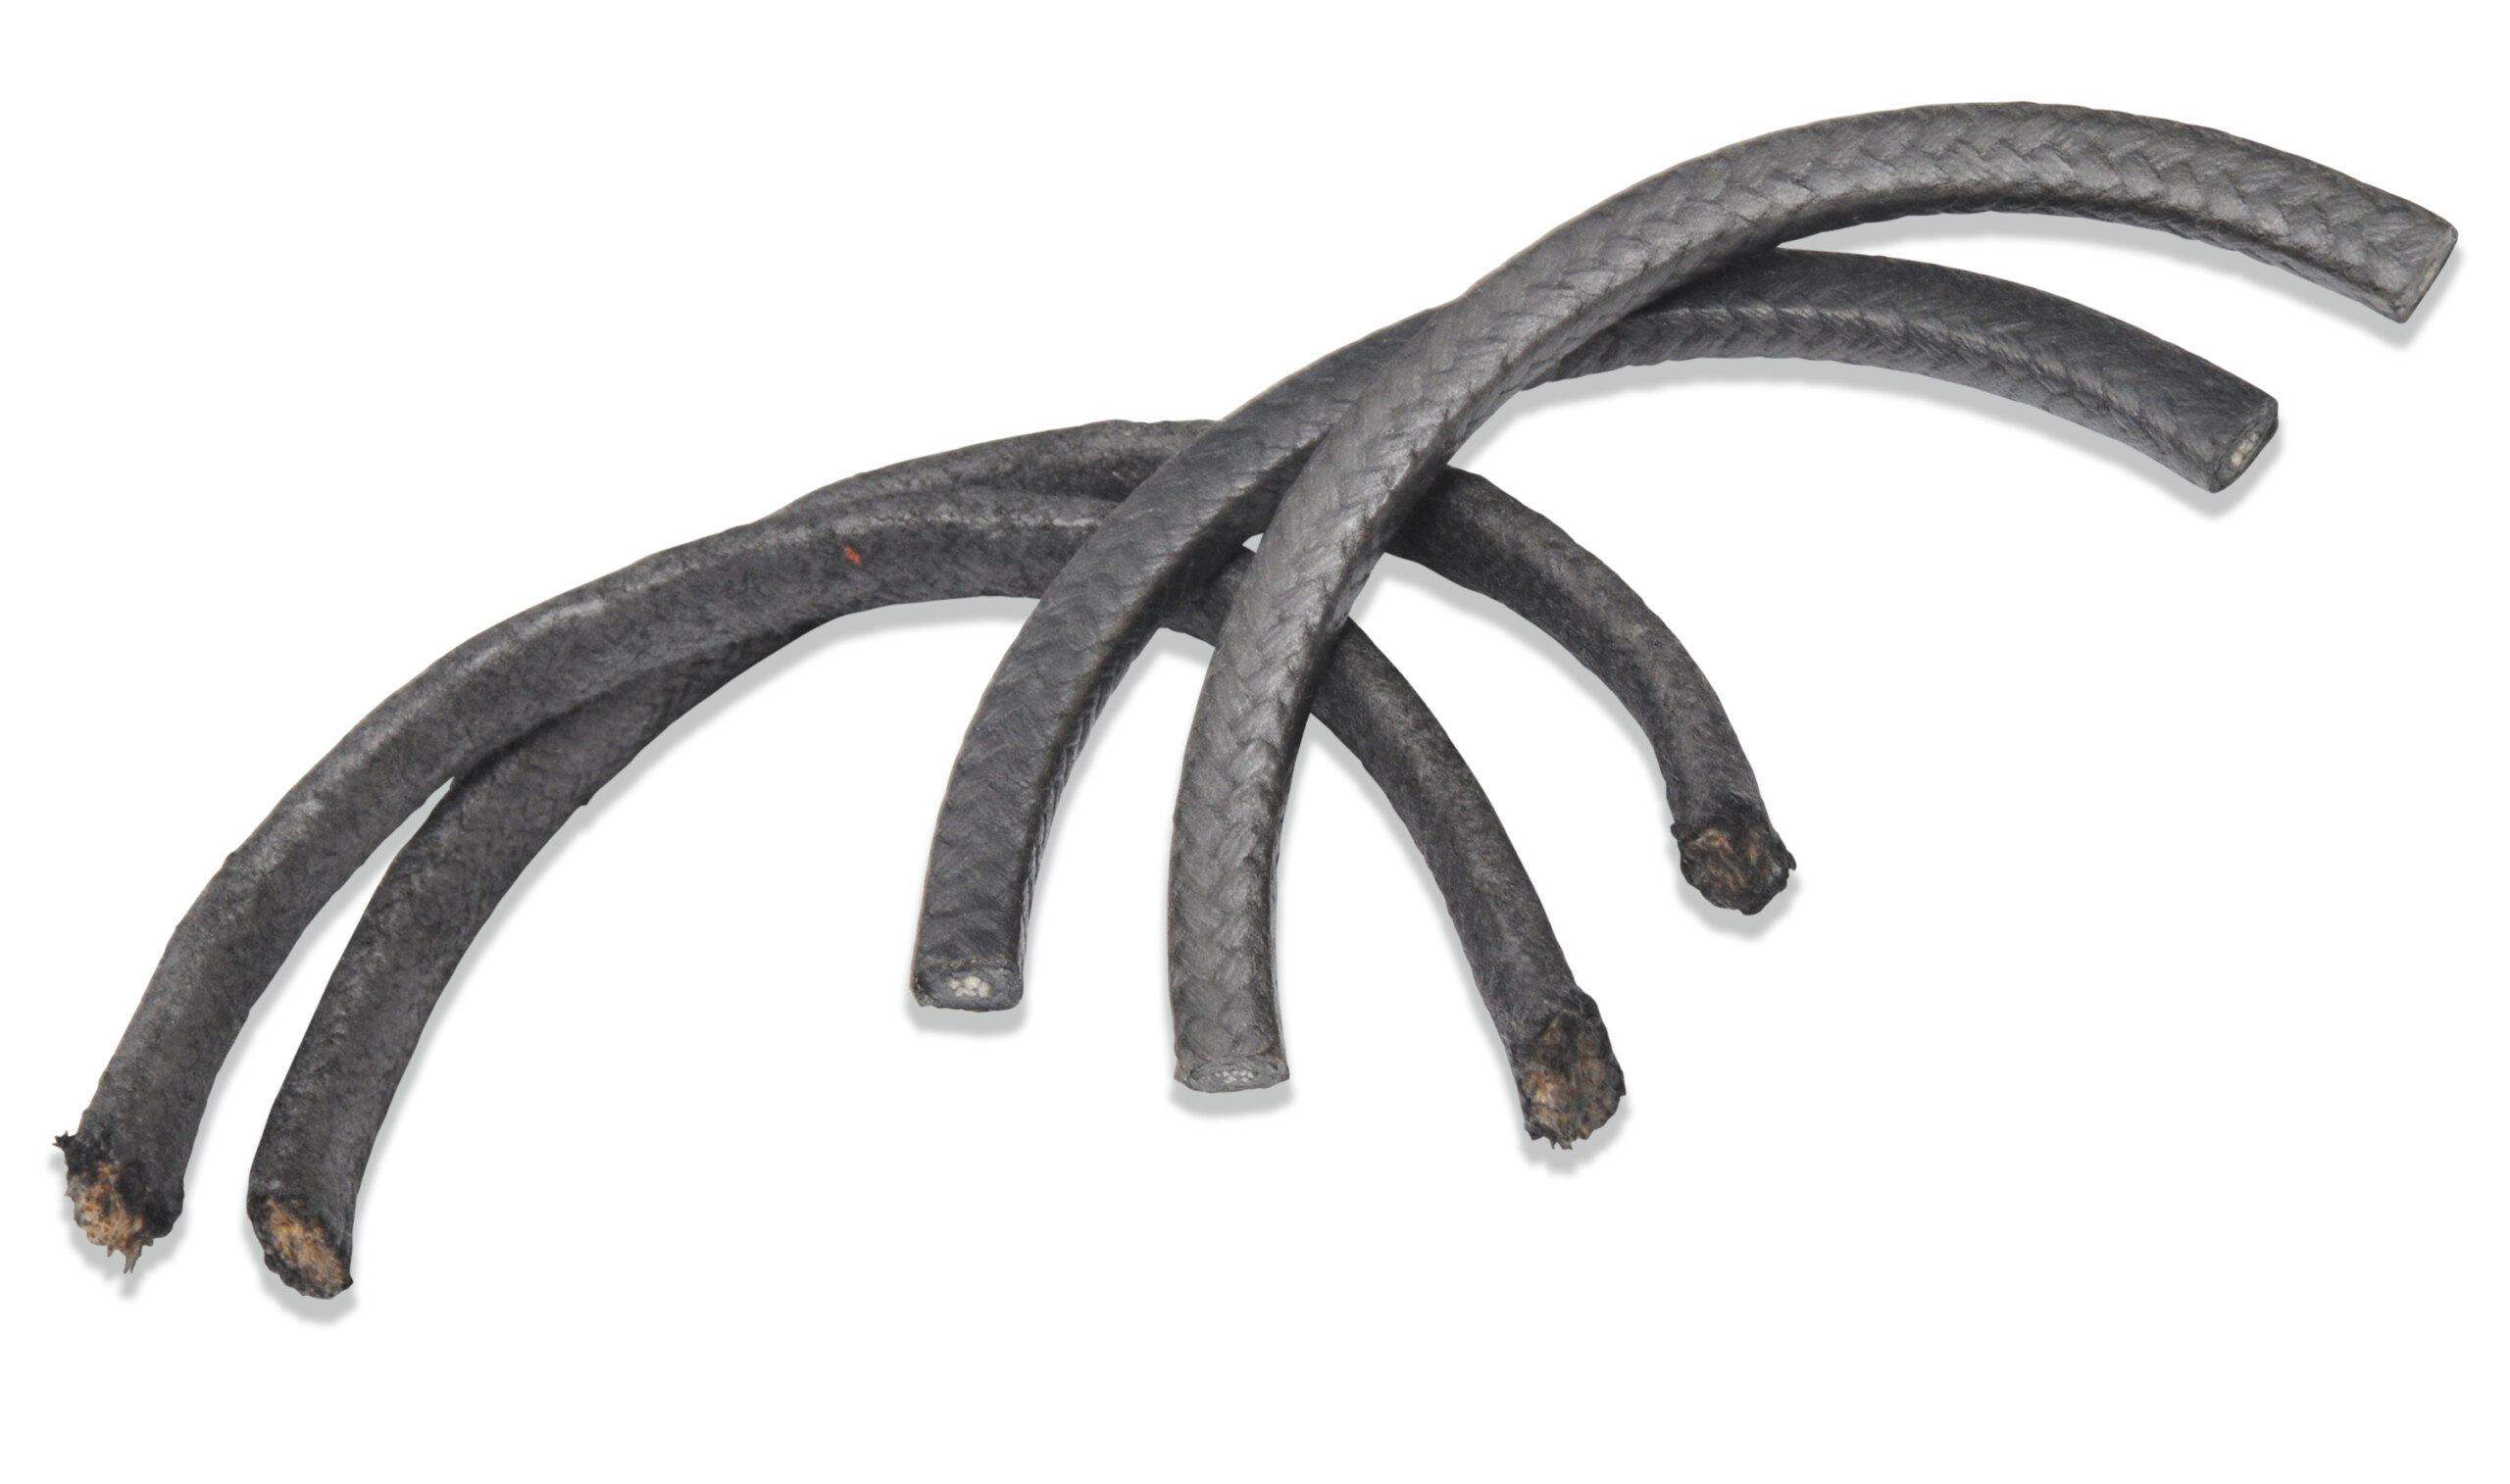
Rear main seals are notorious for leaking and are a major hassle that’s not easily fixed, so it’s extremely important that you get these into place properly. Neoprene types aren’t as difficult to fit but rope versions will create difficulties if not precisely installed. Check out page 128 for the lowdown on installing a rope rear main seal.
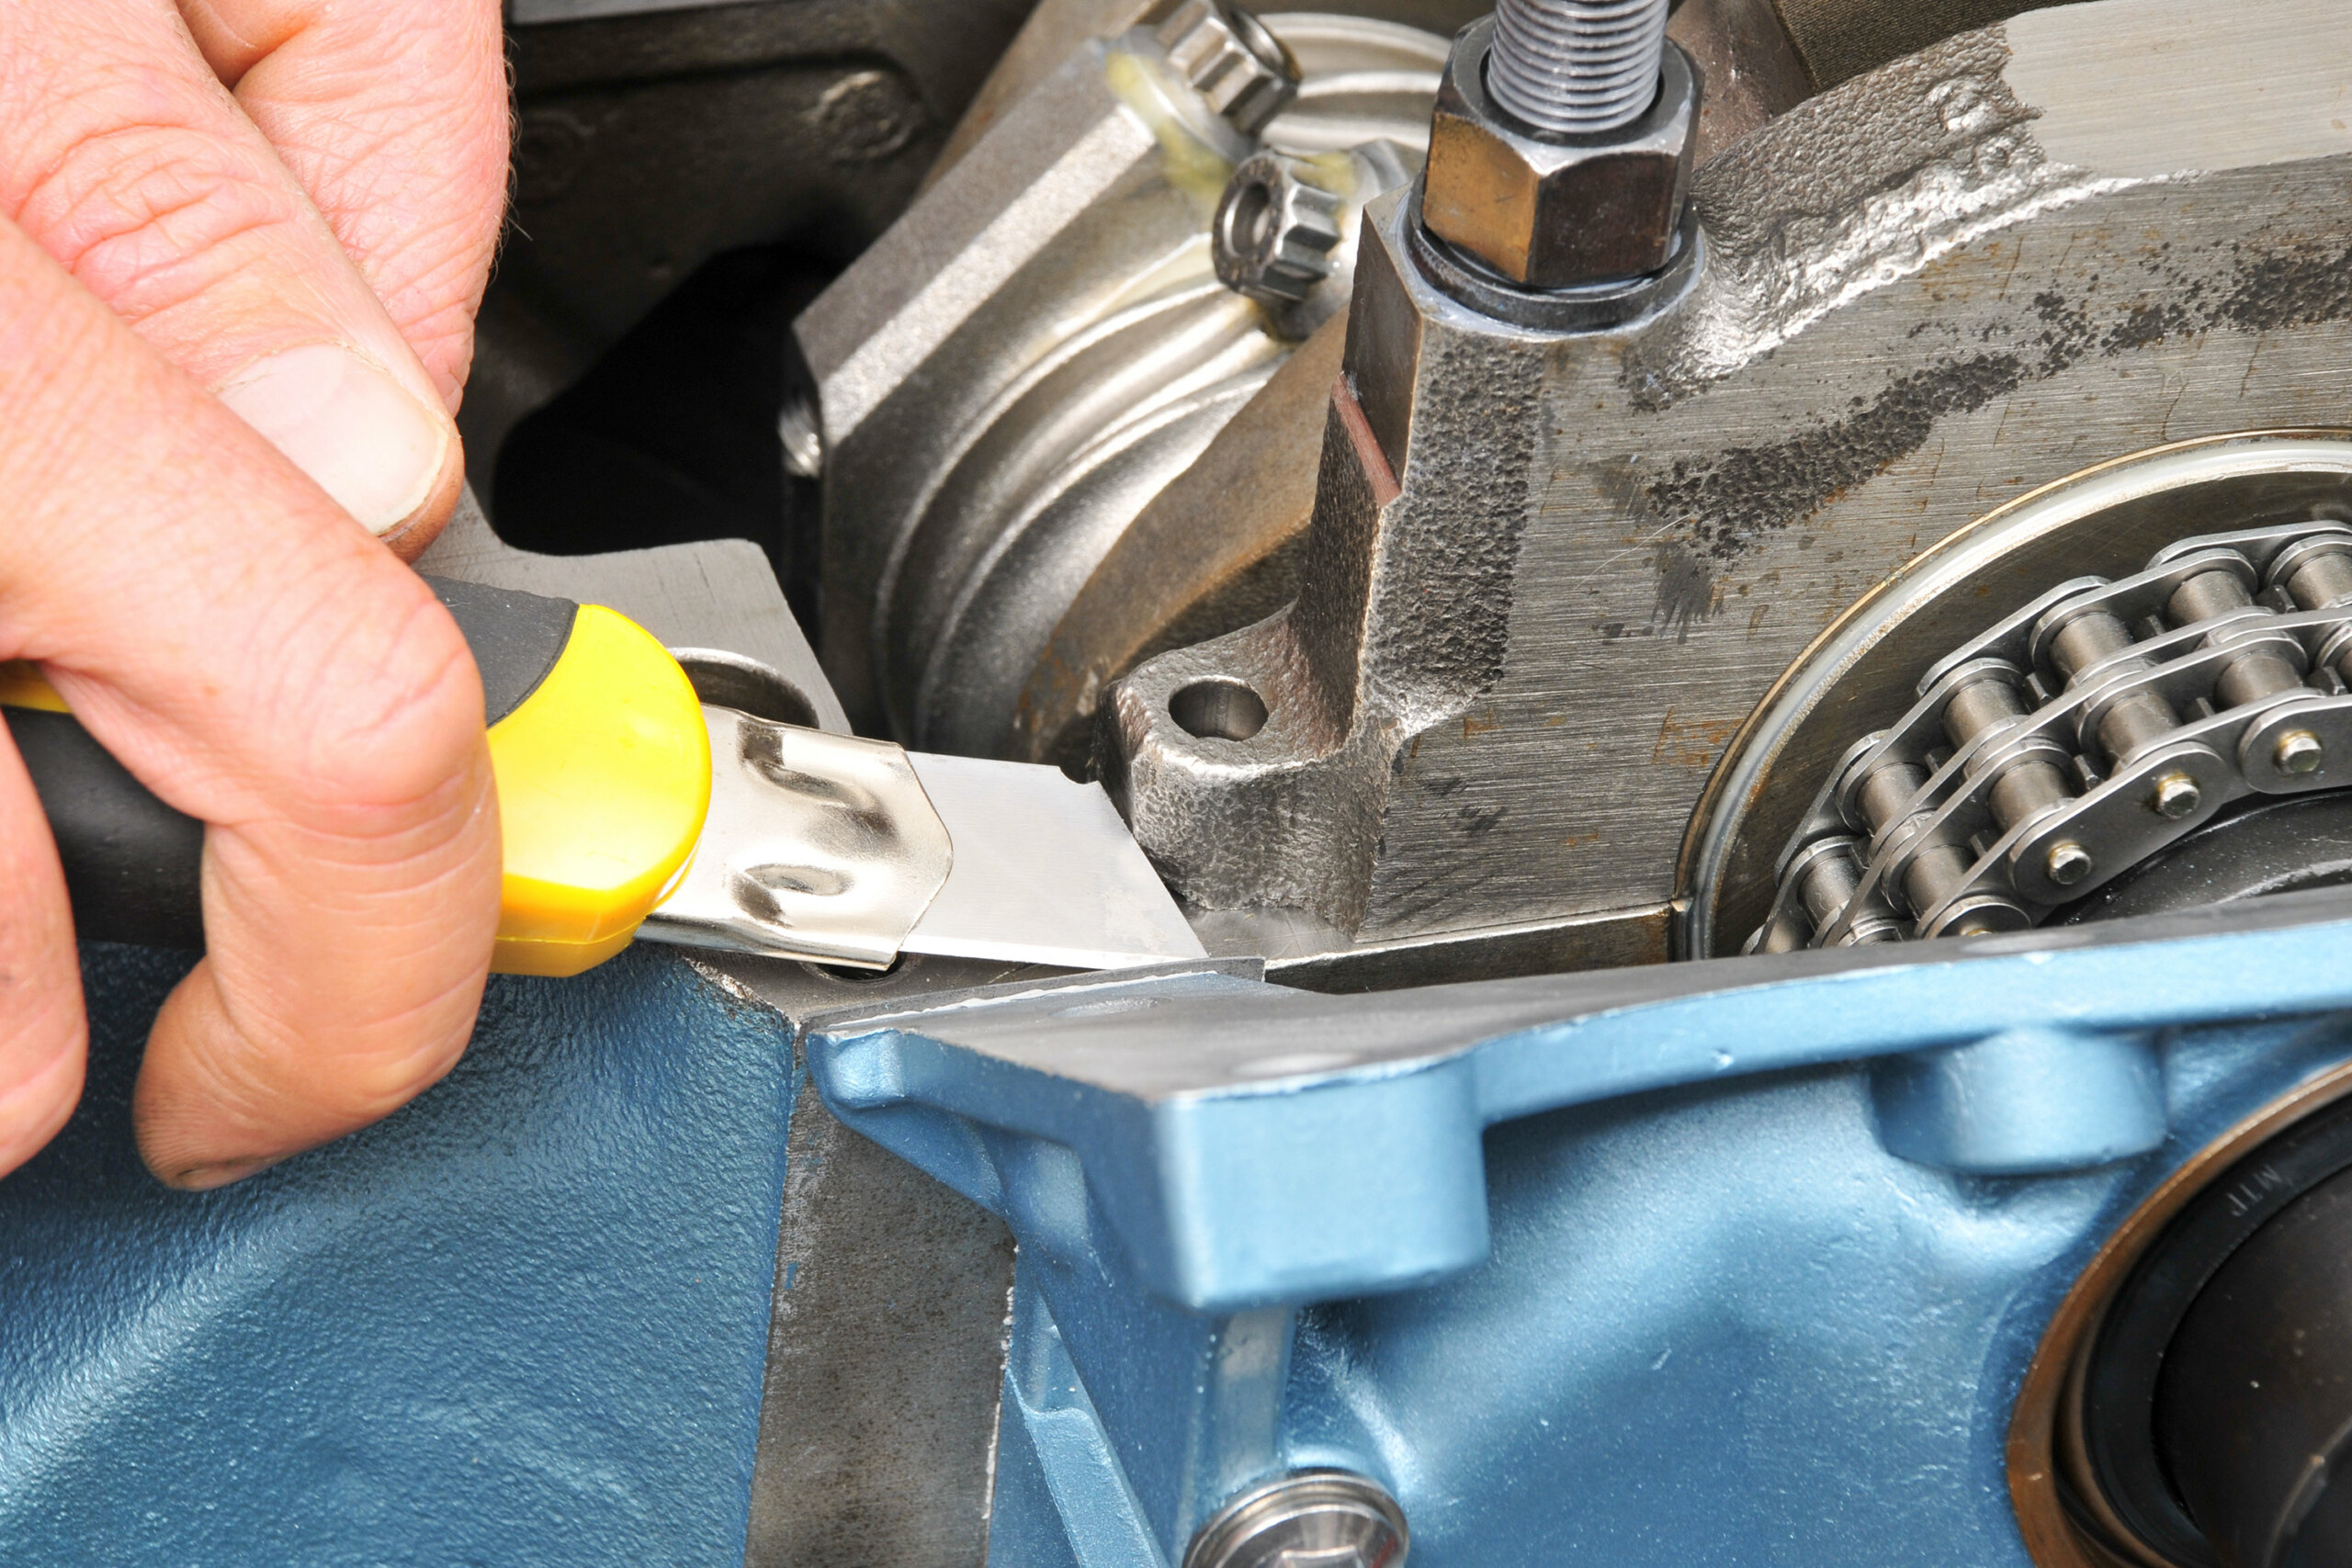
Front timing cover seals, transmission rear housing seals and other press-in shaft-style seals can also be sources of oil leaks. Ideally, metal-encased seals should be fitted in a press though they’re often tapped into place, which does work. Either way, care is needed because the sealing element often sits proud of the metal support. If these types aren’t set in place using a collar of some sort to prevent contact with the rubber section of the seal, damage will result and failure is assured.
SMEAR CAMPAIGN
Though the outer edges of metal-encased seals are designed to seal via an interference fit, a smear of silicon around them ensures leak-free engagement and acts as a lubricant to prevent galling as the seal is pushed into place. While most press-in seals can only be fitted one way, some can be inadvertently reversed. Again, leakage is certain if they’re installed backwards. In particular, some types of seal have fine lines around their inside shaft engagement faces. These act to push oil back into the housing and shouldn’t be reversed.
DOWN IN THE VALLEY
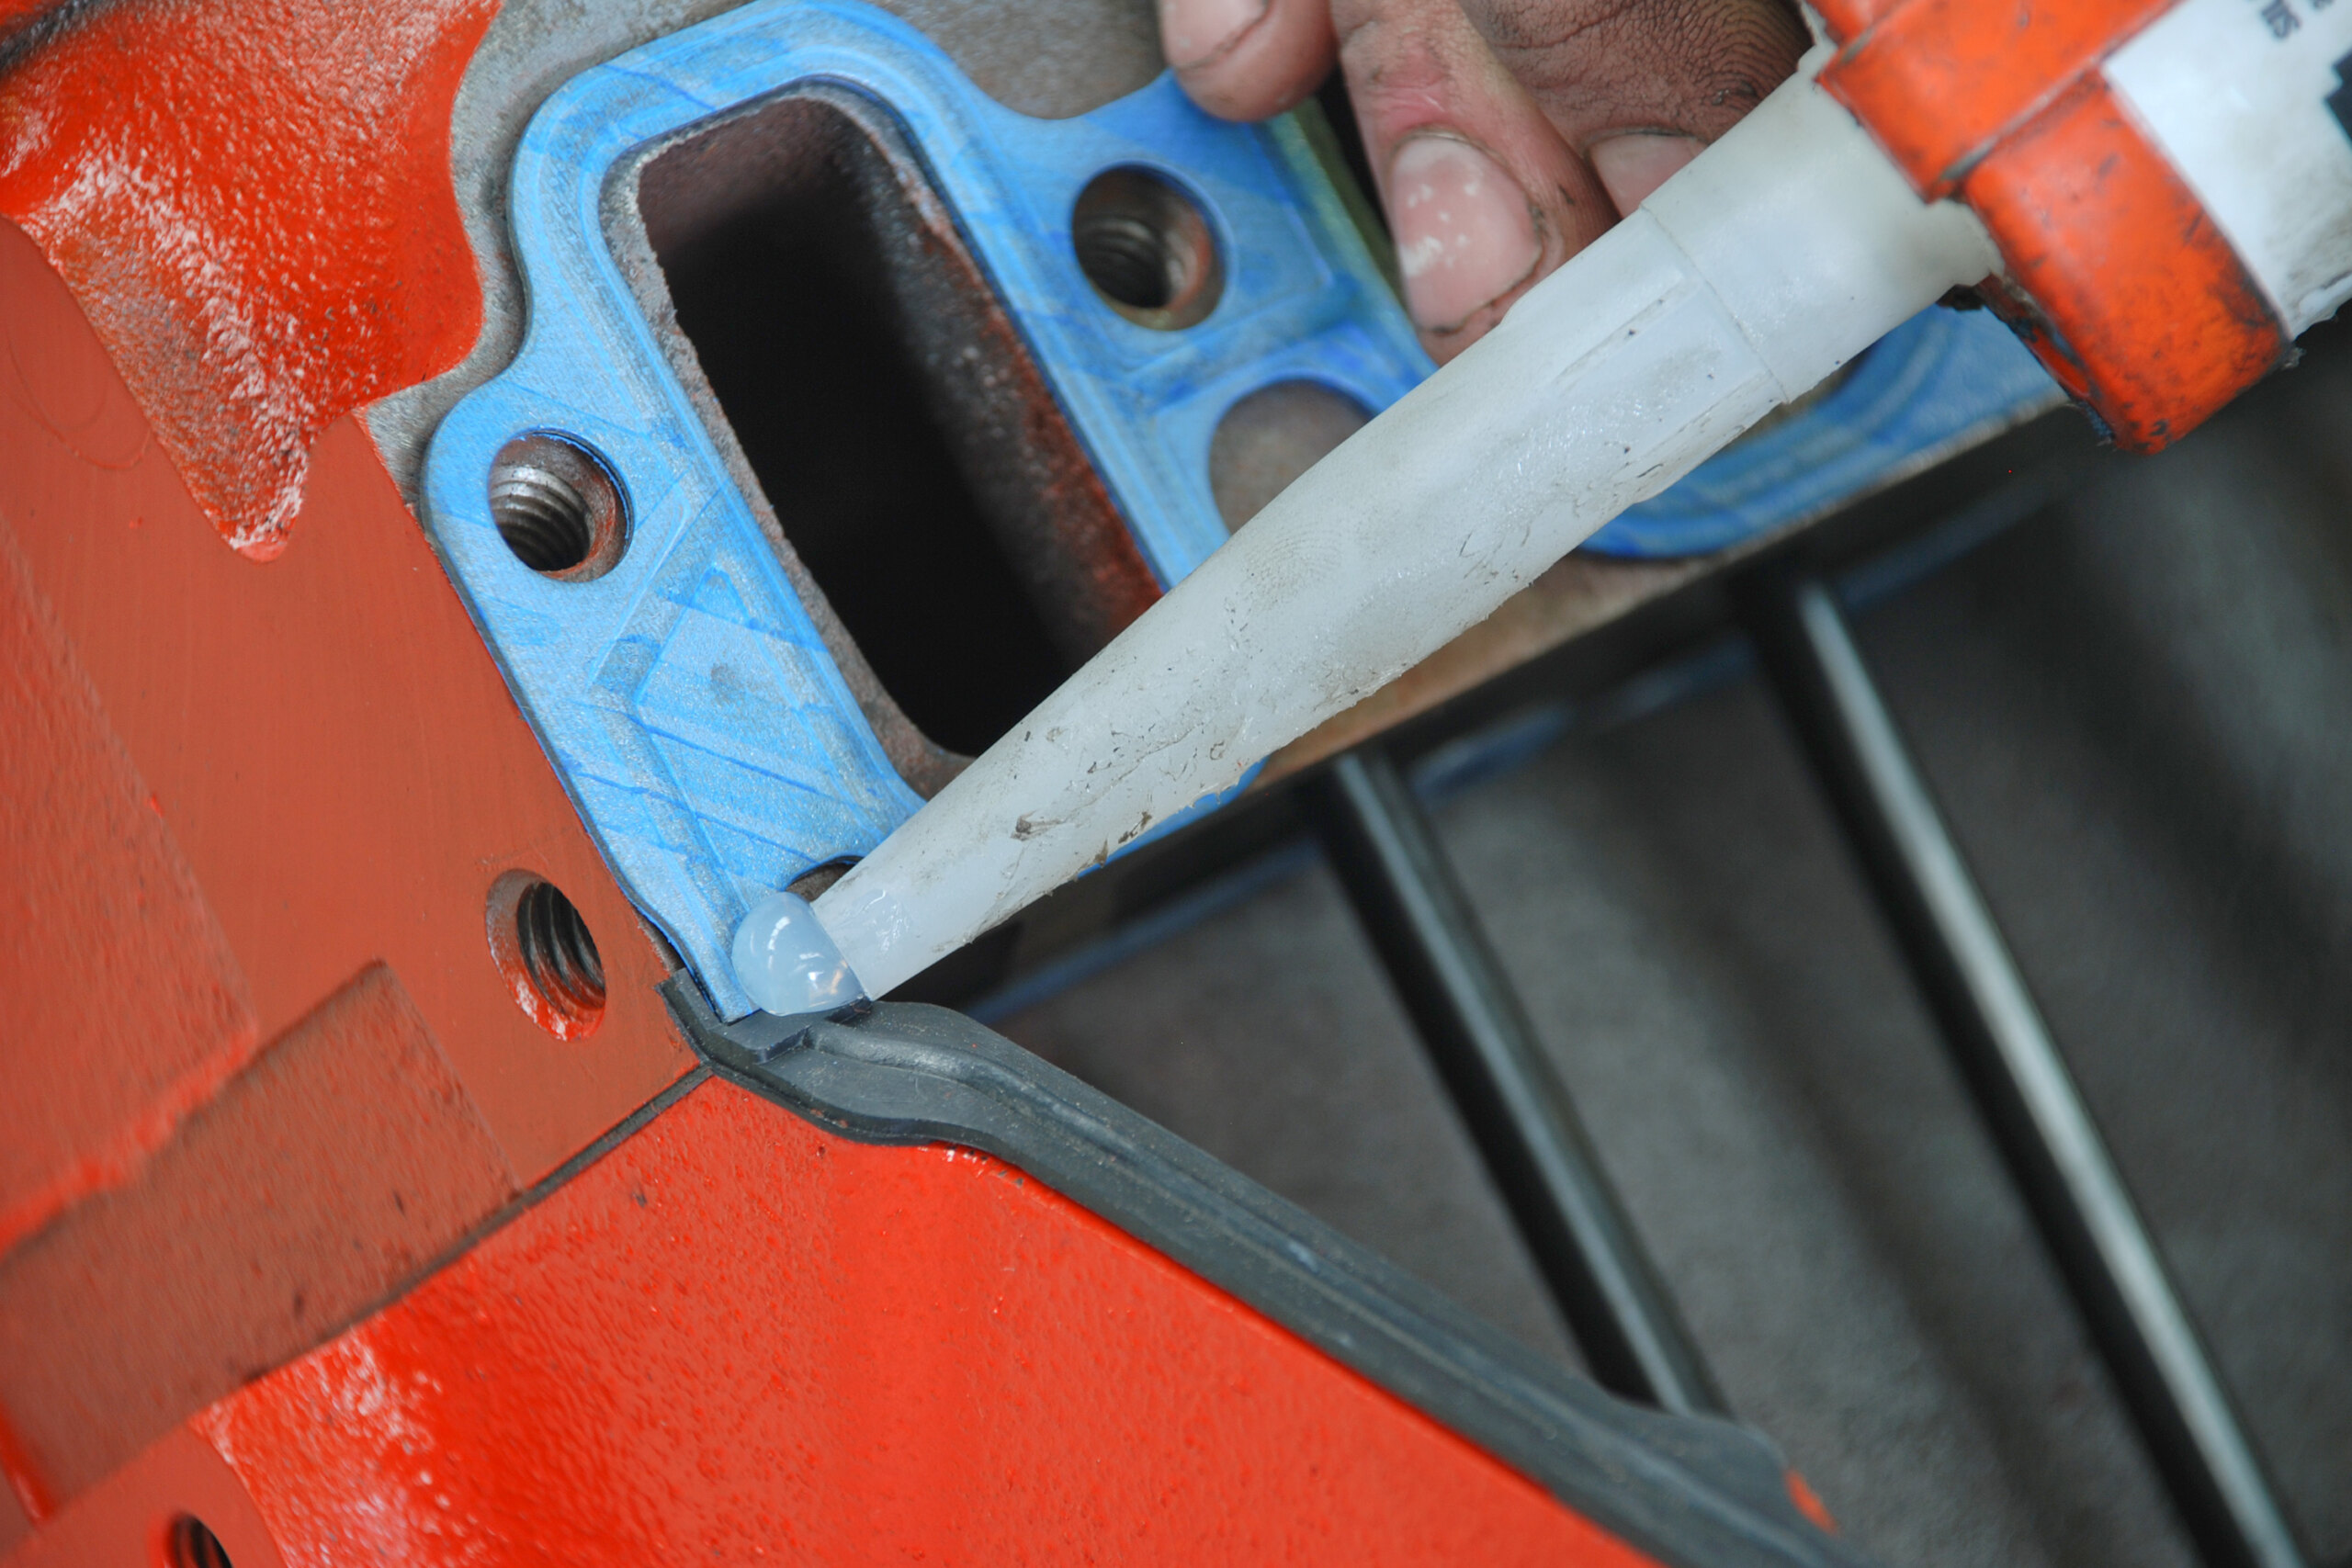
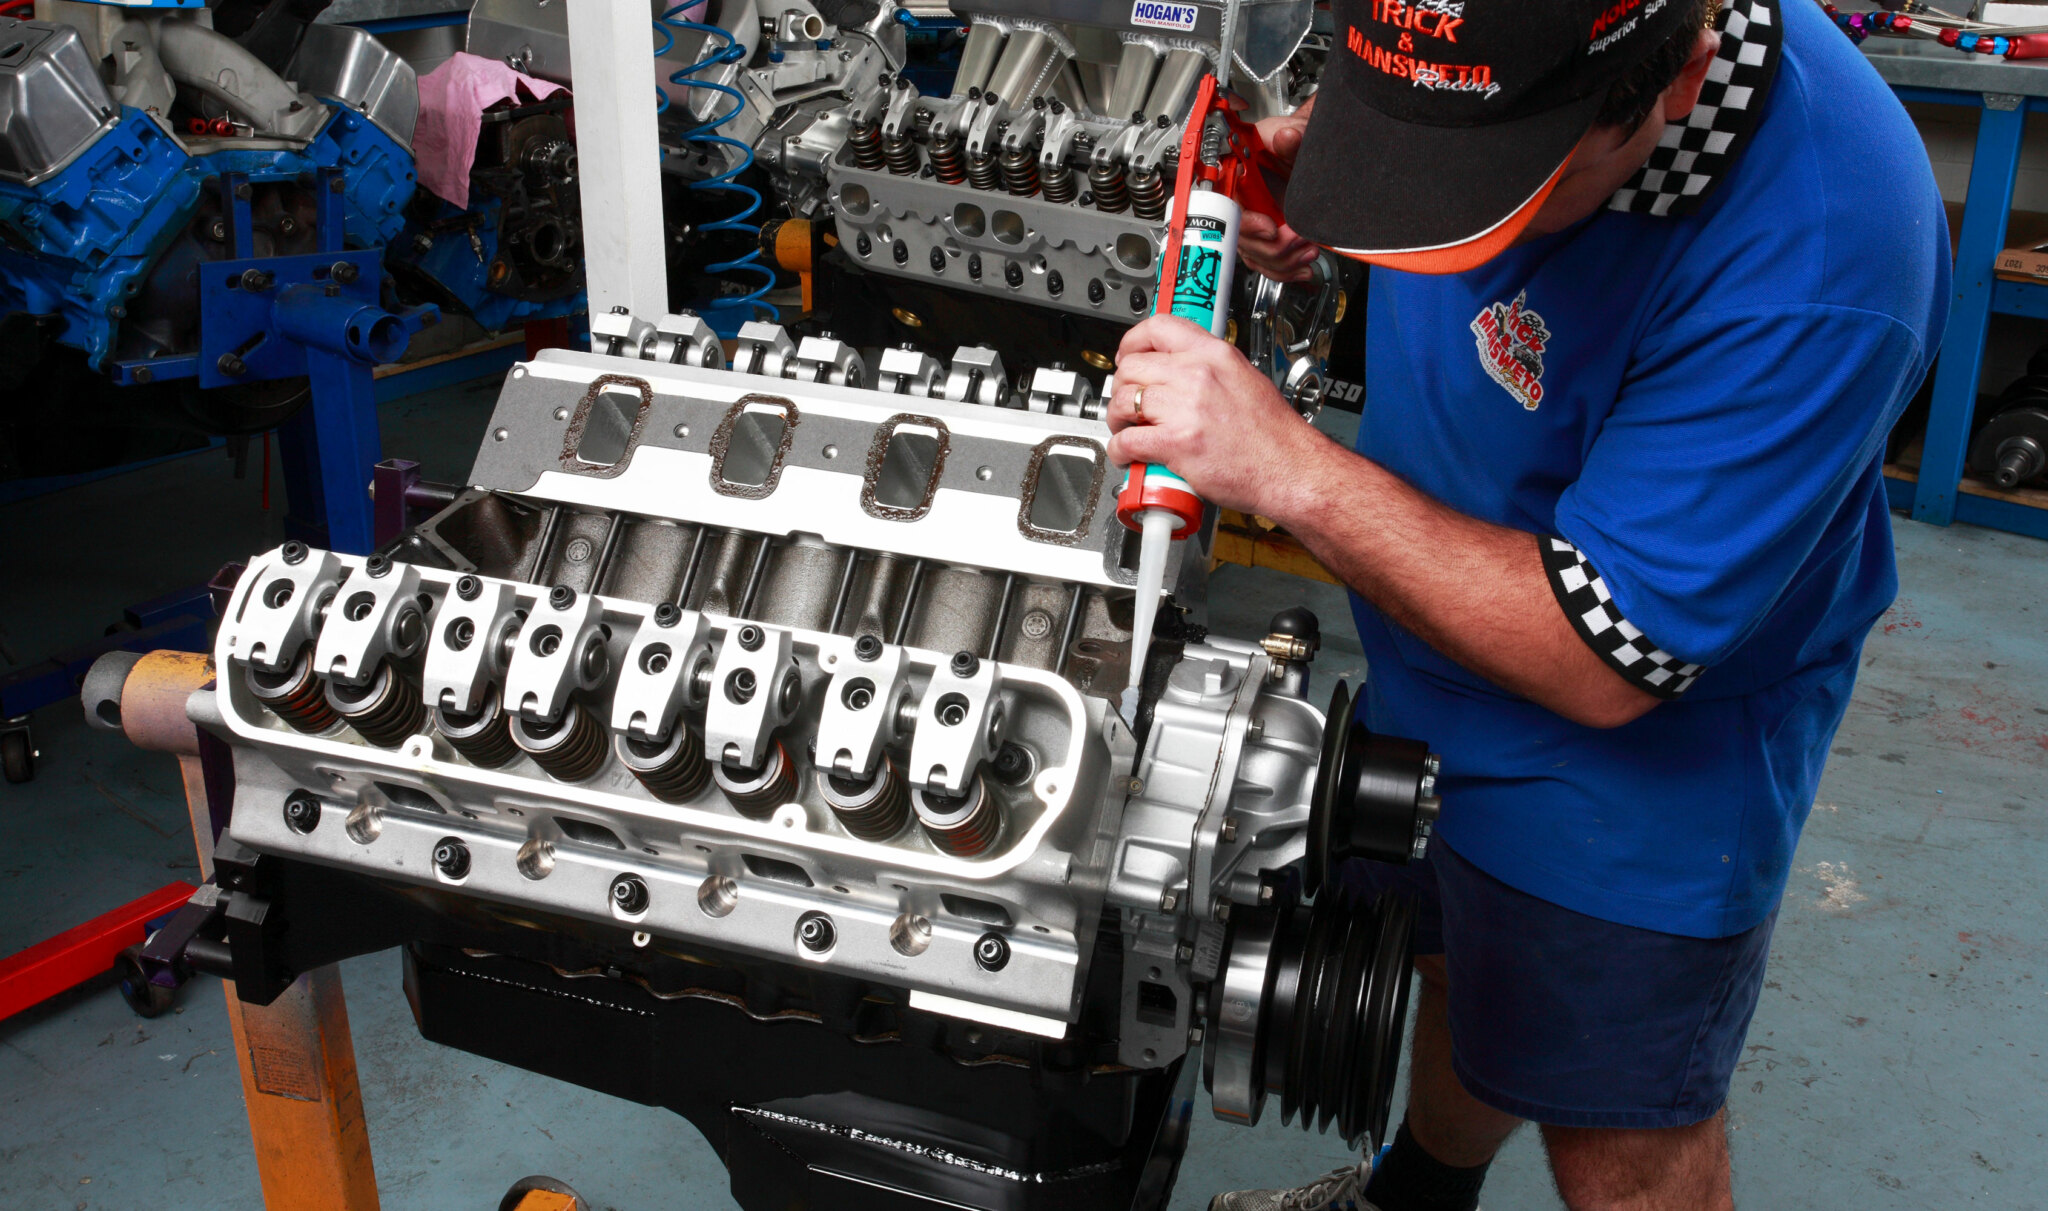
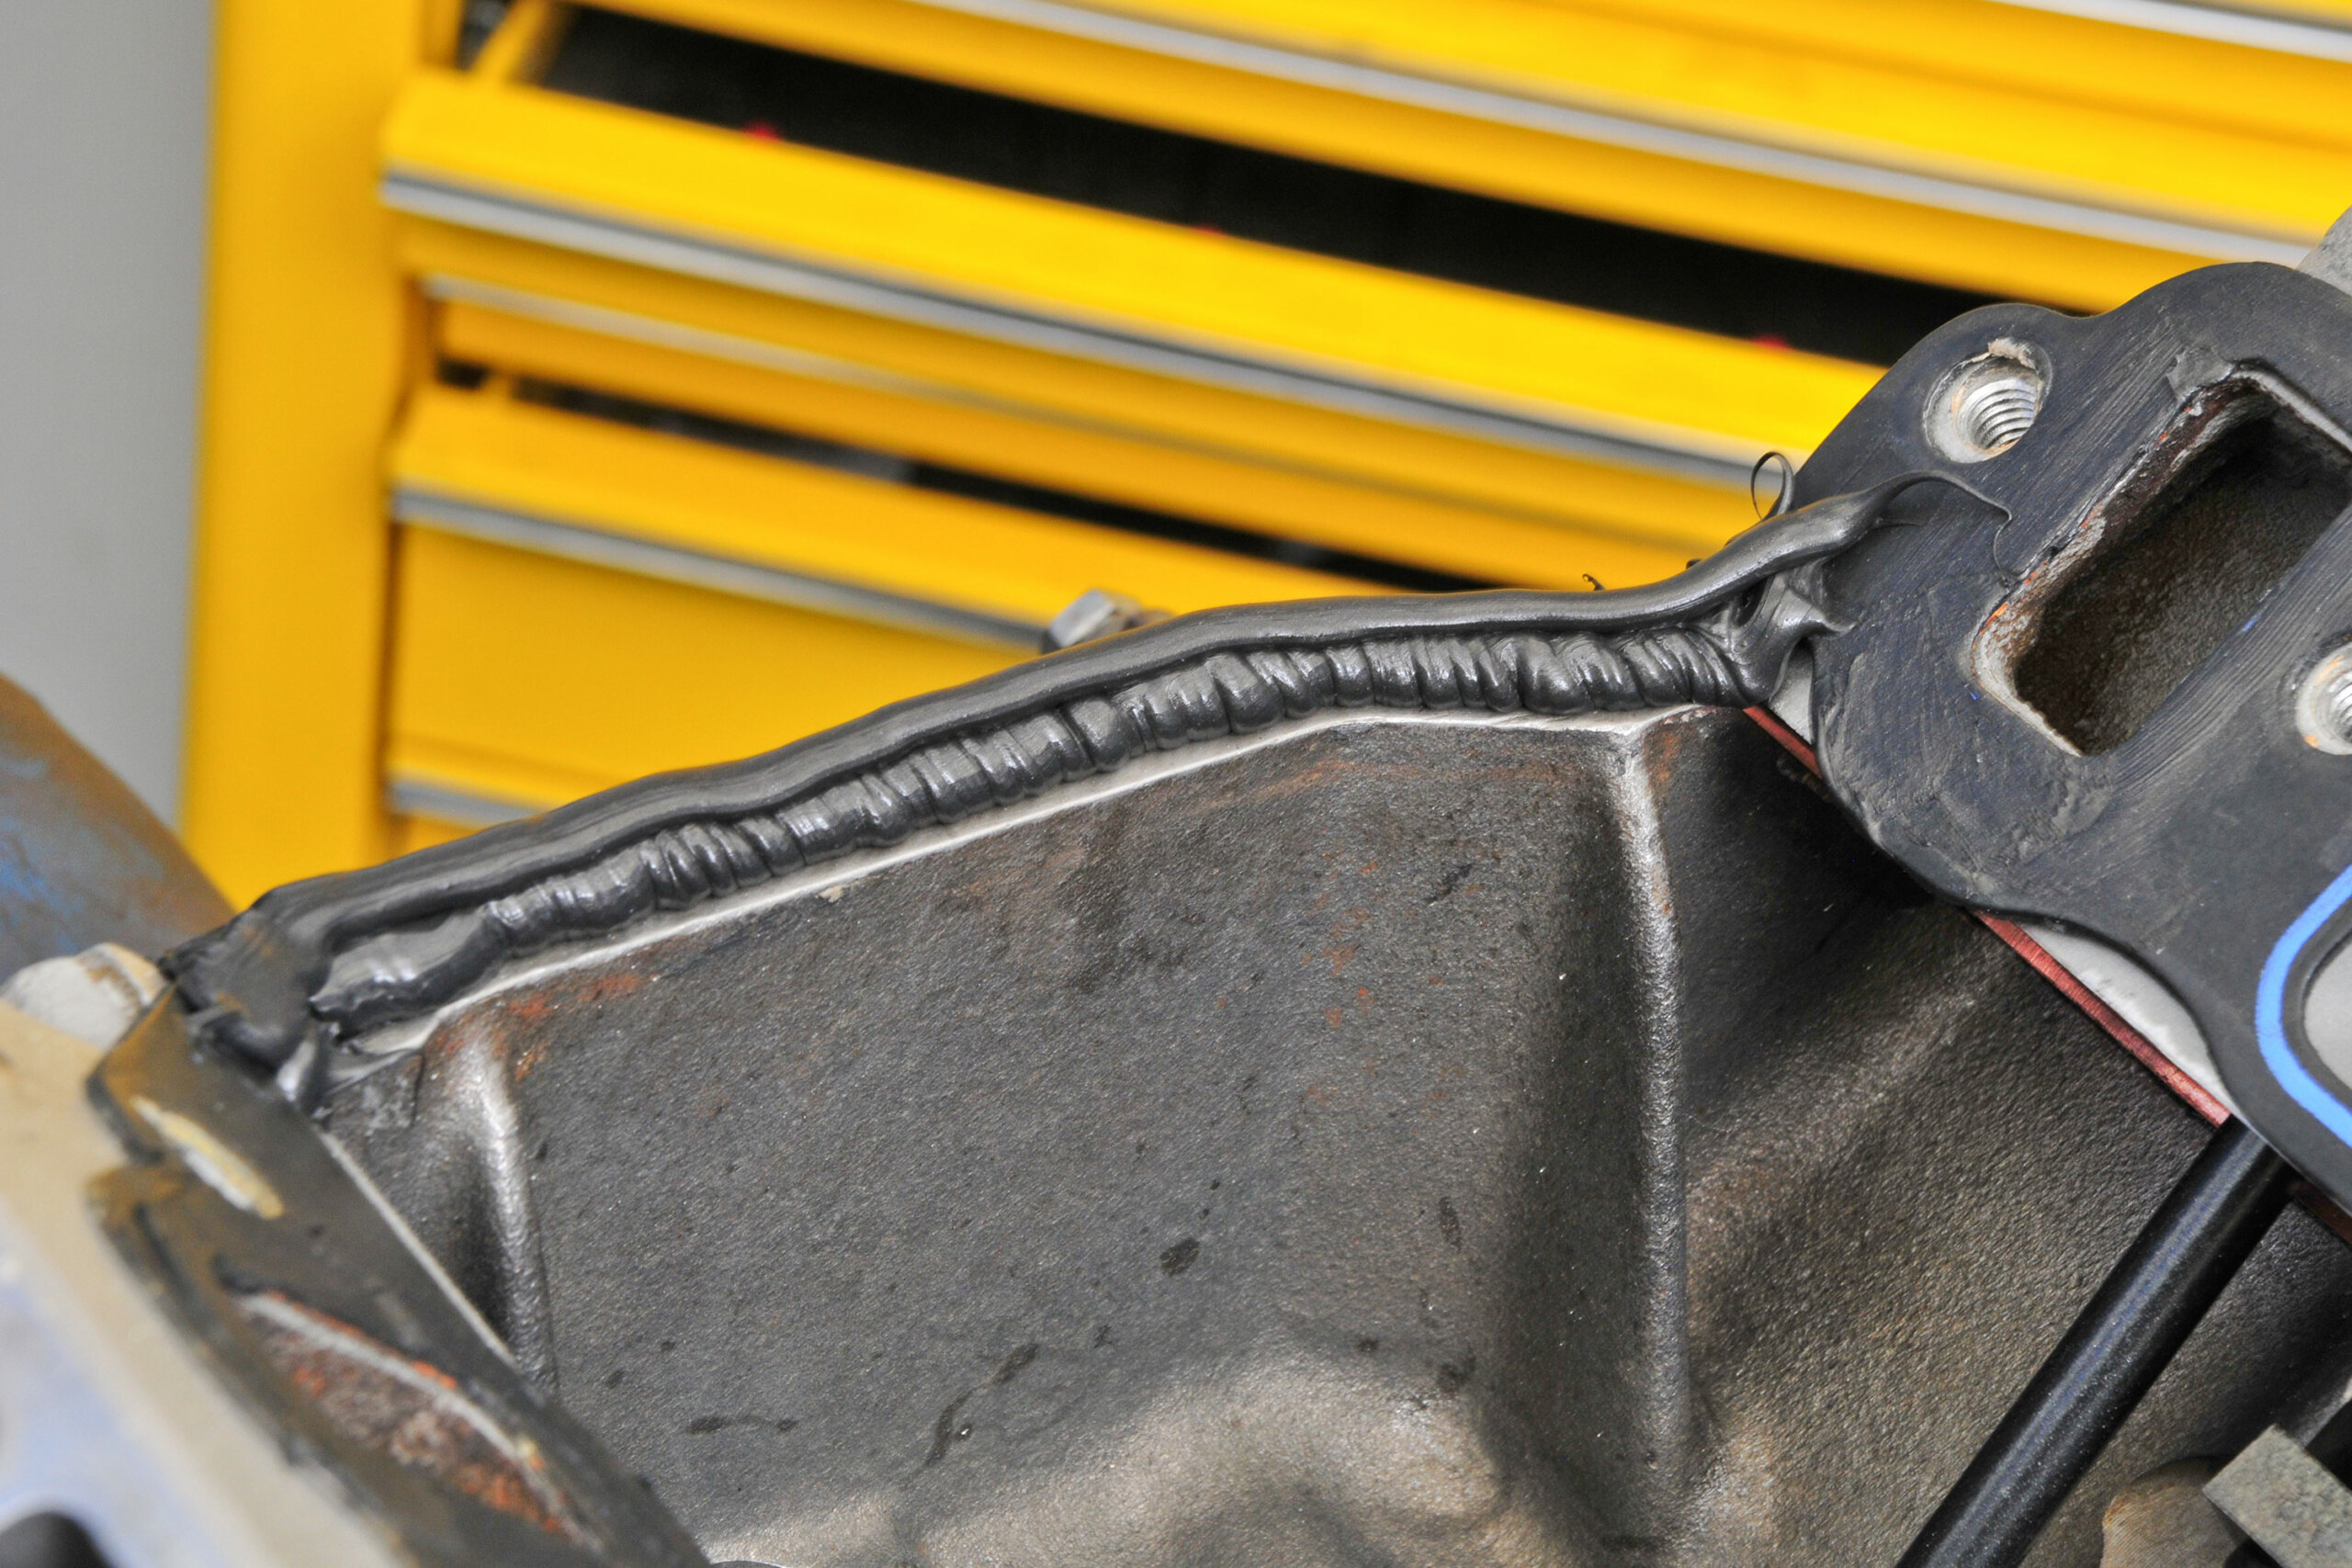
The valley is full of oil during engine operation and can be the source of external and internal oil leaks. As far as external leaks are concerned, there are usually gaps at the front and rear ends of the valley where the manifold, block and heads meet. While most gasket kits are supplied with a cork gasket for this area, a thick bead of silicon is the usual means of sealing, as it readily adapts to the gap. Multiple components meet at the corners of these gaps and care is needed to ensure a proper seal.
MATCH UP
Franky from Dandy Engines says every engine they build has to be machined to ensure the block, heads and manifold properly align. If the angle between the gasket face of the manifold and the heads is mismatched, the gasket won’t seal properly and oil is likely to get from the valley into the inlet ports. This constitutes an internal leak that will have a negative impact on tune and performance.
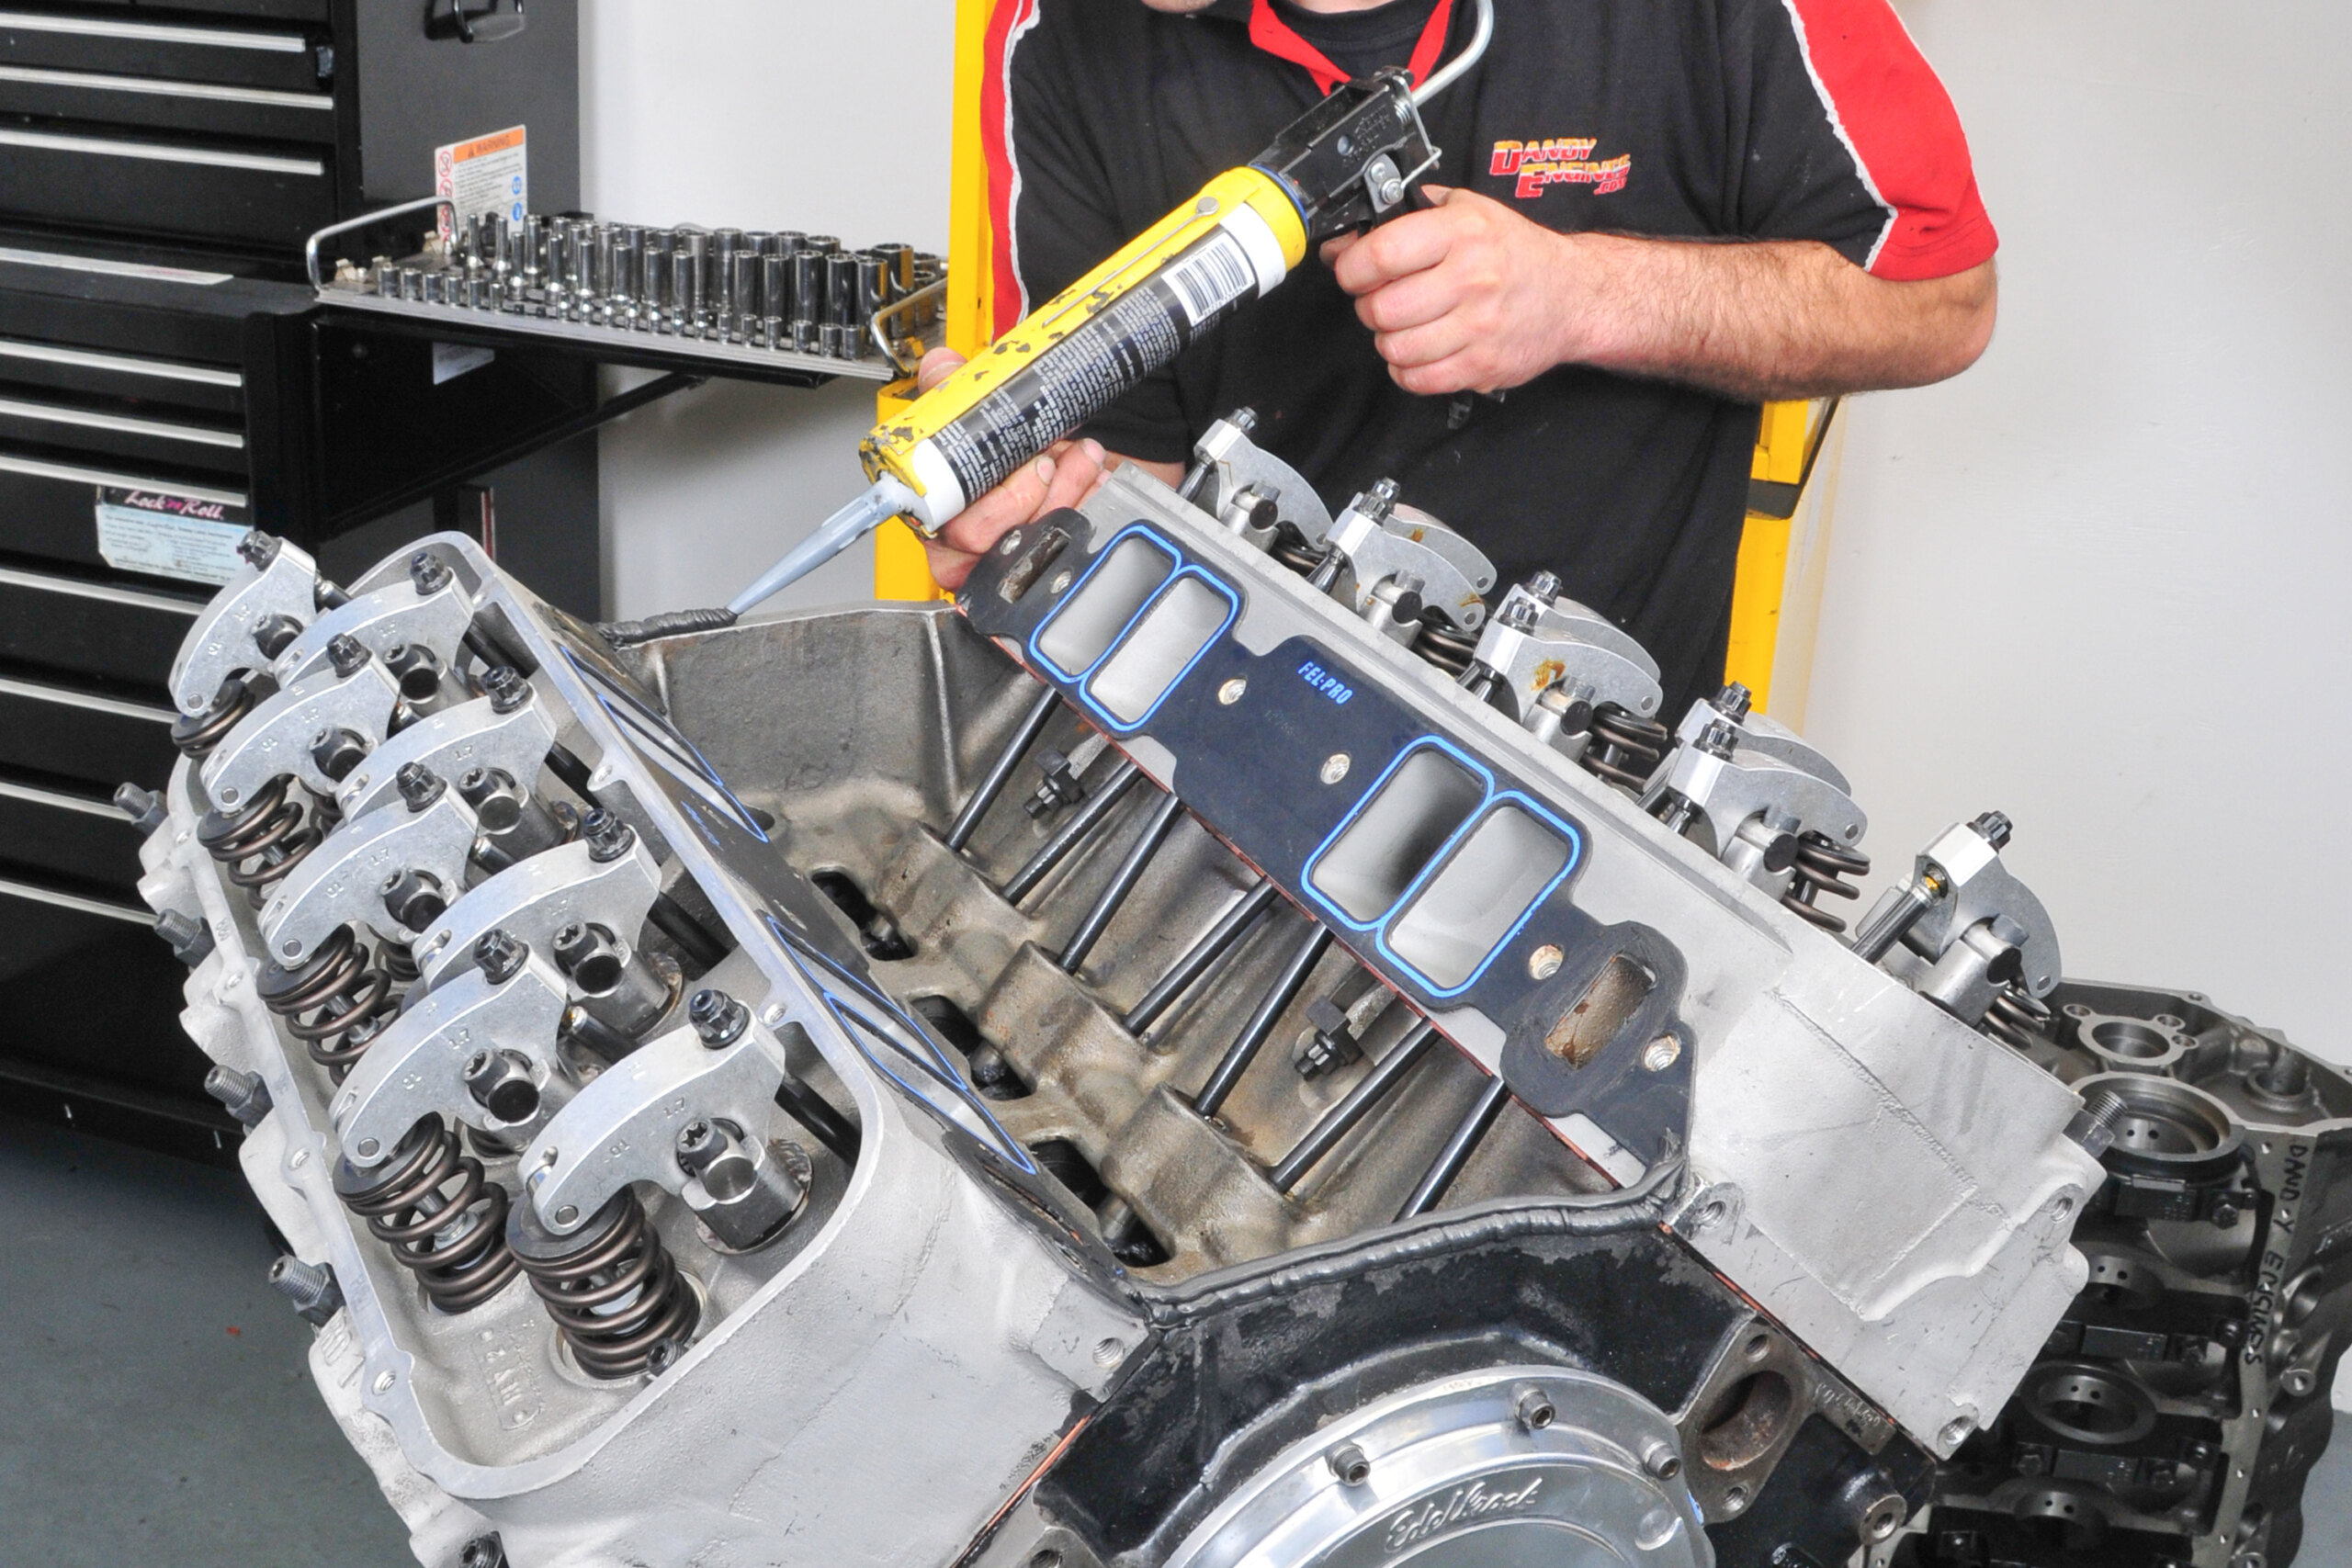
He says that it’s not uncommon for people to buy mismatched components and try to bolt them together without understanding that custom matching is often necessary for aftermarket components. Just because they’re intended to fit the same engine is absolutely no guarantee that they’ll match up with each other.
Another mistake people make is thinking that gaskets will fill any gap — they won’t.
Ignorance of the PCV system can also result in leaks. Mark from Eagle Performance says he’s seen people simply plug one or both of the breathers in their rocker covers and he’s witnessed a timing cover gasket get sucked in as a result. It’s extremely important for an engine to be able to breathe properly, to balance internal and external pressures. An engine that can’t may push the dipstick out of the tube or dislodge seals and gaskets.
DOUBLE TROUBLE
Simple mistakes that no-one believes they could make often lead to oil leaks. For example, not putting a smear of oil around a new oil filter’s thick rubber gasket can result in a leak. Sometimes the old filter’s gasket stays stuck to the block when the filter is removed. If a new filter is fitted on top of that, it’ll leak severely on start-up.
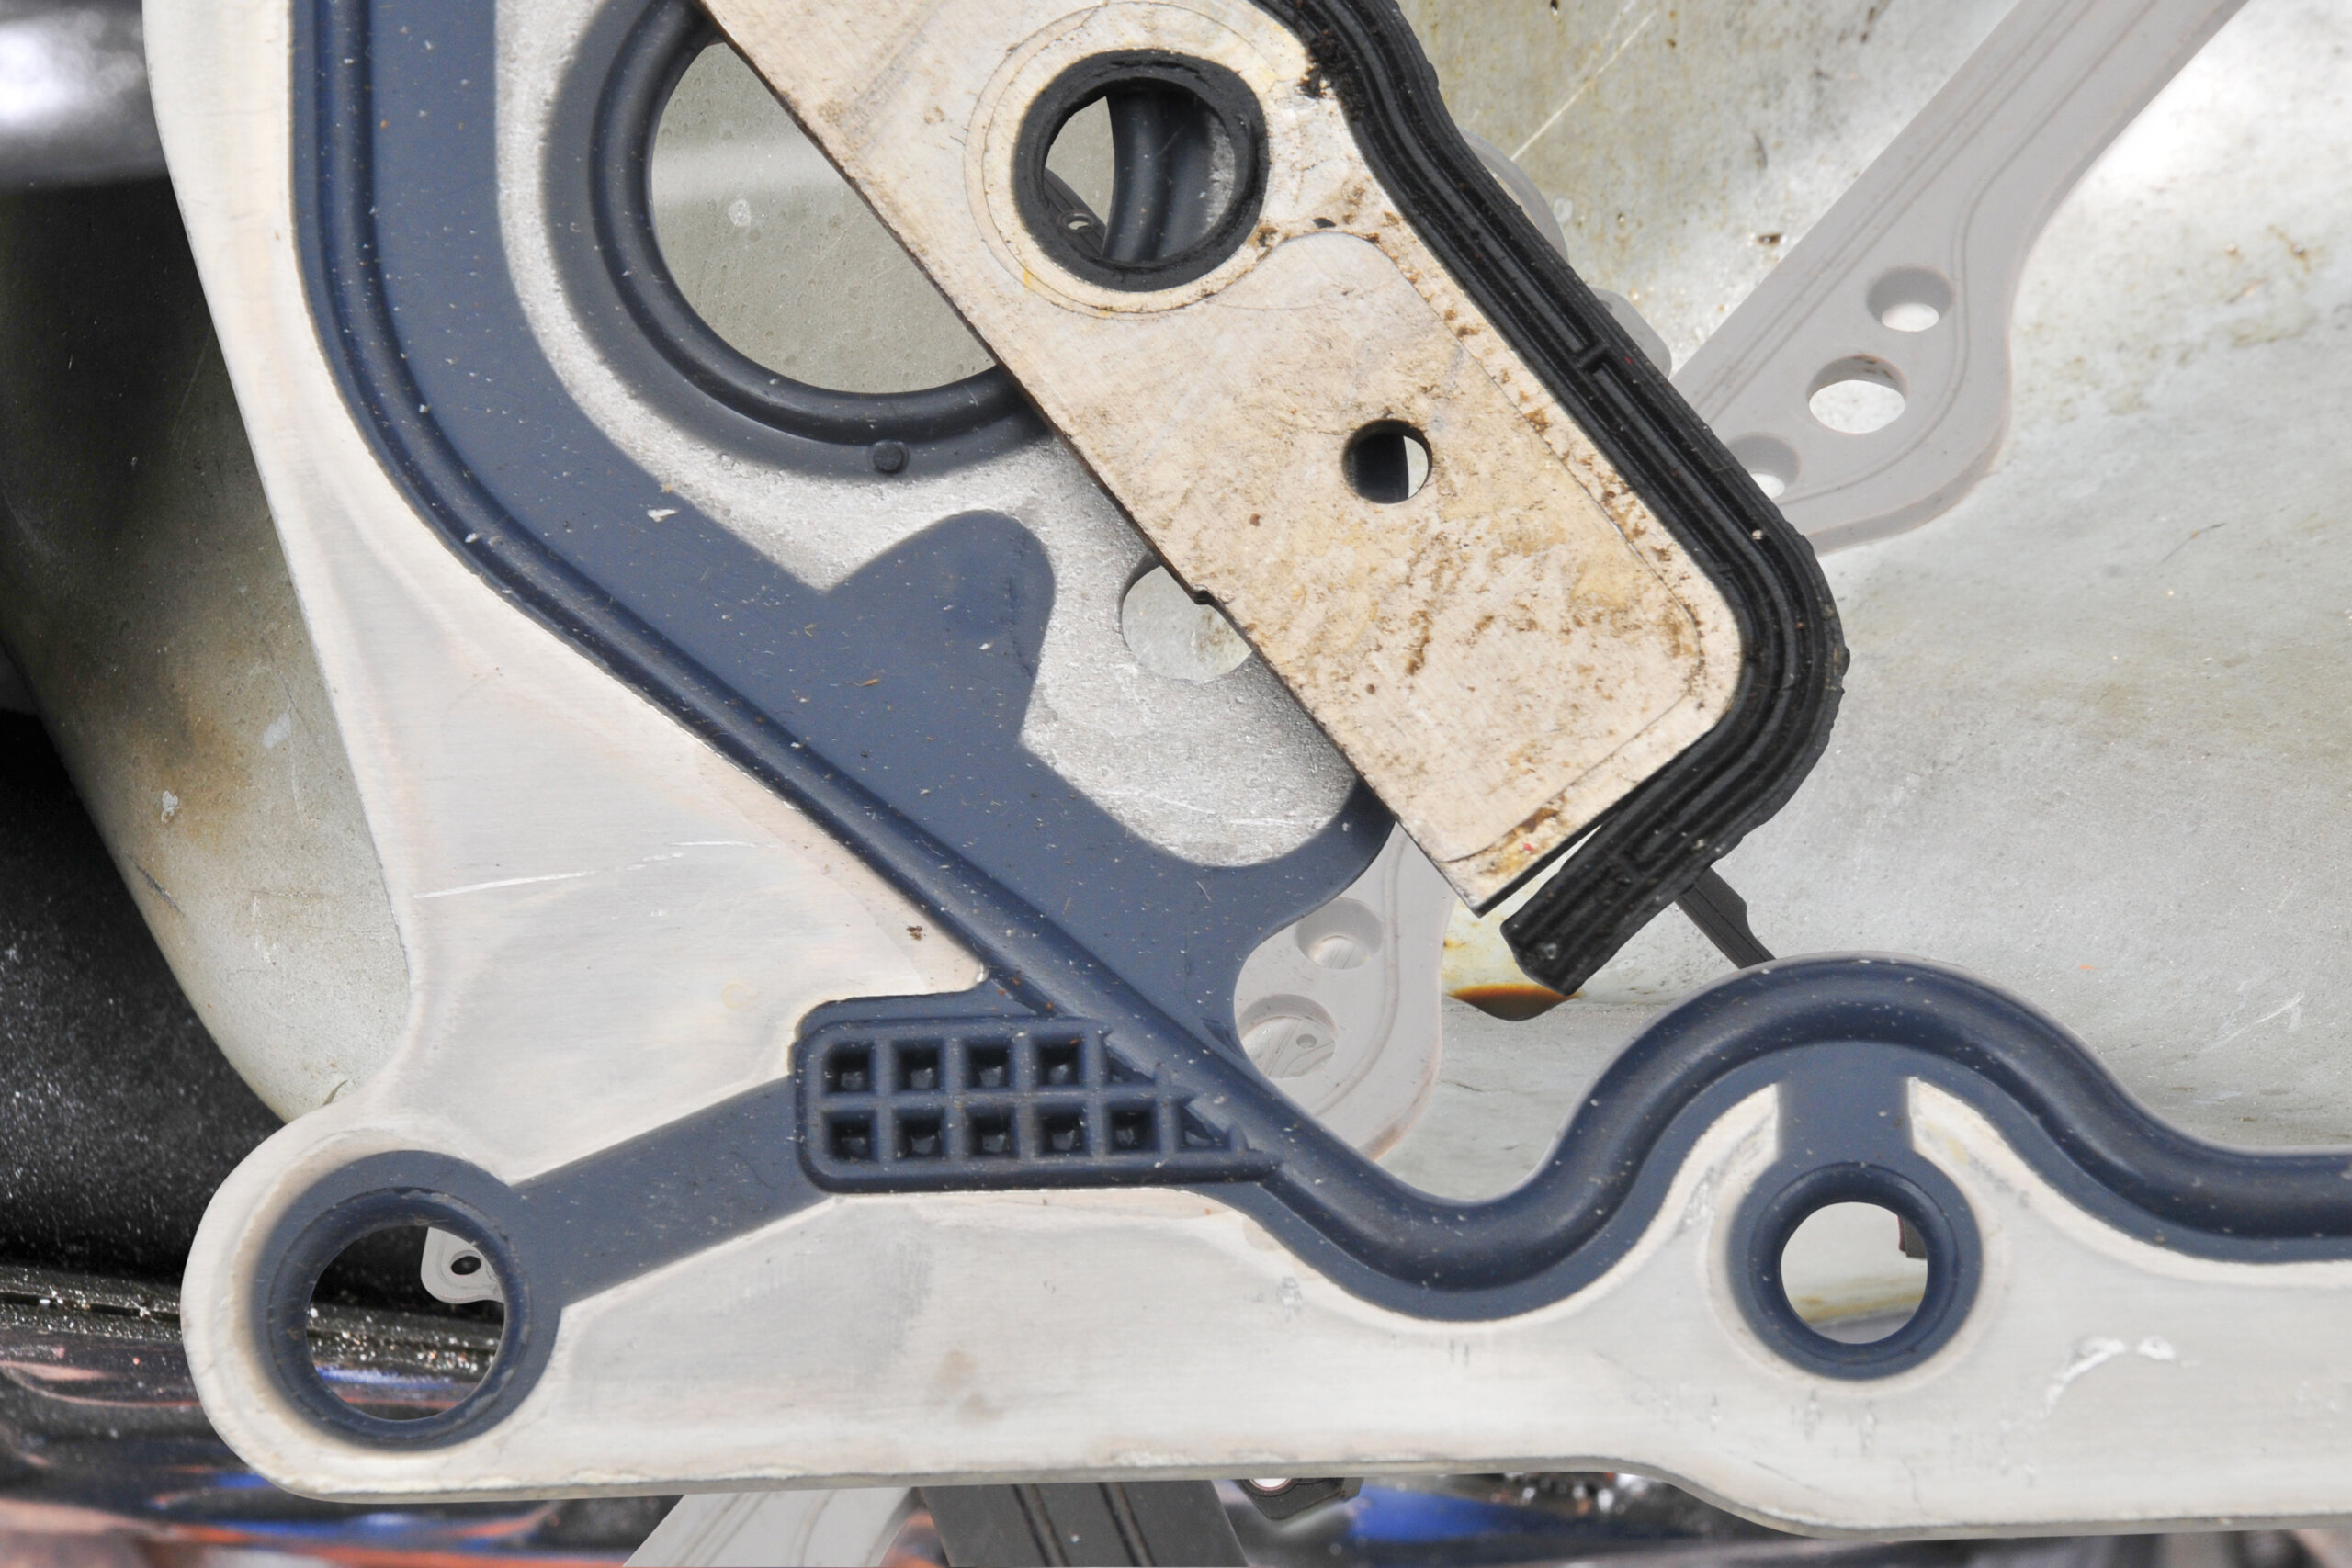
Care is also needed when changing transmission oil filters. Sometimes the O-rings can remain stuck in place and prevent the replacement filter from seating properly.
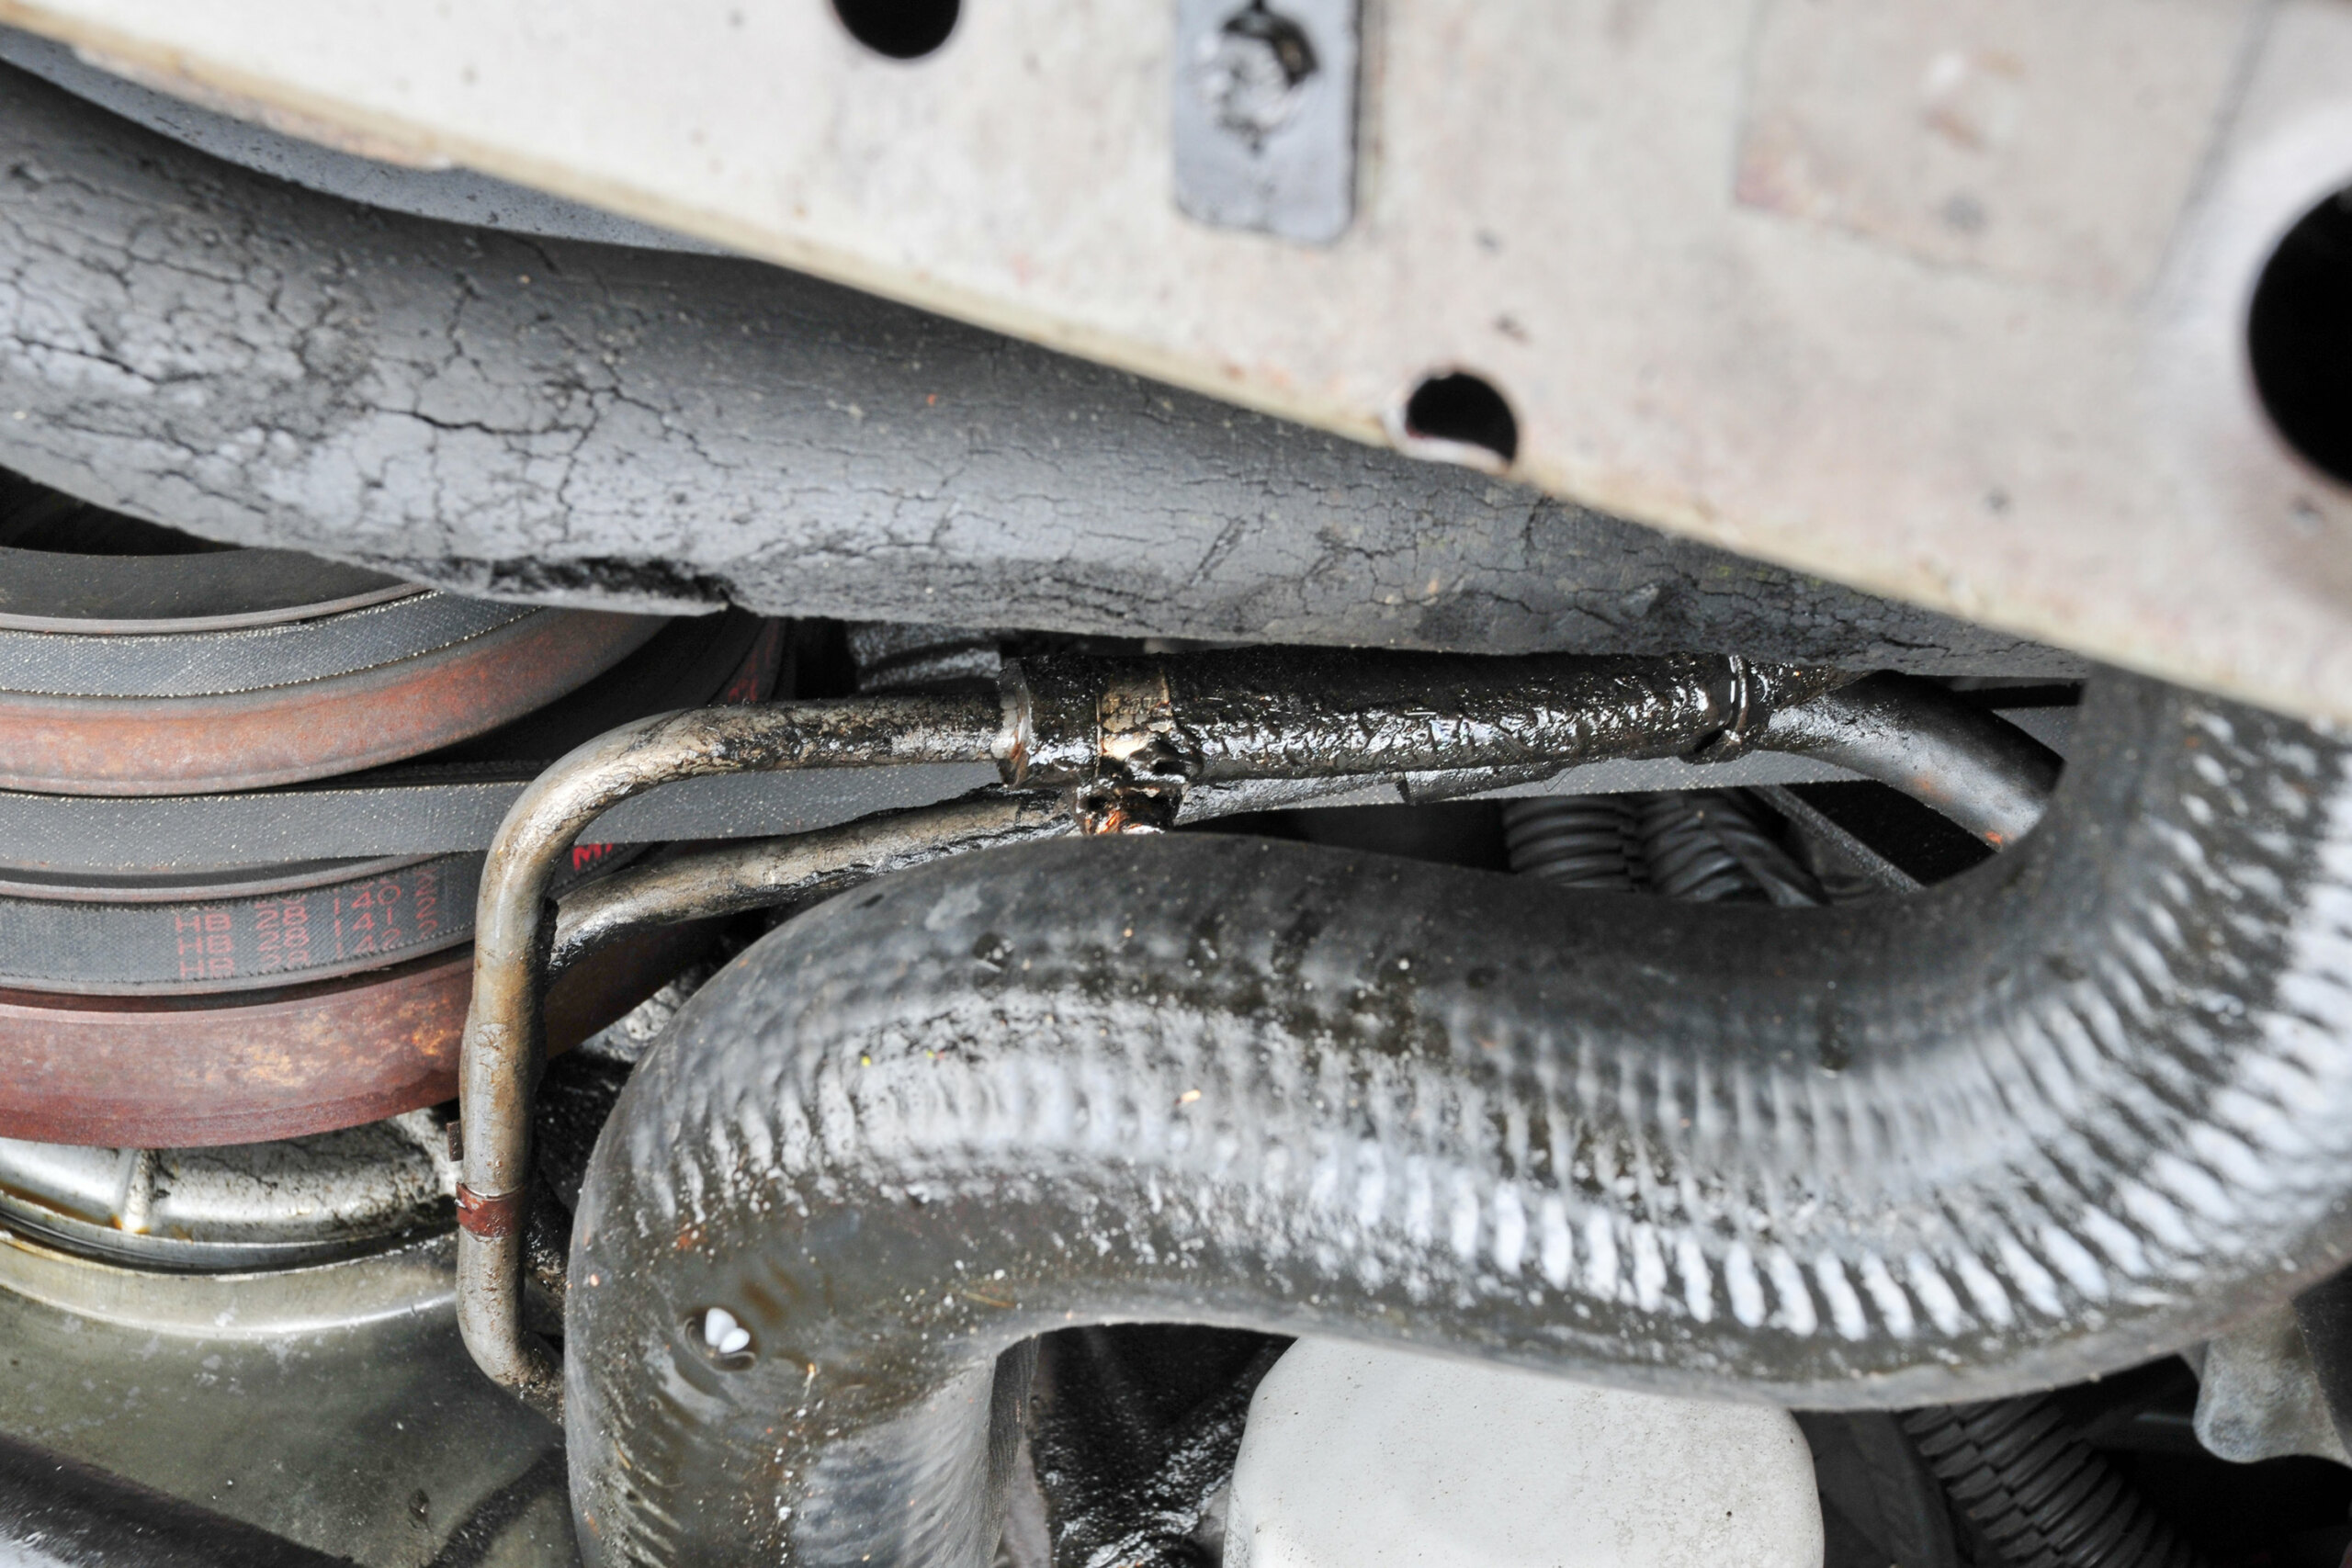
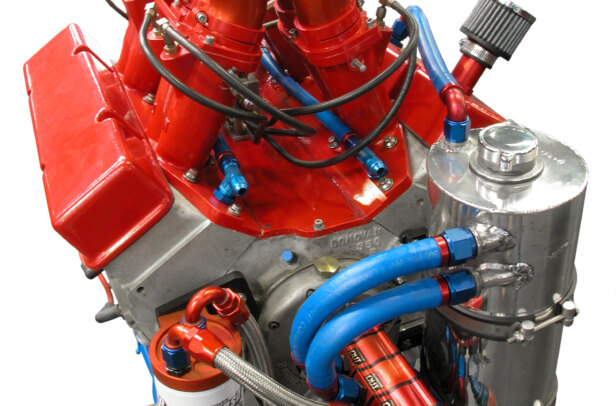
Oil has to be transferred outside the engine to coolers, external filters and other components. Braided lines are popular for this but they mustn’t be over-tightened — coupled with vibration, this cracks the fittings and results in a leak. Craig Bennett from Torque Power says he has seen this occur plenty of times in speedway cars.
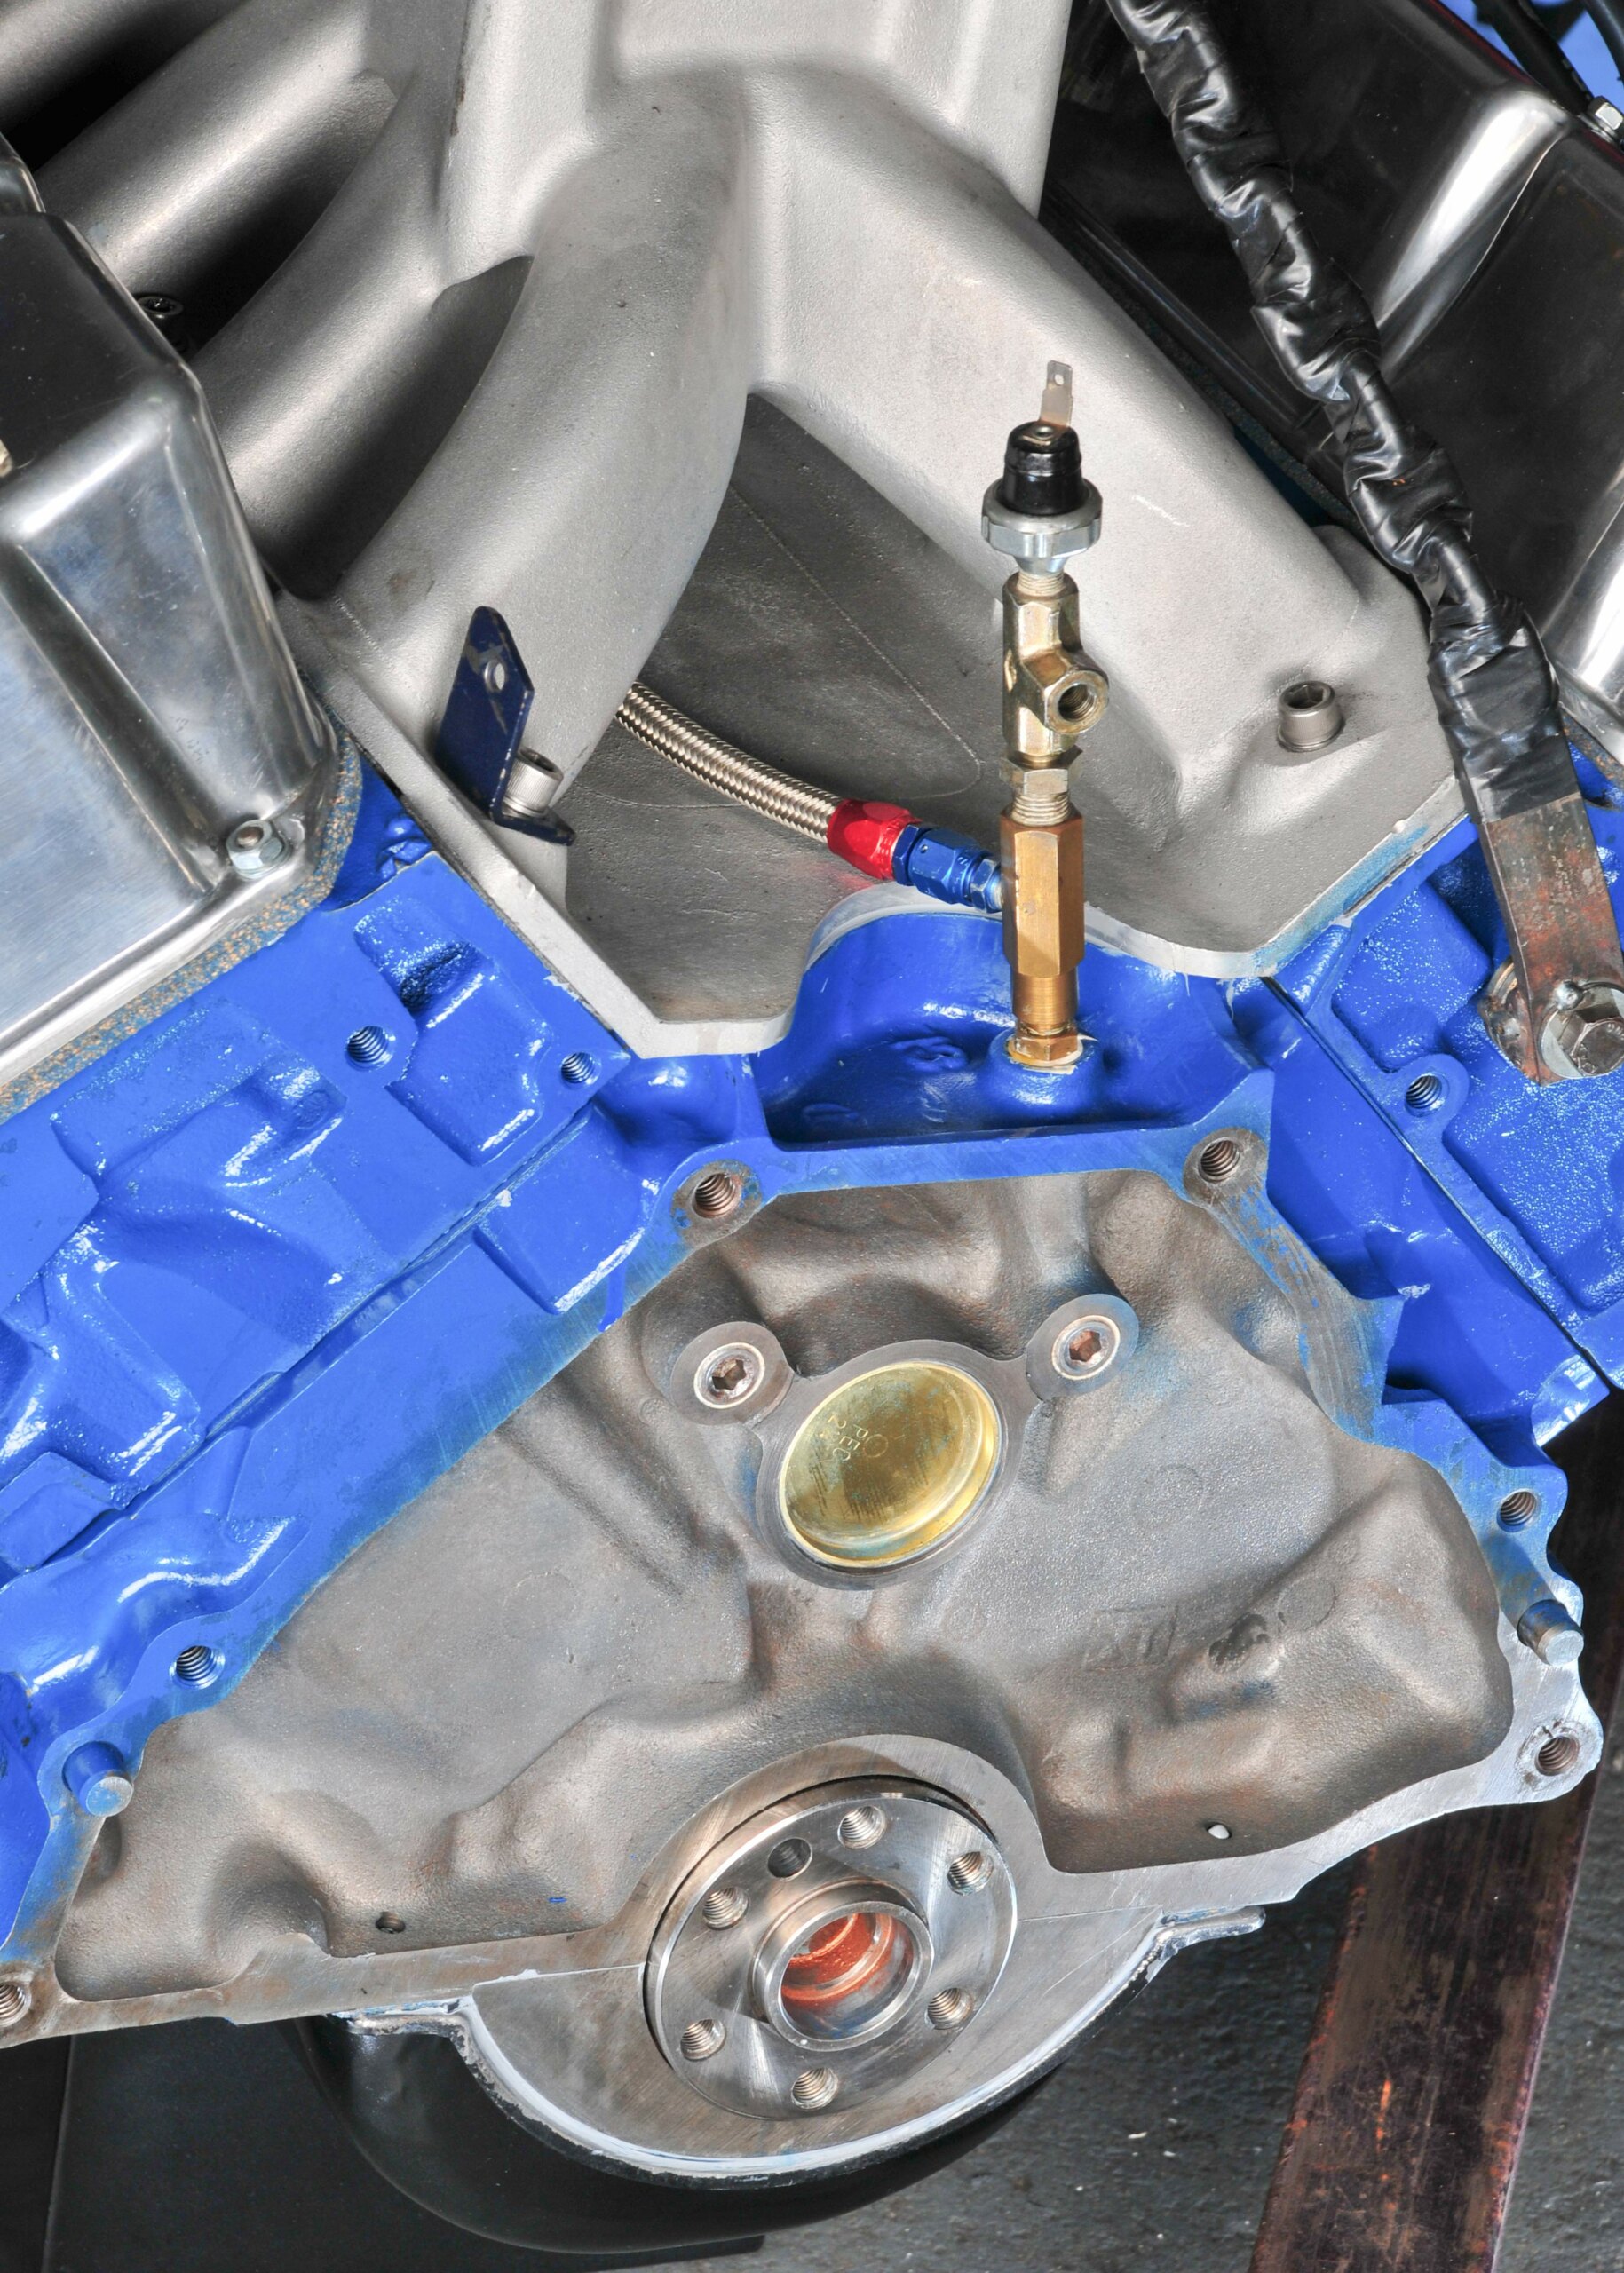
Oil gallery plugs and other oiling system fittings such as sender units can also be problematic. A couple of layers of Teflon tape on the threads usually does the trick. Take care, however; too much Teflon will hinder rather than help.
Transmission rear seals can leak significant amounts of oil if they’re bad enough. In severe cases they’ve been known to spray oil from the transmission right along the underside and all the way to the rear bumper bar!
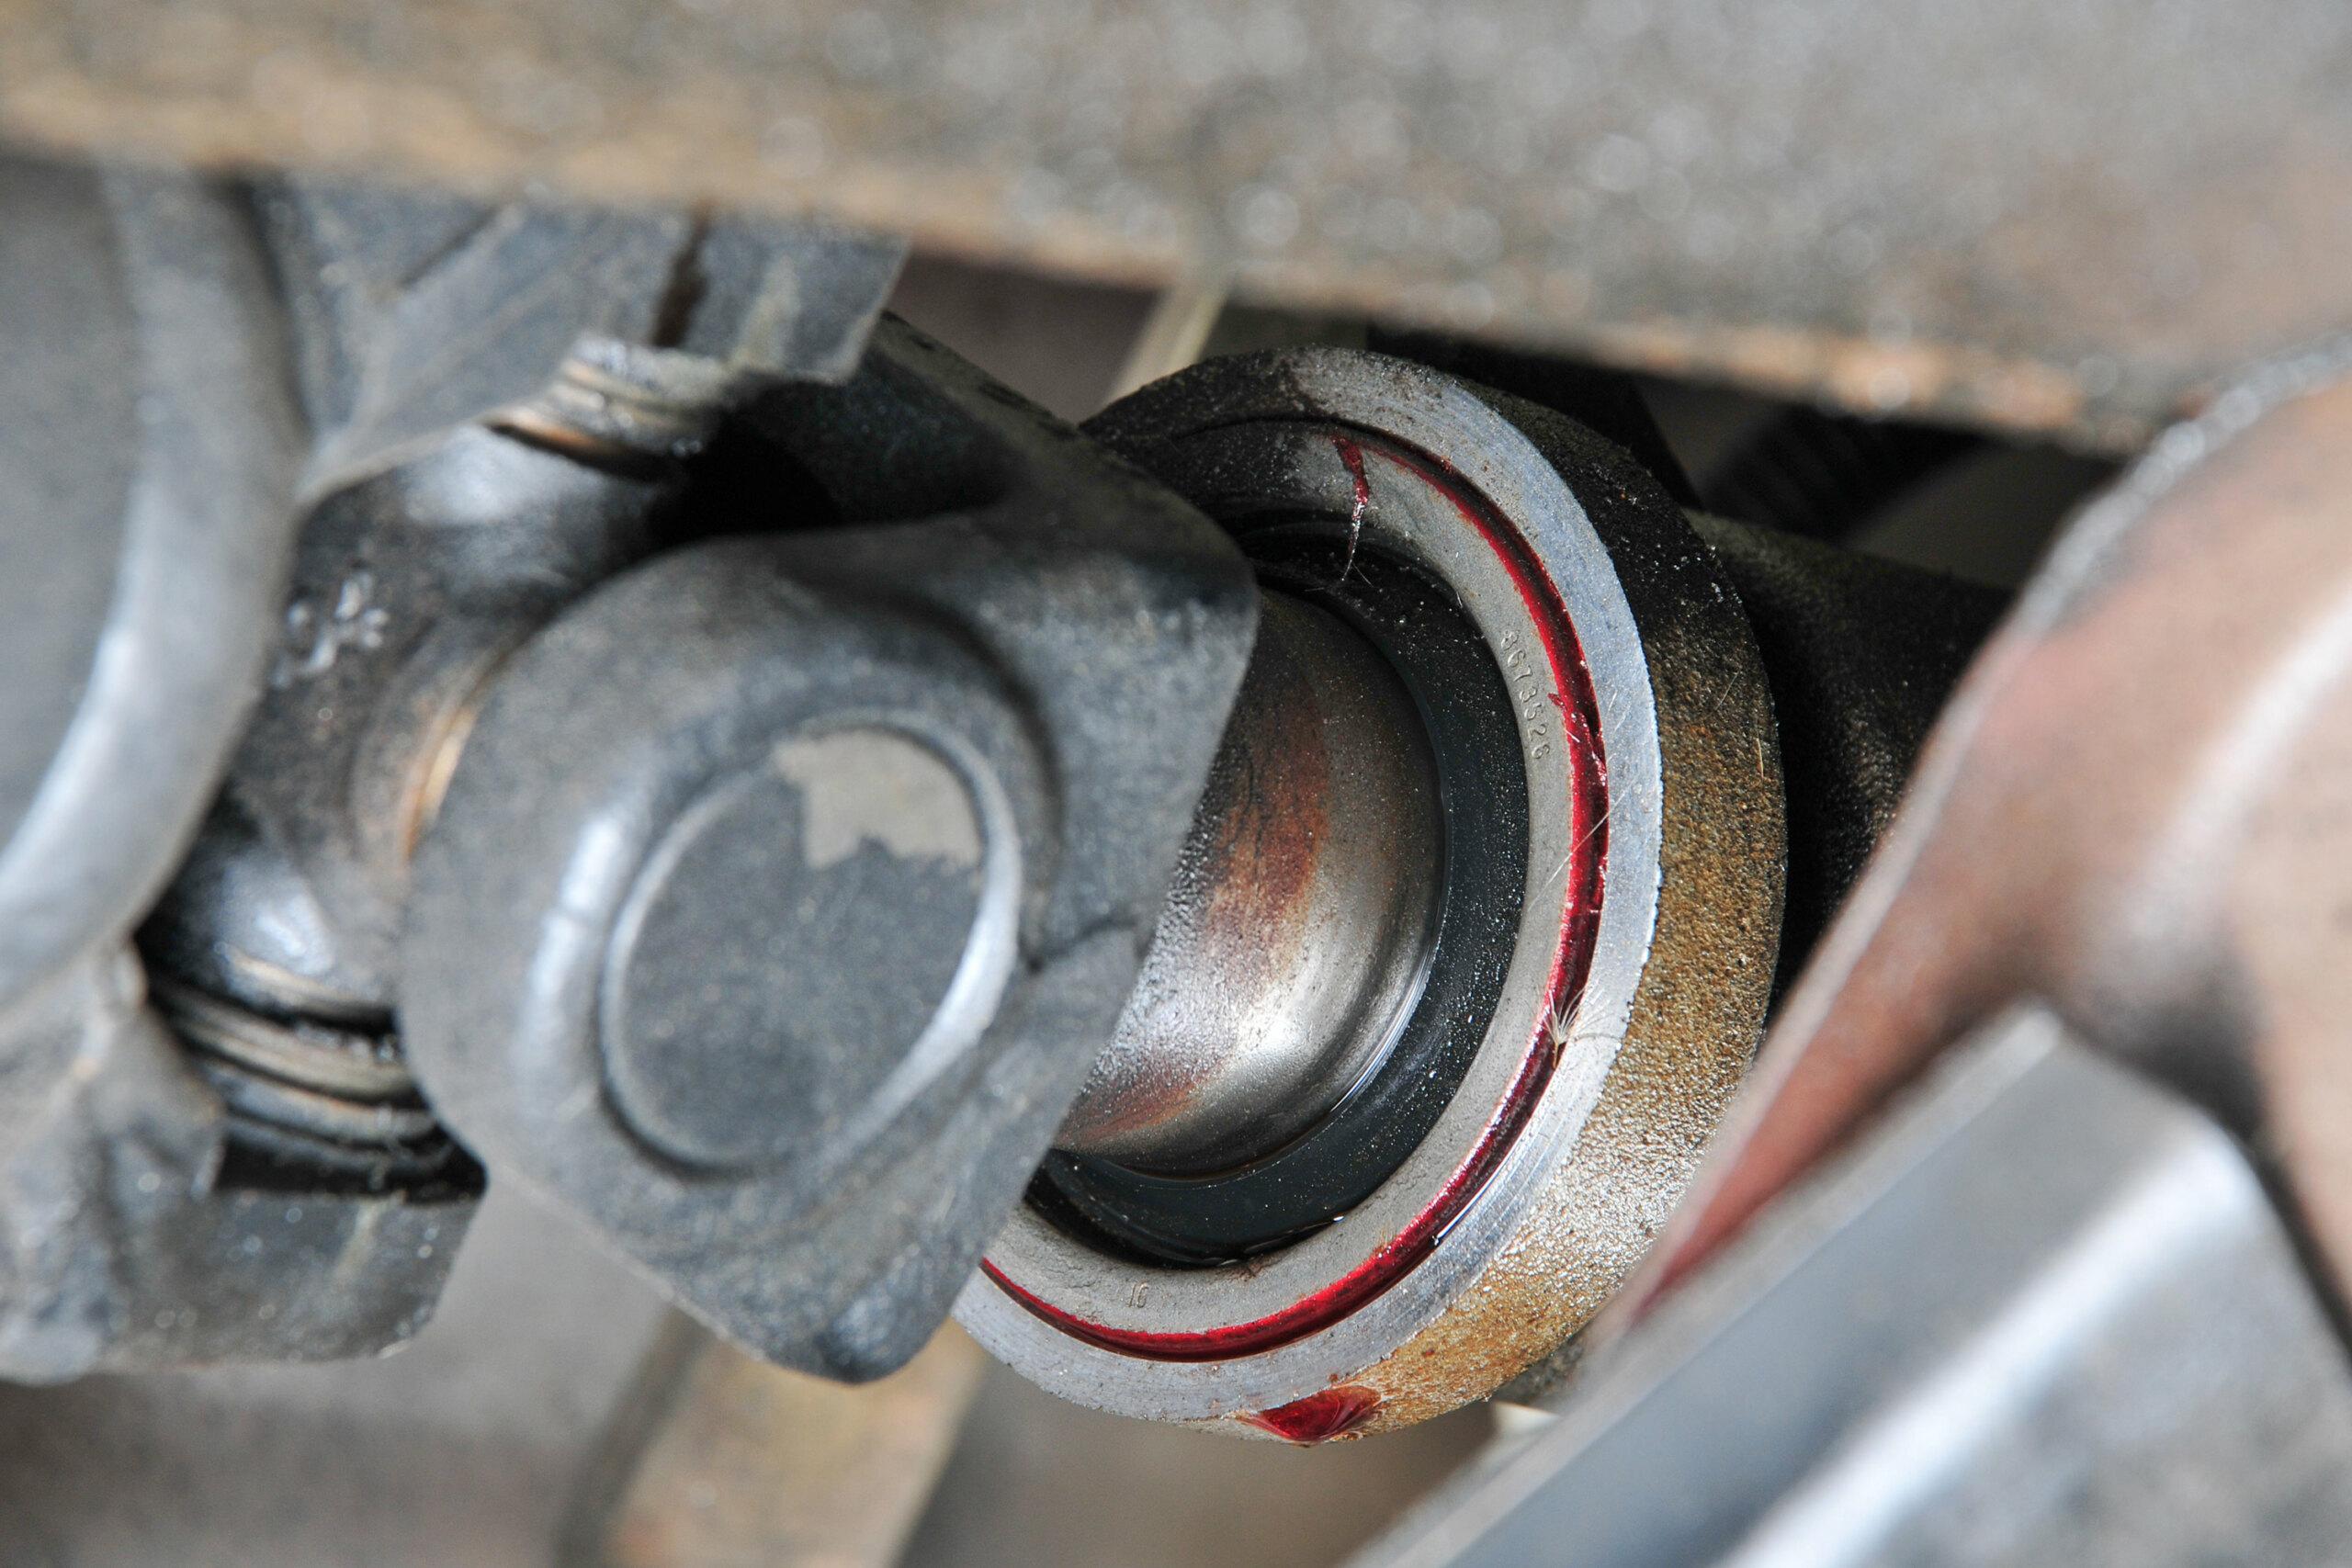
Leaks aren’t always as straightforward as they seem. Rear transmission seals are a good example. For example, not long after replacing a leaky rear trans seal, the leak may re-appear. This is because bushes in the housing have been flogged out, allowing the output shaft to move around and chew out the new seal.
Another root cause of leaks may be the surface the seals bear against. The surface can become scored, which tears the new seal apart. Or the surface may become undersize through wear — harmonic balancers are a classic example.
Unless the underlying problem is fixed, such leaks will continue to recur no matter how many times the seal is replaced. As always, prevention is better than cure. Attention to detail during assembly and staying on top of maintenance will help keep oil where it’s meant to be — in the engine.

Comments