WHEN you radically modify your ride, chances are that your engineer/certifier will have to verify how strong your ‘new’ vehicle is by doing a torsion and beaming test. As usual, this requirement can vary by jurisdiction, as each state interprets the National Code of Practice for the Modification of Light Vehicles differently.
This article was first published in the March 2020 issue of Street Machine
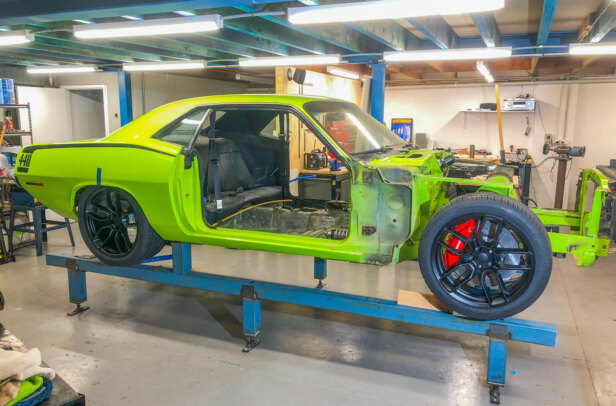
There are several situations where a torsion and beaming test might be needed. Examples include when the chassis has been modified to fit new rear wheel tubs; the front subframe or chassis has been modified to fit a bigger engine or a new suspension design; the entire floorpan of a unitary-constructed vehicle has been zipped out to make way for a completely revised fabricated chassis; a convertible has been made from a sedan by cutting the roof off; a car has been built from the ground up; or an extended limo has been built.
The torsion and beaming test is designed to check modified vehicles for the two main strength requirements of any chassis: torsional rigidity and beam strength.
Torsional rigidity is a vehicle’s ability to resist twisting under engine torque and the loads applied to the vehicle corners by road conditions. Torsional rigidity is important because a flexible chassis does not allow the suspension to work properly, reacts poorly to engine torque and provides unpredictable handling characteristics.
Beam strength is the strength of the chassis along its length. A vehicle with low beam strength will flex in the middle and will change its characteristics under different loads. Not a good idea for a pick-up!
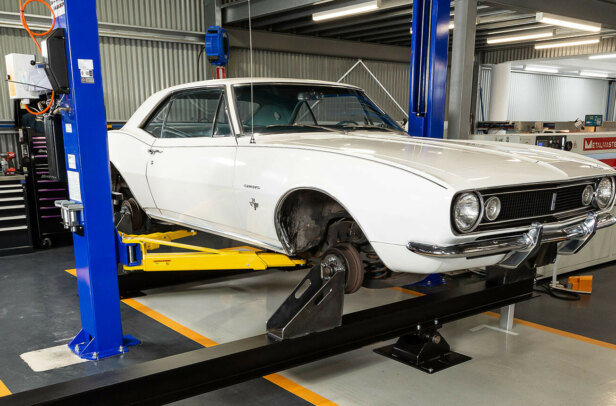
The torsional rigidity test involves twisting the car while one end is fixed to the ground and the other end pivots around the vehicle’s central axis. It’s usually the rear that is rigidly fixed, but not for any particular reason. The vehicle is only tested within its wheelbase, where the loads are applied by the suspension. That’s because the overhang at each end doesn’t contribute to the car’s core strength.
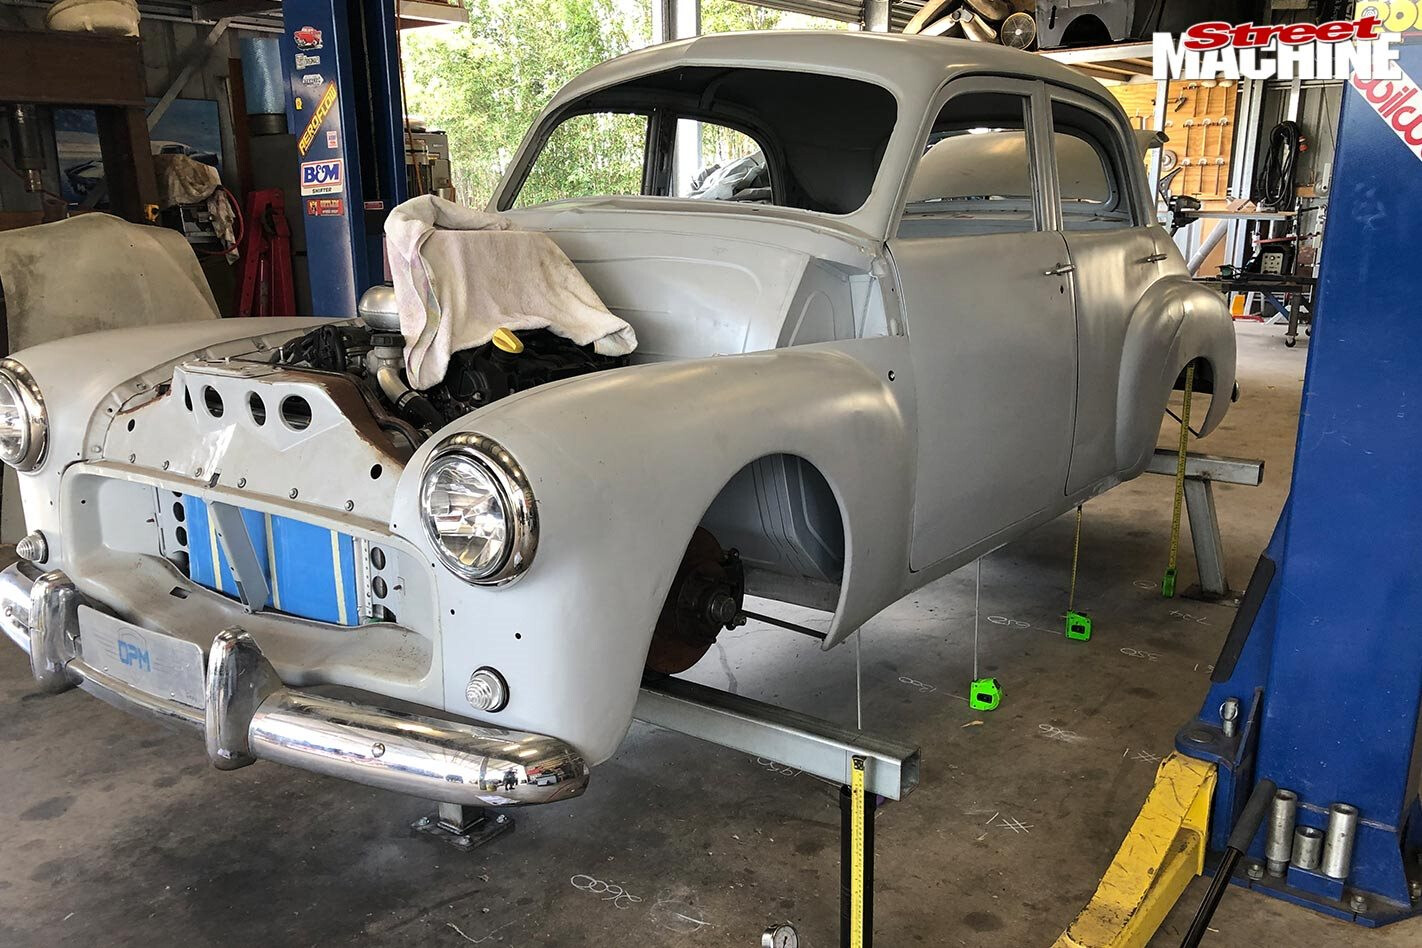
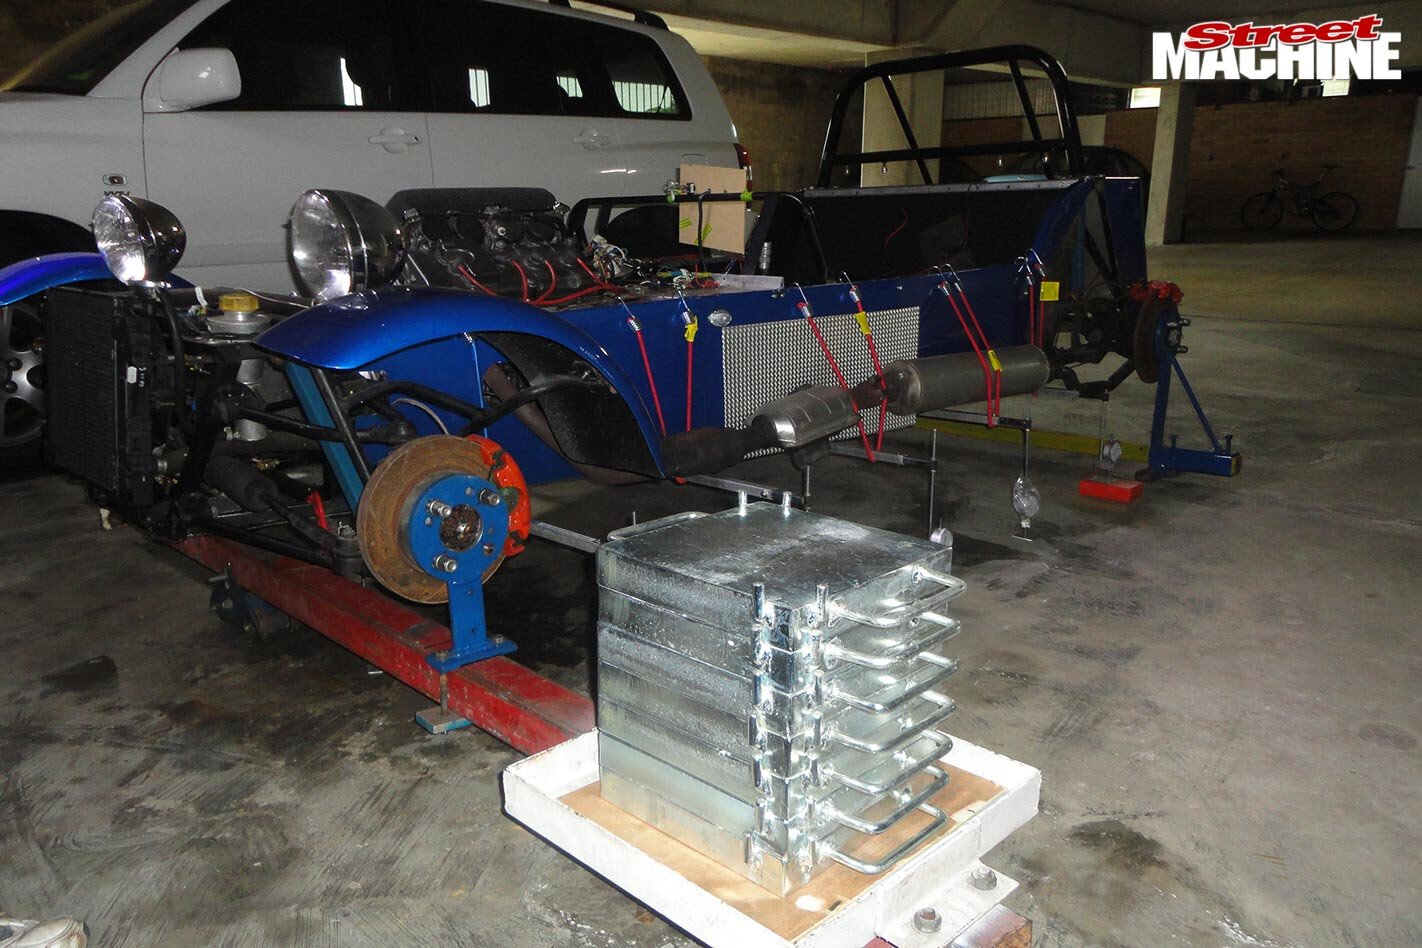
It is common to have stands with baseplates bolted to a concrete floor and tack-welded to the car’s subframe on the centre-line of the differential (where the bump stops would usually be), in order to hold the rear in place. After the test, the tack welds are cut off and the chassis is restored to original. This method of testing means that the rear suspension must be removed, which is not a problem for a ground-up build where it’s all still in bare metal. It’s also possible to do the test by fixing the suspension to the ground using stands fixed to the wheel hubs, replacing the springs or shocks with rigid tubes.
On the front, a beam mounted on another stand fixed to the floor with a simple pivot on top is used to apply the twisting load. The pivot is placed on the vehicle centre-line and the beam is welded to the sub-frame or bolted to the wheel hubs in line with the front suspension, extending out either side of the body line to allow the load to be applied.
Once set up, the load is applied (usually a metre from the body centre-line on either side) using weights or a hydraulic cylinder with a calibrated pressure gauge.
The measure of torsional rigidity is in Newton-metres per degree. When the test was first introduced, it was decided that a vehicle with a four-cylinder engine should achieve a rigidity figure of 4000Nm/deg, while a V8-powered vehicle should achieve 6000Nm/deg. The V8 target is equivalent to placing 600kg on the pivoting beam a metre from the vehicle centre-line and getting the body to twist only one degree within the wheelbase. It’s still a good guide today, although the latest method uses the gross vehicle mass and track width to calculate the applied load, and the result is then compared to that of an unmodified version of the vehicle, in order to ascertain the effect of the modification.
Increasing loads are applied to the vehicle and deflection measurements are taken at the load point and at regular points along the length of the vehicle. The loads are restricted to the elastic range of the vehicle so that when the load is released it returns to its original position. The measurements taken along the length highlight any weak zones in the body, such as door openings, and remedial action might need to be taken if the body does not reach the target figure.
The beam test is carried out with the pivoting beam also fixed, in order to prevent rotation. A load equivalent to twice the passenger load is then applied, distributed within the interior, and deflection is measured primarily mid-vehicle to determine the level of bending. The standard passenger load is deemed to be 68kg. Loads are applied using bags of a suitable product of known mass. A bend level of 1mm mid-vehicle is considered a good result in this test, but not more than 1.5 times the original vehicle’s deflection is required.
Next month we’ll talk more on this topic, and explain how to get good torsional rigidity results for your ride and improve on an OEM body.

Comments