STANCE is everything, no matter what you drive. But more often than not, there are hurdles to overcome in the quest to get your ride sitting lower. One of the major ones is when the front tyres come into contact with the fenders (or guards) on full lock. This can be rectified by body modifications such as rolling your guards – also known as pumping, flaring and the like. Guard-rolling was a staple street machine mod in years gone by, and with period street machine restorations and tribute builds enjoying something of a resurgence, I figure it’s a good time to show you how to pump your guards the right way.
BASIC ROLLING
STEP 1. You can buy specialist guard-rolling machines, but they’re not all they’re cracked up to be. Generic eBay rollers like the one shown here are not all that great and are usually only effective on vehicles with a circular wheelarch. However, if you take the requisite care, there’s a time-honoured method for rolling your arches without having to use any special gadgets.
STEP 2. Using several pieces of pipe of different diameters (working from small to large in turn), hold a pipe at roughly a 45-degree angle between the tyre and guard opening. The car can then be gently driven forwards and backwards, allowing the pipe to roll over the tyre. Having a couple of mates sitting on the front of the vehicle will keep pressure on the suspension. Depending on the condition of your paint – and how many pies your mates eat – applying heat from a hot air gun before you start can improve your chances of not cracking the paint. That being said, there’s always an element of risk, and it’s best to assume that you will need paintwork after this type of job has taken place. Note: the guard in this image has already been hammered and wheeled, so is shown for instructional purposes.
FOLDING THE GUARD LIP
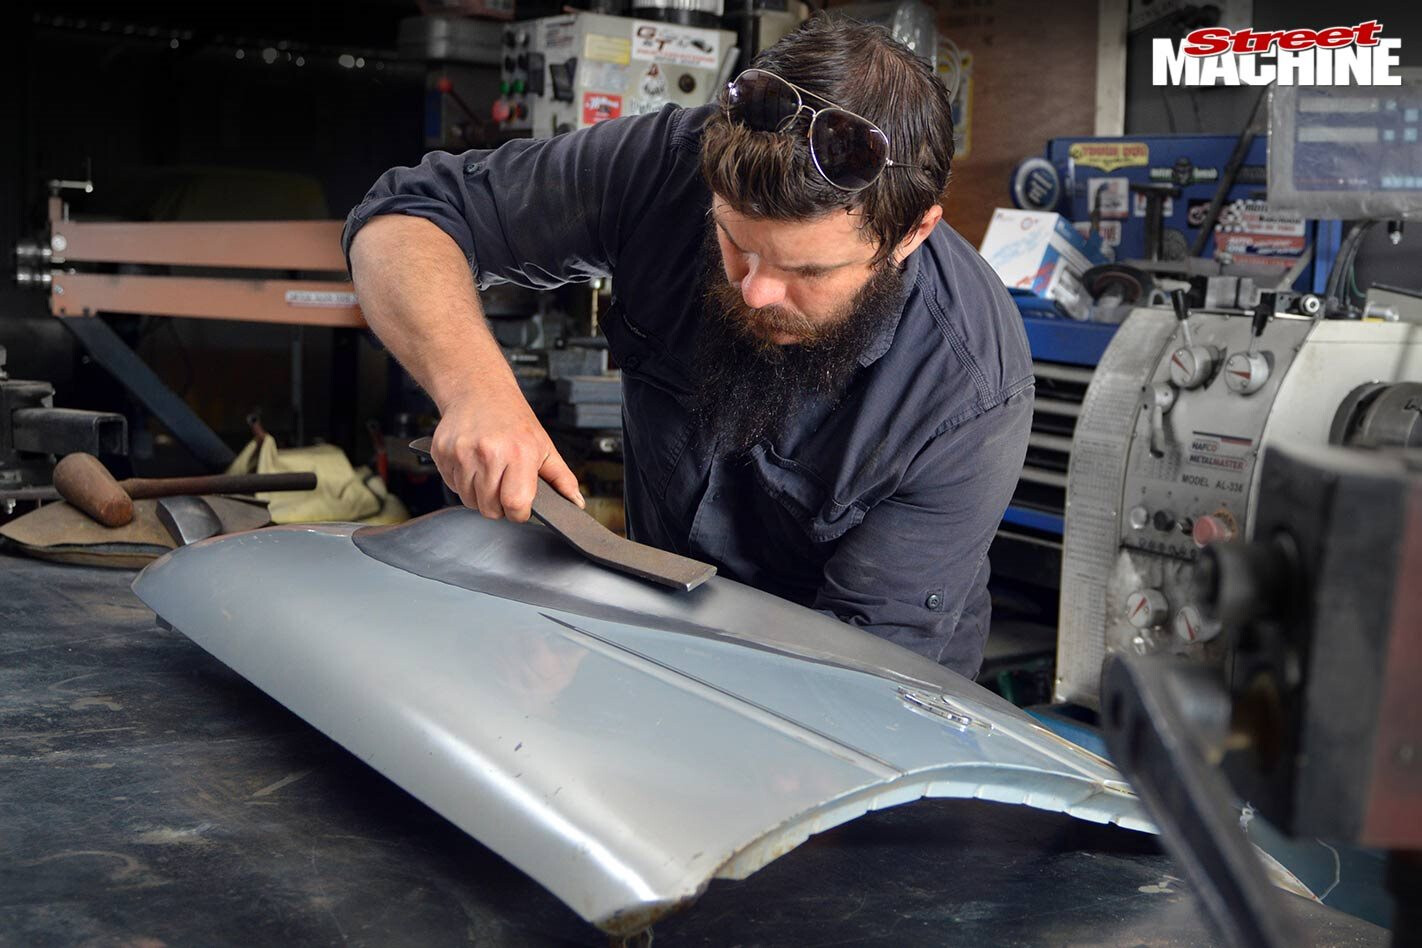
A hammer and rag-covered dolly can be used to fold the fender lip upwards to avoid tyre contact. Again, heat can be applied as a potential paint-saving technique. Working slowly using a hammer with a slightly curved face and making numerous passes is the way to go here.
FABRICATING A FLARE
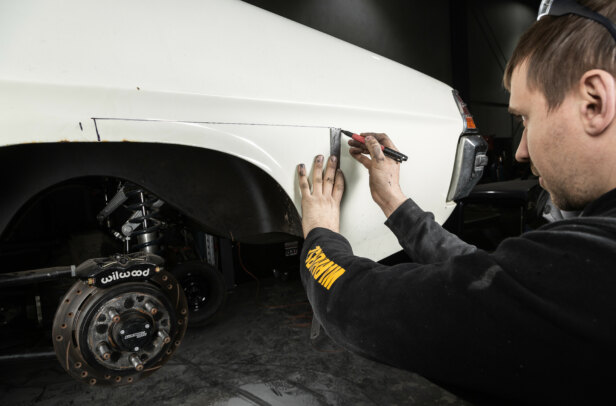
STEP 1. Another more serious technique is a cut-and-shut. Here is one example of that, using an EF/EL Falcon fender. First, the fender is removed from the car and laid on the bench. Measuring and mounting directly to the bench keeps things in place and avoids any guesswork later on.
STEP 2. The new lip is then marked out and cut from a donor fender, then laid onto the existing guards. In this case, using a second set of fenders for donor panels can make things a lot faster than fabricating a new arch from scratch. From factory, this model does have a large wheel opening, and adding a flare to the opening is going to decrease it in size by about an inch.
This will affect bumper- and sill-end fitment on this vehicle, but that will be dealt with down the track, and will not apply to all vehicles.
STEP 3. Using a stretcher/shrinker, shrinking along the lip will curve the section, giving it a pumped-out ‘flare’.
STEP 4. From here, the flare section is cut in half and stretched parallel with the fender to the desired length.
STEP 5. A third fender can be handy for the donor section, or a patch can be fabricated to fill the gap. Hammer work and more shrinking may be required here to get a nice even flow between all three pieces.
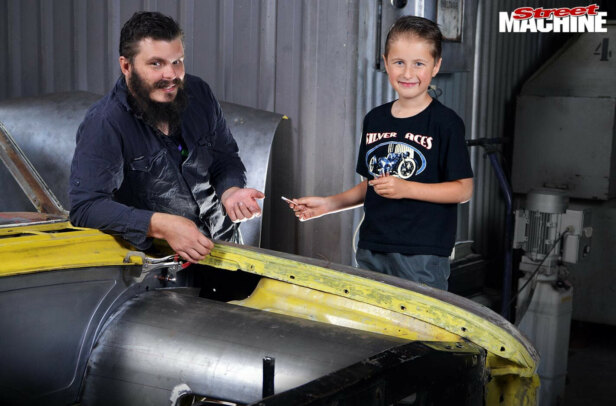
STEP 6. Once you’re happy with fitment, the flare is clamped into position. An air hacksaw is used to cut into the fender, using the edge of the flare section as a guide. This can now be butted up hard and fuse-welded together with a TIG.
Trial fitment is of course recommended before cutting and before final welding.
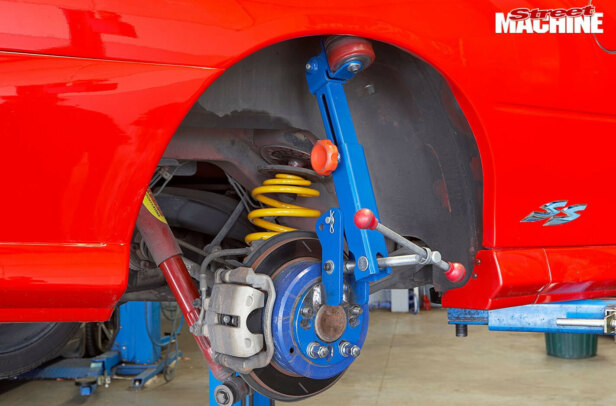
STEP 7. Here is a stock fender mounted to the car, with no modification apart from the 24-year-old paint.
STEP 8. This is the car’s current fender. It has been rolled using the pipe technique we covered earlier.
STEP 9. Finally, here’s our freshly flared fender. We now have massive clearance at full lock, which will allow a large rim and tyre combo with a decent negative offset, all while retaining a somewhat factory appearance.
Any of these methods can be applied over a range of different vehicles, in order to avoid tyre interference without having to compromise on rim/tyre size, or that all-important low stance.
Comments