THIS month we will be repairing a rusting door corner. Whether due to lack of maintenance and/or poor design, areas such as door bottoms are prone to clogging up with all sorts of foreign material. Add in water or condensation and things tend to get moist, and it’s only a matter of time until the metal starts to oxidize. Rust never sleeps, and though it could take years, eventually it will spew forth from behind the paint. Not to worry; the good news is that it’s all just metal and it’s all fixable.
This article was first published in the August 2019 issue of Street Machine
STEP-BY-STEP
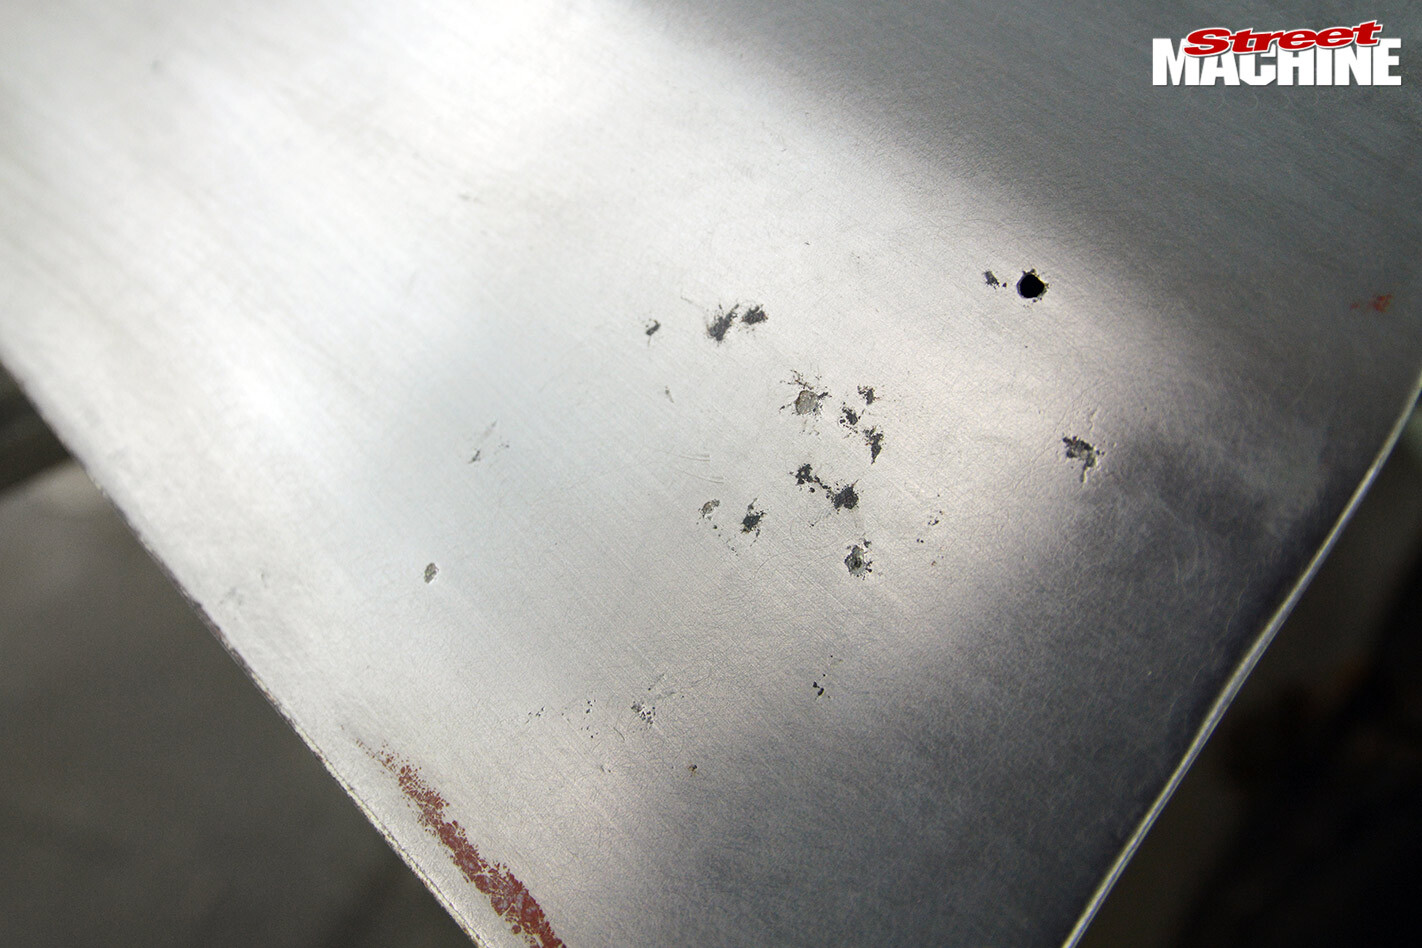 STEP 1. It may look like just a few pinholes on the outside, but you can always bet it’ll be a lot worse where you can’t see. Before any cuts are made, the door is fitted and aligned to the car, and the adjacent panel is also fitted. This is a critical part of the process for the soon-to-be-repaired area, to ensure that the repaired section realigns correctly to the vehicle
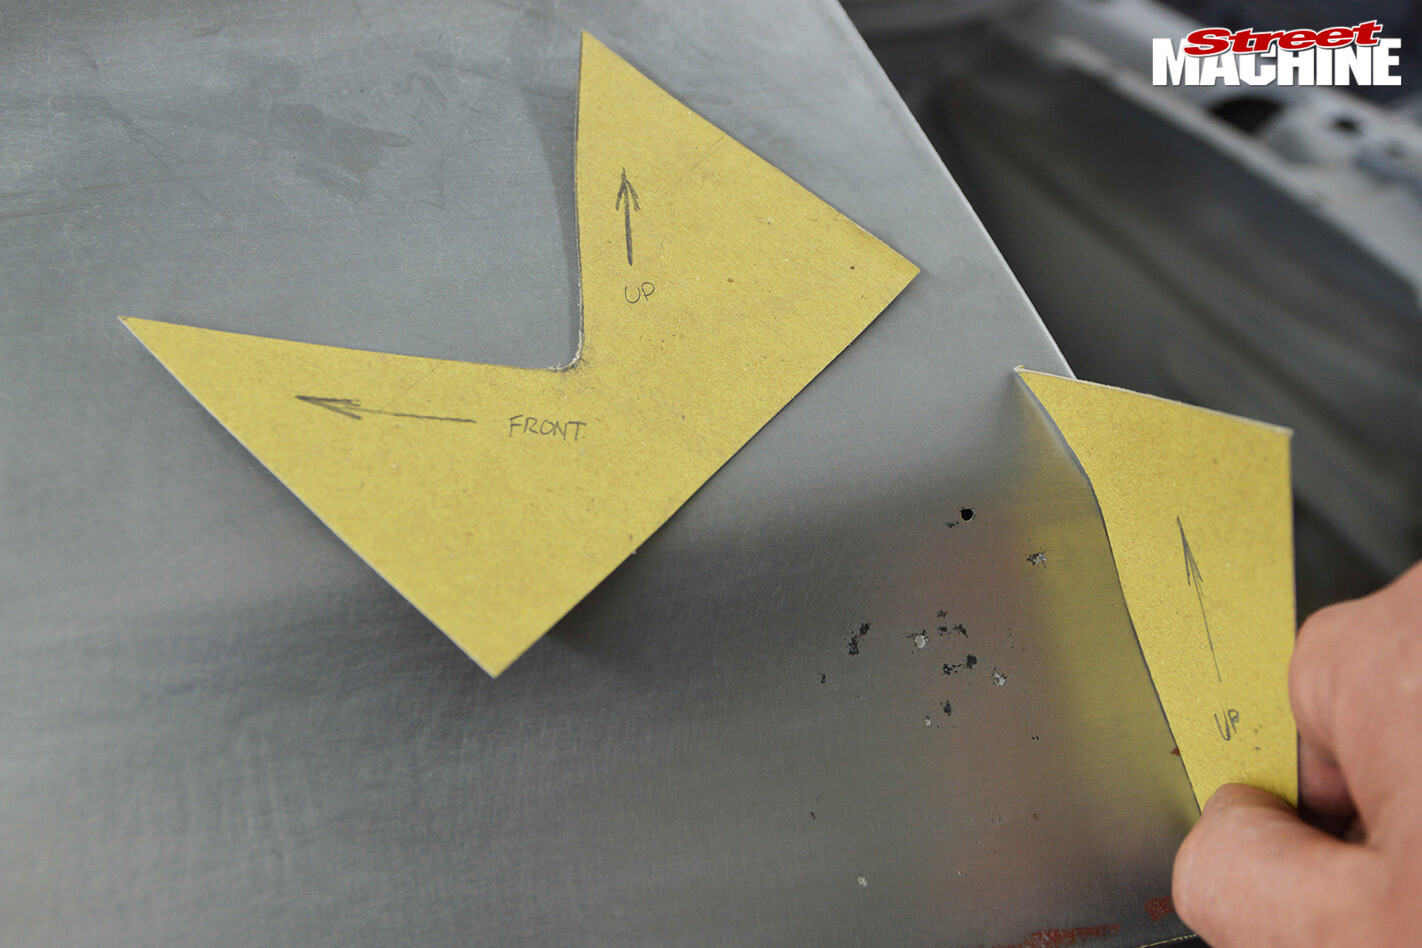 STEP 2. A couple of pieces of marked card may be used to make quick reference templates. A large straight-edge is also handy
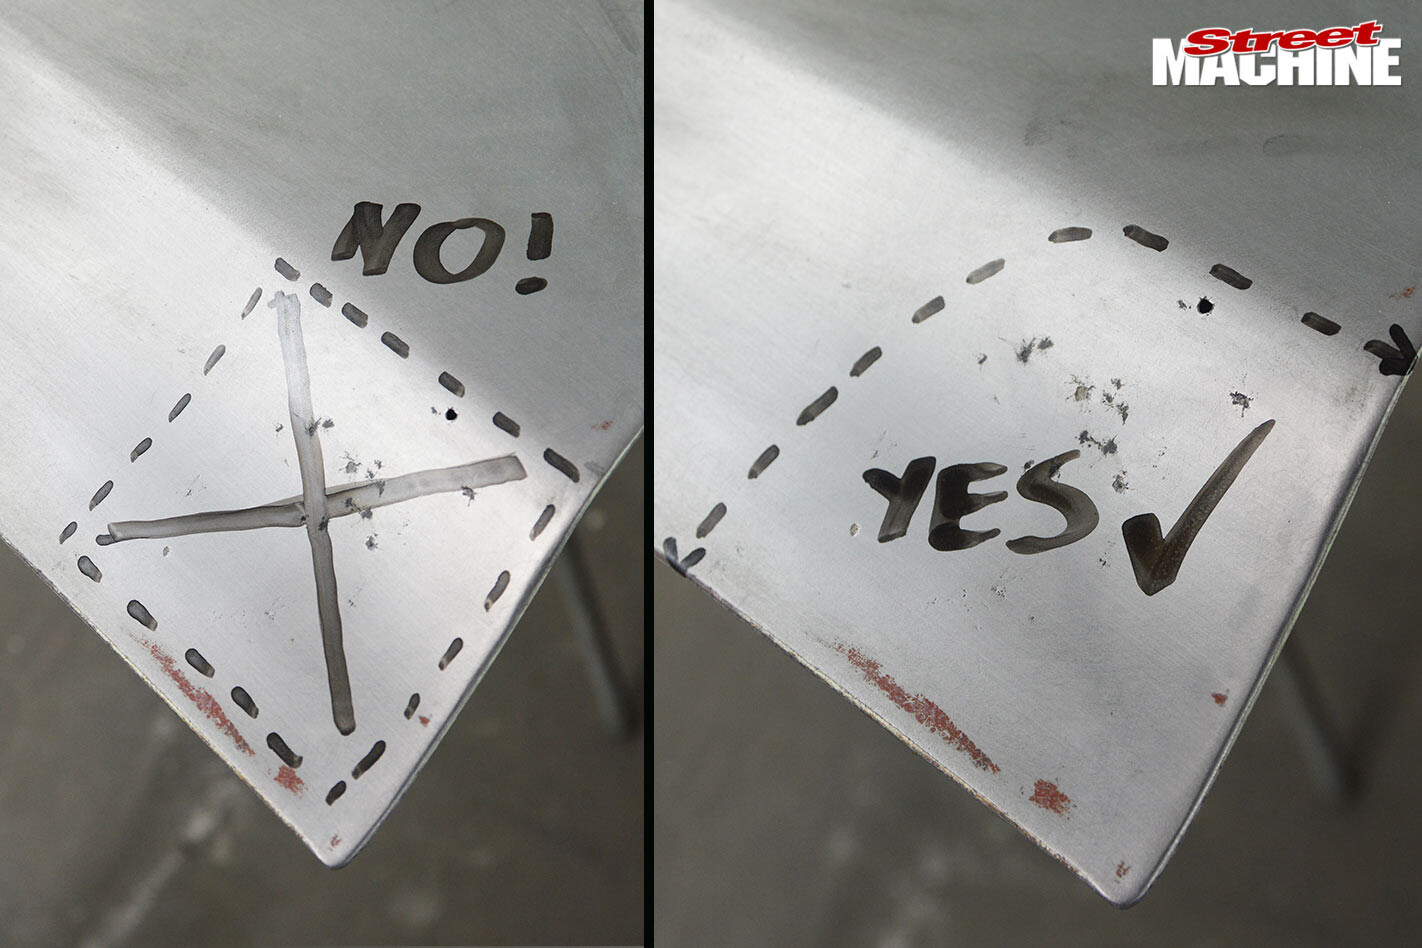 STEP 3. Cutting the outer skin and the seams away is the correct way to go about things here. This will allow a full clean-up of the seams and require less welding
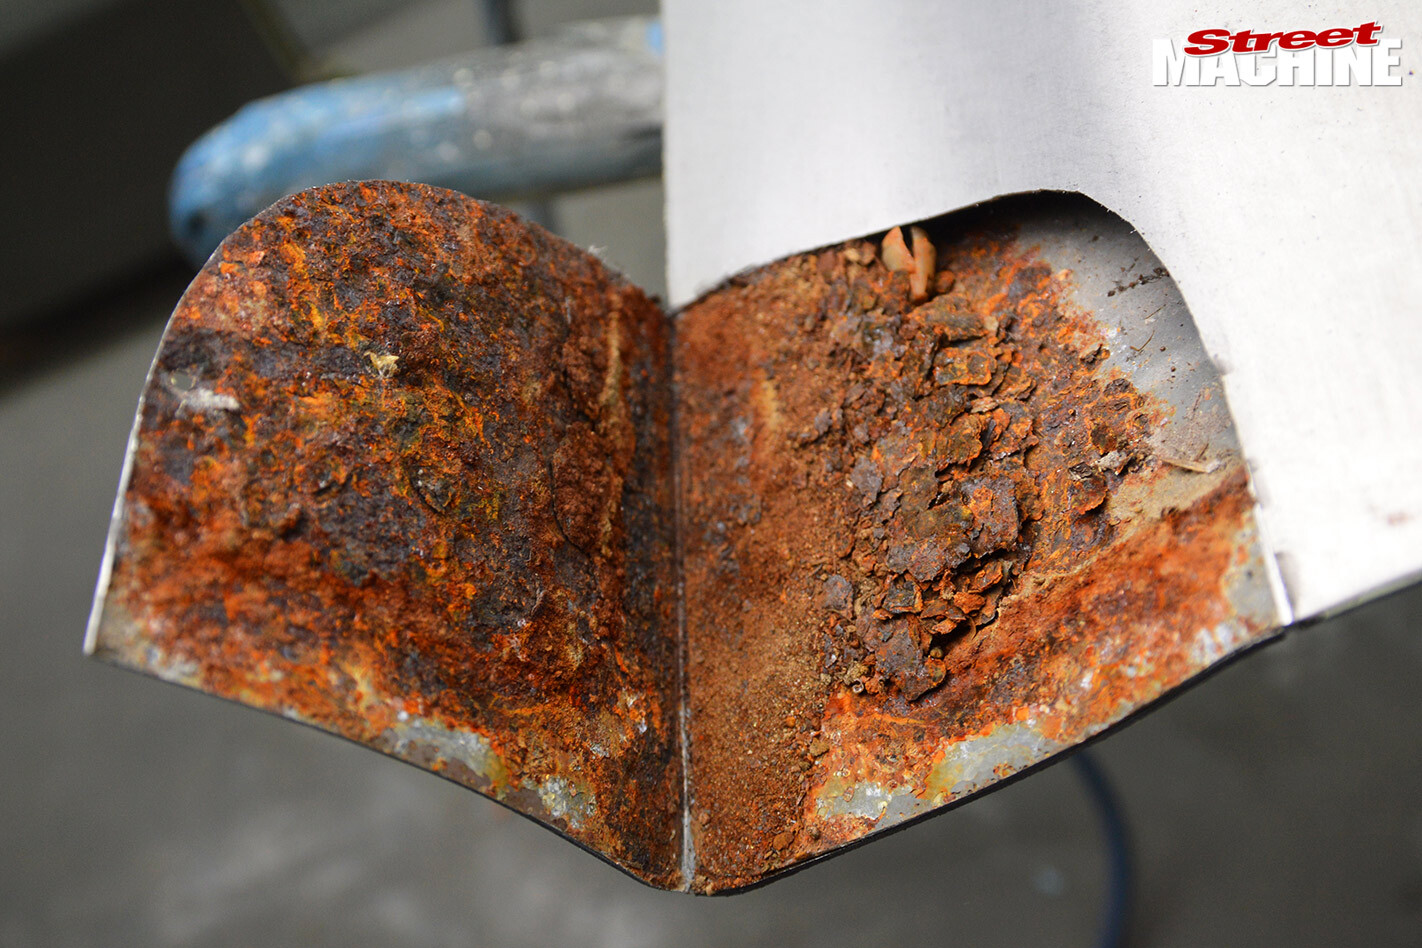 STEP 4. Once inside, we can now check to see if the door requires a full lower outer skin and/or work on the inner frame. Looks like just the corner will do, so it’s time to move forward
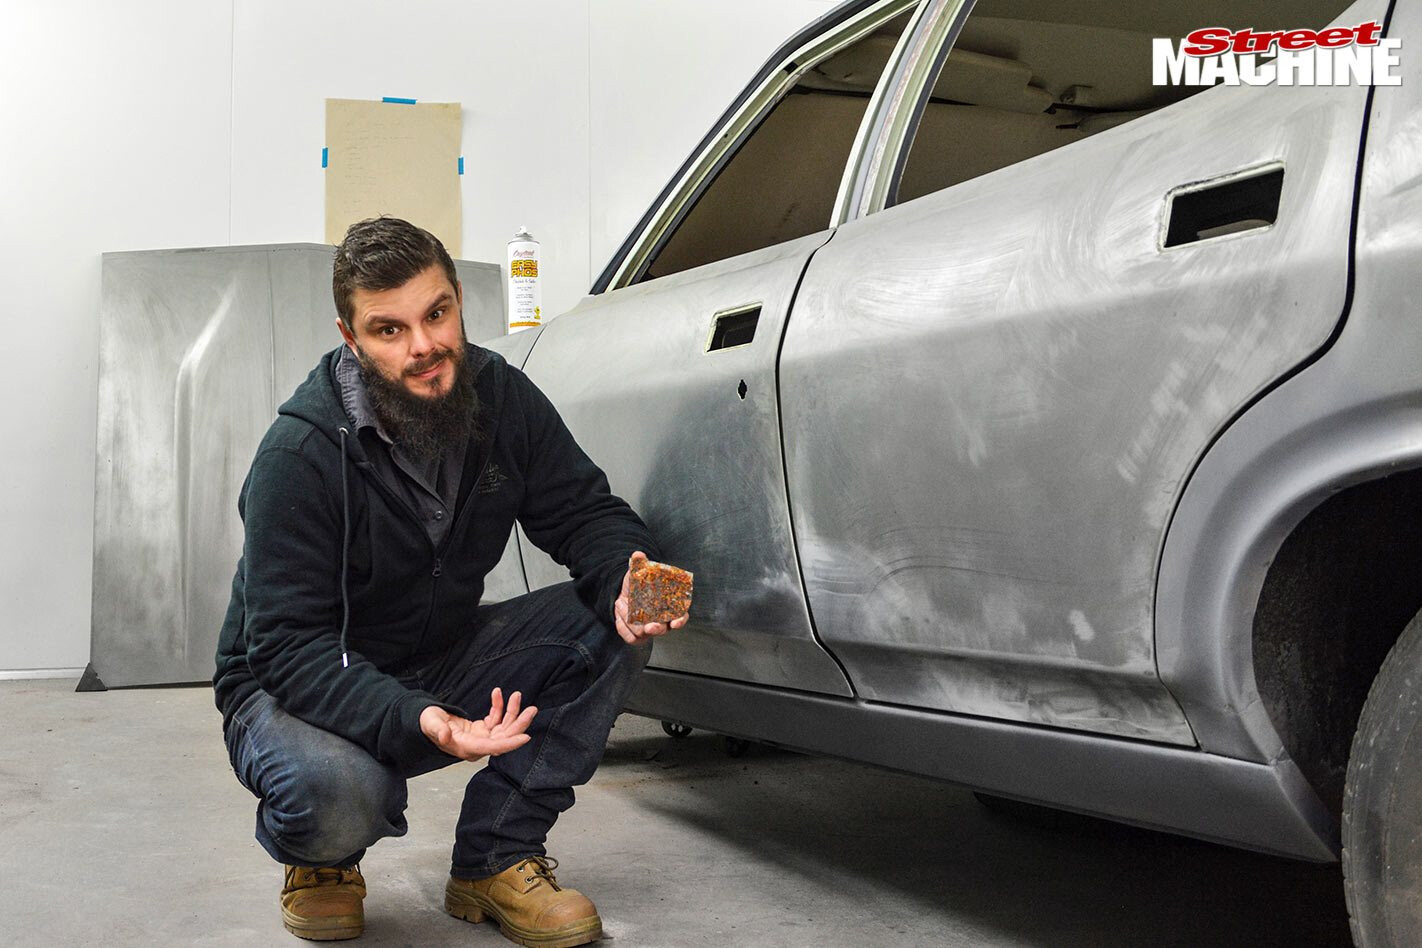
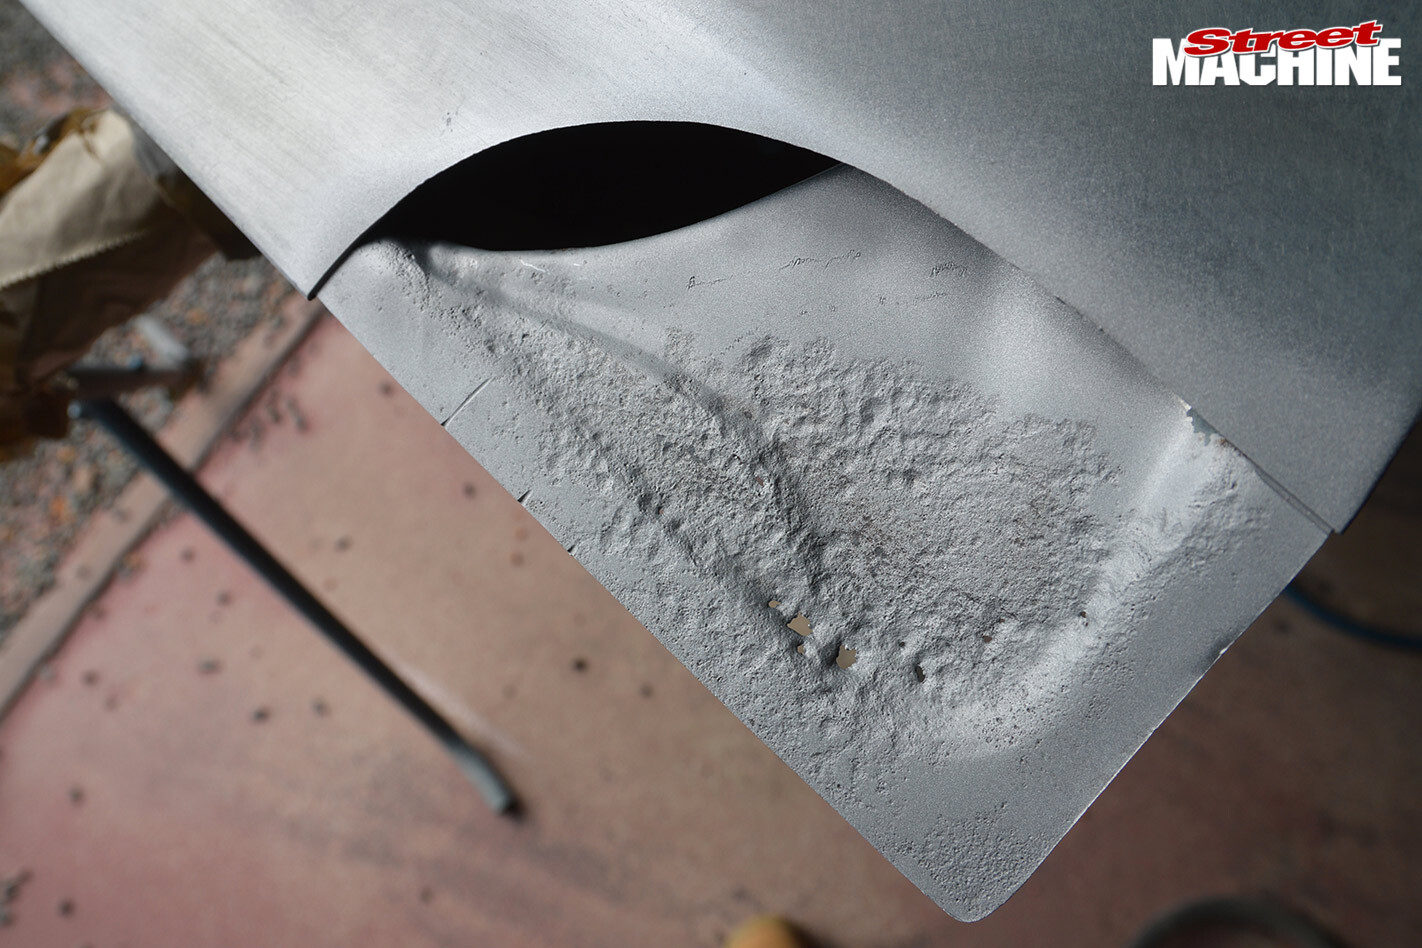 STEP 5. The optimum way to get rid of the surface scale/rust is sandblasting. Using a wire wheel and rust-treating is another method, but sandblasting is preferable. Make sure to keep the blasting away from the edge of the outer skin, as it may cause warping
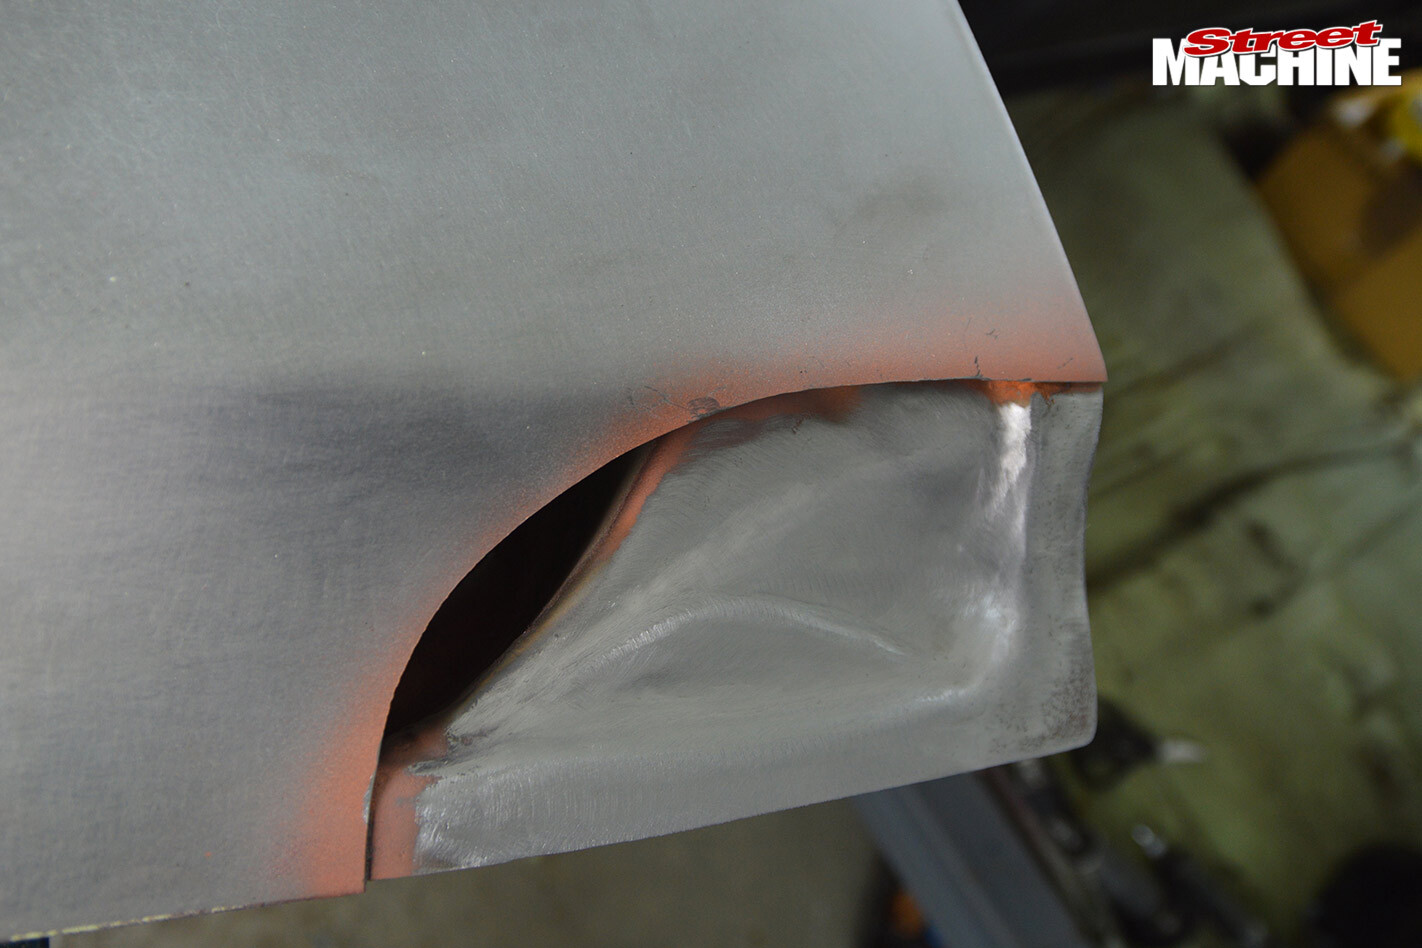 STEP 6. After blasting, you can sometimes get lucky and find no pitting large enough to warrant repair. Today was not that day; a new inner piece is quickly knocked into shape using hammers, a sand bag and an anvil
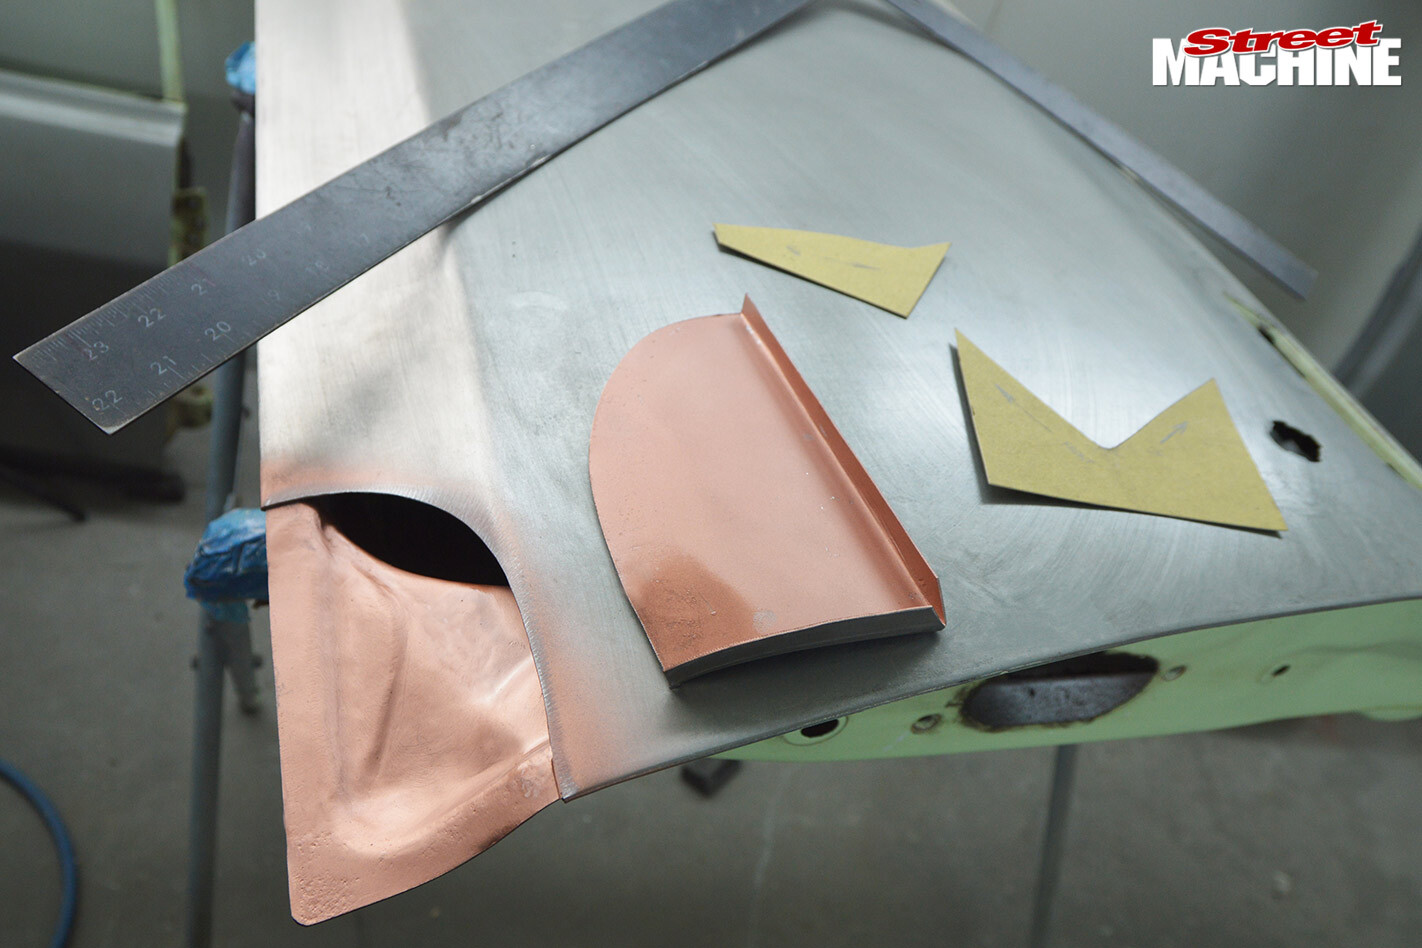 STEP 7. The inner piece is welded before a copper-based weld-through primer is applied
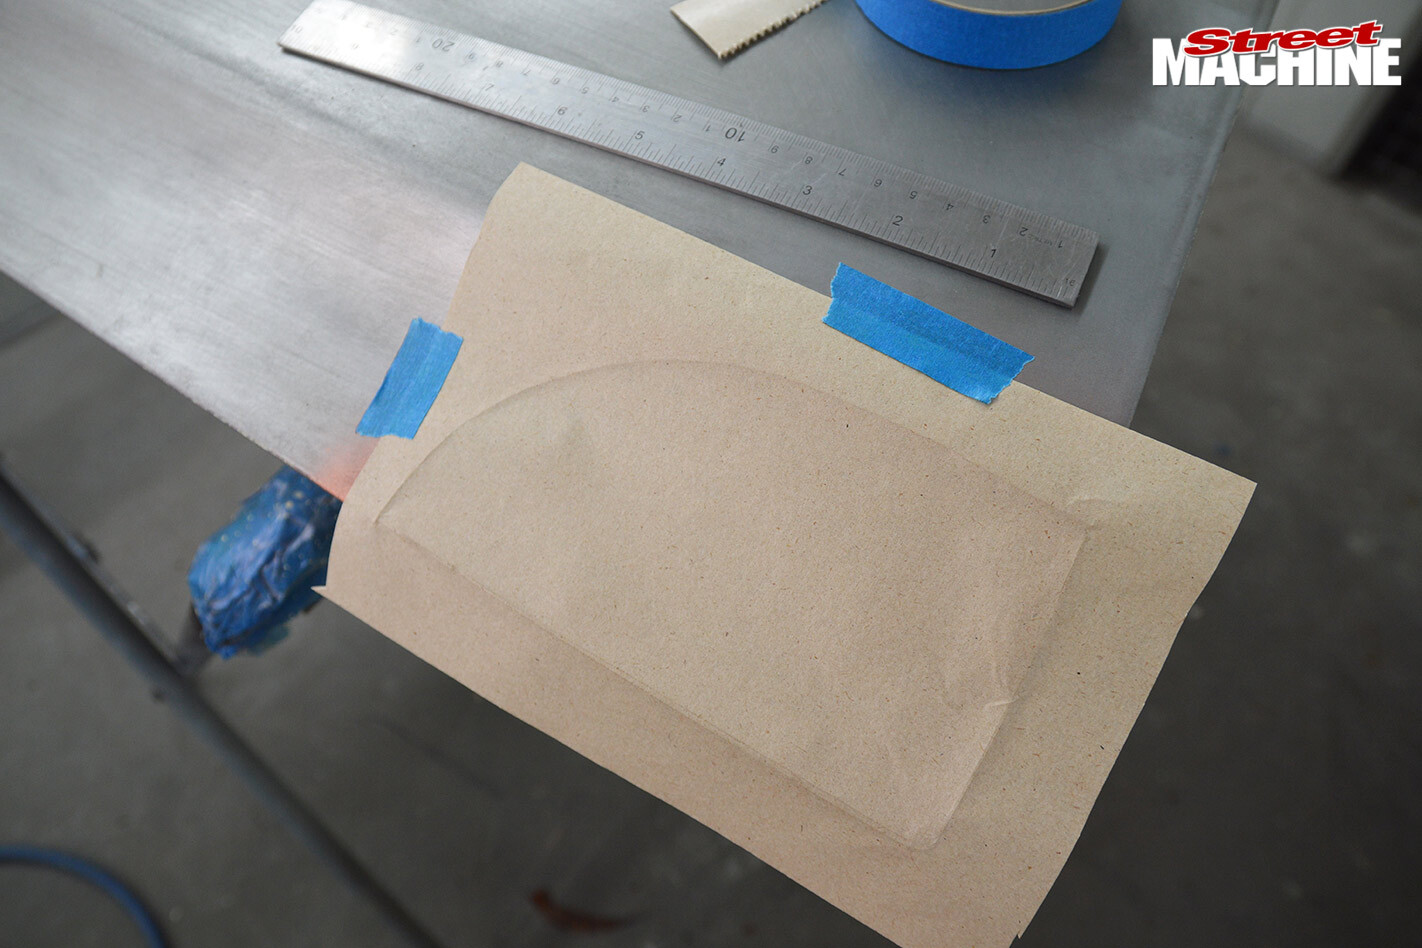 STEP 8. Time to fab the patch. Sometimes the piece cut out is enough to trace around for making a replacement section, while other times a thin piece of paper pushed against the edges is enough to give a decent template. This patch was a nice small one, so hand-bending around the gas bottle before a little wheel work and folding the edges was enough to replicate the factory curve. After a scuff-up, copper primer is applied to the back side of the patch
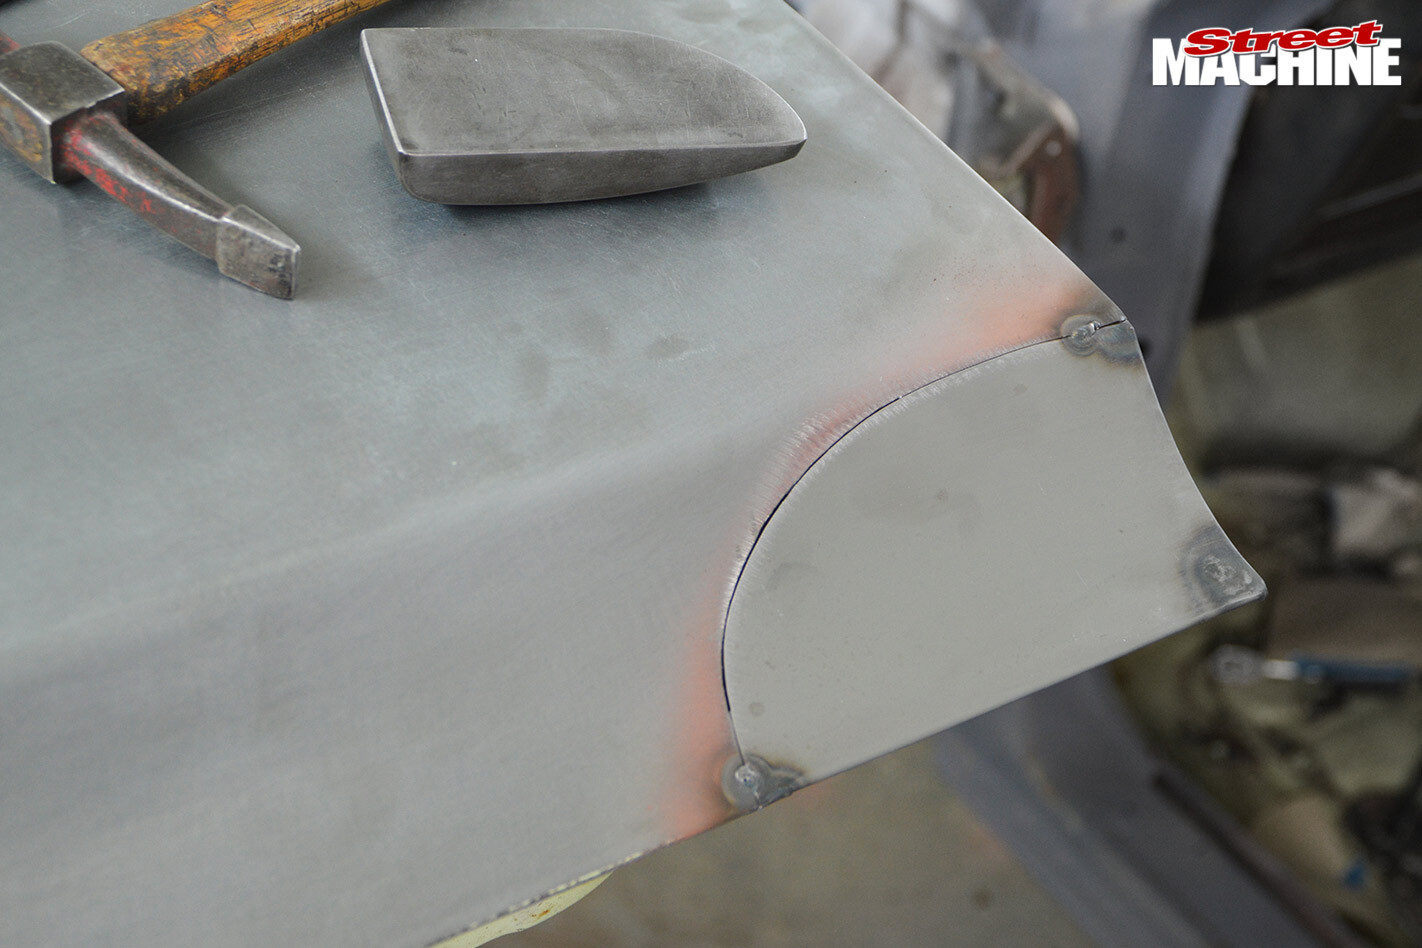 STEP 9. Trial fitment. This is where the card templates marked earlier might come in handy. Once you’re happy with the placement of the patch, two small tack welds hold things in place while the door is refitted to the vehicle. With the alignment confirmed, the edges can be worked over using a hammer and dolly. The fitment of the patch is butted hard up against the existing skin, as it will be TIG-welded; if you’re going to MIG, a 1mm gap should be left. Tapping along the edge of the seam will bring up slight lows. Getting the edge fitment right is important, as using filler along the edge of any panel is a big no-no
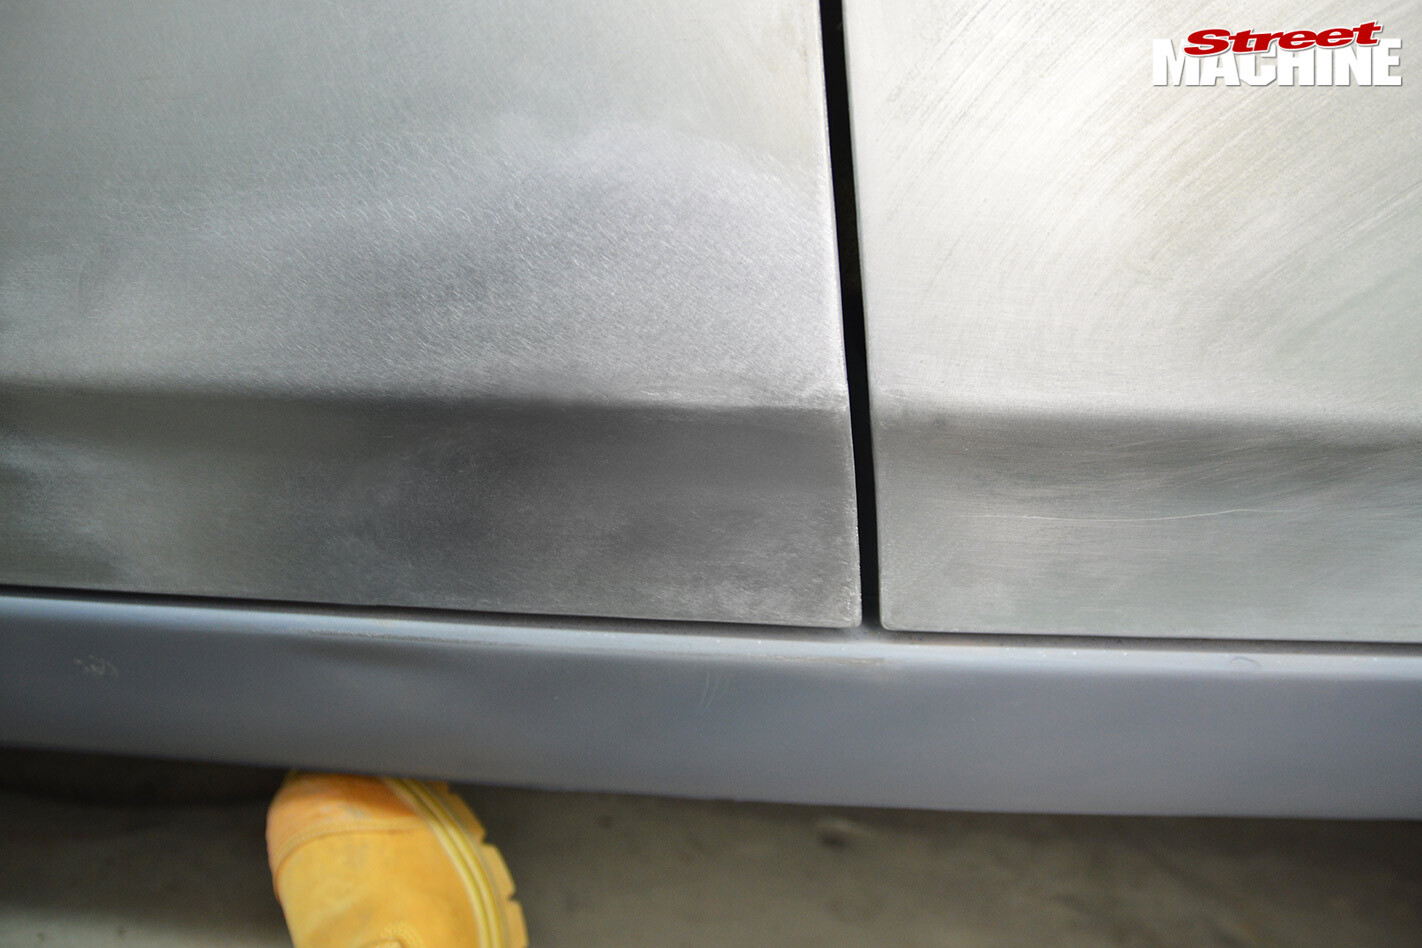 STEP 10. Rust-sealing products can be applied on the inside of the panel at this stage – not to be confused with cavity wax or similar; they are recommended after paint goes down. With a great range of rust protection products available these days, a nice repair should last a lifetime
WRAP UP
WHETHER you’re starting out on a full resto or just want to get rid of rust creeping out from under your paint, there is no such thing as a quick fix. Rust truly is the unforgiving bad guy in the shiny-car world. It can easily be one of the most infuriating parts of building a car, especially when you start digging. The task can seem overwhelming, even enough to stop a build dead in its tracks. But done correctly, rust repairs can also be very rewarding, leaving you with a good foundation to build on. Having the right mindset is the key. Bit by bit, piece by piece, you will get it across the line by staying focussed on the reward of bringing your pride and joy back to its former glory.

Comments