ANY spray painter will tell you that painting cars is all about the prep work; the job is only ever as good as the foundations it’s laid on. So what’s involved in the process?
This article was first published in the June 2020 issue of Street Machine
The following is some very basic insight into what it takes to get it done – Painting 101, if you will. These techniques will vary from painter to painter, but the fundamentals and end results will be the same.
For this job, I’ll be using a solid-colour, direct-gloss (DG) 2K paint. Unlike its predecessors, acrylic and enamel, 2K (also known as two-pack) can be used to paint a vehicle without the need to go back in with a buff to get a decent shine. It is also non-porous like acrylic, leaving your vehicle safely sealed from the elements.
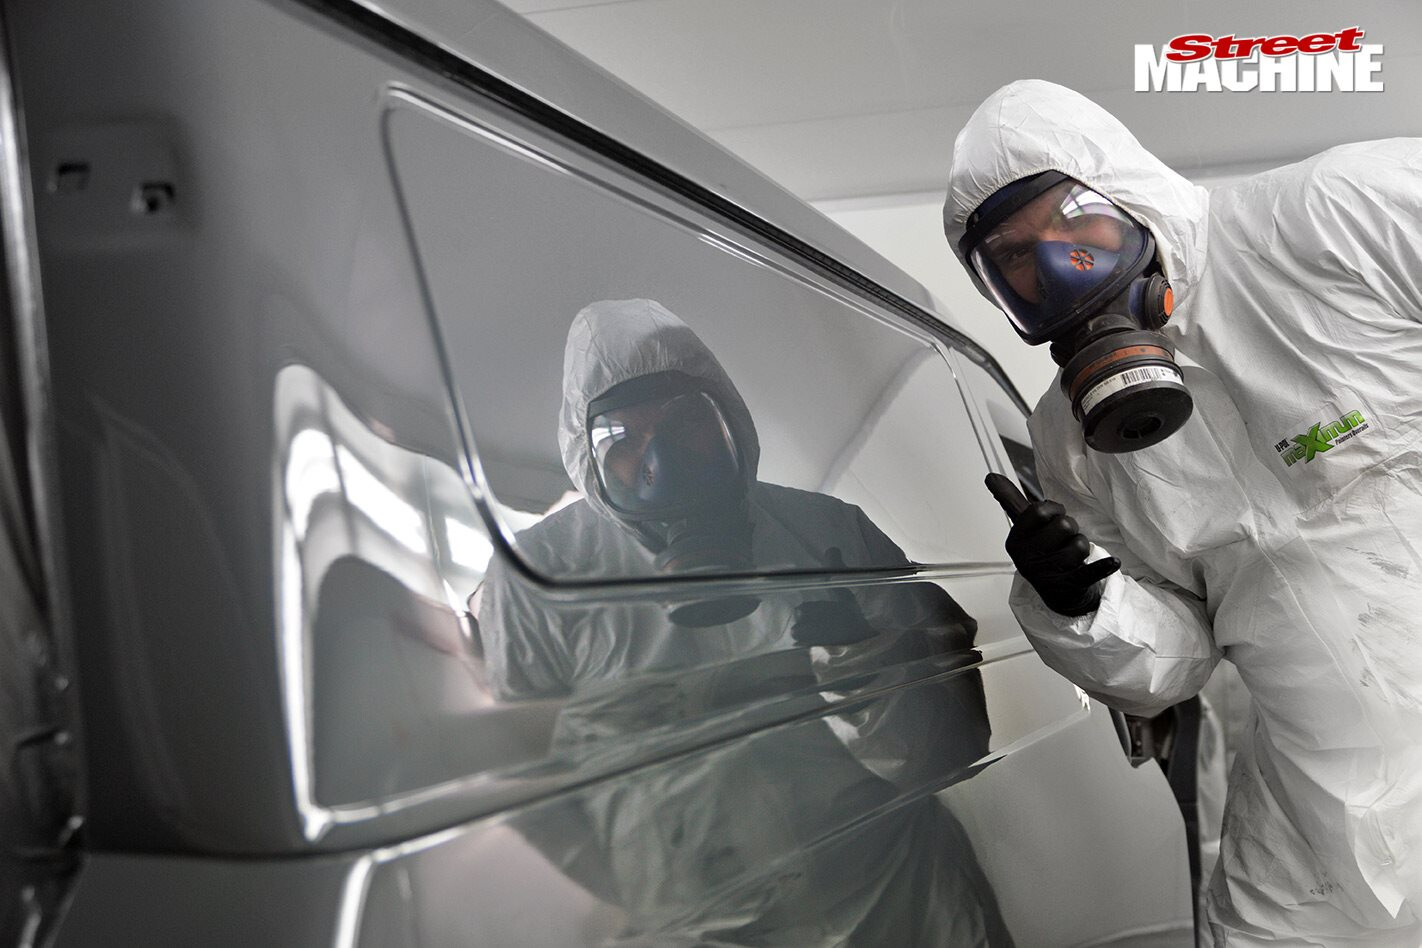
Now, I’m not suggesting you pick up a spray gun and have a crack at it yourself in the backyard, because 2K is quite a toxic mistress and should be sprayed in a filtered booth. Spray suits, respirators and other personal protective equipment are also preferable, not only to keep yourself safe, but to keep debris like stray hairs out of your job.
STEP-BY-STEP
STEP 1. After initial metalwork and filler work is complete and finished out in 120-grit sandpaper, three fat coats of high-fill primer are laid down. This is left to sit for a few weeks before sanding takes place; this gives things a chance to settle and cure.
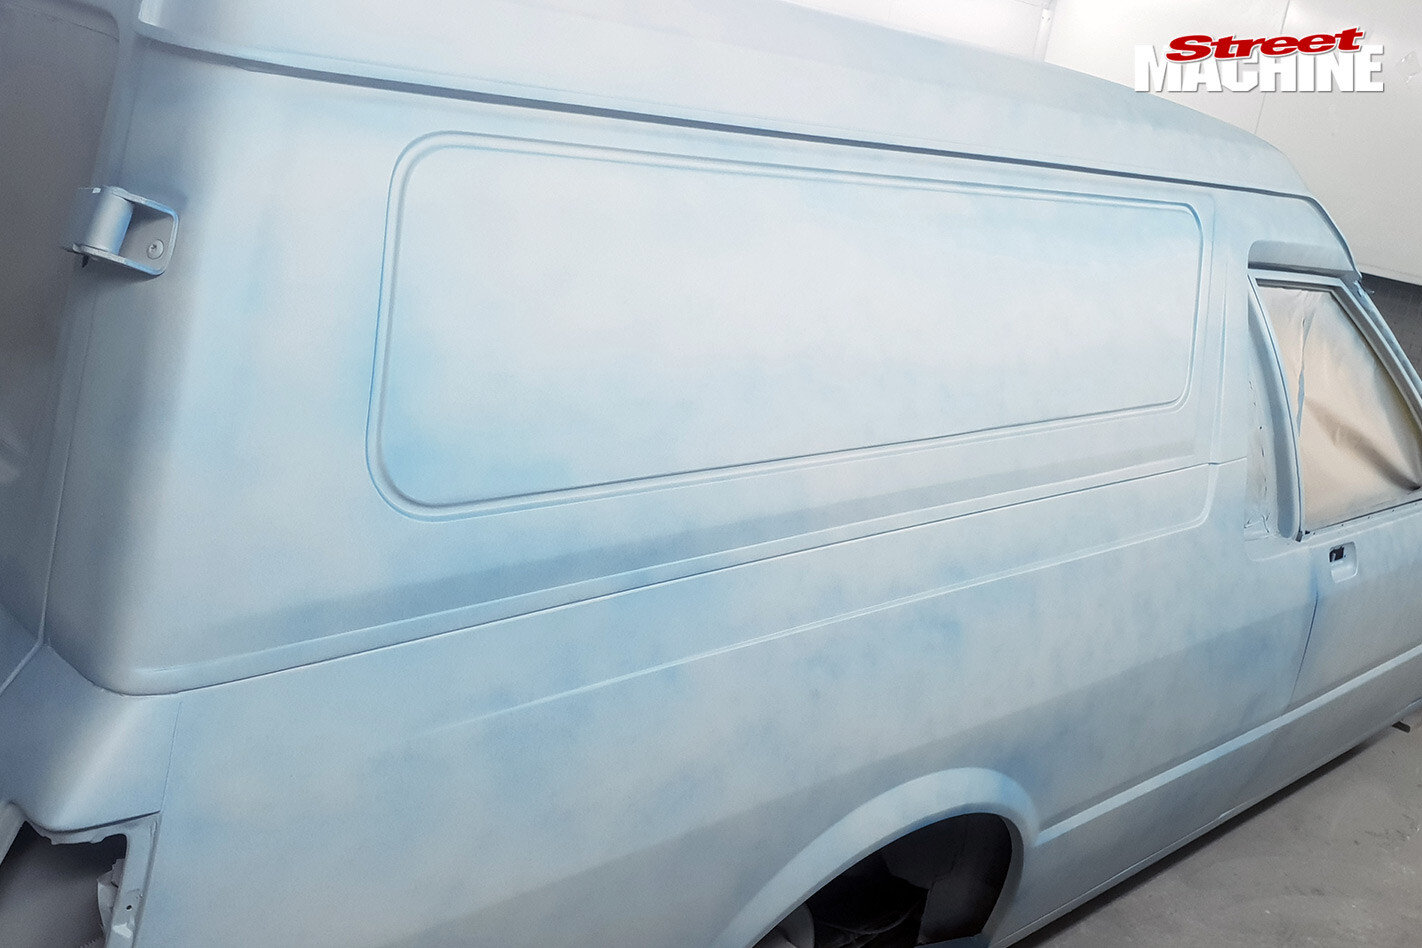
STEP 2a. A guide coat (thinned base coat in this instance) is dusted over the primer before sanding takes place. A marine board with 180-grit is used on the large flat areas, and the guide coat will help you spot any low areas that might require extra attention.
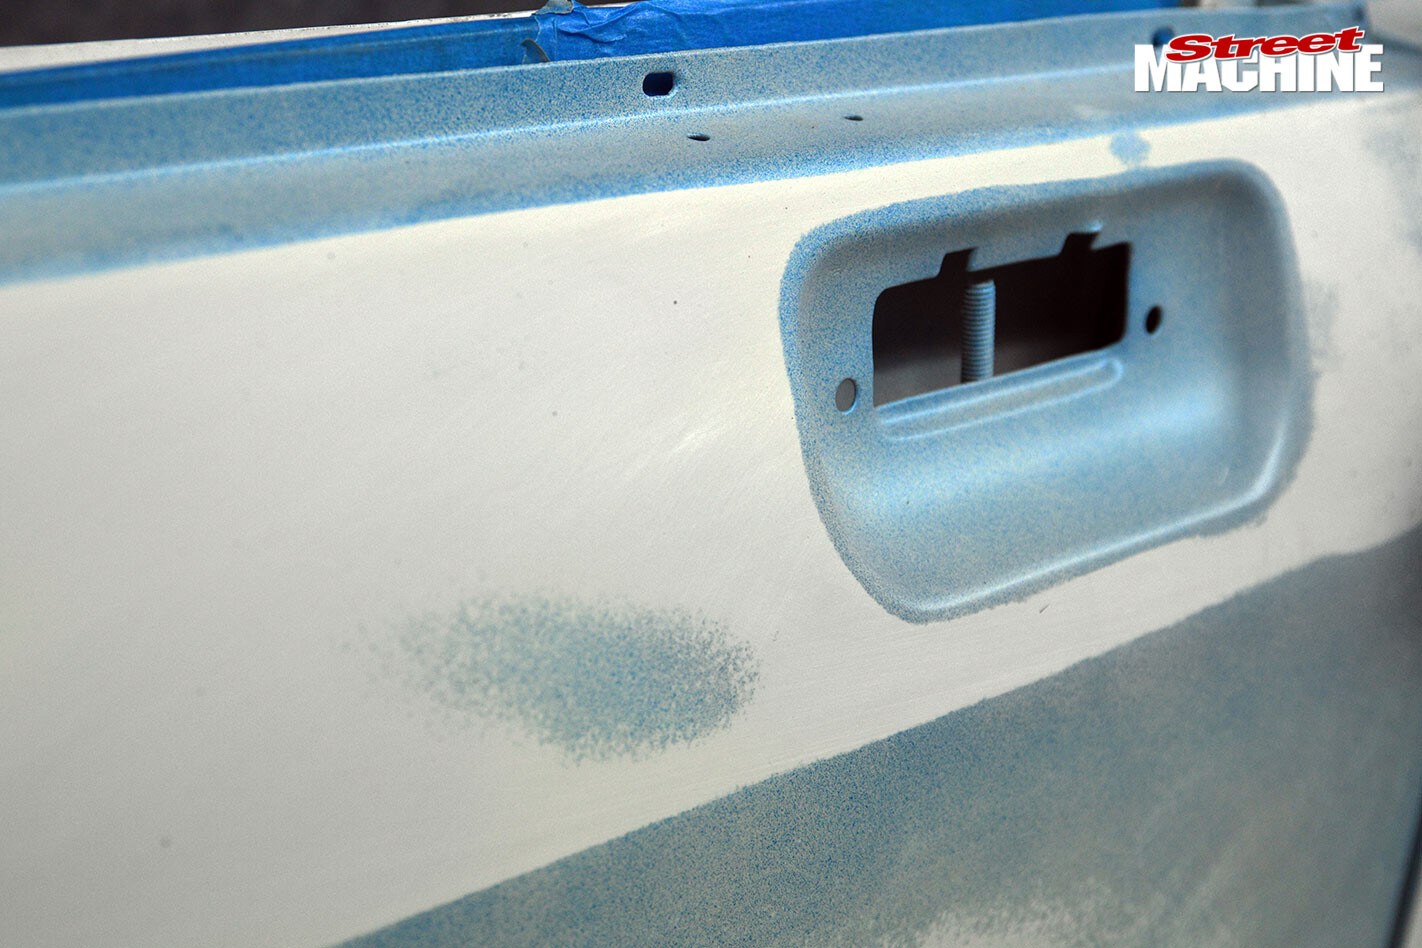
2b. A quick scuff of these areas and a skim of filler and more sanding will help rectify any imperfections. Tape can be used along the body lines to help get sharper, straighter edges.
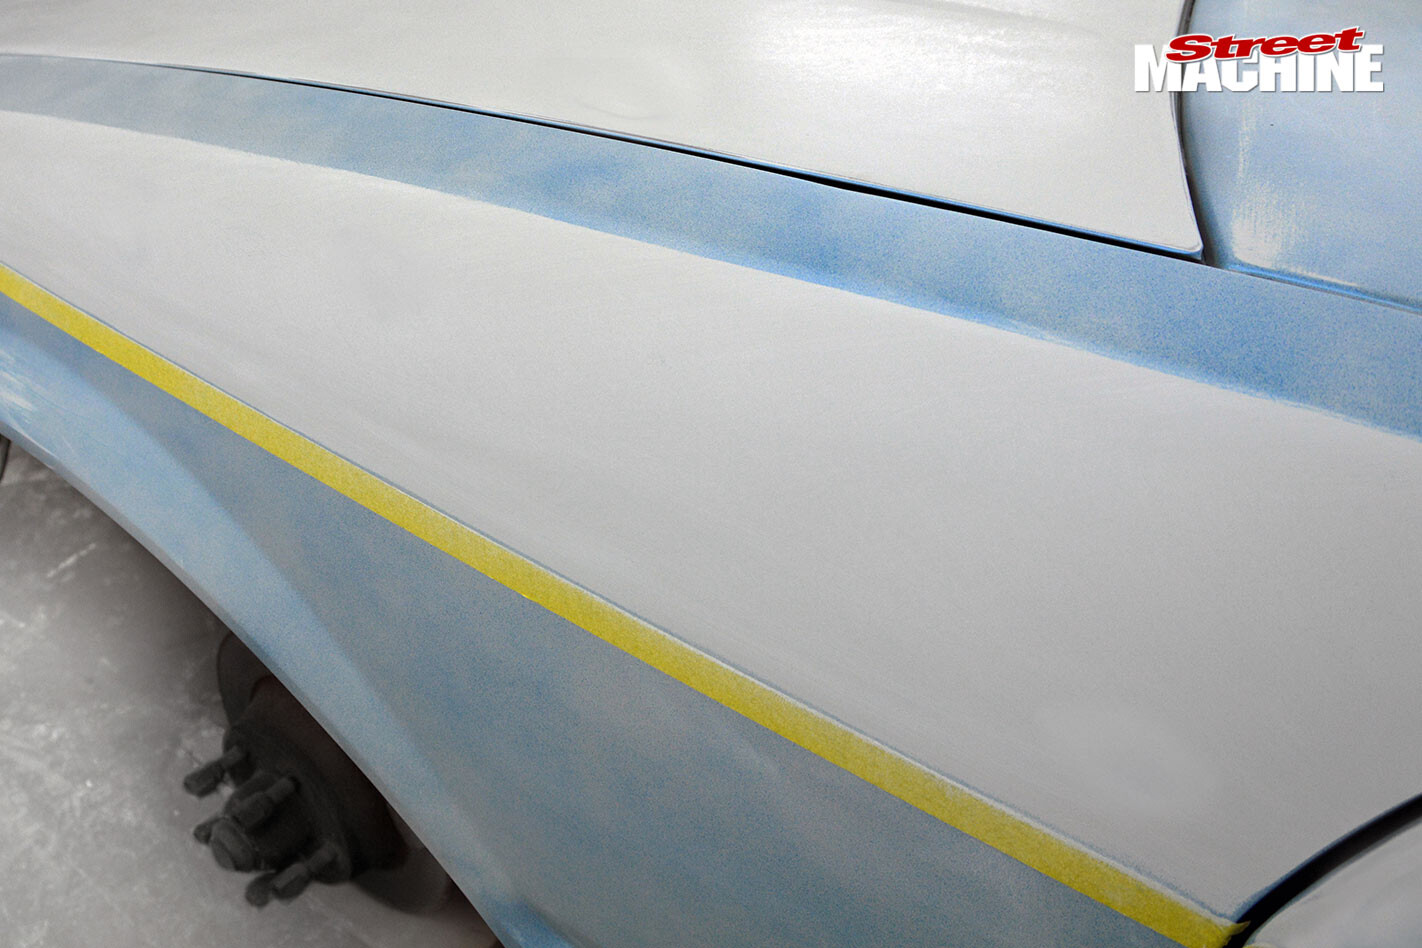
2c. Just like with filler work, it’s preferable to sand primer with all adjacent panels bolted down like they would be in the final fit. This stops the ends dipping in from over-sanding.
STEP 3. Another round of high-fill primer is laid down and left to cure. Having said that, there are plenty of products available that will eliminate the need for two rounds of priming, including spray polyester and the like.
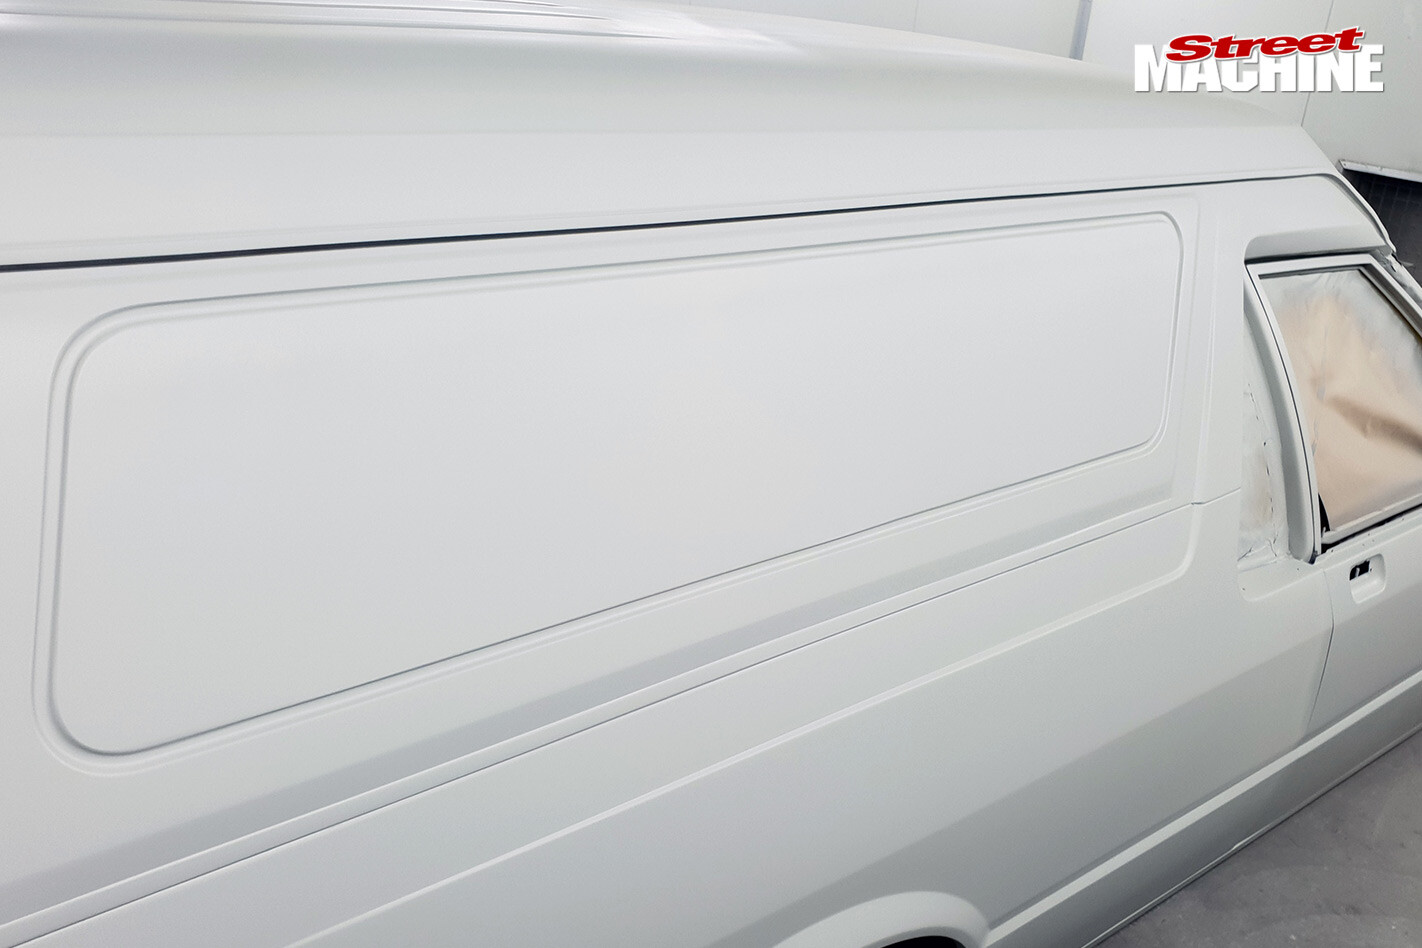
STEP 4. The second round of primer is again guide-coated and blocked out, working from 240-grit to 320-grit and through to 500-grit. This job will be painted with a direct-gloss solid colour. In most cases a DG will fill the sanding scratches left from 500-grit. When painting a metallic base, 600-grit is used to finish the surface (or 800-grit on finer colours like silver). Using boards, blocks and speed files from beginning to end is the preferred method here. Palm sanders will work, but unless used correctly they will create ripples in the final result.
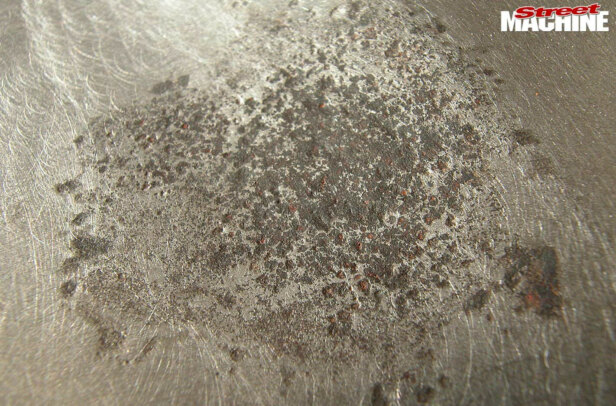
STEP 5. Once blocking is complete and the car is free of lows or wobbles, any areas that have been rubbed through exposing metal can be spot-primed using etch primer. The car is then given a wipe-down using Prepsol wax and grease remover, with one slightly damp rag followed closely by a dry rag. Think Mr Miyagi and his ‘wax on, wax off’ methodology.
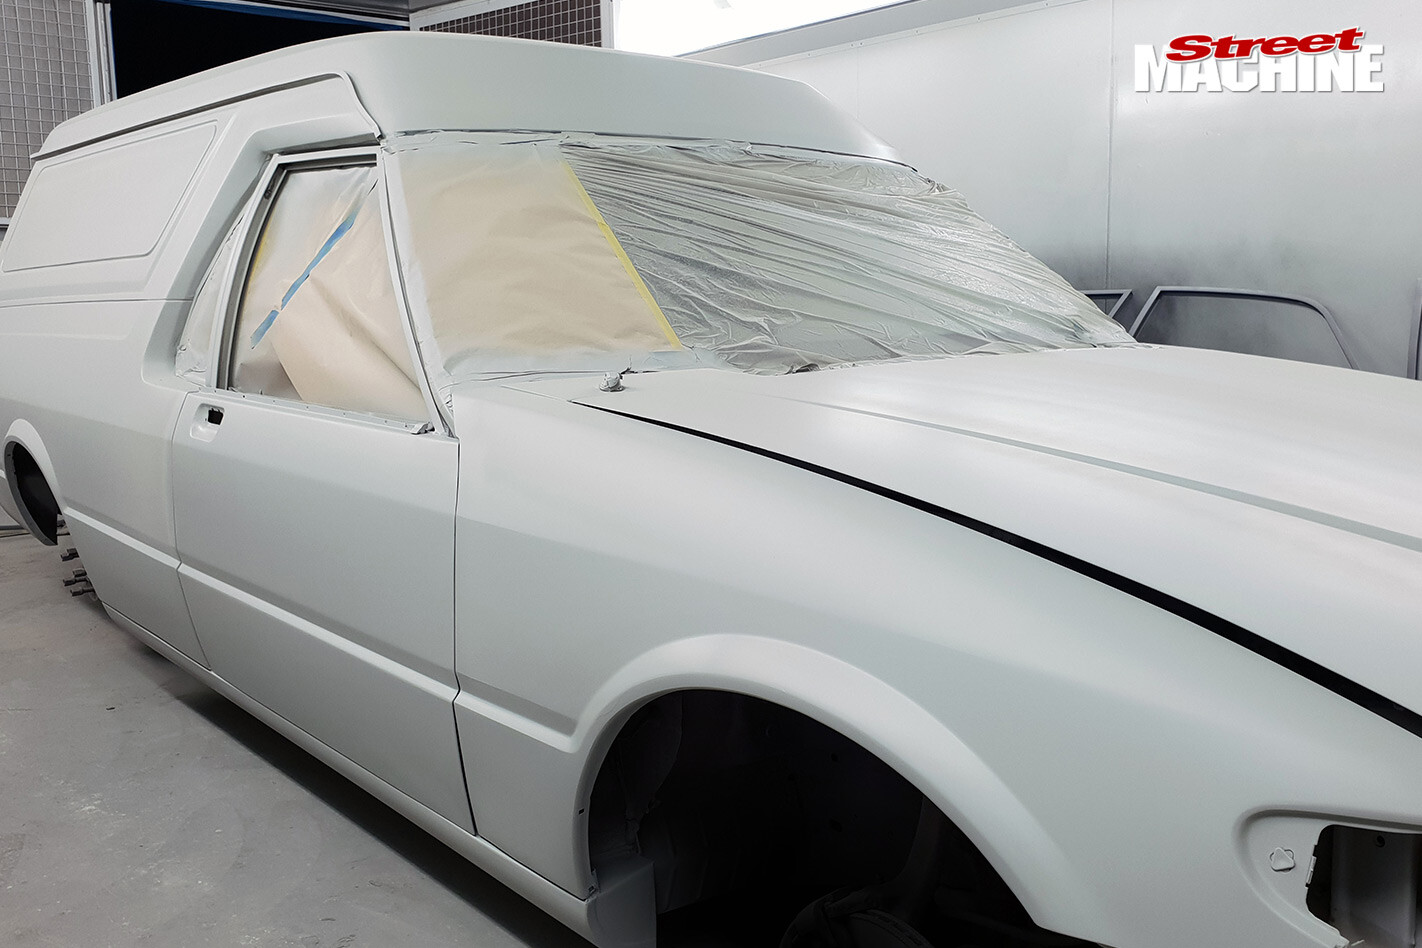
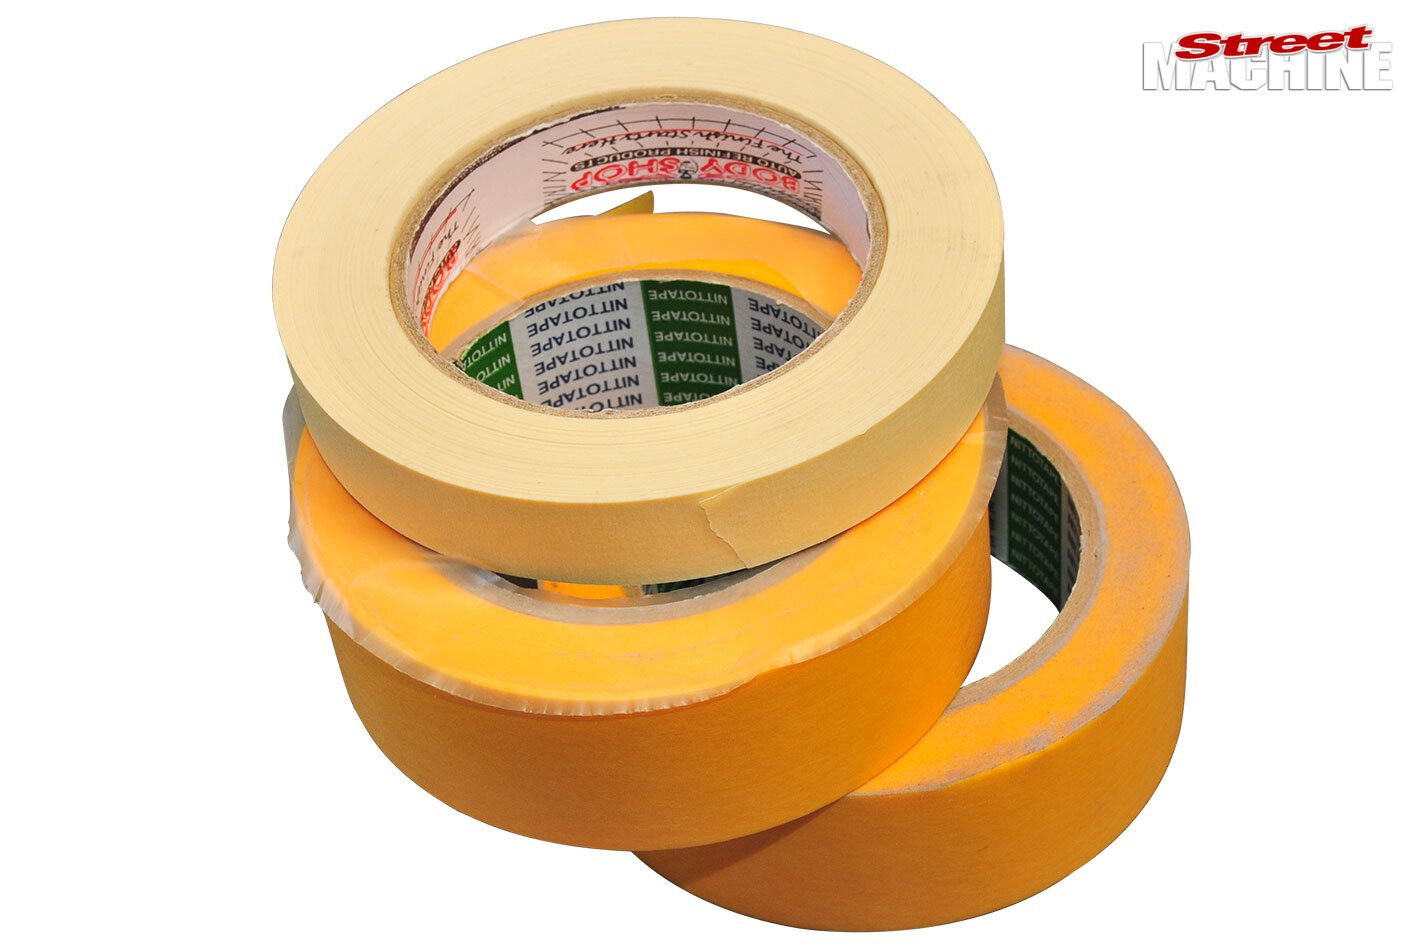
STEP 6a. Masking is next on the list. The process is usually a giant pain in the ring, but it’s hugely important. Every hole is covered, not only to avoid overspray but to prevent any dust from blowing back onto the job. Being a solid colour, we can remove hanging panels from the car and paint the inner edges at the same time as the quarters in order to avoid tape edges. Metallic colours, however, should be sprayed with the panels aligned to avoid mismatched colours.
6b. Body seams are temporarily masked either side to avoid mess, and sealer is added to any necessary areas.
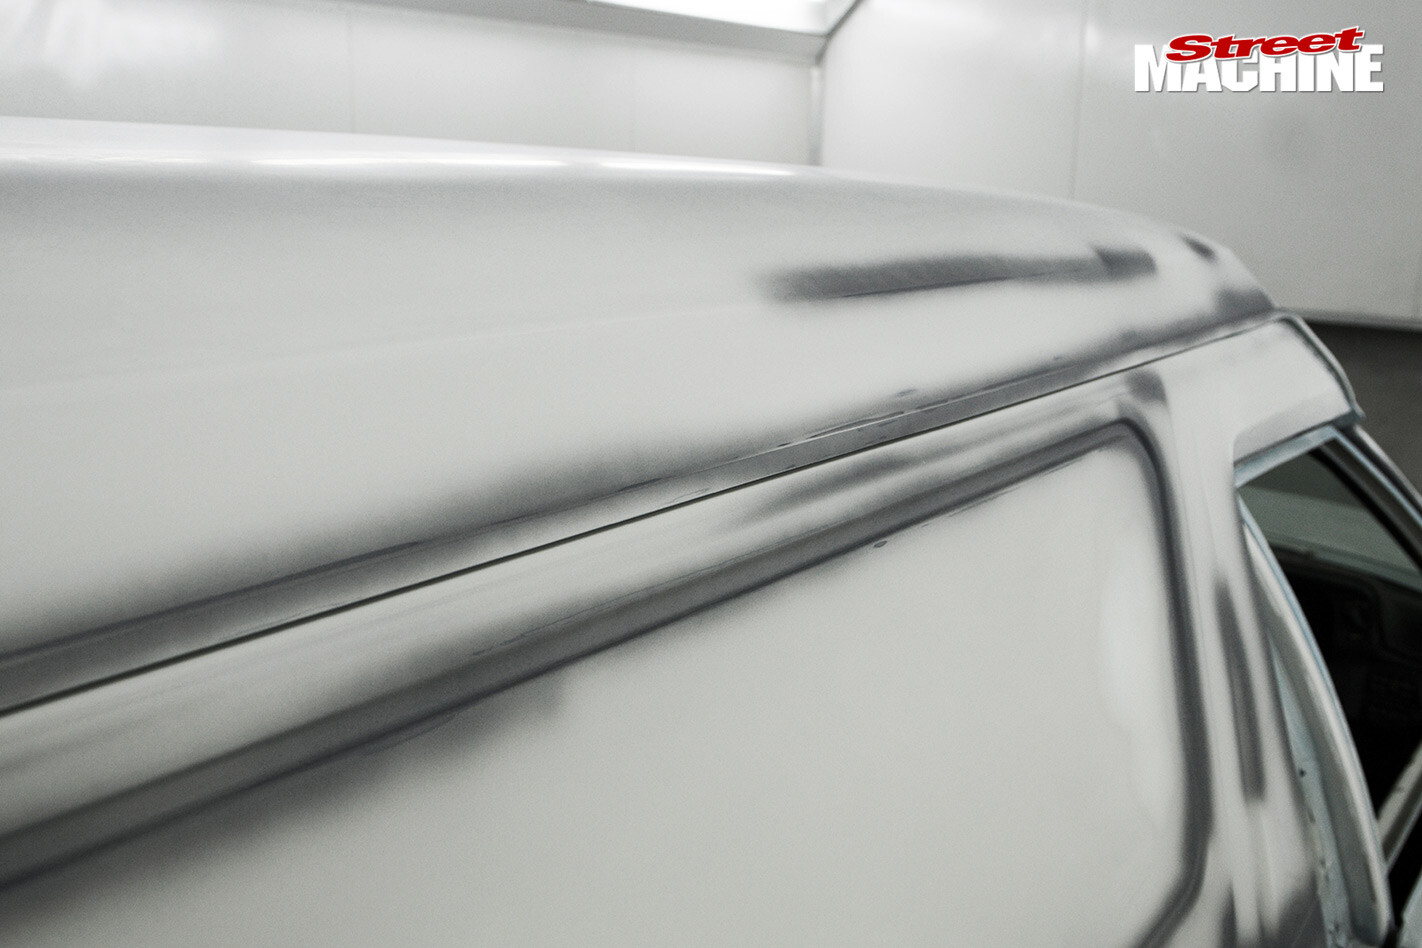
STEP 7. As per the product specifications, a 4:1 ratio (four parts paint, one part hardener) thinned to 10 per cent is mixed. However, 2K isn’t always a 4:1 mix; ratios may vary from brand to paint type. The percentage of thinners added can also be down to personal preference. With a loaded spray gun, it’s back into the booth. It always pays to have a little test squirt on something other than the actual job, just to test and tune your gun and see how your mix is spraying. Another blow-down of the car with air and a quick run-over with a gloved hand is helpful in removing any dust particles that may have settled.
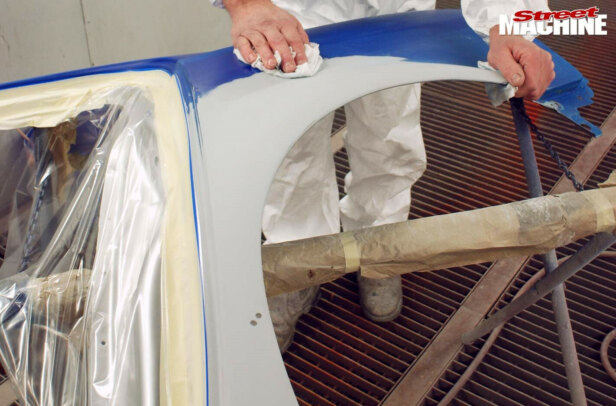
STEP 8a. A quick wet-on-wet sealer coat is laid down first to seal any rub-throughs, fill any additional sanding scratches and prevent potential fry-ups from the 2K reacting with anything underneath.
8b. A quick wet-on-wet sealer coat is laid down first to seal any rub-throughs, fill any additional sanding scratches and prevent potential fry-ups from the 2K reacting with anything underneath. Then, with the spray gun held parallel to the panels, it’s time to lay down the first coat. Some people make the first coat the same thickness as the last, while others prefer a light coat or ‘half-coat’ first up; it’s all personal preference. Spreading the fan out and giving the paint a 50 per cent overlap will give the best coverage. Airflow and the amount of paint coming from the gun will determine how fast you need to move along the panel. This is something that can take a while to master.
STEP 9a. Once the first coat has tacked off (half dry, slightly sticky), the second coat goes down, laid down thicker this time around. The number of coats required varies; usually high solids will require two coats, while medium solids (being a ‘thinner’ paint) will take three. In cases where the paint is going to be colour-sanded and buffed, more coats can be added.
9b. As seen here, the weeks of prep work have paid-off, leaving things super-straight. The panel van is just a parts runner for the shop, so the ‘off-the-gun’ finish is left alone, but there are future plans to change a few bits and reshoot in metallic.
9c. 2K does not have to be baked (though it can be); it will settle and cure in its own time. There is a small window of time in which 2K can be sanded and buffed; if left too long, it can become fairly hard and make things difficult.
WET vs DRY SANDING
Wet-sanding primer in preparation for paint has been pretty standard practice until recently, but 2K primers are still porous, and rubbing through wet into filler or having water run into unsealed seams is a big problem. Sanding dry means your paper will clog faster, but a quick blast of compressed air will help with that.
DIRECT GLOSS vs CLEAR-OVER-BASE
Direct gloss (DG) refers to having a colour mixed with a hardener. Clear-over-base (COB), on the other hand, is a colour mixed with thinners. This is your basecoat, and then a clear mixed with hardener is applied to seal things and give you a particular shine (gloss, satin or matte).
WRAP-UP
So there it is – a very basic overview of automotive spray painting. As with anything of this magnitude, it requires the right materials and equipment and plenty of practice to master. The best results will of course come from those with years of experience under their belt.
Comments