
First published in the August 2003 issue of Street Machine
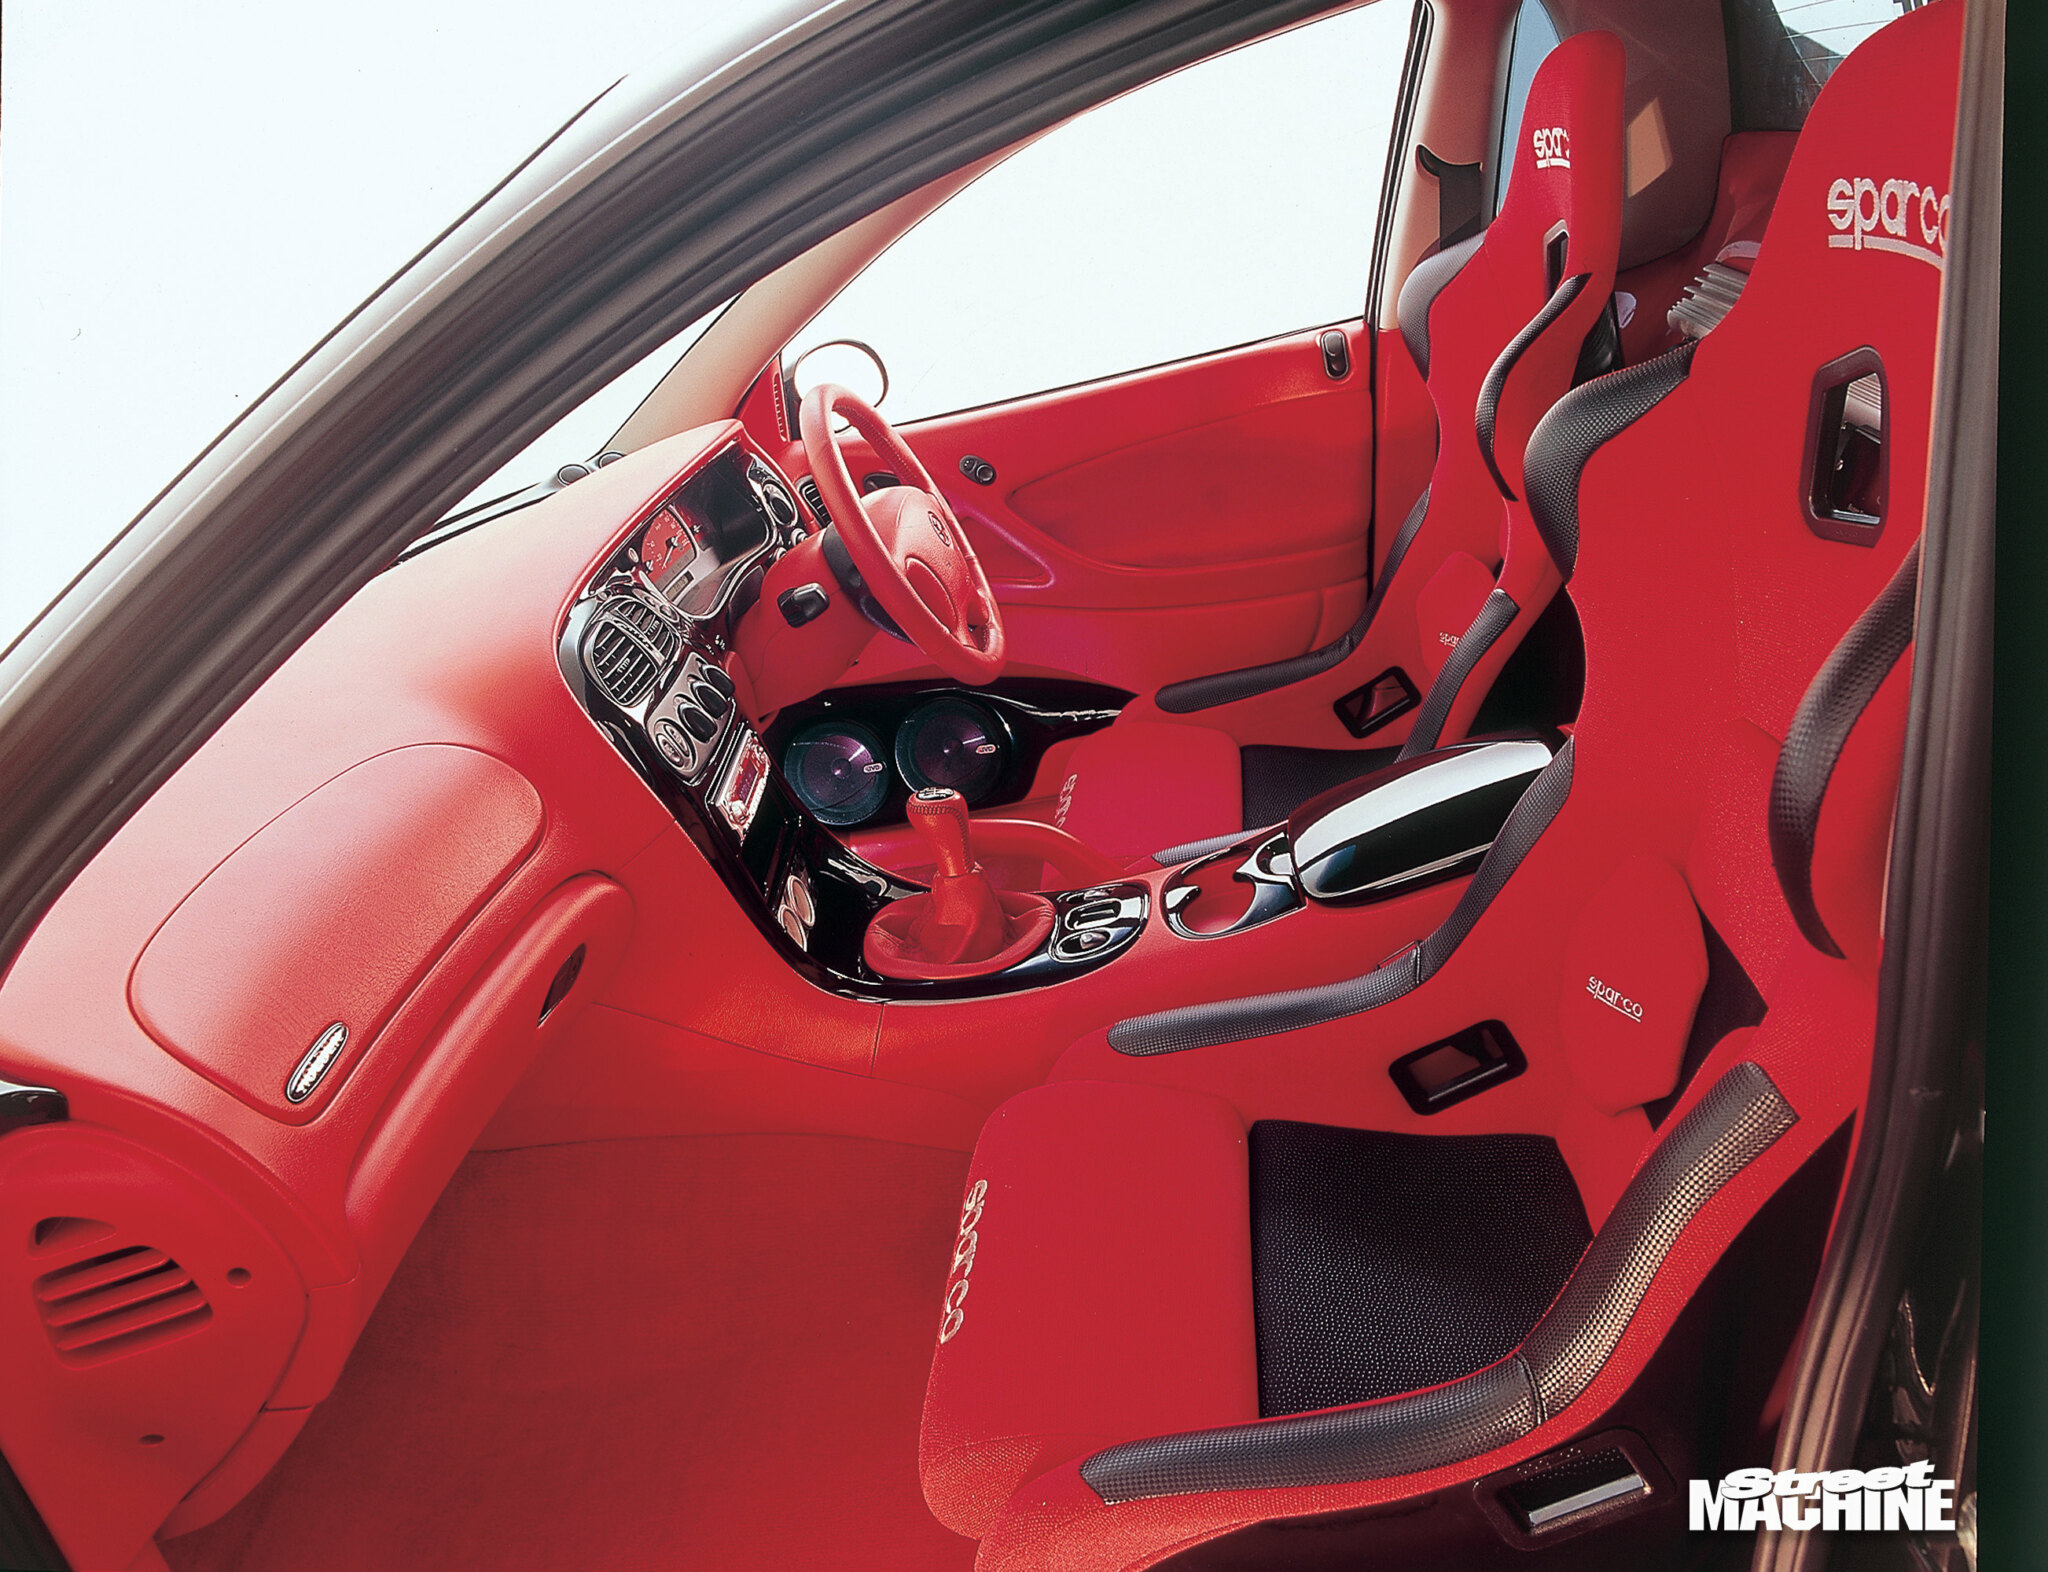
With those retina-searing-red Sparco seats and matching Tru-Fit carpets in place, we were champing at the bit to get the rest of the interior up to scratch. Our plan from the outset was to give VU FOR U an all-red interior with a few gloss-black and factory-grey highlights, which meant we had to re-colour the remainder of the interior, and discovered a couple of ways to approach the situation.
Ross at Precise Trimming explained that the two most common methods of achieving a complete colour change is to recover everything in the appropriate-coloured leather or vinyl, or paint all the necessary pieces. Recovering is the less-favoured option as there are a couple of drawbacks. The thickness of the recovering material increases the size of the trim pieces just enough to stop them from fitting nicely back together. The other disadvantage is the cost; recovering will set you back around $2600*, while painting is closer to the $1800* mark. Both prices will vary from vehicle to vehicle depending on the complexity of the interior and the number of pieces.
Considering the trim in VU FOR U was virtually new and in good nick this seemed a bit excessive to recover everything, so we decided to go for the paint option instead.
For optimum results, Precise uses a special Uticolor product specifically formulated for recolouring and repairing plastic, vinyl and leather. With the method decided on, VU FOR U was shipped off to Precise’s Gold Coast workshop for the transformation from boring grey to invigorating red!
STEP-BY-STEP:

1. Once again VU FOR U’s interior had to be completely stripped – even the door trims had to come off. With the interior having been in and out so many times, we might have been better off replacing all the trim screws with zippers.

2. The crash pad was also slated for repainting, so it, too, had to be removed. This was by far the biggest job. If you’re not used to stripping interiors to this extent, it might be an idea to make notes on what went where and in what order as a bit of a step-by-step guide for re-assembly.

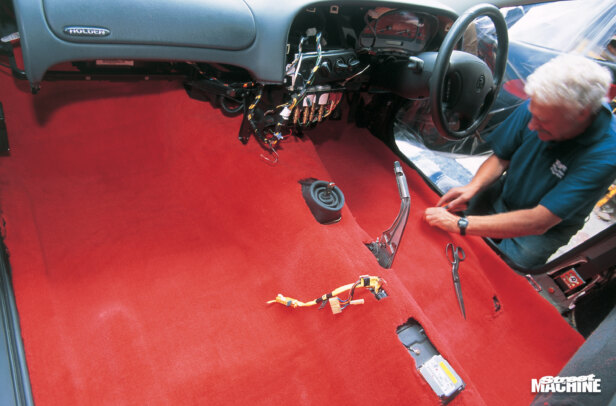
3. Not much left once the trim has been stripped out. Some cars may be even more Spartan, as the Commodore crash pad unbolts separately leaving major components like air-con and heater systems intact. On many other cars you’ll have to strip it bare to the firewall to separate the crash pad.

4. Yep, there are a lot of individual parts in the trim of a modern car. It’s usually about here that people not used to working on cars get very scared and start asking, “You can get all that back together, can’t you?” While reassembly is like a jigsaw, at least it’s a little more intuitive.

5. It’s imperative to thoroughly clean all the surfaces to get rid of dirt, grime and surface protectants (silicon-based products, etc). Don’t be shy, start scrubbing with hot soapy water. Be meticulous as any surface contaminants will effect the paint’s adhesion properties.

6. While a good scrub with warm soapy water will remove most of the impurities from the surface, it’s also important to remove all traces of detergent. A good dousing with plain tap water will do the trick.

7. Clean it, then clean it again. When painting, cleanliness is next to godliness. Even the oil off your skin can cause problems later on. Therefore, the last preparation task is to thorough wipe everything over with wax and grease remover. From there, touch no area that is to be painted.

8. Most plastic interior panels are manufactured from polypropylene. Car manufacturers use this material because nothing likes sticking to it – even paint! So to help adhesion, all the panels were first sprayed with a special plastic primer (clear) before application of the pink undercoat.

9. When applying the primer and undercoat, adhesion is further improved by warming each piece with a heat gun while spraying. The technique is to warm an area then apply paint before moving onto the next area. It’s important not to overdo it with the heat gun as you could actually cook the paint.

10. While it’s probably very tempting to start applying colour as soon as you’ve finished undercoating, it’s best to give the freshly-applied undercoat at least a couple of hours to dry before the application of the final coat of colour.

11. Although the Uticolor range of paints can be colour mixed and matched like normal paint, we went for straight red – the brightest in the Uticolor range. Once again the panels were warmed with a heat gun to help adhesion. Don’t inhale paint fumes, use a breathing mask whenever you’re spraying.

12. While the paint is touch dry in an hour or two, it remains ‘green’ (soft) for much longer. Allow at least 12 hours (longer if possible) before carefully reassembling the interior. This will reduce the chances of scratching your newly-applied paint.

13. Take you time reassembling. While leftover bits might be a source of amusement for your mates, every piece has a purpose. That’s why it’s important to pay close attention when you’re pulling things apart.
TAKE THE CLOTH

R&R Speed not only supplied the Sparcos but enough material to re-cover the factory cloth door inserts as well.

Rather than completely removing the original cloth, Precise carefully trimmed the original material flush with the edge of the insert.

Once spray-contact has been applied to both surfaces the new cloth is carefully applied to the insert.

This is a job best left to someone with plenty of trimming experience as the curves and hollows in the insert make it very difficult to get the cloth to lay in smooth and not lift later on.
CONCLUSION:

Before and after (shown above and below). Wow! What a difference a coat of paint can make. To create some contrast, the original grey dash surround was swapped for a piano-black Monaro piece. It’s a bit of an ask to expect the paint not to rub off high-wear areas like the gear knob and steering wheel, so Precise hand-bound these two pieces in matching leather.

Before you jump headfirst into painting all your interior, there is one thing to keep in mind. When you scuff or scratch a painted piece of trim (which will inevitably happen), the damaged area becomes very noticeable – due to the grey underneath. Therefore repainting everything is not recommended for a daily driver. Best to save this kind of treatment for cars that will only see occasional use.
*Prices quoted from August, 2003

Comments