
First published in the December 2002 issue of Street Machine (note: prices quoted are from 2002)
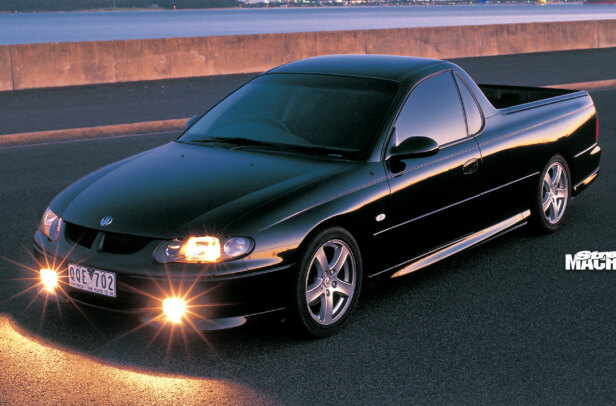
With just a few basic mods, the Gen III under the hood of VU FOR U has grown to a very healthy 210 rear-wheel kilowatts. More importantly, the engine now produces great gobs of glorious torque causing the stock clutch to slip under hard acceleration, so it was time for something with a tad more clamping force. Direct Clutch in Queensland has forged itself a solid reputation for building a range of tough clutches for everything from V8 Supercars to 480hp Holden Motorsport Gen IIIs to ultra-nasty 10-second GTR Skylines. Collectively the crew at Direct have more than 60 years of experience so we were confident their $1000 upgrade clutch for the Gen III would have our muscular ute accelerating like a demon once again. To fit up our spanky new clutch, the very helpful and capable crew at Reliable Automatics & Automotive offered their time and expert services and we jumped at their generous offer (budget on around $300 for fitting).
STEP-BY-STEP

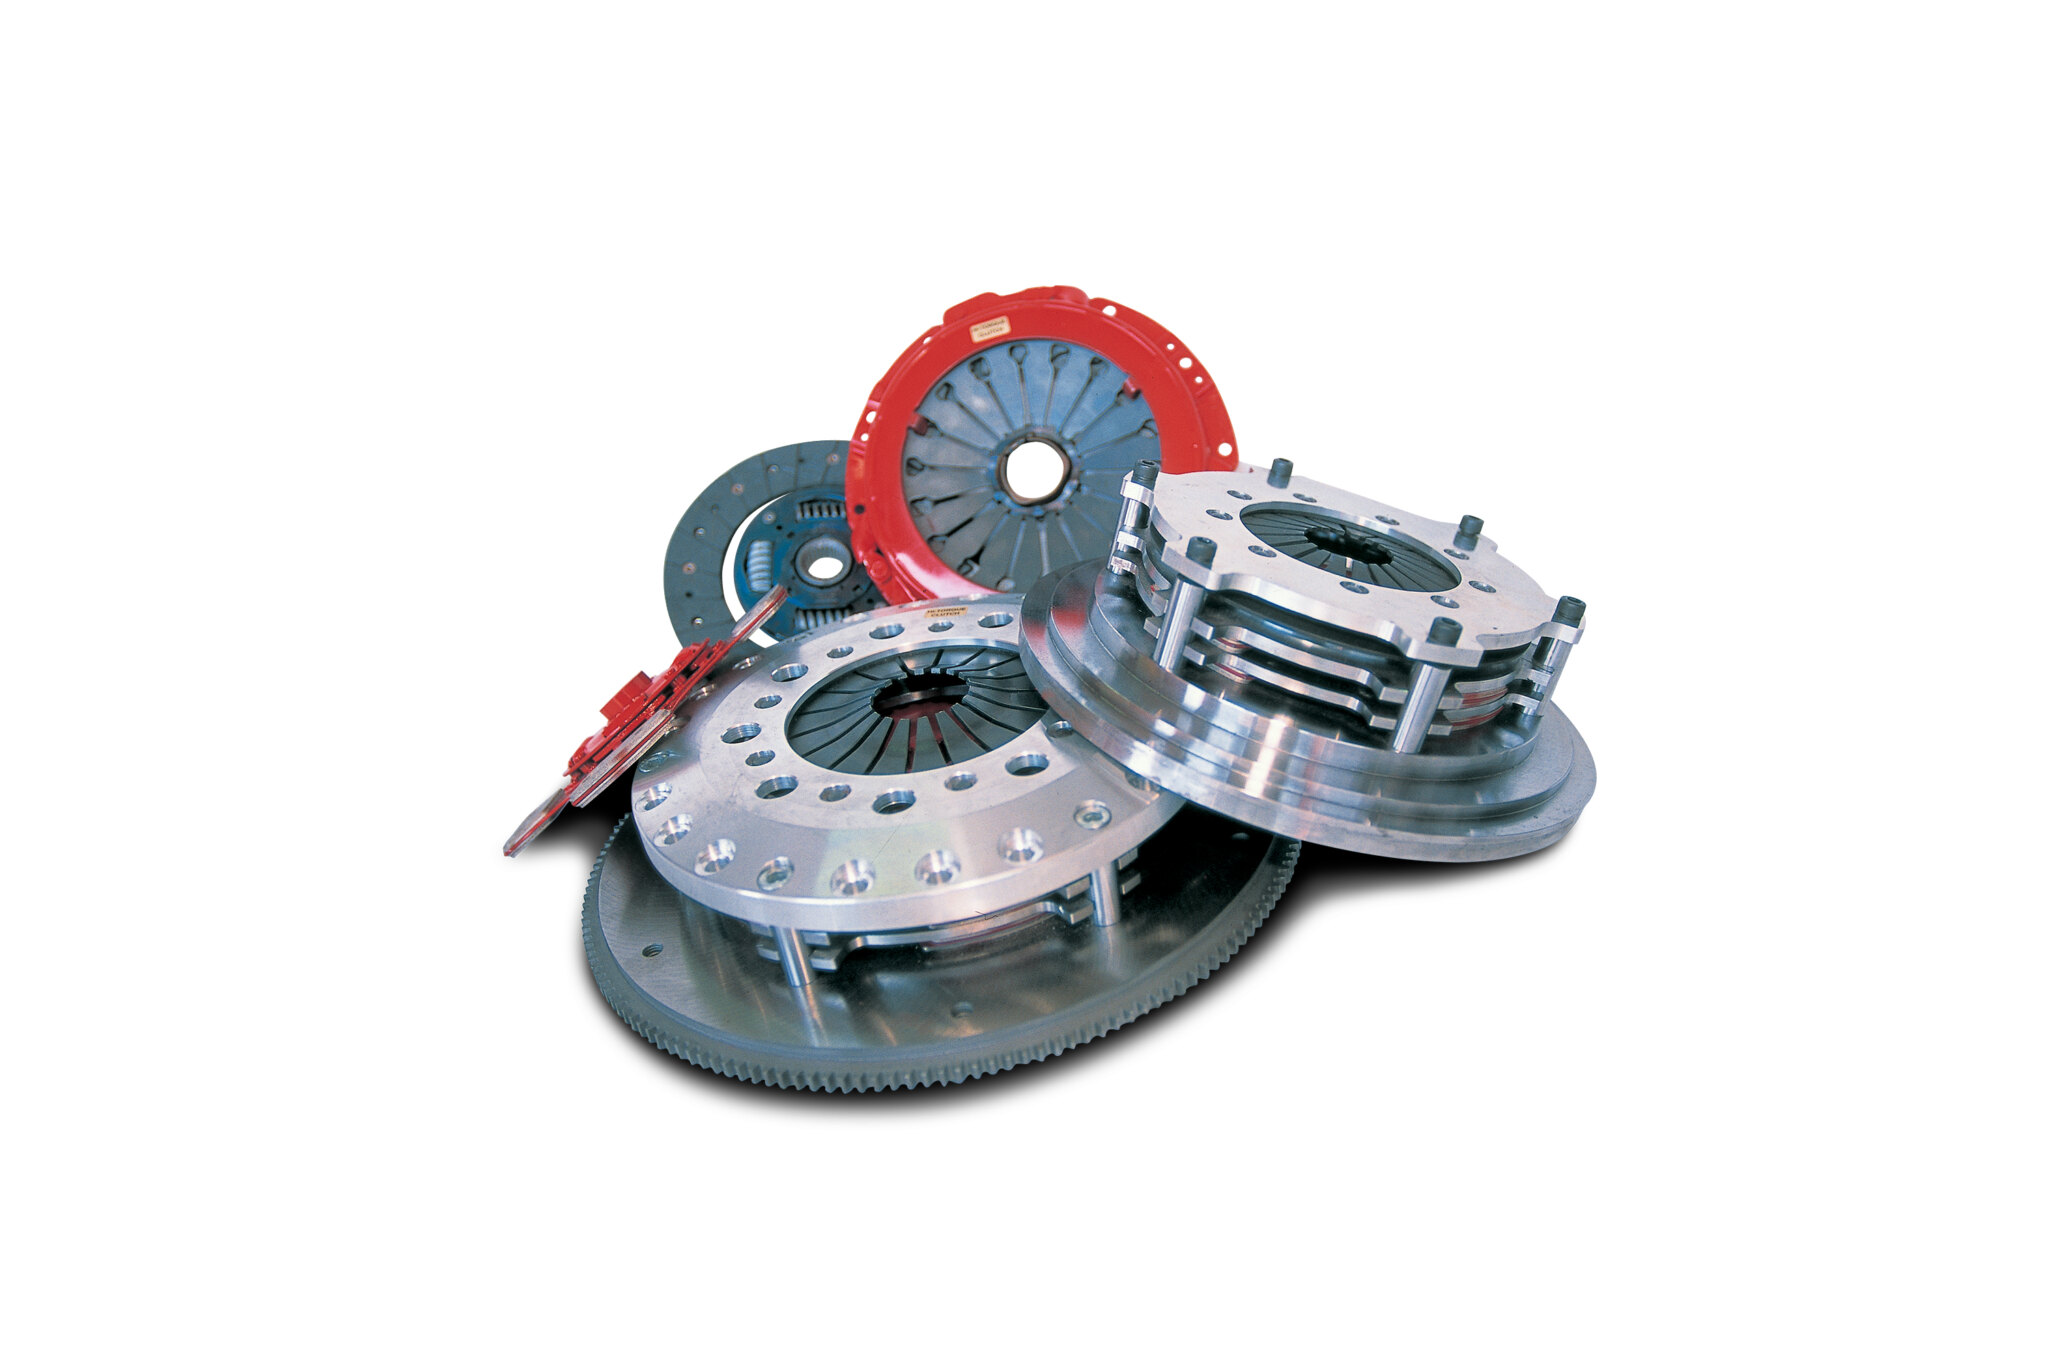
1. A twin plate clutch might be stronger and beefier but it’s also more difficult to operate and is overkill on anything making less than 500hp. With 300kW (400hp) being the upper limit for VU FOR U, Direct Clutch specified their performance street clutch featuring a high-torque organic-faced clutch plate mated to their custom pressure plate which has around 40 per cent greater clamping force for a sizeable increase in torque capacity.

2. To change the clutch you’ve got no choice but to yank the ’box and here’s the place to start. Pull up the leather shift surround and undo the bolt holding the two-piece shift lever together.

3. The triangle bolt pattern on the tailshaft yoke allows it to be bolted up in three different positions. Mark the two halves before disassembly so that everything can be re-assembled in exactly the same orientation. If it’s not, it can cause nasty drivetrain vibrations.

4. Although the ’box can be removed with the oxygen sensors in place (the back half of the exhaust system may have to be dropped), they are vulnerable and fragile. Therefore it’s best to remove them before proceeding – damage one and your local Holden dealer will happily lighten your wallet to the tune of $123 dollars.

5. Getting to the bolts at the top of the ’box may require a very long extension bar. When it comes time to physically remove the ’box, ensure the unsecured output yoke doesn’t slip out of the rear of the ’box, otherwise you’ll be standing in a pool of gearbox oil.

6. Holden uses an unusual throw-out bearing and hyrdraulic slave cylinder (big round thing in middle). The slave cylinder is mounted to the front of the ’box and completely surrounds the input shaft. At the top right of the ’box you can see the difficult to get to hard-line that runs into the slave cylinder. To remove the ’box, disconnect the hydraulic line at the flexible coupling mounted on the opposite side of the tunnel (the hard line runs up and over the ’box). You can see the disconnected line hanging just to the left.

7. With the ’box out of the way, it’s relatively easy to get to all the bolts securing the bellhousing. To the right of the bellhousing (also see step 8) you can see the locking plastic hose clamp (around $10 at most auto outlets) used to stop all the hydraulic fluid from running out of the clutch master cylinder.

8. Torque not horsepower kills clutches and although the factory clutch measures a hefty 12 inches in diameter (most aftermarket performance clutches are 11 inches), a breathed-on Gen III pumps out so much stump-pulling torque the limits of the OEM piece are somewhat exceeded.

9. Old versus new. Direct deletes of the self-adjusters (the three conical springs surrounding the diaphragm) which have proved to be problematic in performance applications. Through some clever engineering at the diaphragm fulcrum point, Direct has been able to increase the pressure plate’s clamping force by 40 per cent – without increasing pedal pressure!

10. To maximise the new clutch’s longevity and avoid shudder, give the flywheel a light skim to ensure it’s absolutely flat and smooth with no run-out (mark its position before removing and Loctite the bolts when re-installing). Best results are achieved through grinding, although machining in a lathe will work in a pinch.

11. Whenever fitting a new clutch plate, always trial fit it onto the gearbox input shaft before final installation to ensure it slides easily along the splines. If not, check for burrs on the input shaft or in the clutch hub itself.

12. You might not use one very often, but a clutch alignment tool can save you all kinds of headaches when it comes to re-installing the gearbox. Without one you can centre the clutch plate by ensuring the underlap (gap) between it and the pressure plate is the same all the around.

13. Here’s the tool in action. If the clutch plate isn’t precisely centred, it’ll be near impossible to get the ’box to slide home. The input shaft will hang up on the clutch plate and won’t mesh if the two are even slightly misaligned.

14. Tightening the pressure plate bolts depresses the pressure plate’s diaphragm spring so wind in each successive bolt a bit at a time, otherwise the pressure plate’s cover can warp. Once nipped up, torque the pressure plate bolts to manufacturer’s specs.

15. With the pressure plate bolts torqued up, it’s time to remove the clutch alignment tool and re-install the ’box. Precision likes to smear anti-seize on the locating dowels to assist removal next time around. Loctite 243 threadlock is also used on the mounting-bolt threads to ensure they don’t gall the soft aluminium.

16. If it doesn’t fit don’t force it! When slotting the ’box back into place, make sure it slides all the way home using only hand force. If it won’t, it means something is not aligned correctly, so check everything and start again. Never use the mounting bolts to pull the ’box into place as you risk breaking off the tangs/ears, which is a very expensive repair.

17. With all the bolts torqued, re-connect the hydraulic line, bleed the system, bolt the shifter back together and take the car for a test drive around the block. Once we patiently cruised for the recommended 300km bed-in period, we gave it the berries and she didn’t slip an inch!
OVERKILL

There are three ways of increasing a clutch’s torque capacity. Increase pressure plate clamping force (pressure plate load), increase the diameter of the clutch and pressure plate, or increase the surface area of the friction plates. An easy way to increase surface area is to use multiple plates. This triple plate brute from Direct Clutch, with its three sintered-bronze-button clutch plates, was built for display purposes, however the guys are confident it can take up to 1500hp! Hmmm, any of you hard-core street machiners out there need a mega-tough clutch to go with that stick shift bolted behind your blown, injected, 500-cube big-block?
Comments