
First published in the October 2002 issue of Street Machine
It didn’t take a rocket scientist to realise the Gen III (LS1, call it what you like) fitted to the Aussie V8 Commodore had a fair bit of grunt up its sleeve. After all, the exact same engine was rated at a far healthier 256KW when slotted under the bonnet of a C5 Corvette. As such, a number of Aussie companies have been burning the midnight oil researching ways to recover this latent power – with many reporting a tremendous amount of success.

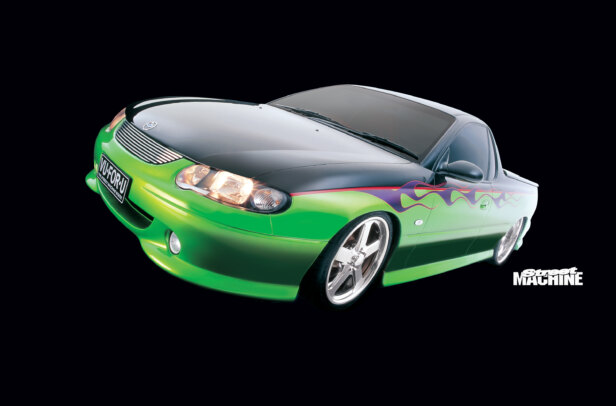
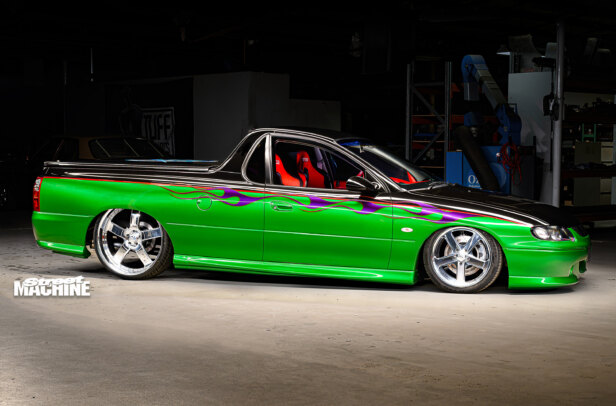
With our VU FOR U project in full swing, we decided to explore a few of the better-known offerings. First cab off the rank is an exhaust upgrade. Di Filippo Engineering is very proud of its complete header, catalytic converter and tailpipe package, so we decided to give it a burl. Besides the full system, they offer a number of options but feel there’s too many deficiencies in the original system and recommend replacing the lot for maximum grunt growth. We took their advice and opted for the full 2.5-inch dual system, which includes their gorgeous stainless steel headers, high-flow cats and dual in-and-out rear muffler.
Best of all, the Di Filippo system can be mail ordered and fitted at home in the driveway in around four hours. Alternatively, the less enthusiastic can have one of the many Di Filippo dealers supply-and-fit the system. Along with the five-year warranty and healthy increase in horsepower, Di Filippo also claims improved fuel economy through superior air/fuel ratio. More power and better fuel economy? Bring it on!
STEP-BY-STEP

1. While it might seem over cautious, always disconnect the battery before beginning any mechanical work on an ECU-controlled car. Even an accidental arc on the starter motor terminal is enough to shoot a damaging electrical spike into the ECU.

2. While a workshop hoist will make the job considerably easier, driving the car up onto a decent set of car ramps will get the nose high enough in the air to make fitting the system at home in the driveway heaps easier.

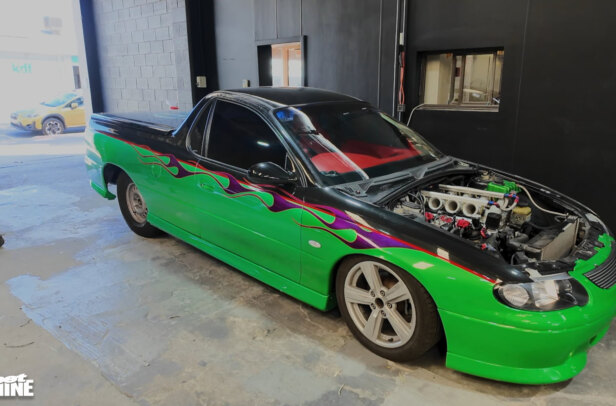
3. Out with the old. After removing the Ninja Turtle engine cover, unbolt the old manifolds and yank ’em out. Holden uses a very resilient thread-locking compound so the bolts are tight to undo all the way to the very last thread.

4. Holden’s plug-lead retainers are a fair mongrel to get off; it’s a bleeding-finger, long- nose-pliers job. To gain access to the passenger-side manifold you’ll also need to unbolt the coil pack and lay it up on top of the inlet manifold.

5. Thanks to the IRS rather than a solid rear axle – removing the old system is a snack. Undo a few bolts, and pop off these clips holding the rubber fasteners in place and it’ll almost fall out all by itself.

6. Ready for collection by the local metal recycler. Unlike a seasoned system where everything has pretty much welded itself together, the VU’s youth meant all the bolts came undone without too much persuasion.

7. The passenger-side header goes in from the top and is a pretty simple operation. Screw all the bolts into the soft aluminium head a few turns by hand before tightening – otherwise you might be rethreading with a Helicoil.

8. A leaky exhaust system can mean a groggy and drowsy driver – very bad. Di Filippo recommends applying a small bead of special heat-resistant silicon to ensure header flanges and flange joints are a 100 per cent leak-proof.

9. Things are a bit squeezy on the driver’s side, necessitating a two-piece header. As with the rest of the system, the mail-order kit contains with all the necessary bolts, nuts and gaskets. Plus a detailed instruction sheet.

10. To improve access on the driver’s side it’s necessary to remove the support bracket/ panel between the chassis and the firewall along with disconnecting the steering shaft from the rack – turn the steering wheel hard right before completing this step.

11. Up, up and away. Get the header flange bolts in a couple of turns then drop the single header pipe in from the top. Get all the bolts started then tighten up the header flange bolts before nipping up the four flange joint bolts.

12. After experiencing leakage problems with three-bolt header flanges, Di Filippo now uses 10mm-thick, four-bolt flanges for the collector/cat joints. Note the twin O2 sensors sticking into the pipes, they mount-up in exactly the same position as standard so everything is nice and legal.

13. As can be clearly seen, the exit pipe on the original catalytic converter is flattened to less than an 1⅛ inch of cross sectional area. The new Di Filippo 2.5-inch stainless jobbies are far less restrictive.

14. Up to the 2.5-inch high-flow cats the system is all stainless. From there, Di Filippo relies on thick-wall 2.5-inch mild-steel tubing and mufflers for the rest of the system. Full stainless can be specially ordered.

15. The twin pipes into the rear muffler are the only slip joints in the whole system. This allows adjustment of the dual outlet pipes to ensure that they’re nice and level.

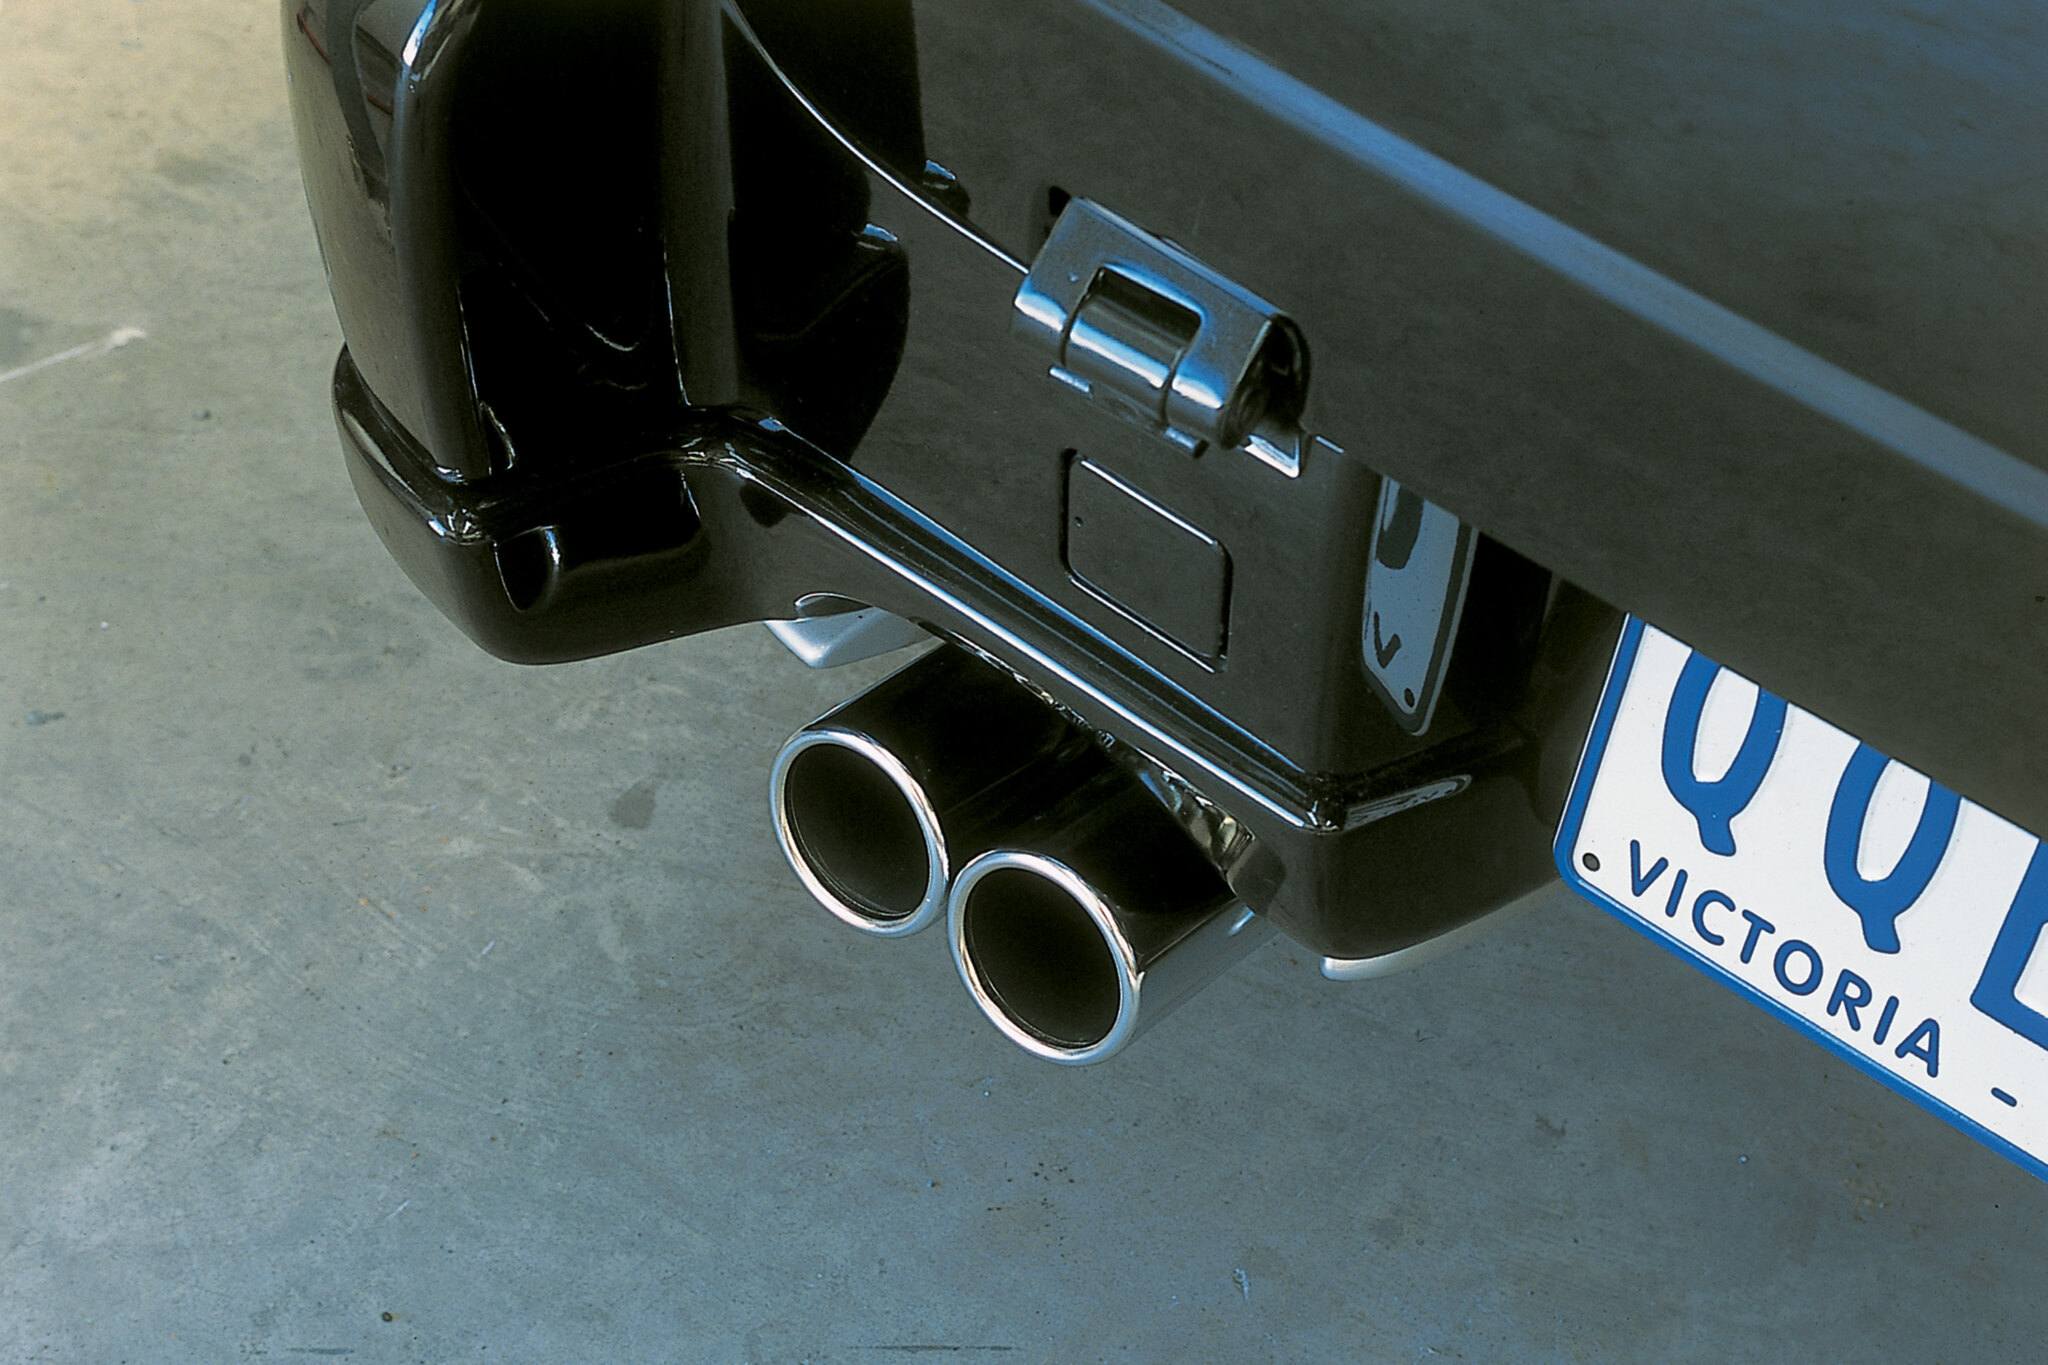
16. Di Filippo offers a number of tailpipe options, including these neat, rolled-edge chrome tips, so have a chat to them regarding your preference. We chose this dual outlet which allows the system to remain a true dual system all the way through.
CONCLUSION

Even ignoring the new deep, throaty growl, you didn’t need a dyno to tell you the new exhaust system had made a huge improvement – you could now haze the tyres by hard-shifting into third. In fact, there was enough of an increase to find the limits of the factory clutch. But for all the number junkies, we decided to dyno the car before (black line) and after (purple line) for some hard numbers. As you can see, even with a mildly slipping clutch, there was a solid improvement all the way from the bottom of the rev range through to redline. Verdict? Worth every penny and all Gen III owners should rush out and buy one. One word of advice, you’d better budget a few extra dollars for a beefier clutch and start buying shares in a tyre company!
Comments