
First published in the June 2003 issue of Street Machine
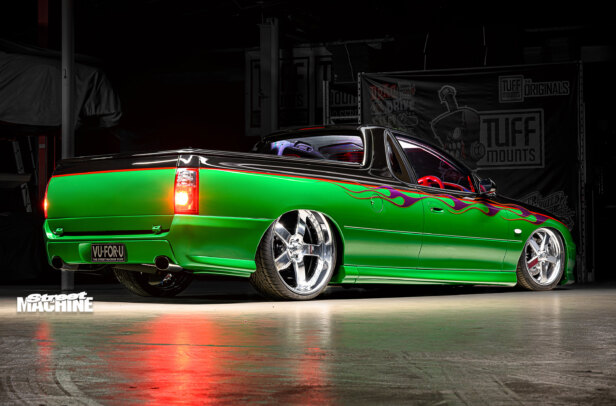
While lots a people salivate at the thought of Holden’s gutsy Gen III mated to Tremec’s tough T56 six speed, there’s no question that the combo is geared high for normal road use – 1400rpm at a smidgen over 110 clicks in sixth says it all. We made matters worst by stuffing those obscene 24s under the rear – so a change in diff ratio was unavoidable!
Central Diffs have earned themselves an enviable reputation for doing quality diff work, so we sought their advice on how to rectify the dilemma. They had good and bad news for us. Bad: currently there’s not much to choose from in the way of higher-ratio crown wheel and pinion sets. Good: they felt the commonly available 3.9:1 gear set (as used by HSV) would still dramatically help the situation.
After giving them the nod, the talented crew worked like greased lightning getting the whole job done in less than three hours (they’ve done taxis in less). We followed them step by step.
STEP-BY-STEP:

1. While varying from car to car, the rear half of VU FOR U’s custom Di Filippo exhaust system needed to be removed to gain the required access. Di Filippo’s practice of flanging joints made this step a snack. Just make sure you reapply sealant when reinstalling the system.

2. Out with the tailshaft and onto the axles/halfshafts. Use a good-fitting, high-quality Allen key when undoing the CV bolts as they’re bloody tight! When undone, don’t let the axles hang by the CVs as it can damage their internal bearing cage. Tie them up out of harm’s way.

3. A big advantage of rebuilding an independent diff centre is that the housing can remain in the car. Even the wheels and brakes can stay intact! Before dismantling the centre, pop the bottom bolt out of the back cover and drain the oil – Central stores it for pick-up by a recycler.

4. Don’t even think about reusing old bearings once the centre has been disturbed. A complete new set of bearings are inexpensive in the grand scheme of things and are cheap insurance, significantly increasing the longevity of your new rear end.

5. Before installing new components, thoroughly clean the inside of the housing and scrape off old gasket material. With the rear hanger removed, let the cradle (K-frame) hang by the front bushes, which have enough flex and strength to support the weight.

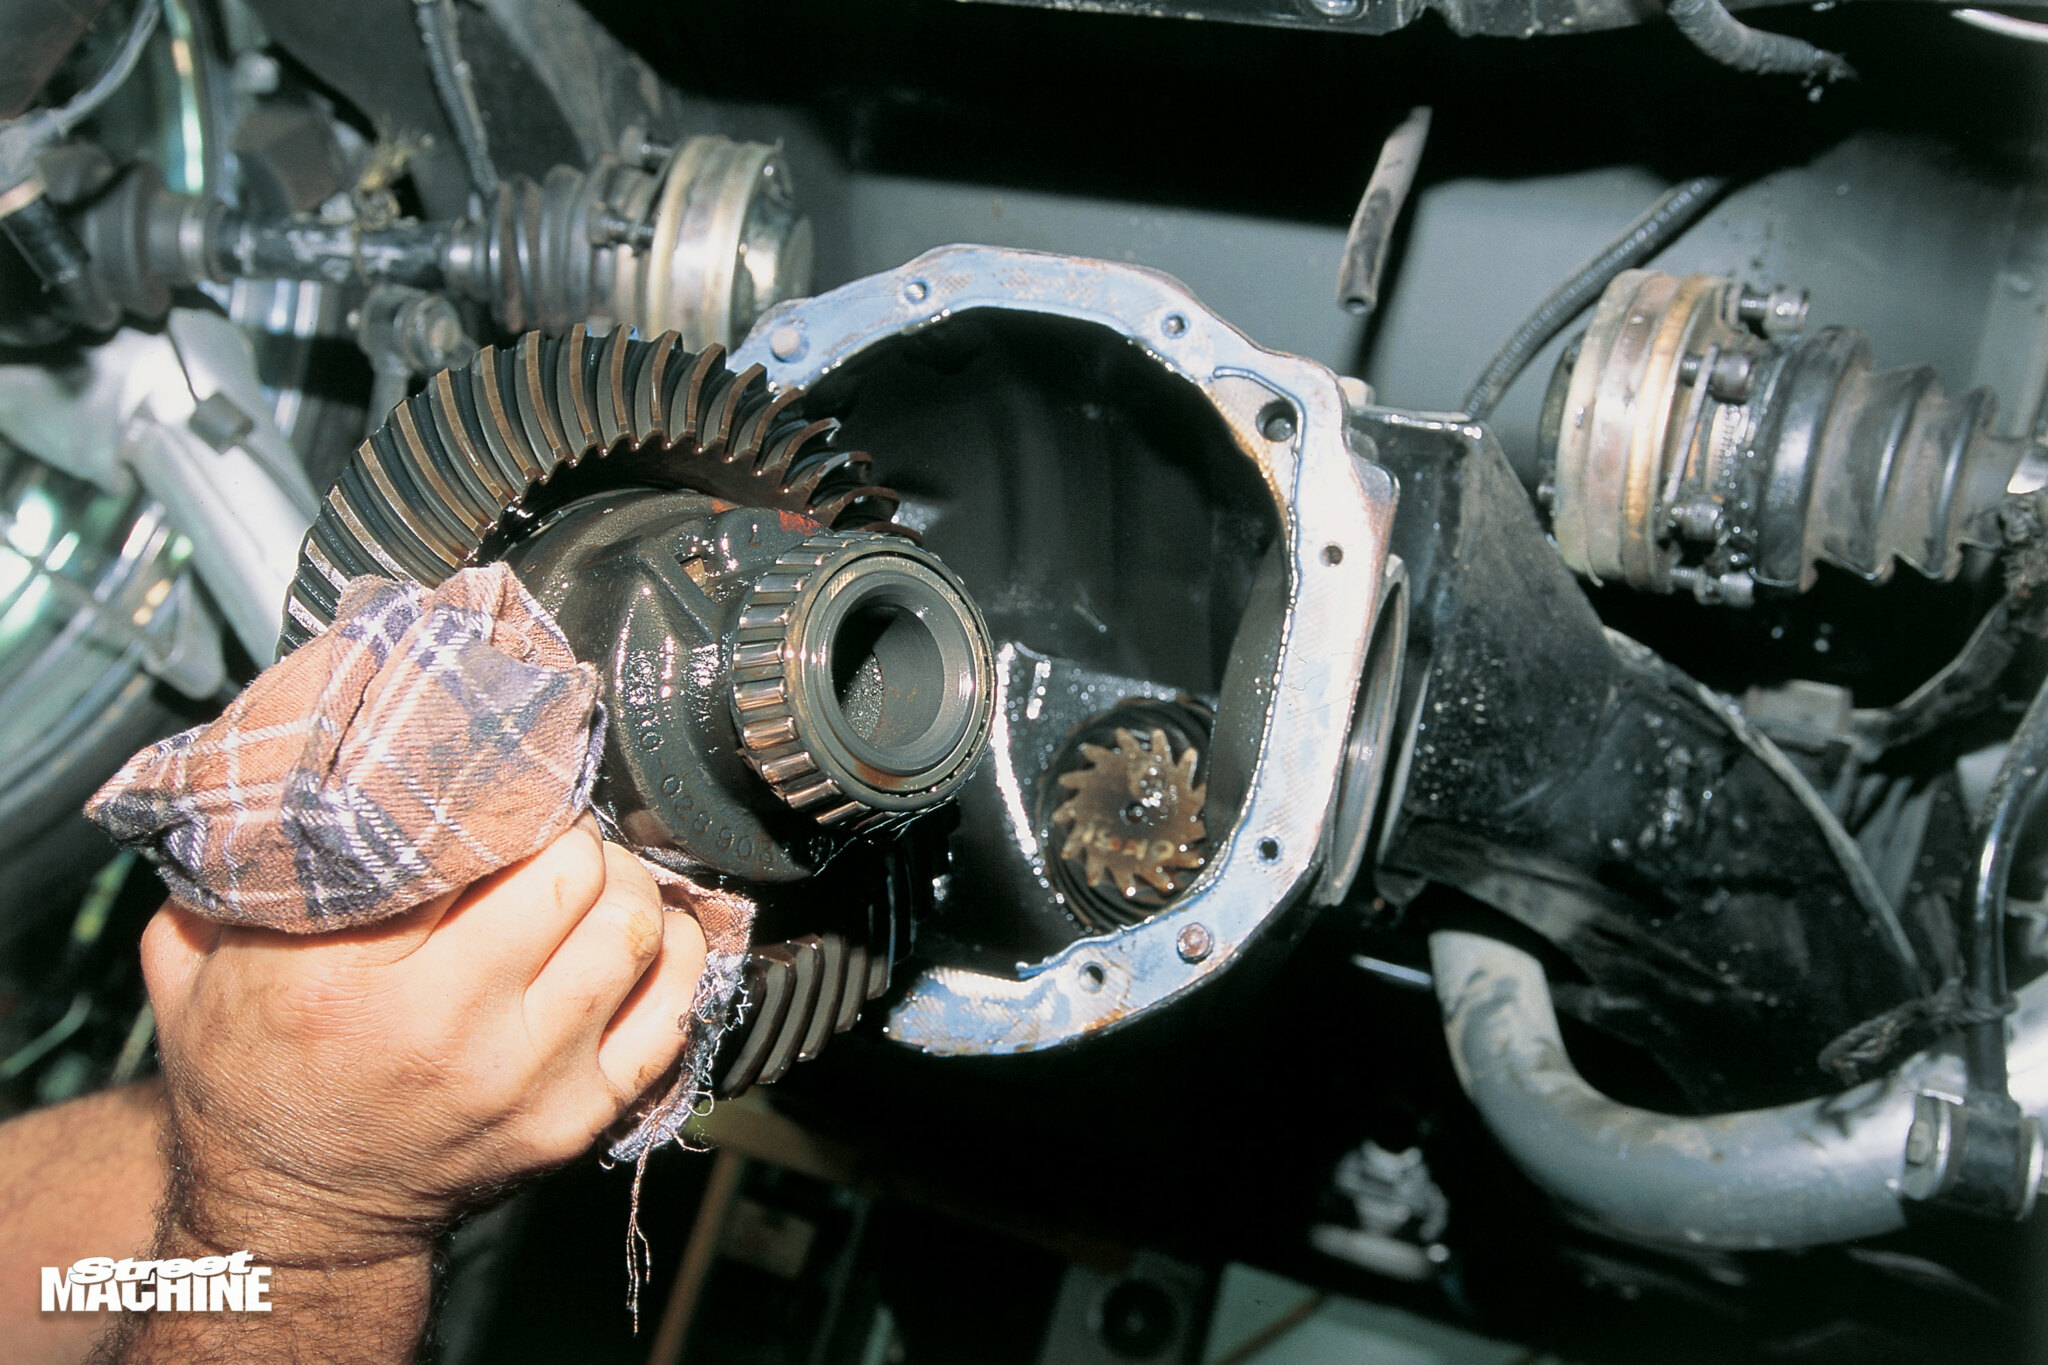
6. You’ll need a press to remove the pinion bearing as it’s quite tight. Don’t use an oxy torch, as it can distort the pinion. While the diff centre can be rebuilt using basic hand tools, there are a few processes where specialised equipment will be needed.

7. At a glance there’s not much difference between the two gear sets, but there are 45 teeth on the 3.46 crown wheel (right), while the 3.9 has 43; and the 3.9:1 has a smaller pinion gear – 11 teeth versus 13. Do the maths: 45/13 = 3.46; 43/11 = 3.9.

8. VU FOR U has been driven hard since it was born, which had left the centre in less that pristine condition, so we decided to replace it for reliability’s sake. Motorspecs kindly supplied a brand new LSD centre for the rebuild.

9. The break-away torque of the factory LSD is set at around 80lbs. Central likes to shim-up the internal springs to raise this to 120lbs. This gives you a bit more limited slip action at the cost of increased diff chatter during low speed operation.

10. After bolting on the new crown wheel (ensure bolts are tightened to factory specs) install the bearings. Pressing is best, however, knocking them on using a close fitting drift is fine. Ensure the bearing doesn’t cock while being installed.

11. Central Diffs have made an assortment of special drifts, punches, spanners and jigs (like this piece designed for installing the pinion bearing cones) to help speed things along and to ensure none of the bearings are damaged during installation.

12. This cup-shaped crush-washer assists automated assembly but in performance applications it can collapse causing premature bearing wear. Central devised a fix (which they forbade us to reveal), which necessitates setting pinion-bearing preload by hand.

13. More Central Diffs specialty designs, these two big burly spanners were specially made for tightening the front pinion nut, which must be tightened to a spanner-breaking 220ft/lbs of torque! Which is why the handles are so bloody long!

14. This weird device tightens the side bearing caps. As an IRS design, there’s a knife seal on the inner edge of each side cap. The seal runs on a machined section of the axle to prevent oil leaks and must be lubricated it with axle grease prior to assembly.

15. Don’t set the lash (how tightly the crown wheel and pinion mesh) right and the diff will whine. New gear sets bed in and need to be set at around 8-thou, while up to 12-thou works well for used sets. Once set, torque side bearing caps to 108Nm (80 ft/lbs).

16. Lash is double checked by applying an oil-based oxide paint to the crown wheel and rotating the diff. The pinion removes paint wherever it meshes with the crown wheel. Even contact over the full length of the tooth indicates correct lash.

17. It can’t be emphasised enough. Make sure you get the lash spot on as this has a dramatic effect on the life expectancy of the diff, as well as the noise it makes. Once the Central guys were happy, it was time to add a bead of silicon and button things up.

18. If you don’t have a fancy pump, use the old fashioned method to add the 2.1 litres of oil; a funnel with a long hose attached to it held up high above the filler plug. Using regular diff oil instead of LSD spec oil will lead to premature LSD cone wear.

Comments