
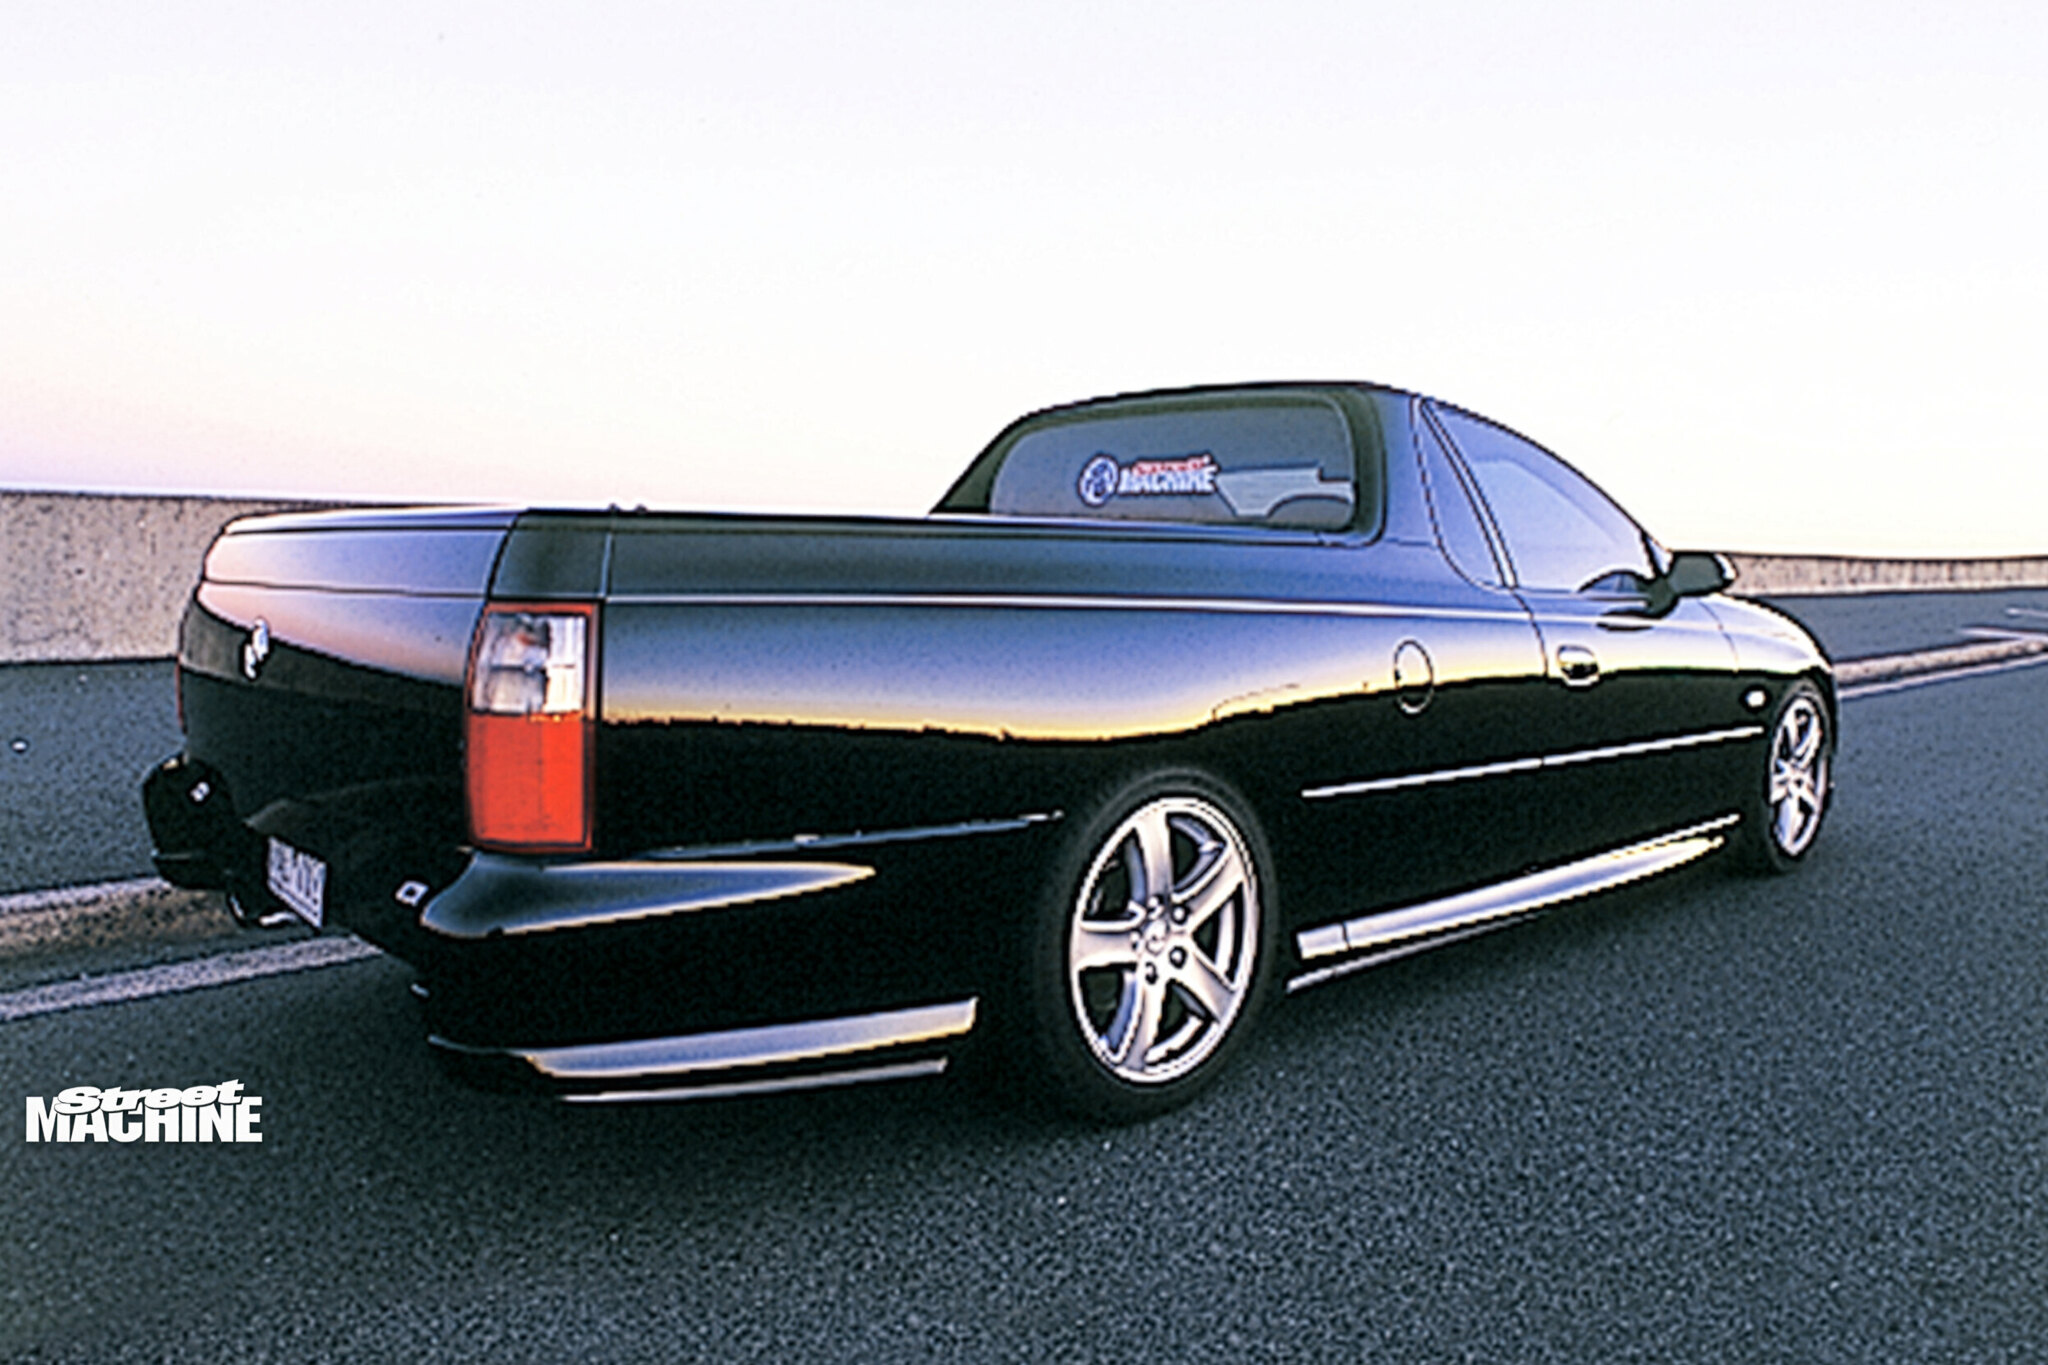
First published in the April 2003 issue of Street Machine
Consensus around the Street Machine office was if we’re going to build a project car it would have to be something wild, something capable of ripping eyeballs out of sockets at a hundred paces. A sure fire way of achieving this goal is to go for a ballsy yet somewhat unconventional theme that’s really in your face.
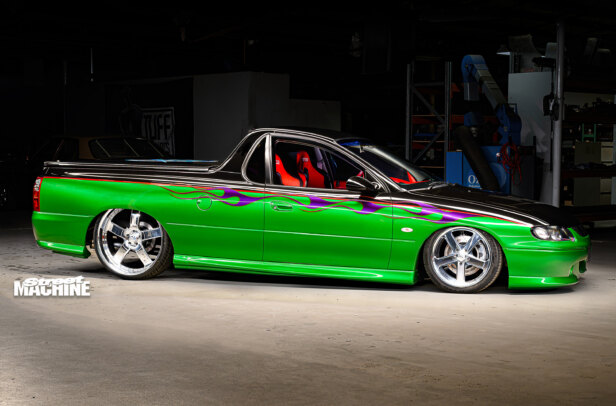
So we decided to give VU FOR U an aggressive bigs’n’littlies stance with plenty of rake using staggered rim diameters rather than tyre profile. Much to our delight BF Goodrich was happy to supply a pair of their monstrous 24-inch G-Force tyres and 18s for the front. Following on, Wheelboyz crew stepped up to the challenge with a set of custom Bon Speed billet wheels.
Sorting rolling stock was one thing, but getting the monstrous wheel and tyre combo under the ute’s rear guards was quite another matter. Retaining the independent rear end and gaining enough tyre clearance would require some tricky chassis and bodywork.
Waddington Street Rods in Castlemaine are well known for their fabrication skills and chassis engineering expertise. After seeing the magnificent body and paint job they did on Rod Hadfield’s awesome ’55 Chev Street Machine had no reservations about entrusting them with the mammoth job.
STEP-BY-STEP:

1. As soon as we spied BF Goodrich’s monster 24-inch G-Force we knew they just what project VU FOR U needed. As you can clearly see, the 305/35 ZR24 BF Goodrich’s mounted on the 24×10 Intense 5 Bon Speed billet completely dwarfs the factory 235/35 ZR 17.

2. It was into it with an angle grinder until the monster Goodrich could tuck up into place. Waddingtons determined the necessary mods would be medium sized mini-tubs, 100mm longer wheel arches and moving the axle centreline rearwards 50mm and up 50mm.

3. This K-frame supports both the diff and suspension assembly and would need modifying to facilitate their relocation. A stout jig was constructed before cutting to securely hold the frame and ensure correct alignment once everything was pieced back together.

4. The 24s hit everything including the original control arm mounts. Waddington’s expert fabricator, Shane Taylor, used some easy-to-work-with tin plate to fashion a template for the new mounts that were needed to move the control arm mounts both inwards and upwards.

5. Here are the new control arm mounts all tacked together ready for a trial fit to make sure the tyres wouldn’t foul on anything. Once all the chassis modifications were finished and everything checked and double-checked for correct alignment and adequate clearance the brackets would receive their final welding.

6. With the mods to the axle centreline and control arm pick-up points, there was no choice but to fabricate new control arms. The factory arms use a cast hub welded to pressed-steel box section. Our new arms would utilise the original cast hub assembly, which is seen here being separated from the factory box section.

7. With the two halves of the control arm separated there was a surprise awaiting the guys at Waddingtons. That liquid lying on the ground is actually water from inside the control arms. Maybe corrosion in the stock Commodore suspension arms could be something to watch out for in a few years time.

8. After a clean up with the angle grinder to remove the factory welds, this is what the cast hub forming the basis of the new arms looks like. A thick 5mm plate was welded across the flat to give the tubular section of the new arms a solid basis to tie into.

9. Overkill is the only word to describe the tubing used to fabricate the arms. It’s high tensile seamless tubing with a hefty 5mm wall thickness! To ensure super strong welds that had maximum penetration, all the critical suspension components were exclusively TIG welded.

10. So tough was the tubing we used that this large, hand-operated, hydraulic pipe bender had a hard time creating the necessary curves. In fact, the finished arms are so strong just one of them could support the weight of the whole car!

11. Don’t even think about attempting a critical structural weld like this without a wealth of experience, the right equipment and, most importantly, the right qualifications – like a DLI certificate. The hubs and K-frame were jigged up to hold everything in exactly the right position to ensure correct alignment while Justin Fraser TIG-welded the new tubular sections to the cast hub.

12. Bar some gusseting, this is the finished arm (right). Note the solid bushes use to align the arm during fabrication. Upon completion the new arms were sent off to Met Labs in Melbourne to be X-rayed to ensure there were no cracks and to verify deep penetration on all the welds.

13. For a traditional bigs’n’littlies combination to look right, the rear wheels need some meaty dish. This left little option but to narrow the original independent rear end – quite an involved job. Taking close to 100mm out of each side called for a set of custom-made billet axles.

14. To get the car down low with the tall 24-inch tyres (800mm or 31.5 inches overall) meant moving the diff upwards 50mm. Here you can see how the centre of the K-frame was cut out and moved up, before heavy gusseting was added to restore its structural strength.

15. Two large bolts at the front of the K-frame, and this rubber insulated mount (attached to the diff housing’s back plate) secures the whole assembly in the car. As such, this rear body mount also needed relocating backwards and upwards 50mm.

16. The ute’s original rails are S shaped, however something slightly straighter was needed to adequately clear the 24s, so two small areas of the rails were sectioned. Going with the philosophy of putting back more strength than you take out, new rail sections for both sides were fabricated from 2mm-thick zinc-anneal.

17. Airide Suspensions Supplies supplied the rear Shockwave air bags which allow VU FOR U to sit nice and low for shows. The original cast-in shock-mounting boss on the control arm hub is big’n’beefy and easily capable of carrying the vehicle’s weight. However, the top shock mount needed significant strengthening.

18. The air bag replaces the vehicles spring and therefore carries the weight of the vehicle. The ute’s original shock mount area was never designed to withstand such loads (the spring perch does that job) and needed considerable reinforcing. As you can see plenty of extra box section and steel gusseting went into the new shock mounts. Just off to the left (out of the frame) is the new bump stop, which was placed in the area once occupied by the coil spring.

19. Moving the load point from in front of the wheel to behind the axle centreline is the main reason that so much extra strength has been added to the rear of the ute’s chassis. Note the small square linished areas where the new rail sections were plug welded to the original rails.

20. With offset determined, the custom 24-inch Bon Speed billets were ordered – which would take 10 weeks to arrive. To enable work to continue this dummy wheel was fabricated, as clearances would be very tight and had to be checked throughout the suspension’s travel.

21. Body maestro, Peter Crow oxy welds up the quarter once the final clearances were determined. Clearly visible is the 100mm section that was added to stretch the wheel arch. Peter prefers oxy welding body panels as MIG welding is too hard and makes the panel too unworkable.

22. Waddingtons like to leave a generous 30-40mm all round for tyre clearance when installing wheel tubs. As they rightly state, it would be a disaster to go to all that trouble only to have a tyre rub. Once again the dummy wheel was used to determine minimum tub size.

23. With the tub diameter and length determined a sheet of heavy gauge 1.2mm cold roll steel was cut, before two parallel swage lines were added for improved strength. Peter then used this shrinking machine on the 20mm-turned-up edge to give the tub the correct curvature.

24. This half-moon sheet was used to mark out the inner guards as well as being used as the template for determining the correct radius when manufacturing the new wheel tubs. Later it would form the inner face of one of the new wheel arches.

25. For a quickie tub job you can Sikaflex the outer edge of the new tub straight onto the vehicle’s rear quarter panel. However, this normally will lead to warping and/or rippling of the panel. To stop this from happening and to restore the wheel arch’s full strength, Waddingtons prefer to fabricate a new inner guard like this one. Most shops don’t do this as it’s a heck of a lot more work.

26.Two pieces of angle were welded together to from a right angle, which was then tack-welded to the floor. This gave Shane and Peter something solid to butt the tub up against during installation to ensure it remains absolutely square to the floor.

27. With the arch of the new wheel tub welded into place the inner face (as seen from inside the tray) was held in place via a couple of self-tapping screws before being plug welded (note the 10mm holes around the lip of the tub) for a sturdy and permanent installation.

28. All finished and ready for painting. Note the linish marks around the circumference of the tub. A right-angle lip was welded to the ute’s inner guard onto which the tub was plug welded. The ute’s original wheel arch lip was also joined to the new inner guard in the same manner.

29. To keep annoying road noise down, stoneguard/underbody deadener was applied to the underside of the new wheel arches. From there everything was undercoated before being given a nice splash of gunmetal grey. Looks pretty neat, eh?

30. After applying the underbody gunmetal grey, Geoff Kidman then added a glossy layer of two-pack black to the modified K-member and a sexy coat of metalflake silver to the new tubular control arms.

31. After fitting and refitting more than a dozen times to ensure exact fit and correct operation throughout the suspension’s full travel, the freshly-painted diff and suspension assembly was ready for final installation. It looks almost too nice to hide underneath, doesn’t it.

32. After slotting in the Castlemaine Rod Shop-lengthened tailshaft, VU FOR U was ready to boogie (note the longer and thicker 1/2-inch wheel studs). Although Waddington’s engineering work was very accurate, a Super Pro polyurethane eccentric bush kit from Fulcrum was added to ensure precise wheel alignment.

Waddington’s talented crew is capable of handling anything you can imagine. Jobs currently underway include a stunning ground-up rebuild on a ’57 Chev, drag car four-link, a scratch-built hot rod along with a host of smaller panel and engineering projects.
Conclusion

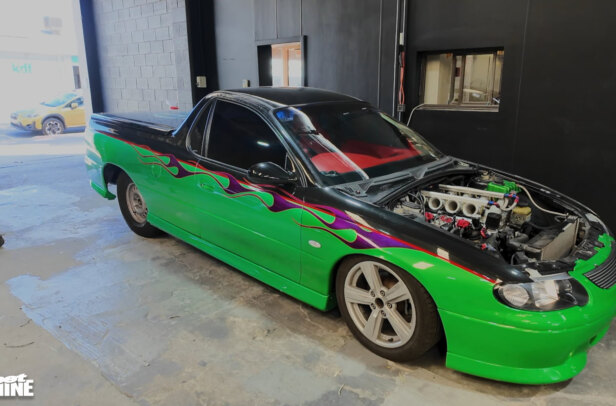
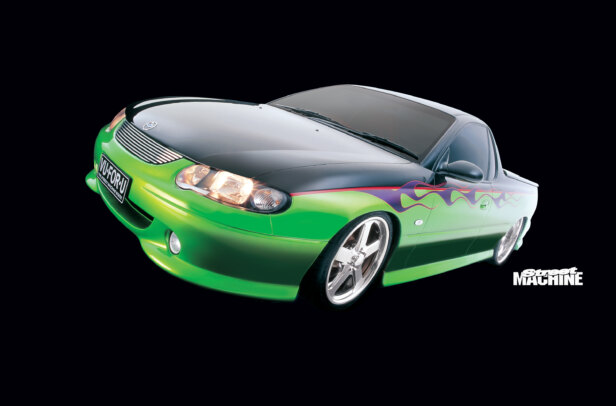
A few hours with the orbital sander, a dash of filler followed by a lick of paint had the tray area looking a million dollars. The original VU wheel arches are quite generous, therefore the new tubs were only about 40mm wider, while a similar amount was added to their height. For a cleaner and more sanitary look, Waddingtons smoothed out the two factory swage lines on either side of the tray where they were interrupted by the new tubs. Finishing all the chassis and body mods was more work than anyone ever imagined and without the expertise and craftsmanship of all the Waddington crew, Kelvin, Shane, Justin, Peter, Ken, Geoff and Chris, there’s no way VU FOR U would look as killer or work as well as it does. Whether it’s a ground-up build on your dream car or a basic mod or two for your streeter, contact the crew at Waddingtons and they’ll be more than happy to help you out.
Comments