
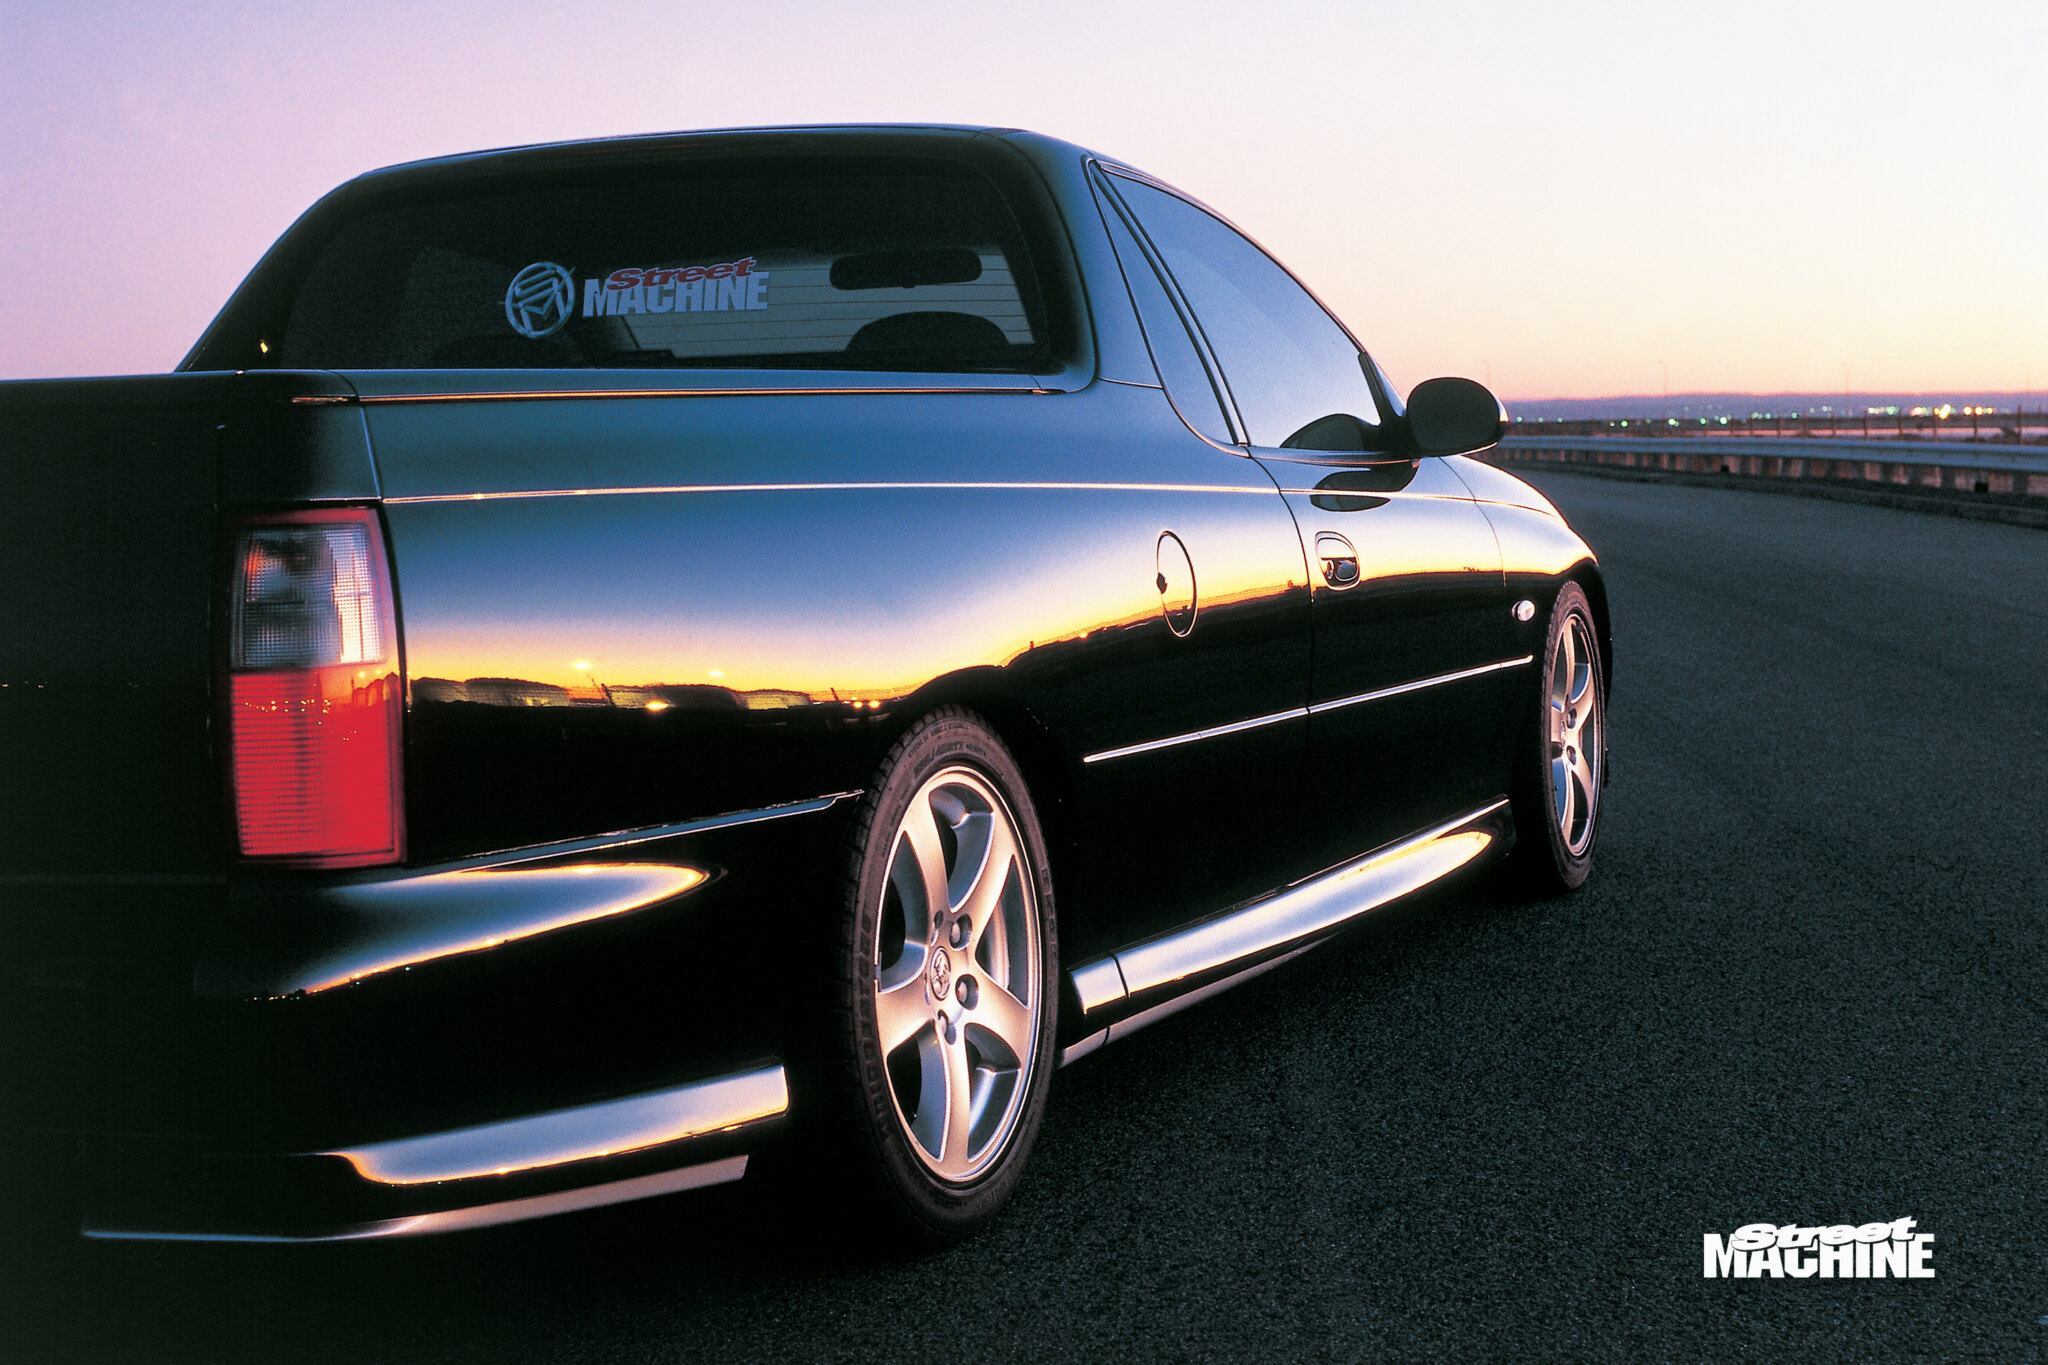
First published in the May 2002 issue of Street Machine
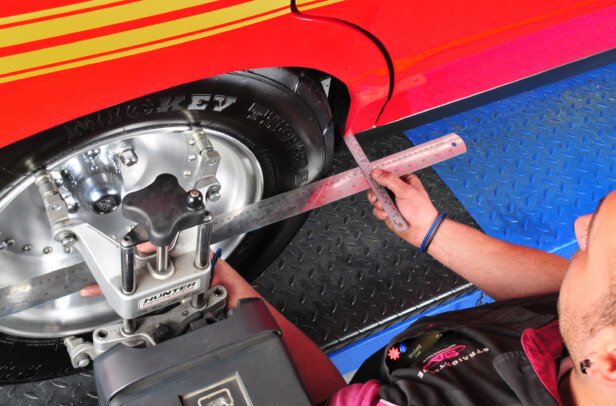
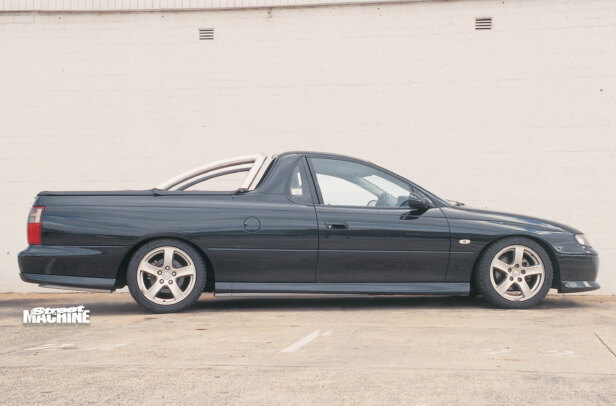
Once Seddo’s SS shop ute was in our possession, the first mod was to drop it a whole lot closer to terra firma. Throwing in set of heavy-duty lowered coils soon had it cruising at a more acceptable height, but we’re fussy buggers and still weren’t happy. Why not? Well, it was a little something to do with a thing called wheel alignment.
Those Holden engineers only saw fit to incorporate a measly 0.75 of a degree camber adjustment and zilch castor adjustment into the Commodore’s front end. These design limitations made it damned hard to put together a gun set-up to get the tyres lasting a bit longer and to make flinging the belly-scraping hay-hauler through twisty mountain switchbacks a more enjoyable experience.

Hmmm, time to hightail it back down to K-Mac for one of their front camber/castor kits. Fitting the $295 kit [cost in 2002] is pretty straightforward and takes around three-hours all up. So grab a comfy chair and a glass of Pims while we run you though the installation.
Step-by-step:

1. To fit up the camber/castor kit you’ll need to pull out the struts. Check out SM March 2002 for detailed description of this procedure, alternatively head down to your local bookstore and grab a Gregory’s workshop manual.

2. With the strut out, the first job is to remove the strut’s factory locating cup. The cup is at the top of the strut tower, spot-welded to the underside. You can clearly see the six spot-welds in the metal on the top side of the strut tower. To remove the cup, centre punch and drill out each spot weld.

3. Spot welds are bloody hard and drilling out all 12 (six per side) will take a while. Drill a 3mm (1/8) pilot hole first before running through with a 10mm (3/8) bit. Once all the spot welds are drilled, a few persuasive taps with a decent hammer will have the old strut-locating cup sitting in your hand.

4. The camber/castor kit has three bolts to anchor it to the strut tower and new holes need to be drilled for them. The new purple anodised top plate has two locating tags, drop it into place so that word K-Mac is positioned at the rear (towards the firewall). Then scribe the three holes without letting the plate move.

5. To make sure you drill in the centre, use a centrepunch then drill a 3mm (1/8) pilot hole before running through with the 10mm (3/8) drill bit. The holes may need tweaking to allow the three studs to slide through.

6. All this drilling leaves plenty of unpainted metal that will surely rust unless treated. A quick squirt with some body-matching paint will do the trick.

7. Here’s how the adjusters work. The thick bottom plate clamps the bearing plate to the underside of the tower. The three rectangular cut-outs in the bearing plate allow quite a bit of movement to set both camber and castor.

8. Now to the juicy stuff, fitting the kit. Remove the original spring plate and bearing assembly and drop on the new spring retainer and centre bush. The shortened springs in Seddo’s ute have very little tension on them and didn’t need a spring compressor for this step. However, if your using stock springs you’ll need to use a spring compressor.

9. As seen in the previous step, K-Mac delivers the kits with the new bearing plate pre-assembled between the upper and lower sandwich plates. With the spring retainer in place, drop on the bearing plate assembly and tighten the retaining nut. Use a socket on the hex at the top of the shock to stop it from turning as you tighten the nut.

10. Here are the old and new assemblies side-by-side. As you can see, the new assembly is taller than the factory set-up, so we recommend fitting the camber/castor kits before settling on final ride height.

11. Another advantage of the K-Mac camber/castor kit is its captive top bearing. Holden’s bearing unit uses spring tension to hold the two halves together. In cars that have been lowered more than 40mm, this arrangement has been known to separate and lose its balls.

12. Everything is pretty straightforward from here on in. Grab the fully-assembled strut and (if you’ve drilled your holes accurately) slip it into position. Trying to line up the studs with ill-fitting holes while holding a fully-assembled strut is difficult. So it’s a good idea to sort out any stud/hole alignment problems prior to trying to fit the strut.

13. Fasten the new Nylok nuts, but don’t tighten them up yet as they need to be loose to make adjustments during the wheel alignment. However, the two large bolts at the bottom of the strut that attach it to the stub axle should be torqued up to specs.

14. Camber/castor adjustment is achieved by levering the bearing plate. From the front of the car, moving the centre of the strut towards the engine will increase camber, while moving the centre of the strut back towards the firewall will increase castor.

15. We found the kit is capable of huge increases in camber, but more importantly up to 10 degrees of castor (an increase of 2.25 degrees). We ended up at 0.5 degrees of negative camber (too much and you chew tyres) and plus 9.75 degrees of castor, which gives the car added directional stability by increasing the centring force created by the front tyres, while toe stays at the factory-spec 2mm per side.

Comments