
KEEPING your ride clean will not only make it look better, it’ll make it last longer as well. But what are the tricks of the trade that will give your streeter that killer look and protective shine?
1. START WITH THE WHEELS
Wash your wheels first. Do them last and you run the risk of splashing soiled water onto freshly washed bodywork, leaving behind water marks. Also, most special wheel cleaners needed to budge severe dirt and brake dust build-up are diluted by water, reducing their effectiveness. Specialised wheel cleaners are necessary because brake dust is deposited hot, causing it to etch into a wheel’s surface. General washing solutions aren’t strong enough, particularly if deposits are allowed to build up.
As a final point, washing the body after the wheels ensures that any wheel cleaner splashed onto the bodywork is soon washed away.
Wheels are complex, making it difficult to reach into all the tight spots, so most car-care companies offer detailing brushes. Even then it’s challenging to reach all parts of a wheel and virtually impossible to get at the back of them. Keeping the rear surfaces clean is essential because any corrosion that takes hold on the back can spread around onto the visible areas. The answer is simple — removal!
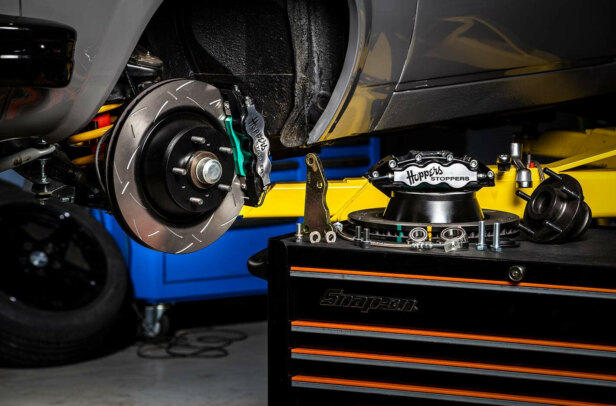
2. REMOVING THE WHEELS
Removing the wheels not only allows the best access but also prevents harsh wheel cleaners splashing onto pristine paintwork. Naturally, dropping the wheels is a bit of effort and most are unwilling to go that far but it is the only way to do the job properly. Removal also allows much better access to the wheel wells and suspension components.
These sections are often neglected but if you’re serious about maintaining your pride and joy, these areas should also receive regular attention. Whether you remove one wheel at a time or all four at once, always support the car on jack stands.
3. PRE-WASH RINSE
Start by hosing off loose dirt and grime. This is essential because if you drag these particles across your paintwork with a sponge, they’ll cause scratching and swirl marks.
A pressure washer is ideal, though a nozzle connected to an ordinary mains hose will suffice. Take care with the pressure washer as a narrow jet can inject water into concealed areas that won’t dry thoroughly, leading to corrosion. Use a broader spray pattern instead.
Although washing is a fairly simple process, using the wrong products, equipment or techniques can be detrimental. One of the biggest mistakes is using kitchen detergent. It has the wrong pH (acid/alkali) balance and often contains additives that can cause damage in automotive applications. They’re also formulated to remove wax-like deposits — not what you want if your car has a protective wax coating. Only ever use a proper car wash.
4. ALL IN A LATHER
After dislodging the heavier dirt and grit, thoroughly cover the surface in a layer of wash foam. Allow this to sit for a bit so that it can work on stubborn dirt but not so long that it starts to dry. In fact, you shouldn’t allow any of the car to dry until washing has been completed. Avoid washing in direct sunlight — open shade is best.
Mechanical action is needed to dislodge dirt and this is most commonly applied with a sponge. The sponge’s porous nature allows it to hold wash suds and water, while simultaneously capturing dislodged crud. Some claim a micro-fibre cloth is better but you can buy sponges covered in micro-fibre material, which seem to offer the best of both worlds.
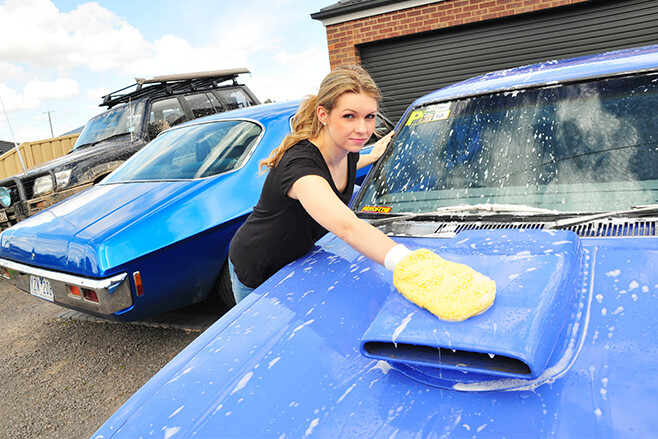 Washing mitts like Shani is using not only make life a lot easier but also prevent you from dropping the wash sponge in the dirt — if this happens, thoroughly rinse it before proceeding
5. BUCKET METHOD
The two-bucket method is the best way of washing your car — one with wash solution, the other clean water. When filling your suds bucket, Dan Bowden from Bowden’s Own suggests adding the wash solution when it’s half filled. He feels that this creates the ideal ratio of suds and water once the remainder has been added.
Work on the individual panels one at a time. When you’ve given one panel a going-over with the suds, use a different sponge to wash over the panel with clean water. Don’t wring out the clean sponge into the bucket; it should be wrung out onto the ground. Same goes for the bucket with your wash solution — the contents of your buckets should be kept as clean as possible and you’ll likely need to fill your buckets twice to adequately cover an average street machine.
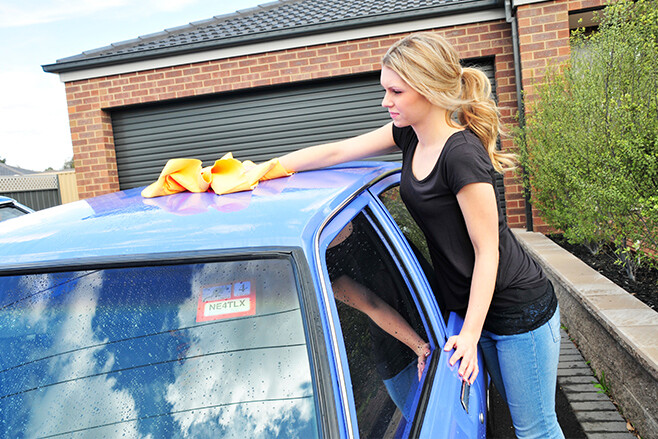
6. TO CHAMOIS OR NOT?
Rinse off excess suds with a broad-spray pressure jet before the final rinse — gently running a smoothly flowing and un-aerated sheet of water over the surface from a hose without a fitting.
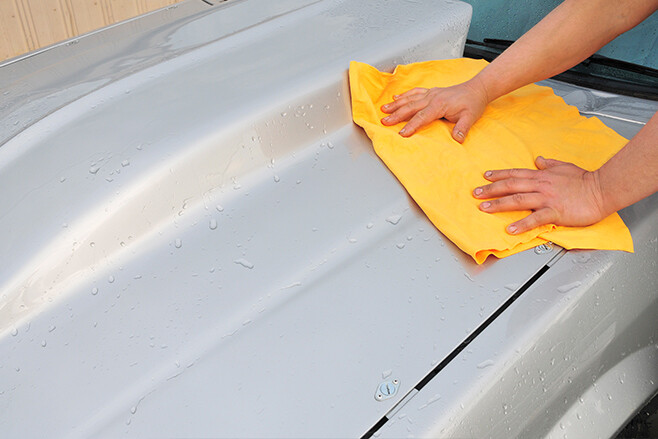 Opinion differs on the next step; many experts say the car should be dried using a chamois cloth that is regularly wrung out as it becomes saturated. Others say that this practice can cause any remaining dirt or dust particles to scratch the paint. They point out that any particles present at this stage are particularly detrimental, as all lubrication has been removed in the drying process.
While the car has just been washed and shouldn’t have any dirt particles, critics of the chamois method counter that it will pick up particles from the atmosphere very quickly if washed outside. Such particles will probably be small but a show-quality finish will reveal even the smallest marks. Decide what’s appropriate for your ride.
 Drying with a good chamois is the time-honoured way of removing the last traces of water from your freshly washed car. You must, however, be certain that you’ve removed all traces of dirt and grime and that no more has found its way onto the car, otherwise your paint could be damaged
7. MUD RACKING
After washing, you may be able to feel tiny lumps or bumps stuck to the paint’s surface. These can be removed with special detailing clay (clay bar) that contains a mild abrasive.
Basically, it’s rubbed across the paintwork and the abrasive action works on any raised points. The reason it doesn’t abrade the surrounding paint is that it’s used with a lubricant that allows it glide over general paint — it acts only on particles and other contaminants that sit higher than the paint.
It’s excellent for removing tree sap, paint overspray, bugs and other tough spots. Some manufacturers supply the clay in a kit with a lubricant, others nominate a product from their range, but either way a lubricant is essential. As the clay picks up dirt it needs to be reformed to expose fresh material and keep the embedded dirt away from the paint.
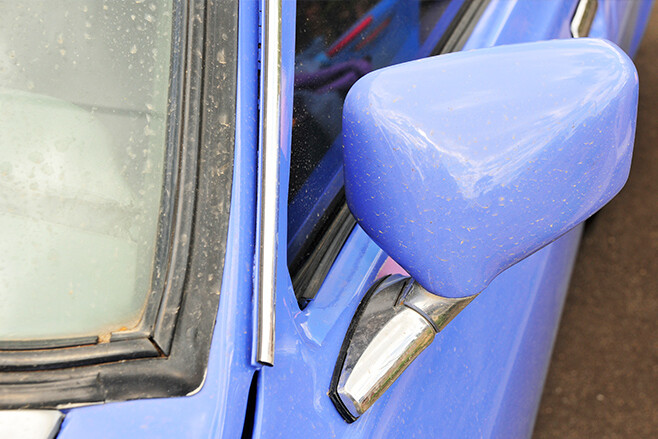 Dirt and grime can severely damage your paint. Older acrylic paint is particularly vulnerable. Contaminants such as bird droppings, tree sap and industrial fallout can eat into it very quickly — act as soon as they appear
For extra-stubborn tar, sap and bug residues, there are special cleaners — re-washing after using such a cleaner is highly recommended.
If such problems are evident before you begin washing, consider using these specialised cleaners first, and keep in mind that such products and the clay bar will remove any previously applied wax.
8. POLISHING
Because polishing can dramatically improve a car’s appearance, many think of it as a general maintenance technique, but for the most part it isn’t. Polishes contain abrasive particles that actually remove paint. Not much at a time but the effect is cumulative. If your paint has become oxidised and dull, polishing can strip off the top layer, creating a fresh surface ready for a protectant — and regular cleaning. So polishing is more a restorative than a cleaning procedure, but it lays the foundation for future cleaning.
Polishing can be done in a number of ways. Machine polishing with a commercial-grade compound is the most efficient but an inexperienced operator can easily cut through the layers of paint and down to the metal, especially on the edges.
Consumer-grade polishes designed to be applied by hand are much milder and excellent at removing light scratches and swirl marks. Amateurs should restrict themselves to these.
Polishing compounds designed for use with a machine are not safe to use by hand. The grit used in commercial polishes is designed to break down and become smaller and finer under the action of a polishing machine. Hand pressure isn’t enough to make the particles break down, so damage will almost certainly result.
As with washing, work on one panel at a time. To prevent polishing compound from getting jammed into all those impossible-to-clean-up nooks and crannies, mask over such areas with low-stick (green or blue) tape first.
9. PAINT PROTECTION
It’s imperative the freshly cleaned and polished paint surface is protected, and wax is ideal — carnauba wax to be precise. It comes from a Brazilian palm of the same name and is said to be the purest, hardest and most transparent of waxes; excellent qualities for protecting paint.
While polish works by reducing the height of the paint adjacent to imperfections and removing the sharp edges from the imperfections, waxes and surface sealers work in the opposite way; they fill surface blemishes and make them less noticeable. They also create a protective film over paint that helps protect it from oxidation.
Waxes break down over time. They also build up unevenly in some areas with repeated applications, so it’s a good idea to remove the residue from your previous applications before you spend your time applying a fresh coat that will increase the imbalance.
Normal washing doesn’t remove the wax residue — a special cleaner is needed. It’s applied to an applicator, rubbed over the panel, allowed to dry, then buffed off with a clean micro-fibre cloth. As with washing, work panel by panel.
POLISHED TECHNIQUE
In general, waxes are applied to an applicator and then rubbed onto the panel, although there are spray-on types available. Applicators and cloths are available in different colours so that you don’t get them mixed up. It’s essential to use separate applicators for pre-wax cleaner and wax or you’ll ruin the wax job.
When the wax has dried, it’s buffed with a clean cloth. It can be beneficial to apply a second coat but if problems are still evident after that, extra layers of wax are unlikely to help and imperfections will need to be polished out.
10. WAX SYNTHETIC ALTERNATIVES
There are synthetic alternatives to wax, specifically designed to have the properties required for paint protection and water-shedding. They’re claimed to work better and last longer than wax, which means less frequent applications. So which is better, traditional wax or synthetic polymer sealer? Good question — please let us know when you find out!
A good rule for trying anything new on your car is to apply it in an out-of-the-way area that won’t be noticed. If it works satisfactorily, a broader application should be safe.
How often you need to do the procedures described depends on how your car is used. In general, a car should be washed once a week and ideally re-waxed after three to four washes. For a daily driver, waxing every couple of months is acceptable — more often if it isn’t garaged.
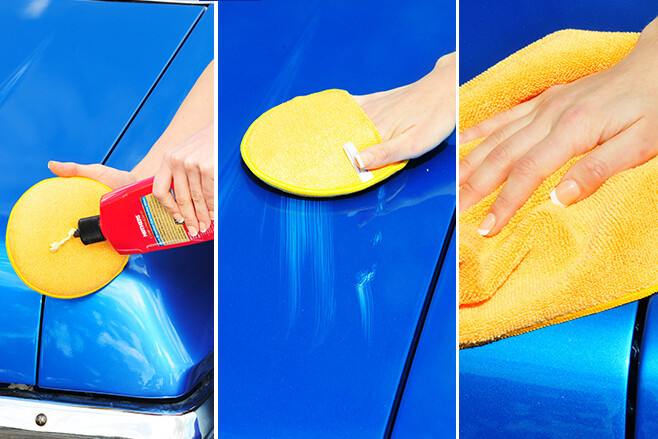 With waxes, a little of the compound is added to a special applicator pad, applied to the panel and then rubbed to a shine with a micro-fibre cloth
A garaged show car probably only needs to be waxed once a year but very old original paint on a classic is much more vulnerable and should be well protected.
Ultimately, whether it’s a new car straight out of the showroom or a restored or modified classic with new paint, they all benefit from protection.
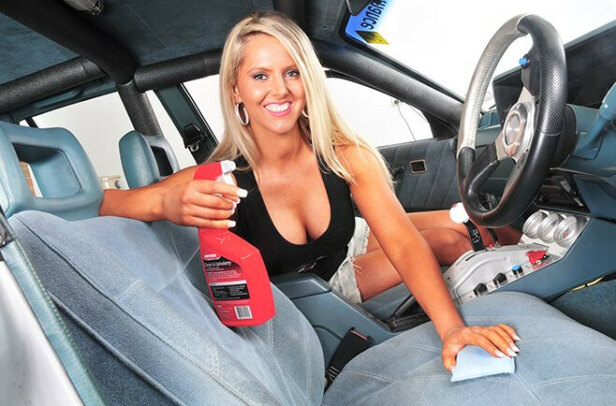
The exterior of your car isn’t the only place that needs to be kept clean — interiors and engine bays also need attention. We’ll cover techniques and products for those environments next issue.
You can find out more about the cleaning agents covered here at the websites below. A number of these companies have detailed guides and videos covering exactly how and when their products should be used.
11. CAR WASHES
Car washes feature a range of chemicals known as surfactants. These make water flow more readily and do all the cleaning grunt work. One end of the surfactant molecule is attracted to water (hydrophilic), the other repelled (hydrophobic). The hydrophobic end is attracted to the oil molecules, burrowing into them and dislodging them from the surface. Once oil is freed, the surfactant molecules surround it, keeping it in suspension so it can be rinsed away. As with any chemical process, adding heat and mechanical energy speeds up the action, so elbow grease is always necessary.
Comments